


Faux Ceramic Tiles

by
Teresa
5 Materials
A few years ago we were building a Garden centre /gift shop, and because of an error in framing the outside doors, we did not have the 1” clearance we needed to lay a ceramic tile floor, and so, I decided to paint it.
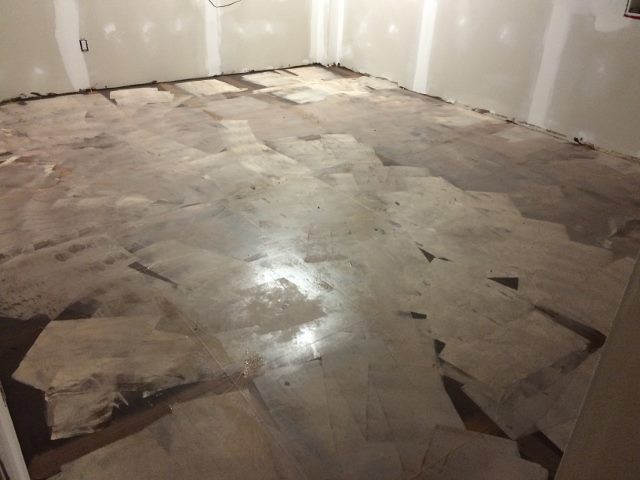
The garden gift shop was a wooden floor – plywood –
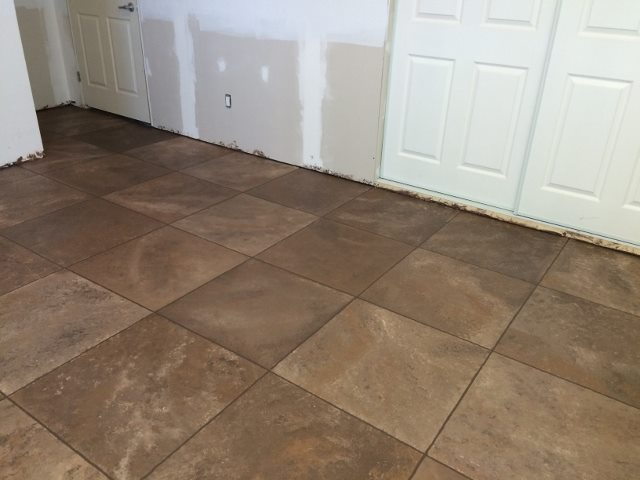
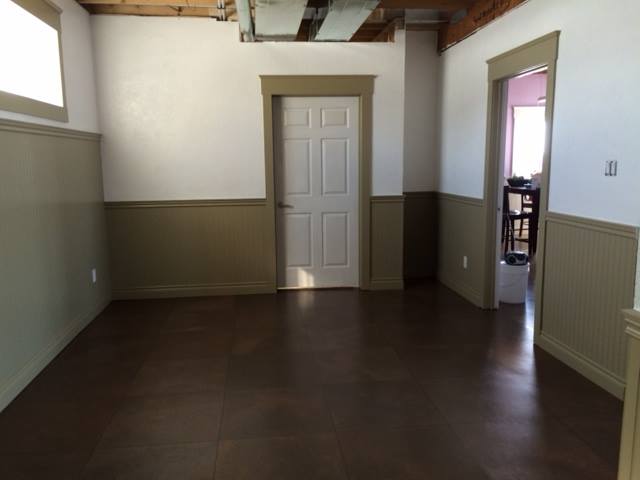
When we started building our own home I decided to do some of our conncret floors like this too. This is one of the floors.
The garden gift shop was a wooden floor – plywood –
When we started building our own home I decided to do some of our conncret floors like this too. This is one of the floors.
Clean the floor completely and paint a basecoat, I used some leftover paint that I mixed together to get this ugly yellowish off white colour – the colour does not matter as long as you are not doing a light colour over it that will allow it to show through.
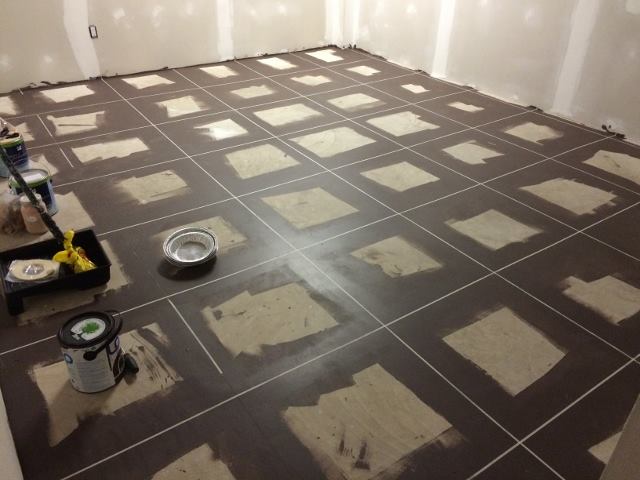
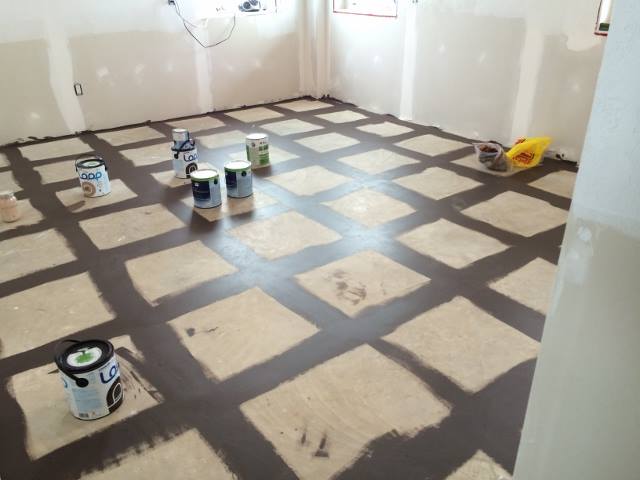
Take your ¼” painters tape – and this is easier with a helper – relay the grid work in tape. The easiest way is with a helper so they can hold one end to a mark on the wall and you can go to the other wall and pull it taut – then press it into place. If you are alone, like I was when I did the garden shop, use the 1 x 2 to help you mark it on the floor again. You can use chalk if you have dark grout lines
I used left over paint to paint the whole floor. Paint over the tape.

Take 1/4 of each of your pant choices and mix them with the white so you have 4 colours of paint. I like to put them in pie tins while I am using them.
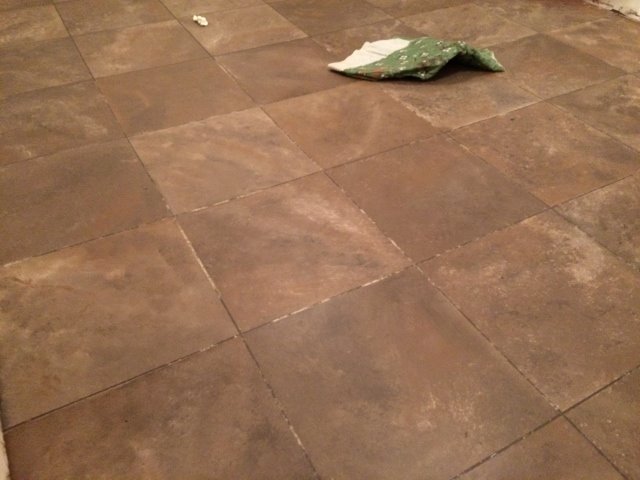
Sponge paint the floor trying to keep any change of pattern on different parts of the grid.
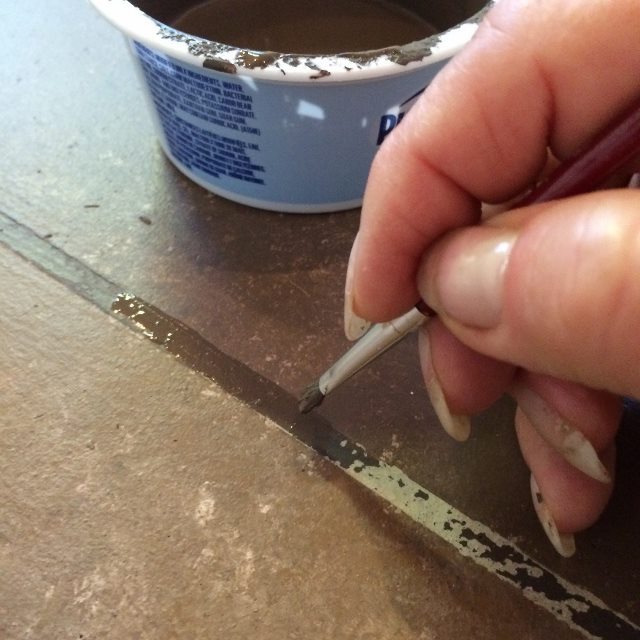
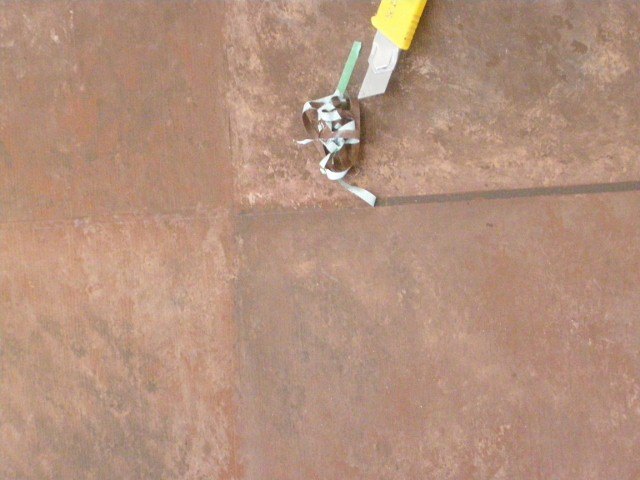
If you are like me and didn’t wait quite long enough for your first coat of paint to dry, you may have to do some touch up of the grout lines.
You can see where the "grout" lifted. I was impatient and only let it dry 4 hours - 24 is recommended.
Let dry overnight and apply polyurethane
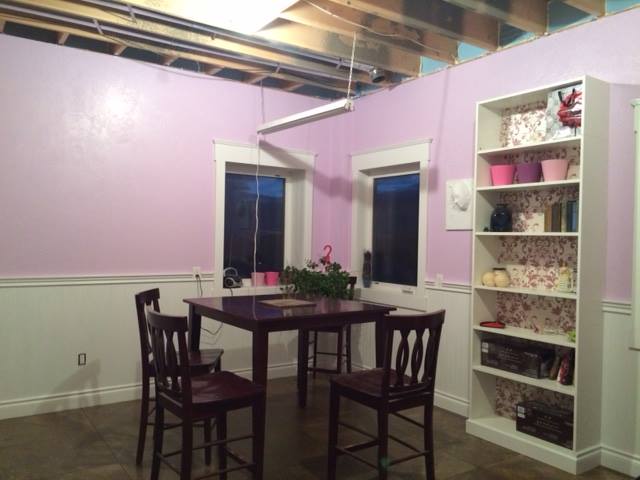
Then I did the walls and I will do a faux tin ceiling come winter!
Darker one!


Any price and availability information displayed on [relevant Amazon Site(s), as applicable] at the time of purchase will apply to the purchase of this product.
Hometalk may collect a small share of sales from the links on this page.More info
Comments
Join the conversation
3 of 216 comments
-
That looks fantastic! ...nice work!
-
It does look so amazing! I can wrap my head around your instructions too. Lol unlike a stencil lol😆 for some reason I get loopy throwing a stencil into the mix and the reverse .... you get the idea hopefully. This seems perfect and looks so stinking great!!!! I love it!


Frequently asked questions
Have a question about this project?
Looks great, what about where your plywood pieces met, did you fill that up with something? Sawdust, floor leveler caulk?
Have you considered a "coffered ceiling"? Please share your ceiling when you are done.
I want to paint my two porches which are concrete. Should I use concrete paint?