


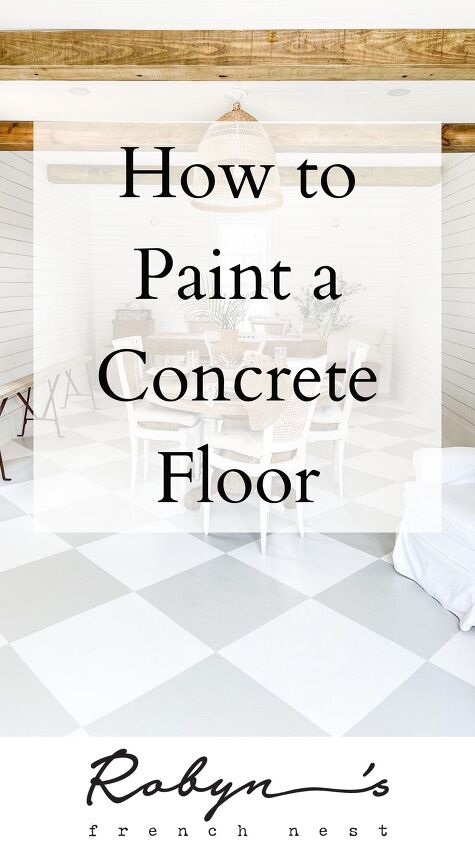
How to Paint Concrete Floors With a Beautiful Checkerboard Pattern

by | DIY
(As an Amazon Associate I earn from qualifying purchases. Posts on Robyn’s French Nest may contain affiliate links. You can see our full disclosure details here.)
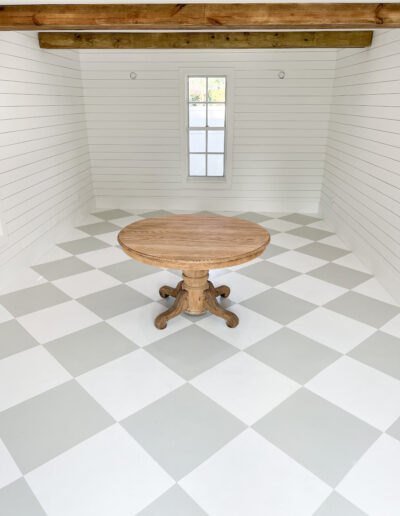
Looking for a way to make unsightly floors pretty? You can easily paint concrete floors with old European flair. Keep reading to see how we saved hundreds of dollars with this DIY project!
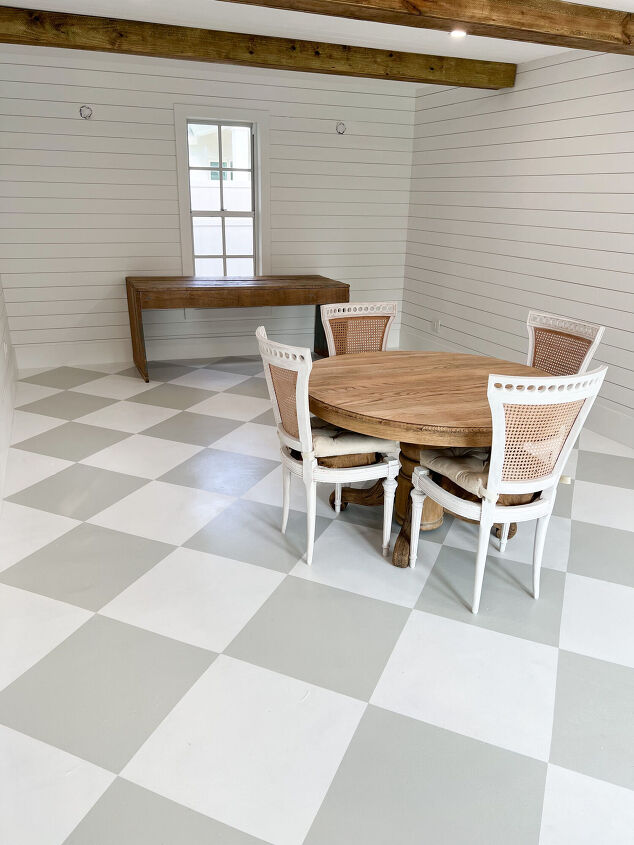
I have always loved the vintage European look, so when we decided to turn part of our garage into a home office, I decided it was the perfect chance to add a classic checkerboard pattern. Checkerboard flooring is timeless and has been around in the design world for many decades, even a popular choice in the gilded age! In modern design, it is a flooring style used by designers like Shea McGee.
Now, our garage-turned-office isn’t that fancy and we tried to complete this renovation on a reasonable budget. One way I knew we could save hundreds of dollars was with the flooring. In addition, it would be a fun chance to try something different with the checkerboard pattern I love!
We have painted concrete before and you can see our big driveway project HERE. I was confident that painting the concrete would be a durable choice. Similarly, to paint concrete floors would save us a lot of money too!
However, you know I will never lie to you. The checkerboard pattern was a whole beast of its own. To be honest, I would have given up, but my husband was determined to conquer the confusion.
The good news is that he is going to write the “how to” part of this post with all the details you need to make this project much more simple. He did the trial and error, so you can just confidently follow his directions for your own checkerboard flooring!
You Need to Know:
After reading many tutorials, watching videos, and experimenting, he figured out a formula that actually works and takes you from the very start to the finish. After that, it just took some time and elbow grease. He will give you all the details but we want you to know a few things:
- This is not a quick project.
- It does save a lot of money.
- You do need to follow directions carefully!
- It is durable and will last over time (we know because of our driveway).
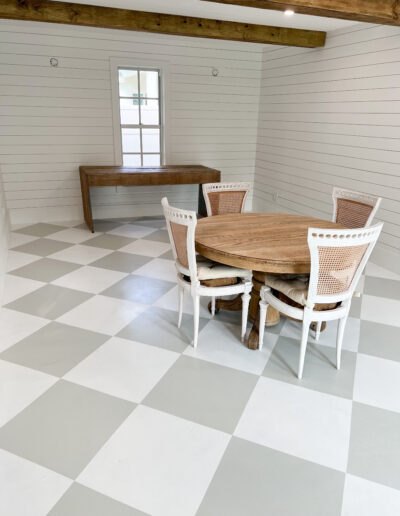
- It is beautiful. I am in love with it and so glad he didn’t give up!
Ready to get started?
I’m going to turn this blog post over to Robb. My brain loves the creative part but not necessarily the fine details. However, he is going to break this down to make it easy to understand and easy for you to create your own beautiful floors!
If you don’t want a checkerboard patter but still plan to paint concrete floors, this post is also for you. No matter the color or pattern, he has some great tips for to paint concrete floors in a way that will last you for many years!
Take it away, Robb!
How to Paint Concrete Floors with a Beautiful Checkerboard Pattern
Materials Needed to Paint Concrete Floors:
- Painter’s Tape – Lots of it!
- Chalk line
- Pencil/Eraser
- Straight Edge
- X-Acto Knife
- Piece of scrap cardboard
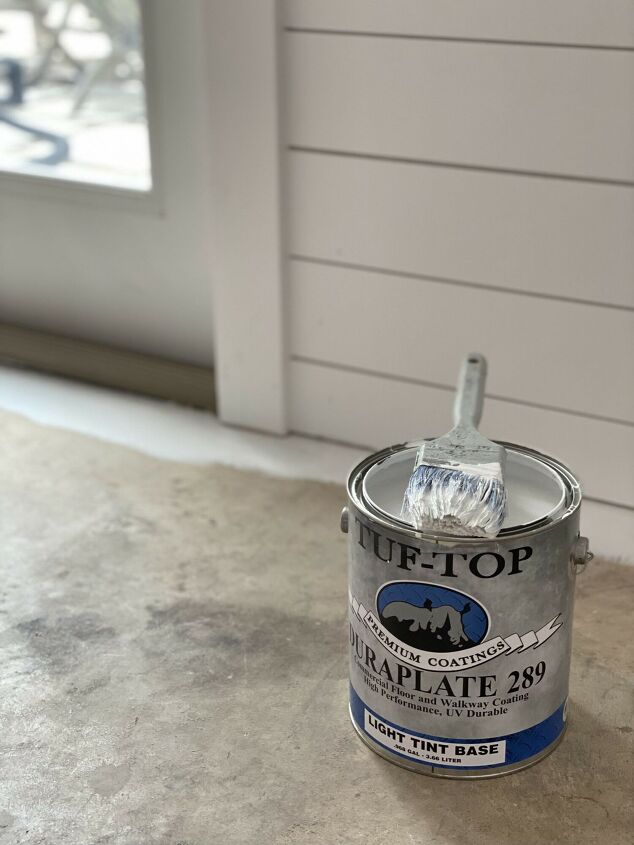
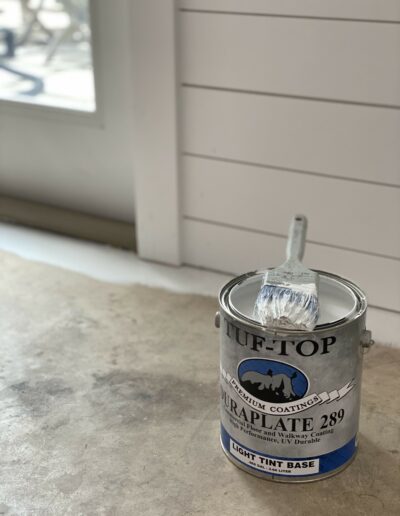
- Dura-Plate Concrete Coating
Step One: Prep
Robb here.
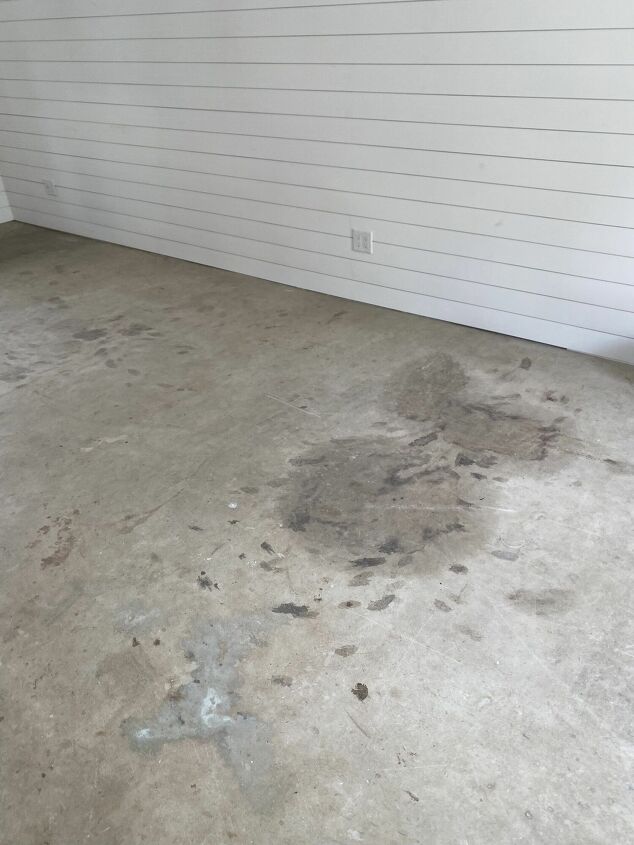
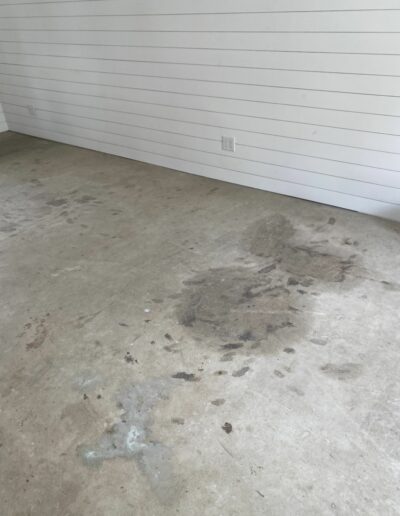
Prep work might be the most important step. Let me say it again: Prep work might be the most important step! The concrete needs to be clean & any stains or residues treated.
So the floor we painted had been a garage floor & it showed! It was full of spills, knicks & stains.
For any of the sticky spills that hadn’t seeped into the fllor, I used cheap dollar store oven cleaner.
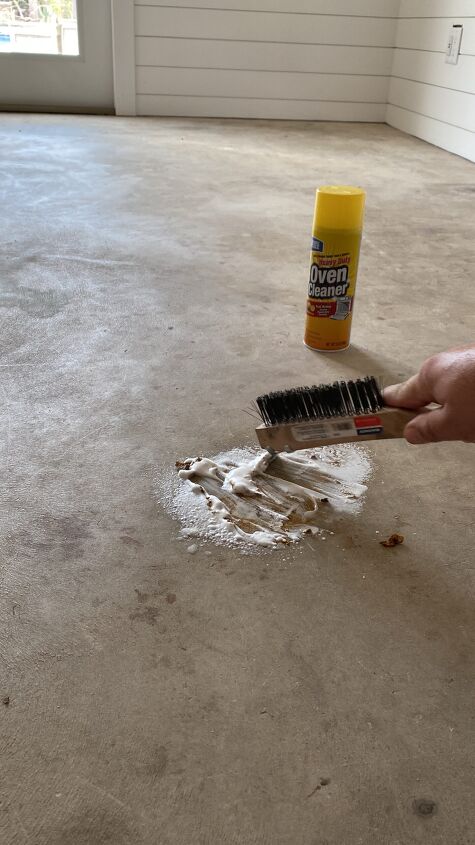
While the oven cleaner worked great for any surface stickiness, also make sure you treat any greasy spots with a de-greaser. I “did”, but not well enough.
Paint/coatings do not adhere well to these surfaces, so any time spent here is well worth it. (Ask me how I know!)
Tip: Clean, De-grease, Rinse, Repeat. You won’t be sorry!
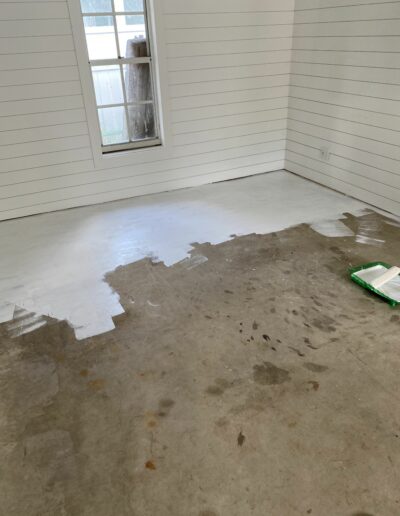
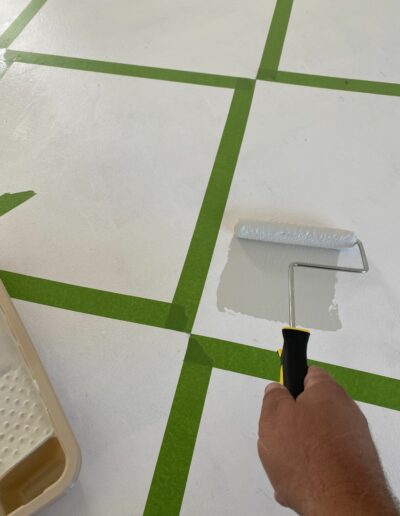
Step Two: Base Coat
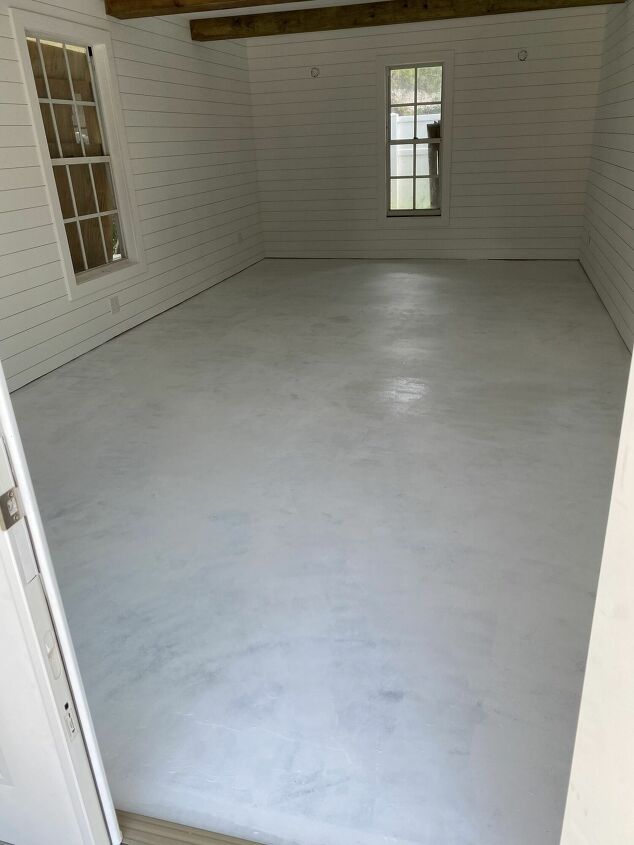
And now to the most rewarding step: Adding the base coat. Covering over that old nasty floor with a fresh coating is pretty fun.
Some (maybe obvious!) quick notes about the base coat:
- Choose the lighter of the two colors in the checkerboard pattern.
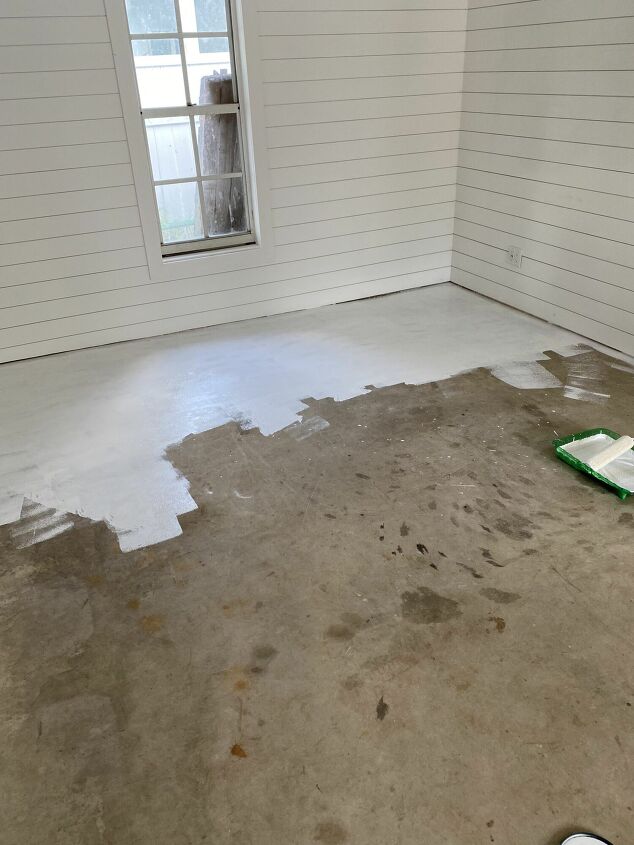
- Cut in the edges of the room with a paint brush
- Roll the room with a medium nap roller.
- Apply liberally. Two coats minimum.
Tip: Don’t be afraid to “overpaint”. It’s MUCH easier to add another coat at this stage than later.

Step Three: Math
At this point, your back probably needs a break. So why not break out the calculator?!?
Yes, this step wasn’t the most exciting for me, either. Especially since I kept making mistakes! So, here are my tips for getting the math right the first time:
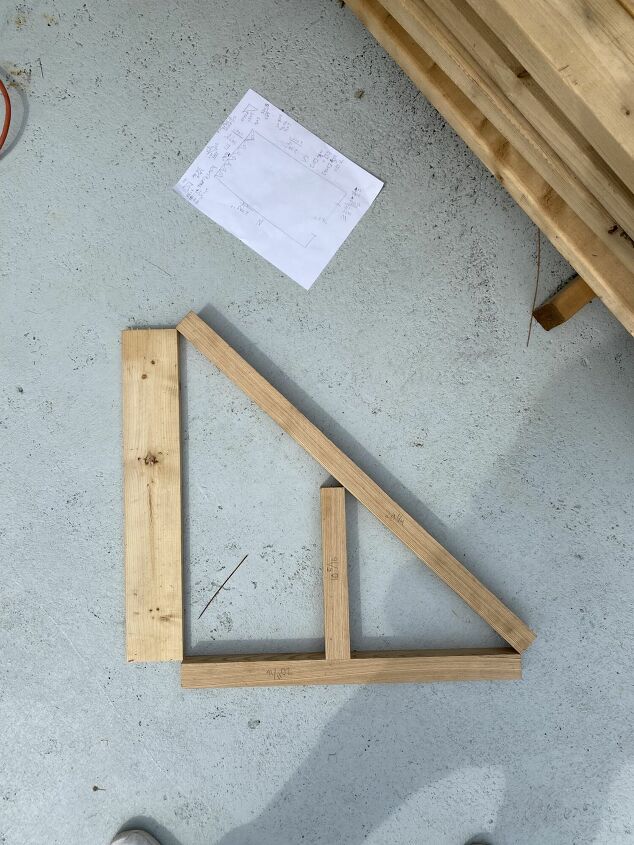
- Make a quick doodle of your room with the rough measurements marked.
- Decide how many squares wide you want your checkerboard pattern. Do you want 5 across? 6 across?
- Take the width of your room (10 feet for instance) & divide it by your answer above. Let’s say you have a room 10 feet wide & you want 5 squares across. Divide 10 feet by 2 feet, and that means the diagonal of your square would be 2 feet across.
- Now, here’s where math geeks rejoice: To figure out the sides of your square, you really need the….wait for it….the Pythagorean theorem from your geometry class! It’s really not too painful with a phone calculator. Promise! To find the sides of the square above:
- First square the diagonal measurement: 24 X 24 = 576
- Then, double that number: 576 x 2 = 1,152
- Finally, find the square root of that number (1,152): 33.94
Once you have the dimensions of your square, the rest is just elbow grease!
REMEMBER: You are measuring for the diagonal, not the sides!
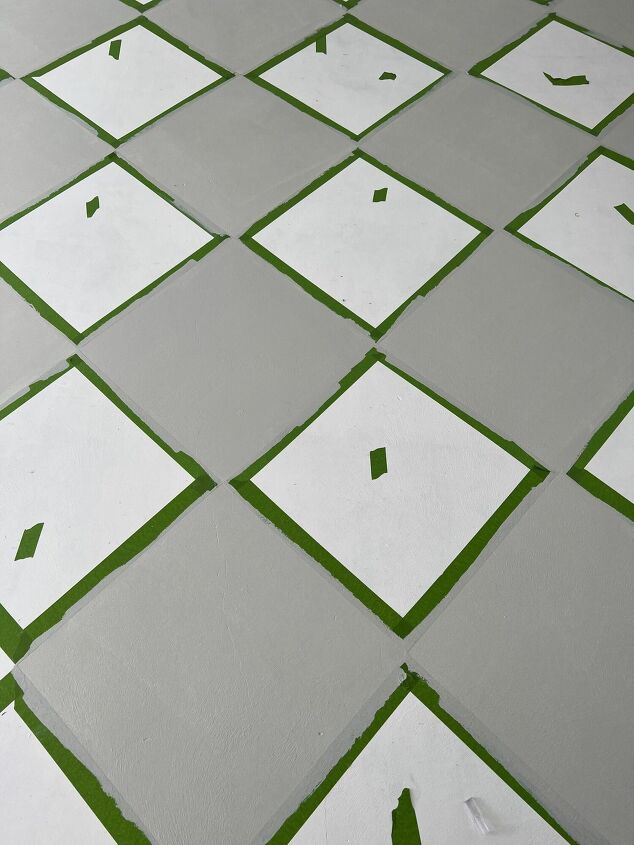
Step Four: Taping
This part requires a good plan on your part. And YOU get to decide how exact you want it. Since this was my first time, I tried to be extra careful.
Here’s how I did it, and some ways I WISH I would have done it!
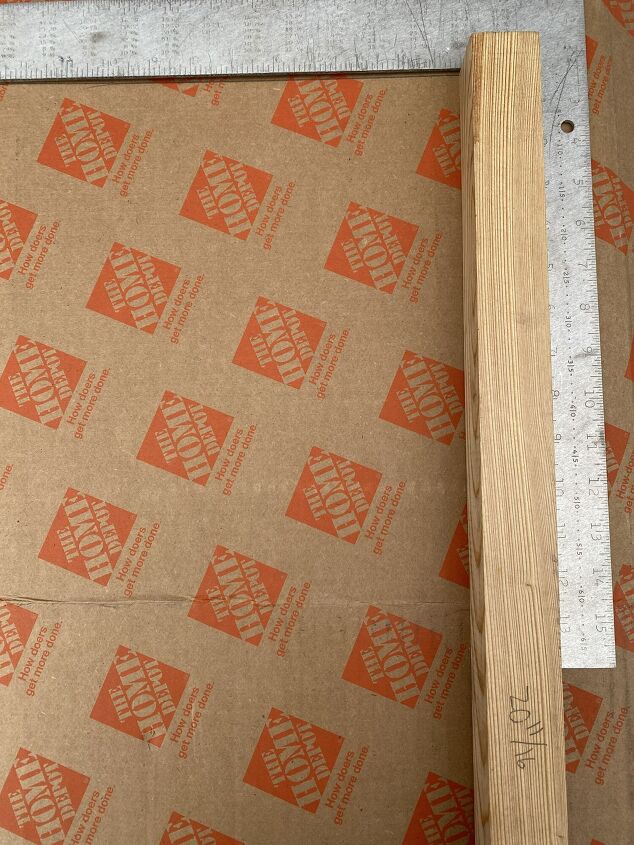
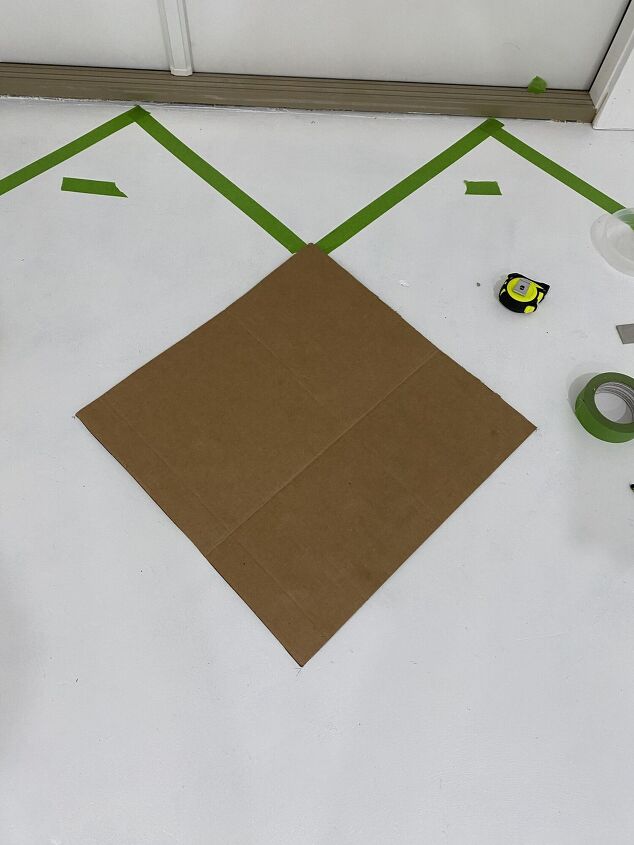
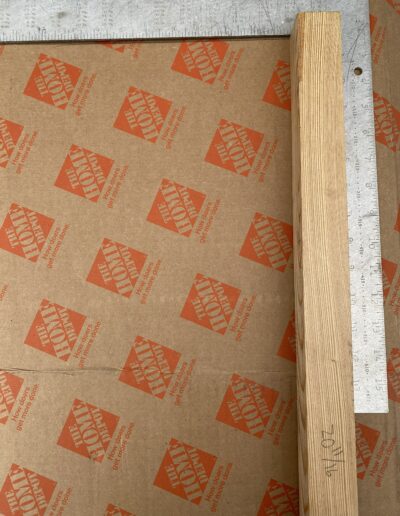
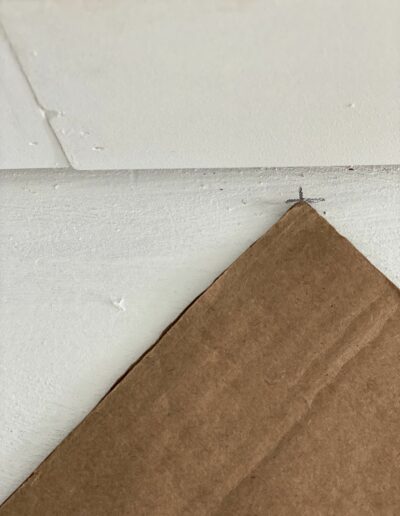
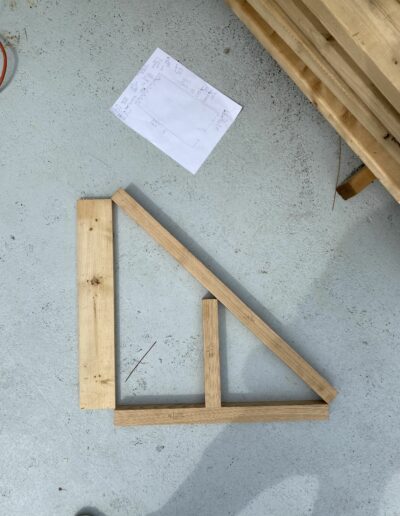
First, using the measurements in step three, cut out a template. I used an old (fairly thick) piece of cardboard, but you could anything that’s fairly rigid.
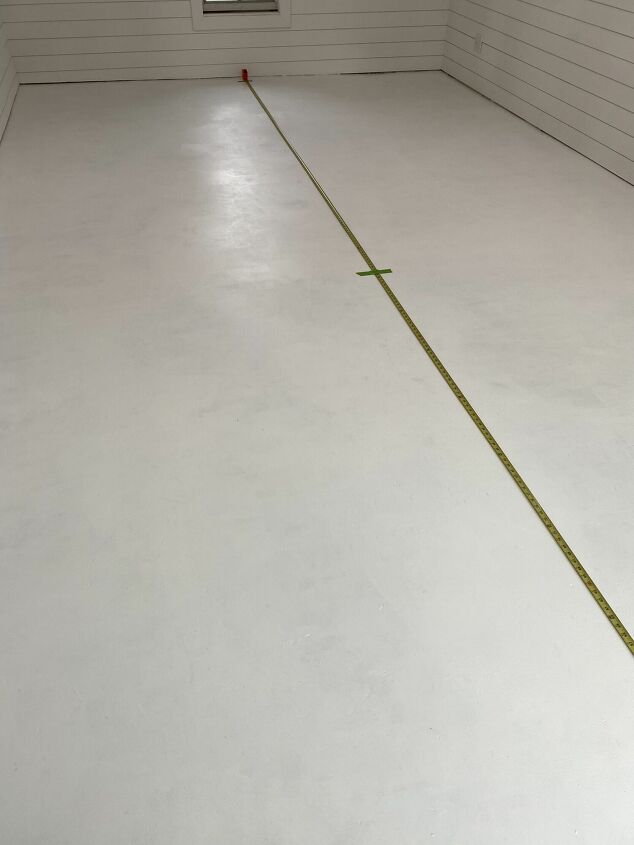
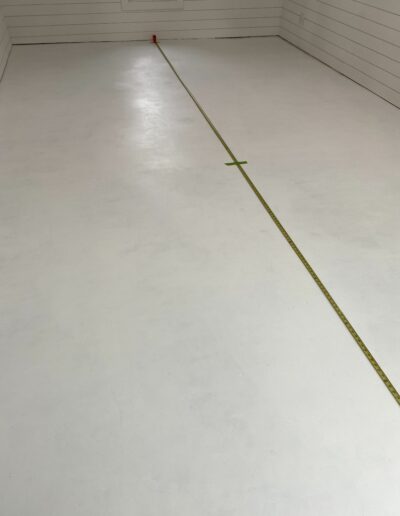
Next, mark a line down the center of your room.
I used whatever I had on hand (a measuring tape taped off every couple feet), but I highly recommend buying a chalk line ahead of time. Use this line to base all your patterns from.
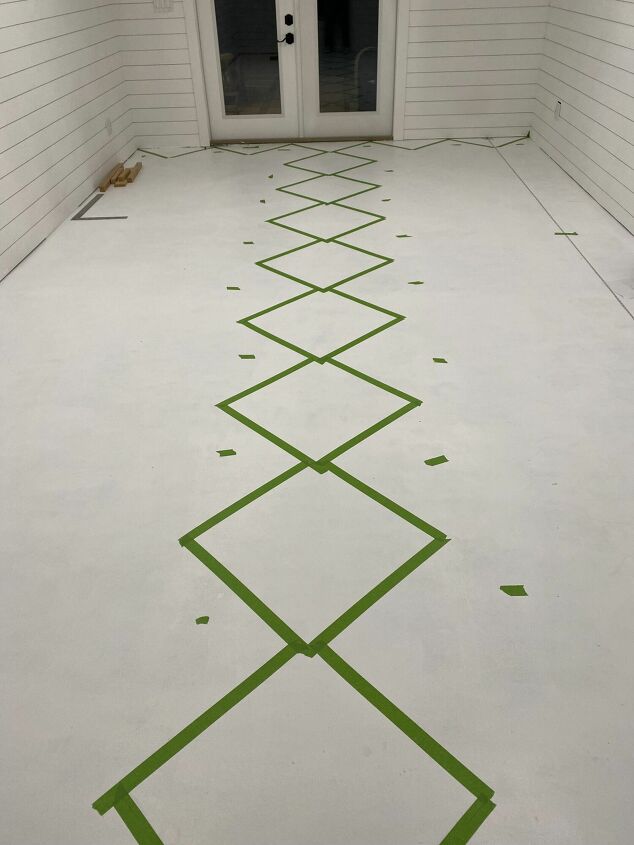
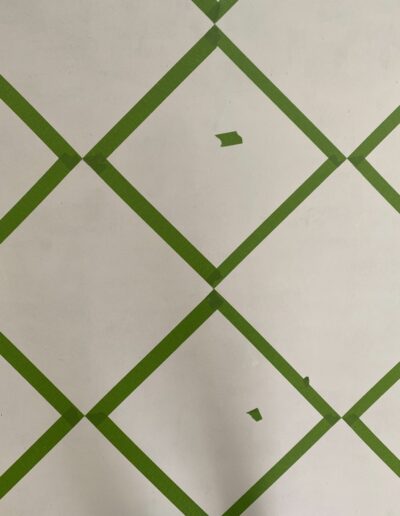
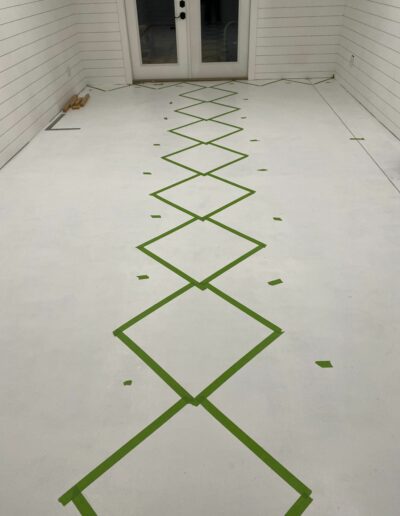
Now, you’re ready to start taping.
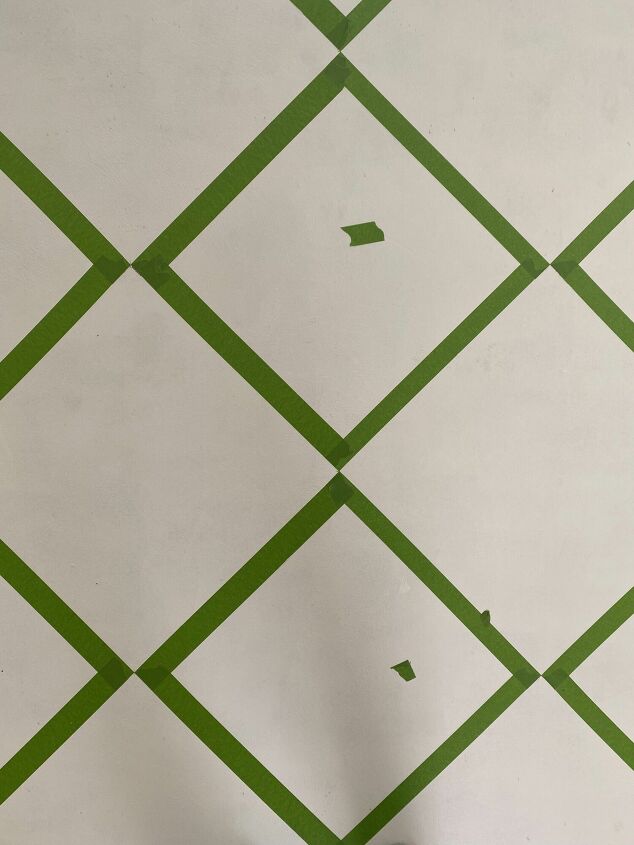
The first row for me was the most challenging. I chose to split the first diamond in half on the middle line, because I wanted full diamonds on the edges. You could reverse this, though if you wanted.
See?
A few notes about taping.
- Set the template square along the chalked line
- Mark each corner with a light pencil mark
- Then tape to each pencil mark on the OUTSIDE of the square.
- Use a small piece of tape to mark the base coat squares that WON’T be painted.
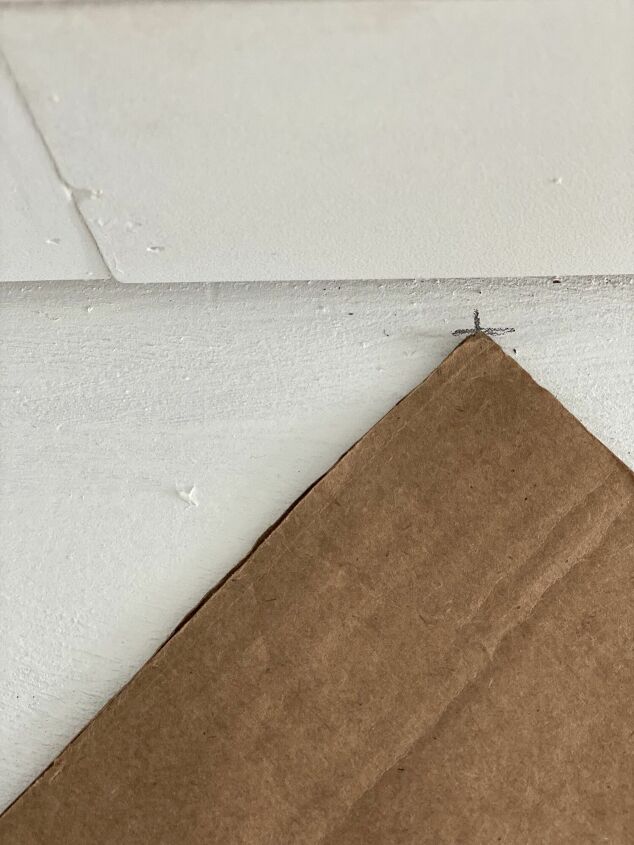
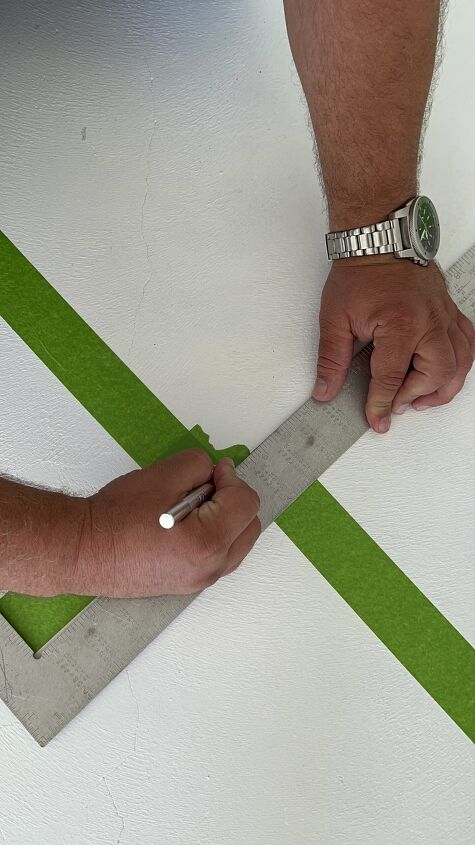
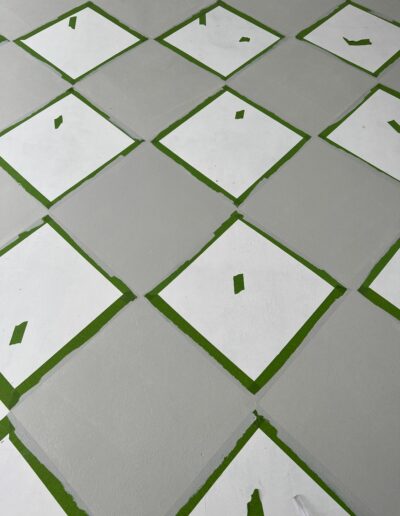
- Once you have the tape down, use a square & an X-Acto knife to trim to a sharp corner:
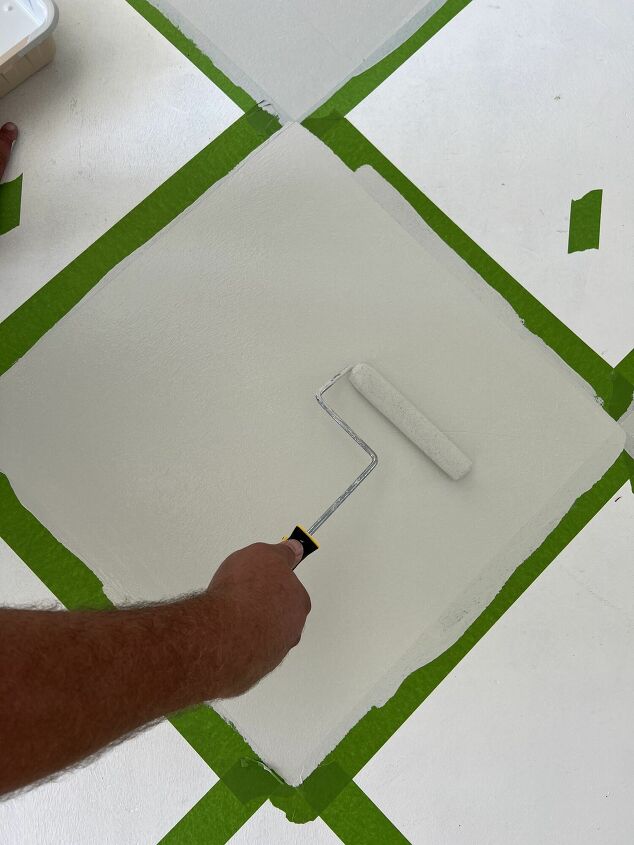
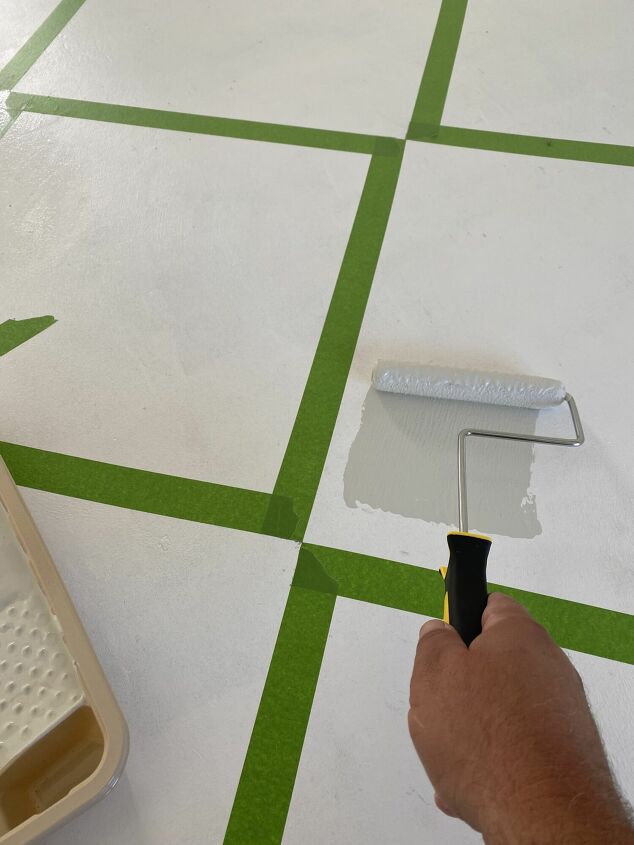
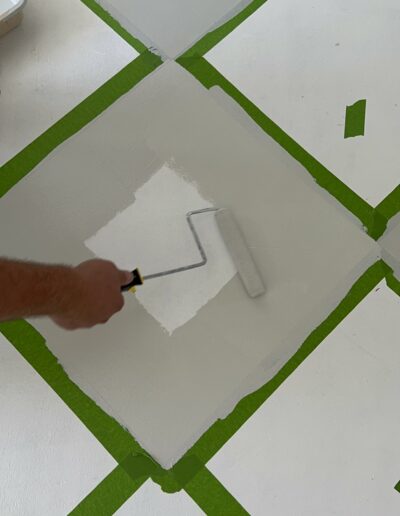
Step Five: Second Color
Once your taping is complete, it’s time to add the second color. Here’s where the little tape markers on the base coat squares work really well. Believe it or not, I didn’t paint any squares the wrong color!
I uses a small roller to paint the gray. Two coats worked well.

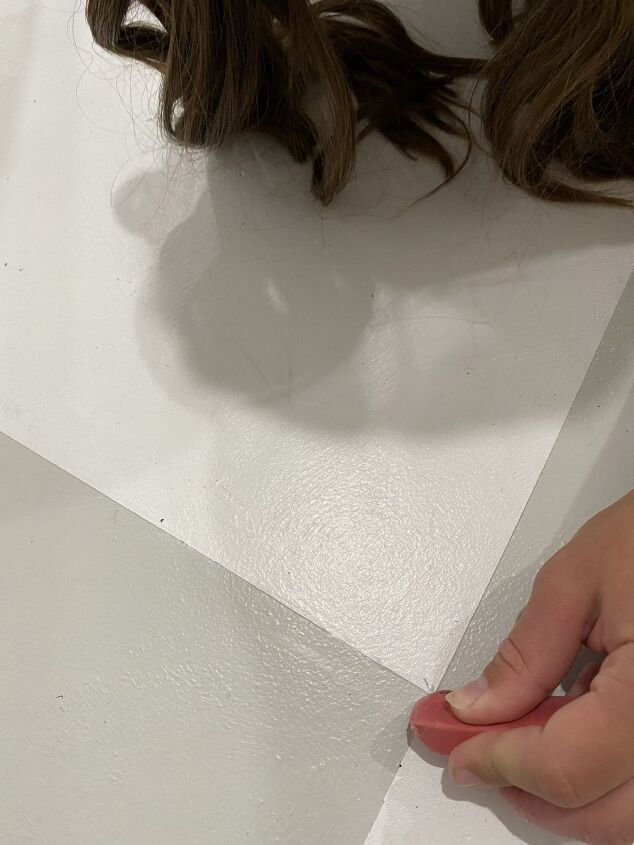
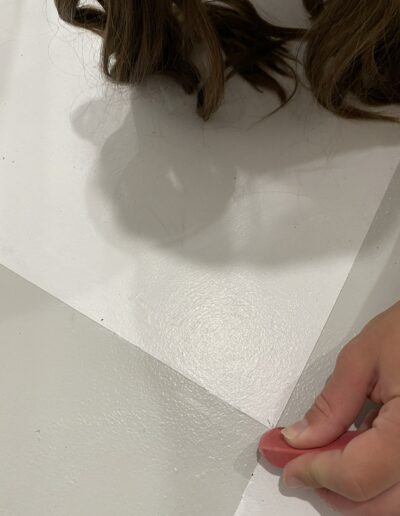
Step Six: Removing Tape
I made tape removal it’s own separate step, because honestly I messed it up & had to touch up some of the paint after the fact! Here’s some tips to make sure you don’t do what I did:
- Make sure the floor is prepped well so the coating sticks to the concrete (see step one!)
- Remove the tape while the paint is still wet.
- Pull the tape away from the line at a 90 degree angle (see video below)
- Take your time & don’t rush!
Once the tape was off, Payton helped me gently erase the pencil marks. And that was that!
I hoped I was detailed enough to cover most of your questions, but if I missed something, please let me know below in the comments. I would be so happy to thelp!
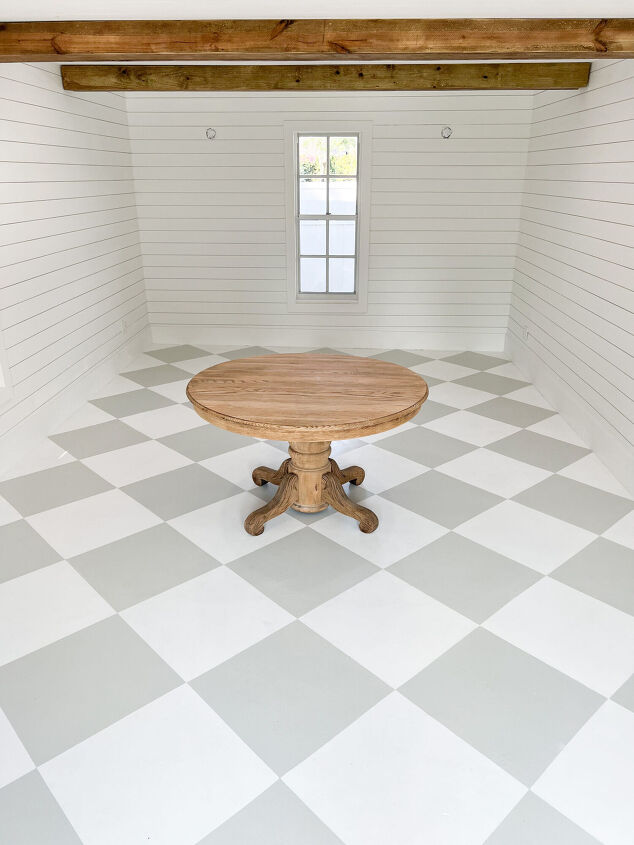
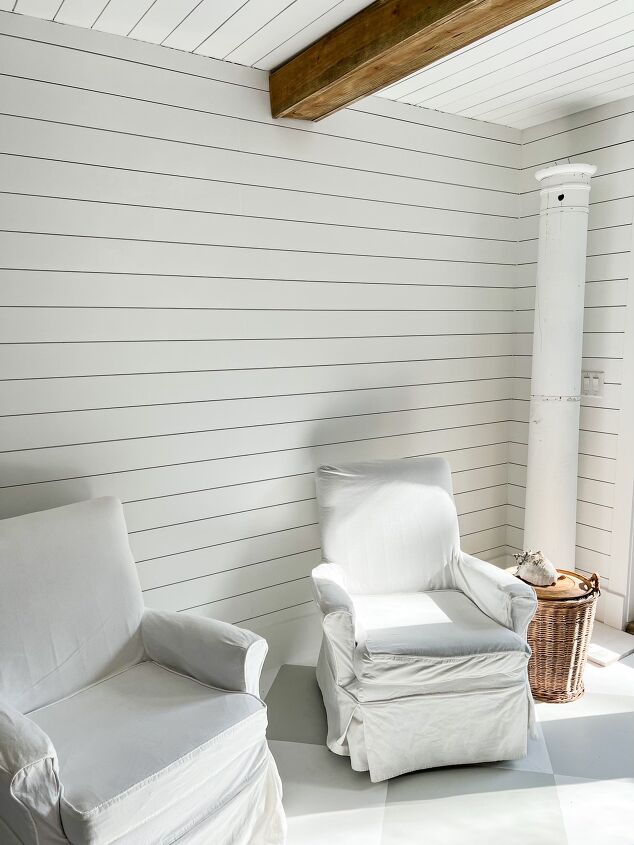
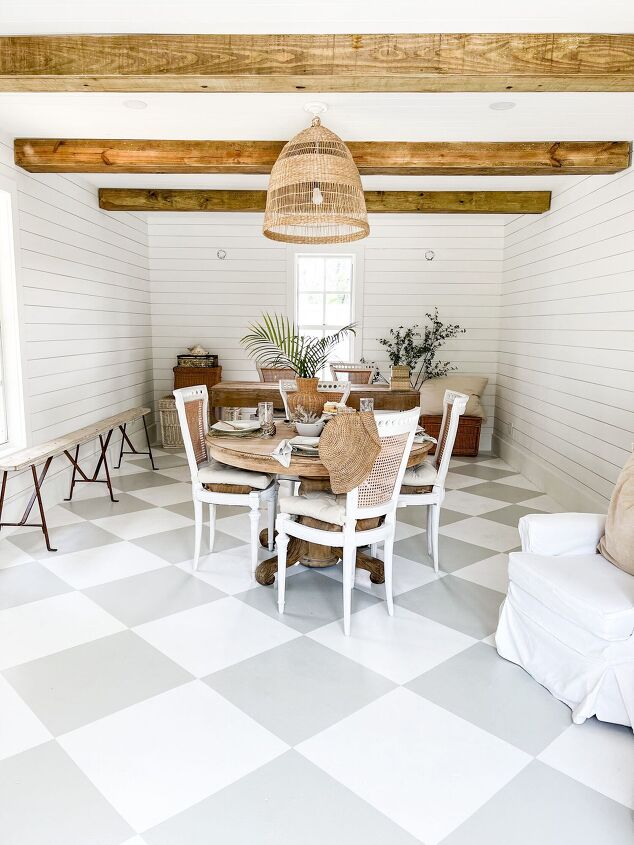
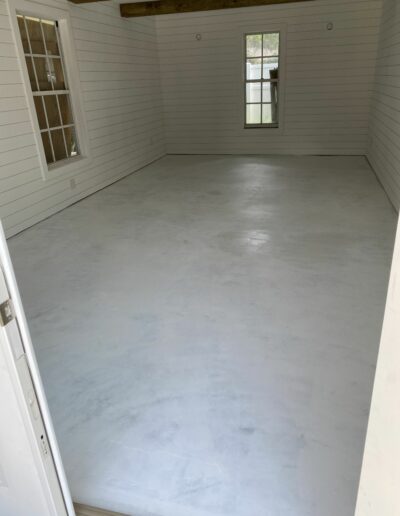
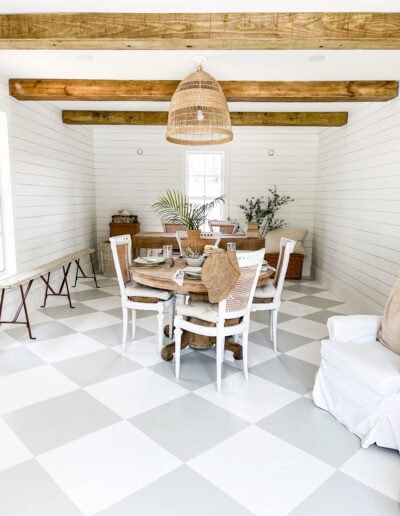
It’s me, Robyn, again! Robb did an incredible job with the checkerboard painted floors and I am enjoying the office so much! This space is right off of our pool, as well, so the durability is especially appreciated. I hope this tutorial has given you all the tools you need if you’re wanting to paint concrete floors, and particularly with the checkerboard pattern.
We will be sharing a lot more DIY projects from this garage-turned-office space, but the floors were definitely the most time-consuming, so we are glad they are completed!
Most importantly, we hope you are inspired and that this helps you save some money on your next floor project too!
I’d love for you to follow me on social media! You can find my home decor inspiration on Instagram, Pinterest, and Facebook!
Blessings,


(As an Amazon Associate I earn from qualifying purchases. Posts on Robyn’s French Nest may contain affiliate links. You can see our full disclosure details here.)
Gallery


Resources for this project:


Comments
Join the conversation
-
Thank you very much!
Robyn
-
It's is truly beautiful...he has got 2 pat himself on the back. Proves endurance pays offer. Thank you 4 sharing.


Frequently asked questions
Have a question about this project?
How do you keep from marking up the floor when you move furniture.... If its a heavy piece and you need to scoot it? I recently painted my concrete floor and it is already scraped and scratched up.
Did you use a sealer and which one? Love your floor!
Nice job! How is it holding up so far?