


How to Grow Zinnias For Your Cut Flower Garden From Seed Indoors
Have you dreamed of growing a garden full of beautiful zinnias in your cut flower garden? I’ll share my tips on growing zinnias from seed indoors, how to transplant them into the garden, and much more.
To see more of my tips on growing cut flower gardens, click HERE.
Zinnias are an incredibly easy and reliable flower to grow in the garden which makes them perfect for beginning gardeners.
These are some of my favorite flowers in the cut flower garden. The great news is that it’s so easy to grow zinnias from seed indoors.
The Perfect Cutting Flower
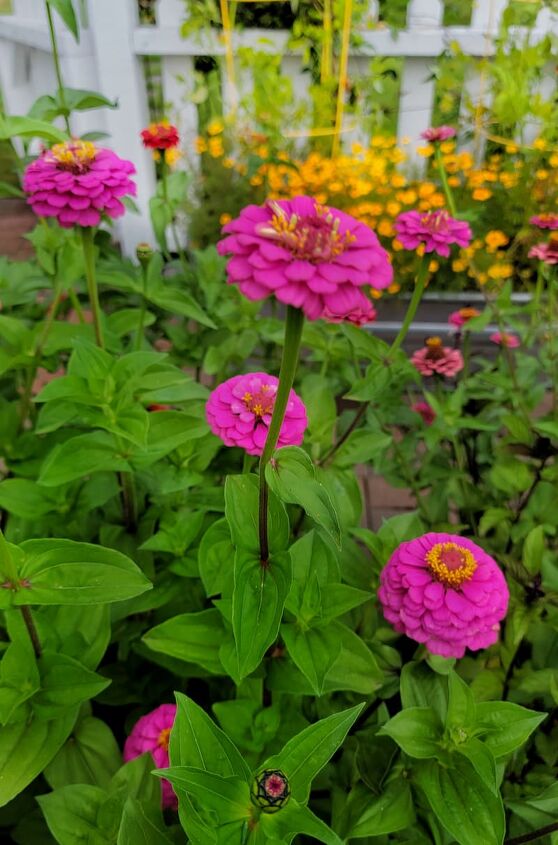
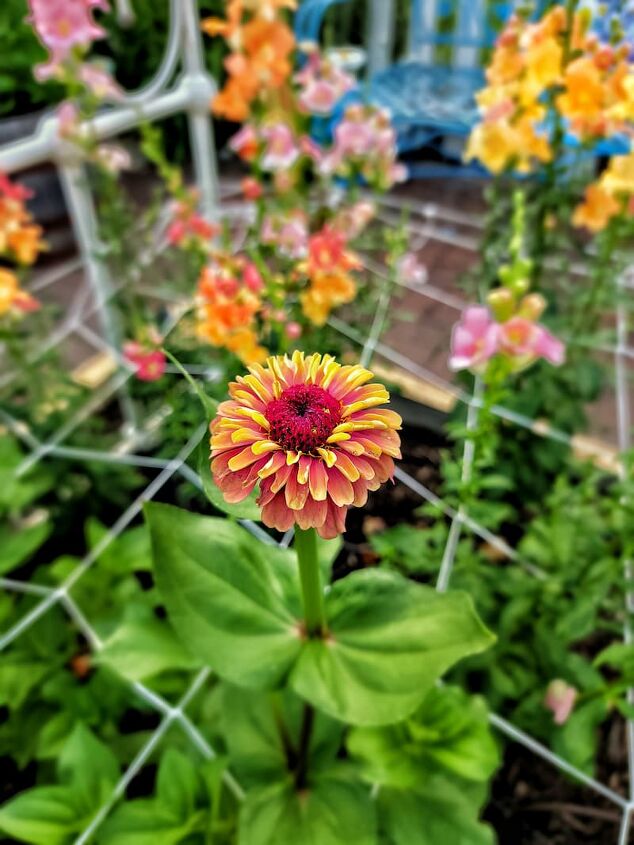
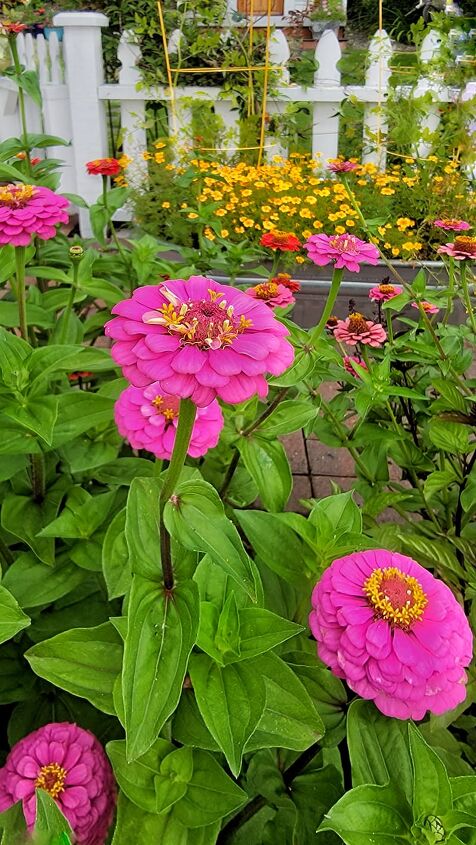
Zinnias are the perfect cut flower for any summer or early fall bouquet.
- There are so many bright and beautiful colors and mixes available to choose from when you grow your zinnias from seed.
- Their daisy-like flowerheads on a single straight stem make them great for your cutting garden.
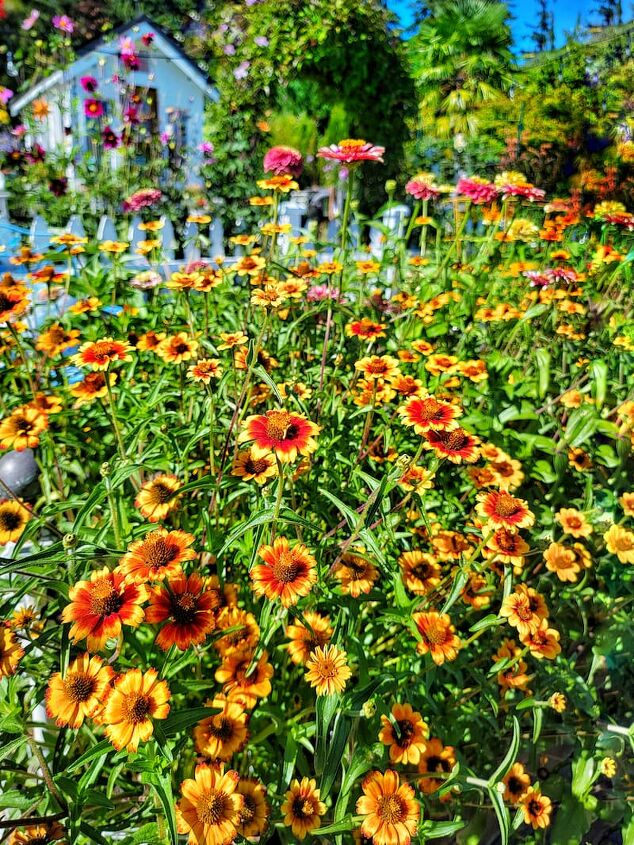
- They are a low-maintenance plant that attracts pollinators to your garden.
- The more you cut, the more they produce.
- Zinnias will bloom until the first fall frost.
When to Grow Zinnias from Seed Indoors
When starting zinnia seeds indoors, sow them 4-6 weeks before the last frost of the season.
If you sow the seeds earlier than the recommended time frame, the seedlings will quickly outgrow their pots before the weather has warmed enough to put them out into the garden.
Zinnias can also be sown directly in the ground as soon as the threat of freezing has passed.
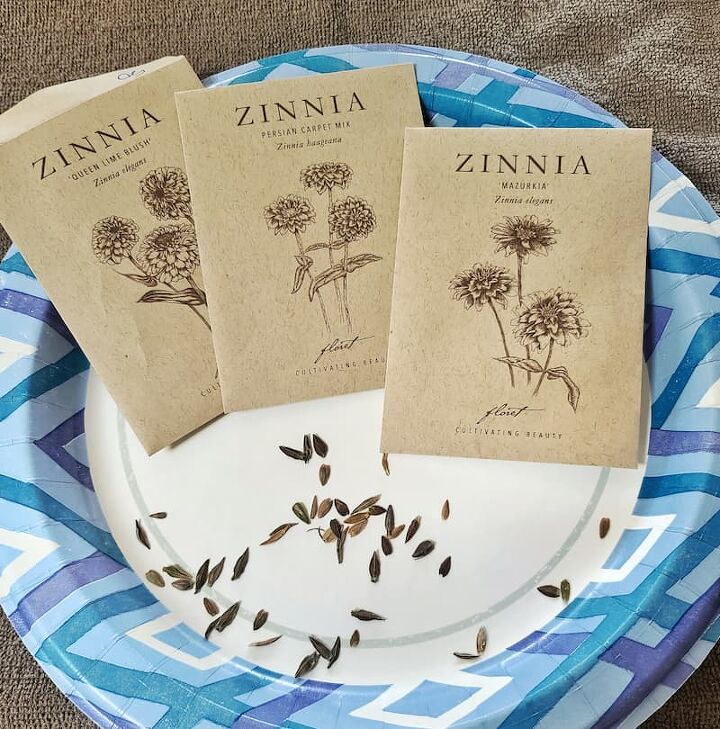
Supplies to Sow Seeds
- Zinnia Seeds
- Seed Starter Potting Mix
- Containers
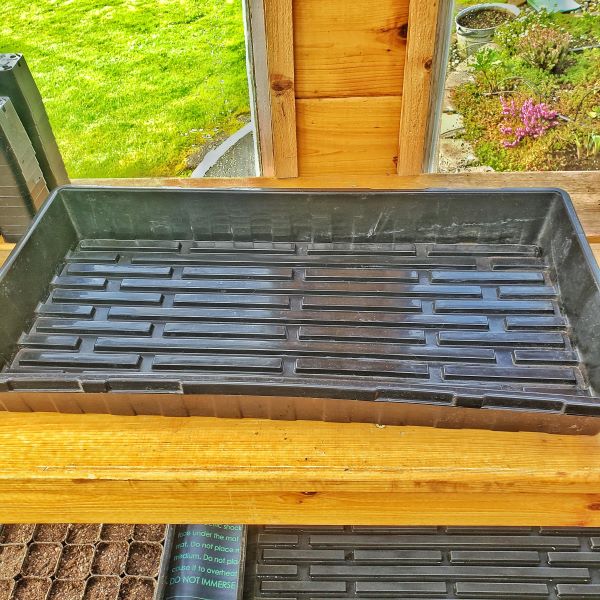
- Drainage Tray
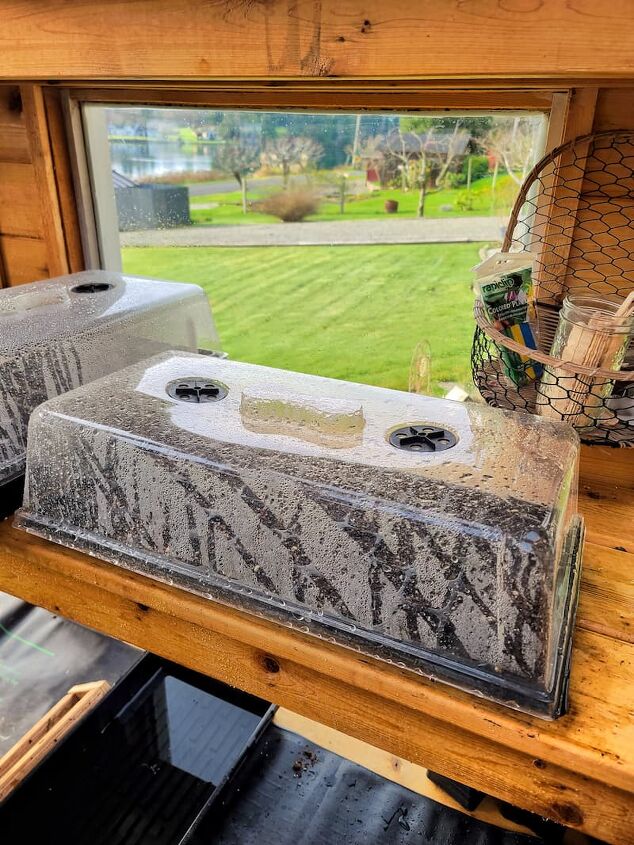
- Plastic Dome Lid
- Heat Mat
- Labels
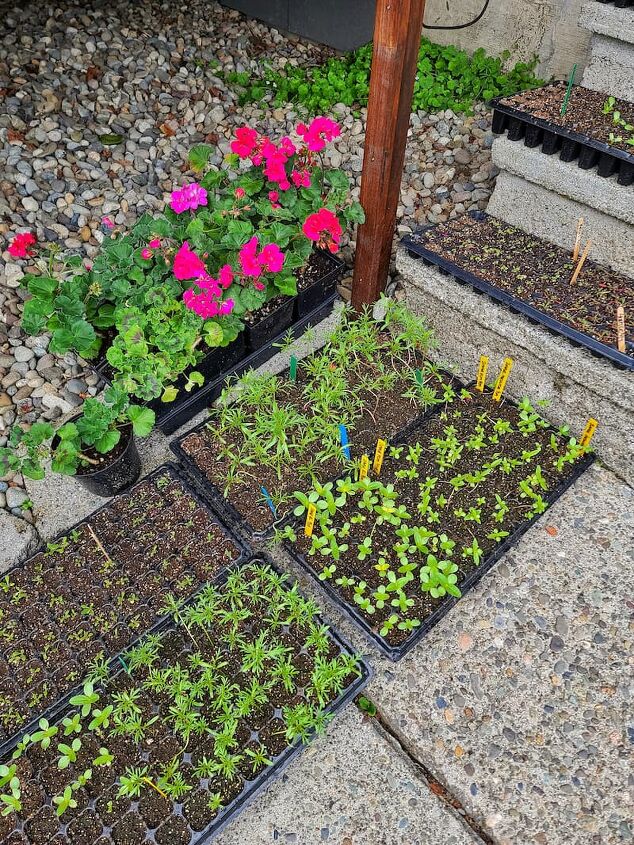
Steps for Sowing Zinnias Indoors
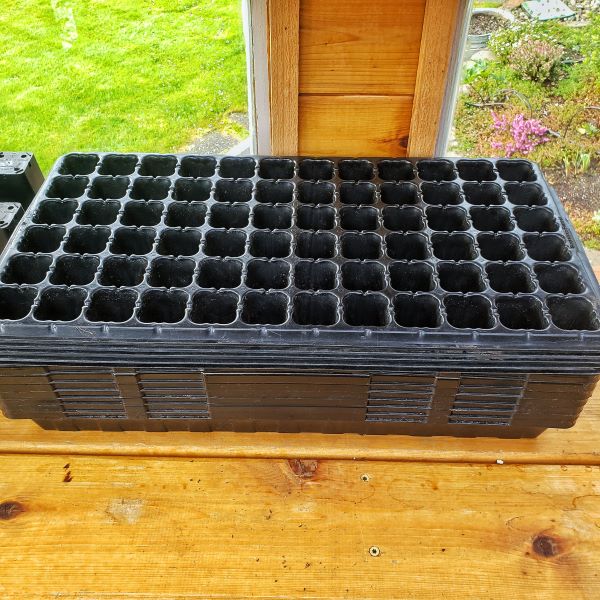
Step 1 – Choose Container
Seed starting containers should be clean and have drainage holes.
I use cell trays and plastic pots for my seed containers.
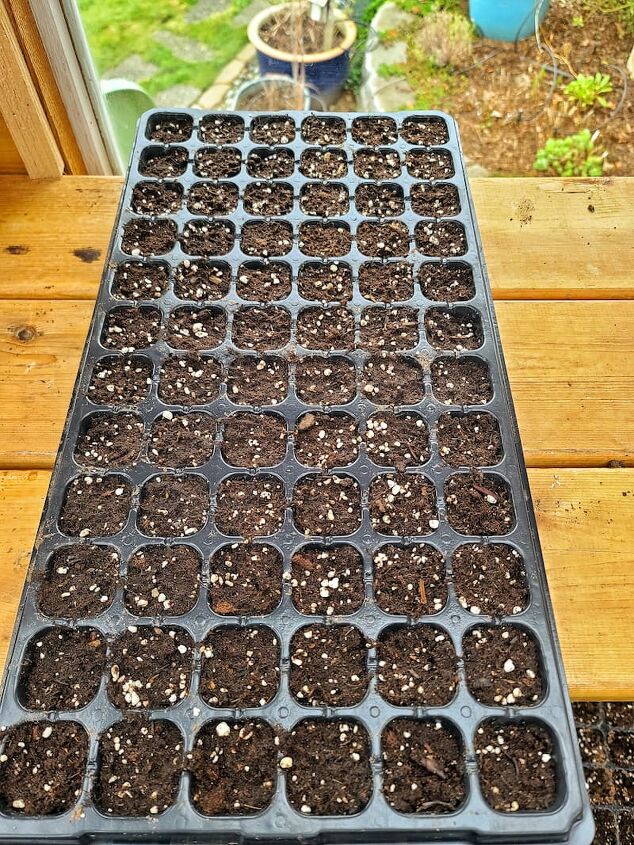
Step 2 – Fill Containers with Soil
Use a quality seed starter potting mix when sowing your zinnias seeds. Before adding it to the container, the soil should be moistened until it’s thoroughly damp but not soaking wet.
Fill the container to the top with soil. As you go, tap firmly against the table or shelf to make sure the soil settles and to prevent air pockets in the containers.
BENEFITS TO USING A SEED STARTING MIX
- Helps the seeds to germinate quickly
- Holds the moisture in the container
- Allows the roots to penetrate down into the garden soil quickly
You can make the mix go even further by filling the bottom half of the container with regular potting soil and then filling the rest of it with the seed starting mix, where the seeds are going to be placed.
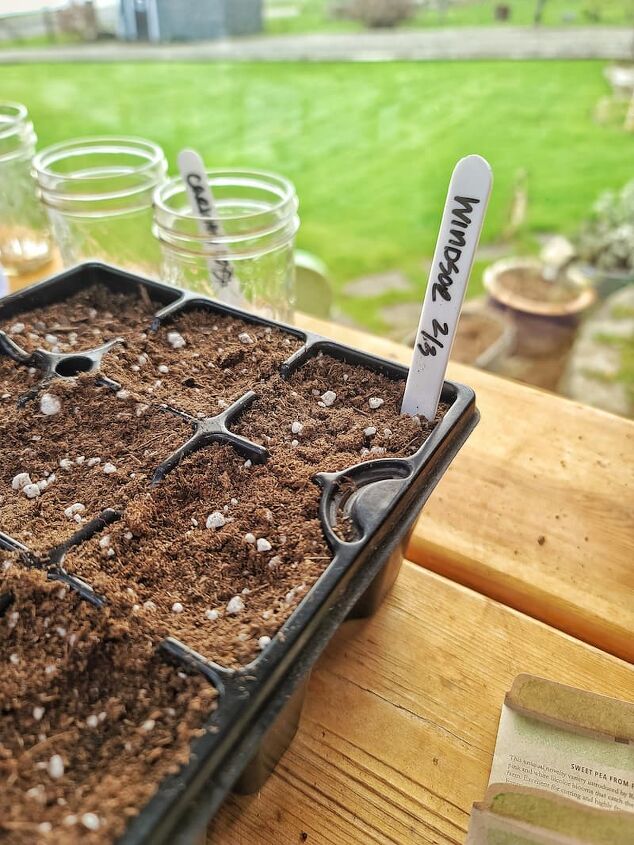
Step 3 – Label or Tag
Label the container with the name of the variety of plants and the date planted.
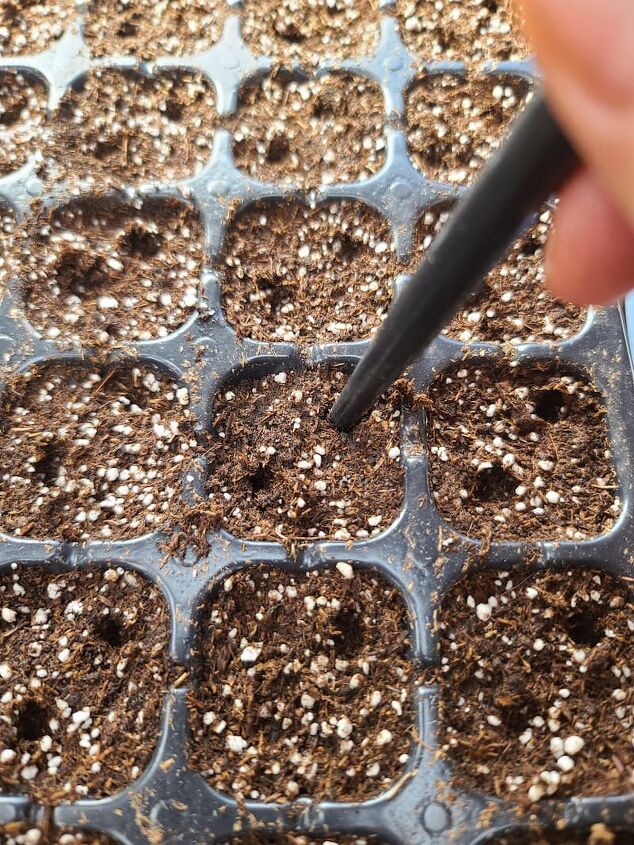
Step 4 – Sow the Seeds
Sow 2 seeds per container or cell by creating a 1-half-inch hole into the soil, in 2 opposite corners. You can use a pencil, dibbler, or even your finger to make a hole.
Add a light dusting of seed starter potting mix or vermiculite, covering the seeds.
Step 5 – Bottom Water
After sowing the flower seeds, set the container in a drainage tray with an inch of water in the bottom, removing once the soil surface is evenly moist. It’s important not to let the container sit in the water for more than an hour.
Step 6 –Place on a Heat Mat and Cover
Place the container on a heated mat or in a warm corner in your house, and cover it with a clear plastic dome. This will help speed up the seed starting germination process.
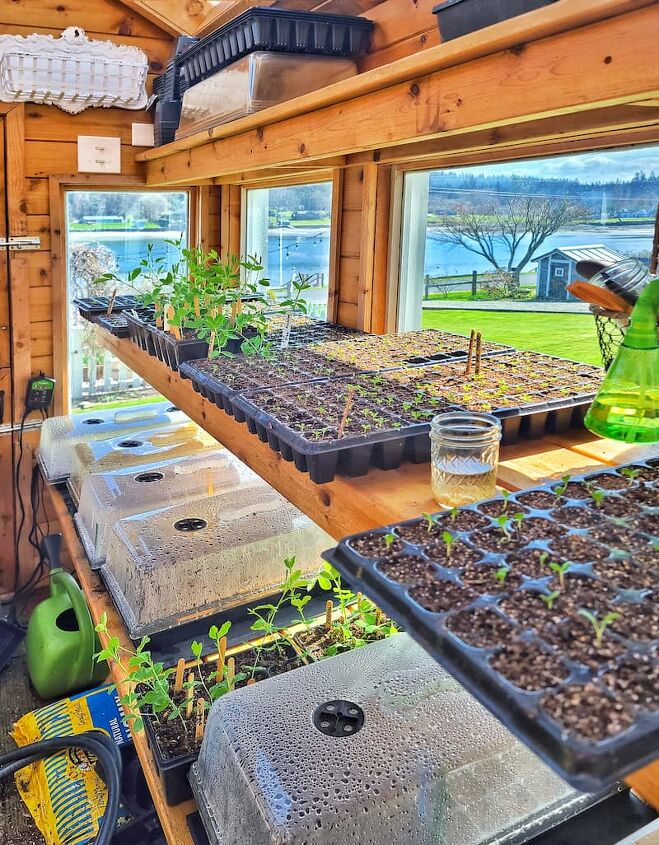
Step 7 – Pick the Right Location
Keep in a light and bright space such as a greenhouse or sunroom. If you don’t have that option, keep the seedlings under a grow light.
Step 8 – Continue Watering
Continue to check the soil moistness every 2-3 days. Bottom water again as needed.
Once the Zinnia Seeds Have Germinated
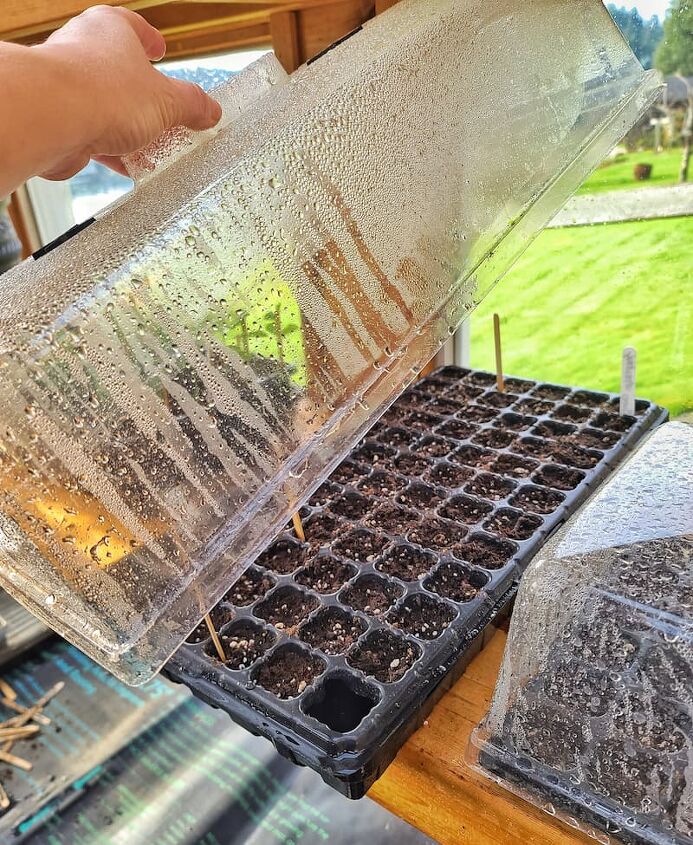
Step 1 – Remove Heat Mat and Uncover the Container
Check the container daily. Once the seeds have germinated and the sprouts are visible, remove the clear dome lid and remove the seedlings from the heated mat.
Step 2 – Continue to Water When Needed
Check the seedlings on a daily basis to make sure that the soil doesn’t dry out.
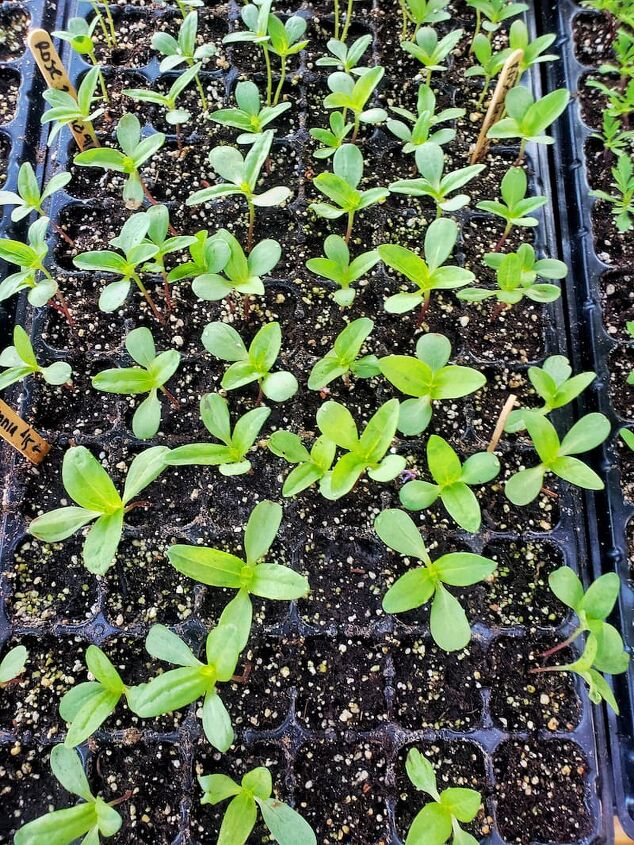
The very first leaves that appear on the plant are called cotyledons. Be sure to bottom water your seedlings until you see the first real leaves that appear after the cotyledons.
Once those second sets of leaves appear, water with a gentle spray from a watering can or hose when needed, usually every 1-2 days.
Step 3 – Transplant if Needed
If your seedlings start to outgrow their containers before they’re ready to be planted outdoors, you’ll need to transplant them into a larger container while still growing inside. It’s important to give the roots more room to grow.
Step 4 – Hardening Off the Zinnia Seeds
After all danger of frost has passed, you can begin “hardening off” your plants before transplanting them into the garden.
Don’t skip this process! Your plants will go into shock by the sudden change in temperature.
Set the containers in a sheltered spot outdoors, increasing the amount of time they spend outside each day, over the course of a week or two. I usually start with 2-3 hours the first day.
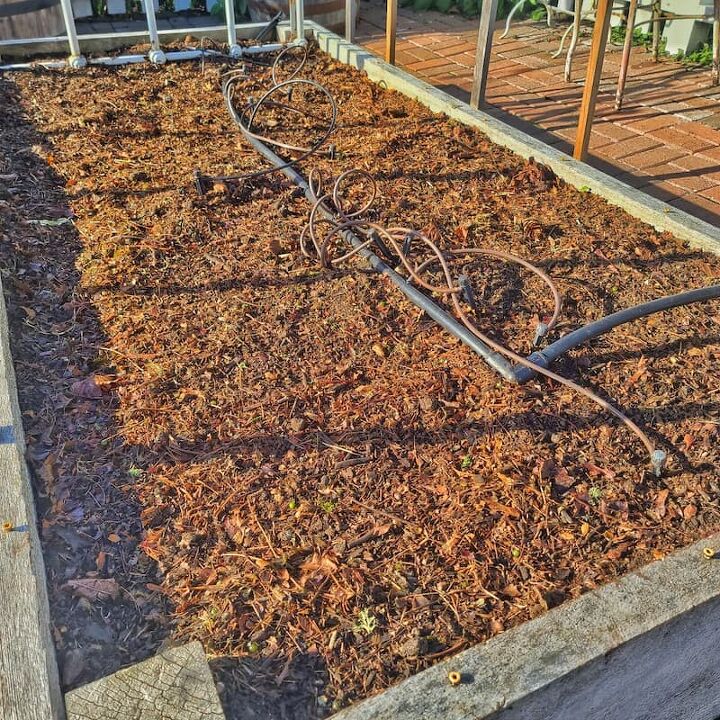
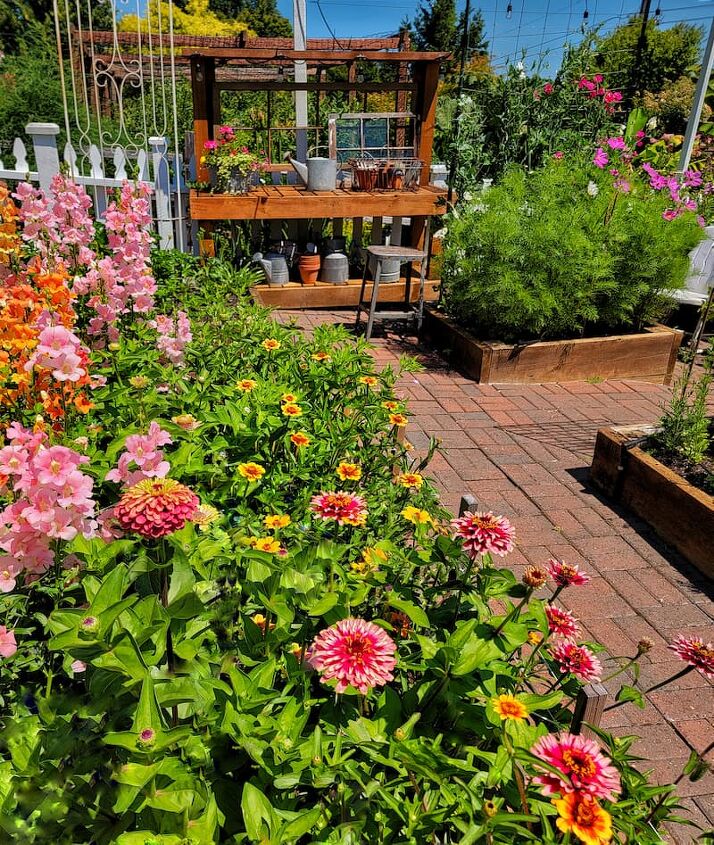
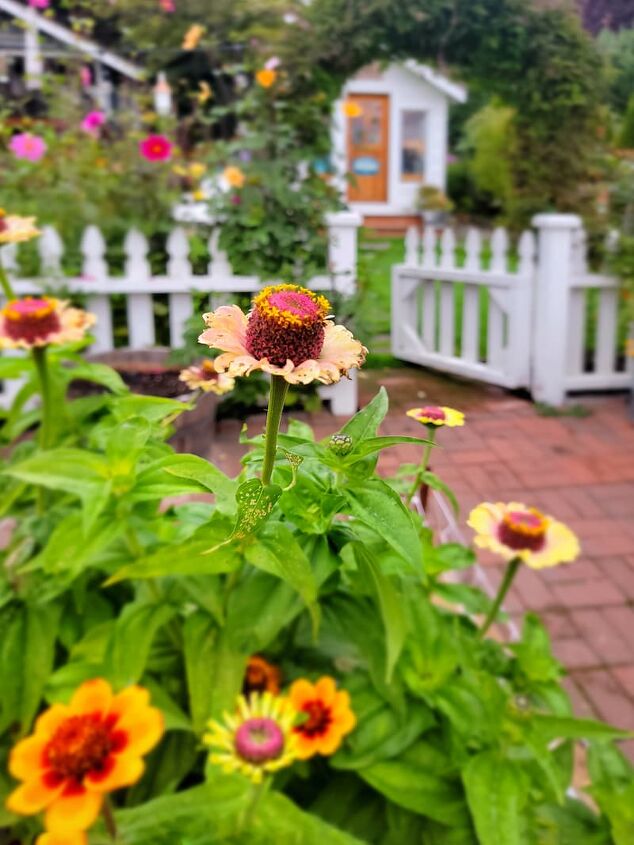
Preparing the Garden Beds
Zinnias love heat and full sun so plan for a location that will need their needs.
Good air circulation will help to prevent pests and diseases such as powdery mildew.
These plants can be adaptable to most soil conditions but will flourish with soil that has been amended by compost and should be well-drained.
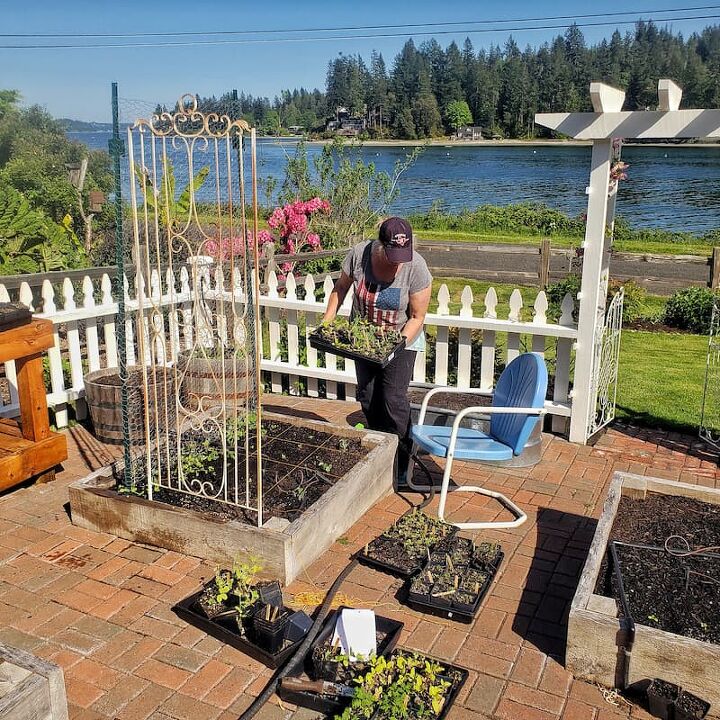
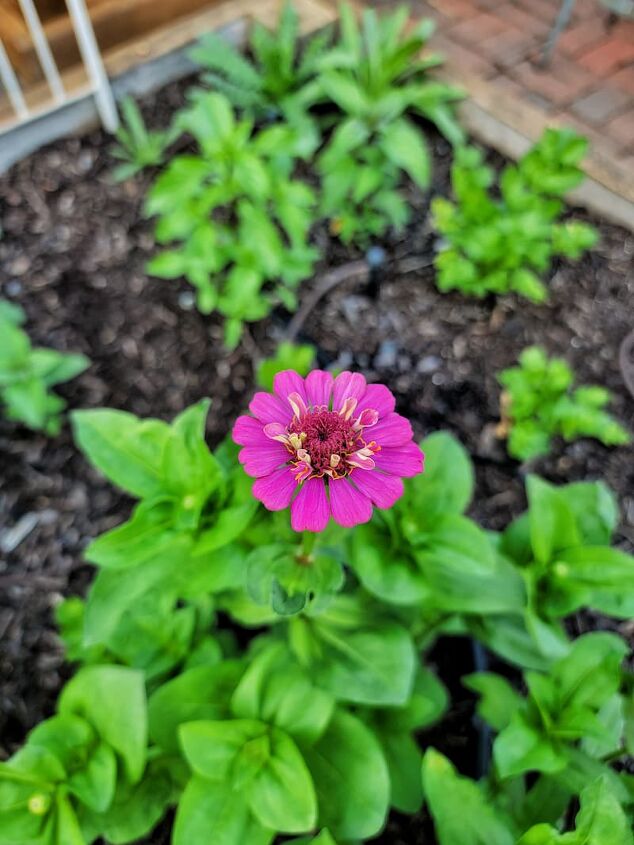
Transplanting Zinnia Seedlings to the Garden
Once the plants are acclimated to the extreme temperatures, transplant the seed starts to the garden once the threat of frost has passed.
It’s recommended to succession sow zinnias every 2-3 weeks in order to have non-stop blooming into fall.
Refer to the back of your seed packet for spacing directions. Zinnia plants get very bushy and need extra room to spread out, so space plants at least 9-12 inches apart.
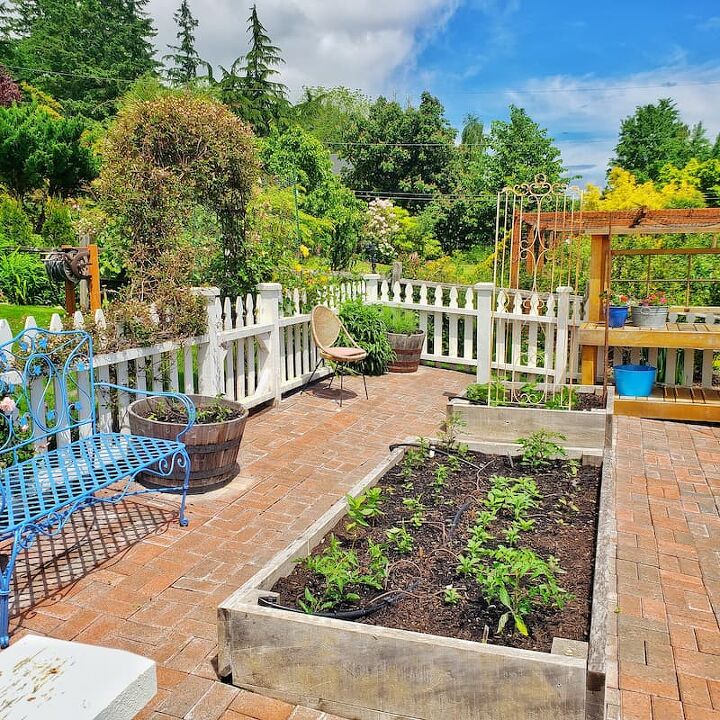
Caring for Zinnias
Support Plants Early
Once in the ground, the zinnias will grow quickly, so be sure to stake them early, while they are still young.
I use both the corral method and netting to support my zinnias.
As the plants grow taller, add another layer of twine or raise the netting to keep the wind and hard rains from damaging the zinnias.
Watering
Create a plan to make sure your zinnias will be watered regularly in the garden. I set up soaker hoses in the raised beds as soon as they’ve been transplanted to their new home in the garden.
Pinching Zinnia Plants
To get the longest stems possible you will need to pinch them when they’re young.
Once the zinnia plants are 12 inches tall and have at least 3 sets of leaves on each stalk, snip 3-4 inches off the top of the plant, just above the leaf joint with sharp pruners. This signals the plant to send up multiple stems from below where the cut was made.
Pinching benefits plants for many reasons…
- Encourages the plant to actively branch from the base
- Promotes higher flower production
- Produces longer stems
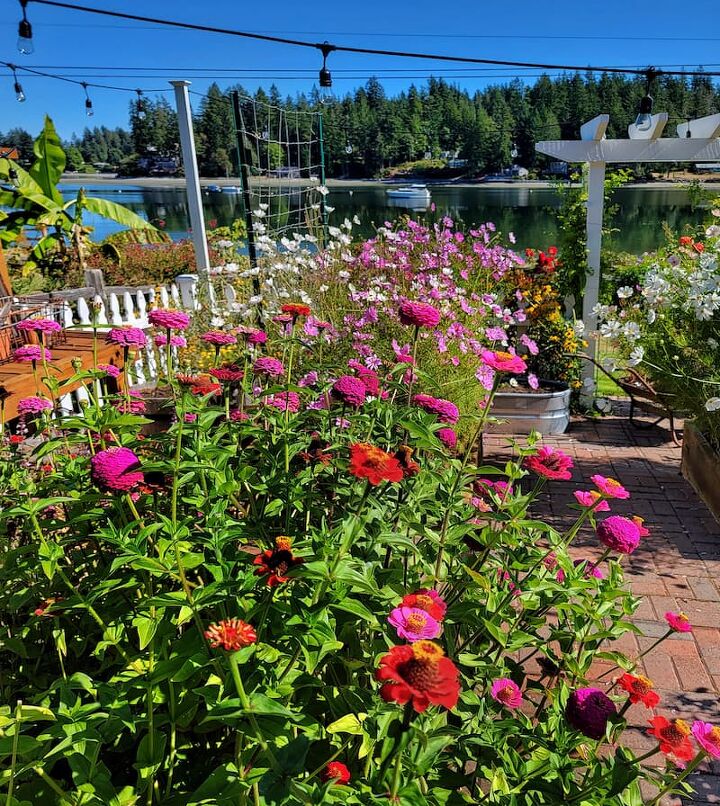
Prolonging Zinnia Blooms in the Garden
If you are not regularly harvesting your zinnias, be sure to deadhead any spent blooms to help focus the plant’s energy into producing new flowers and not going to seed.
Deadheading is the process of trimming back the old flowers which encourage new growth.

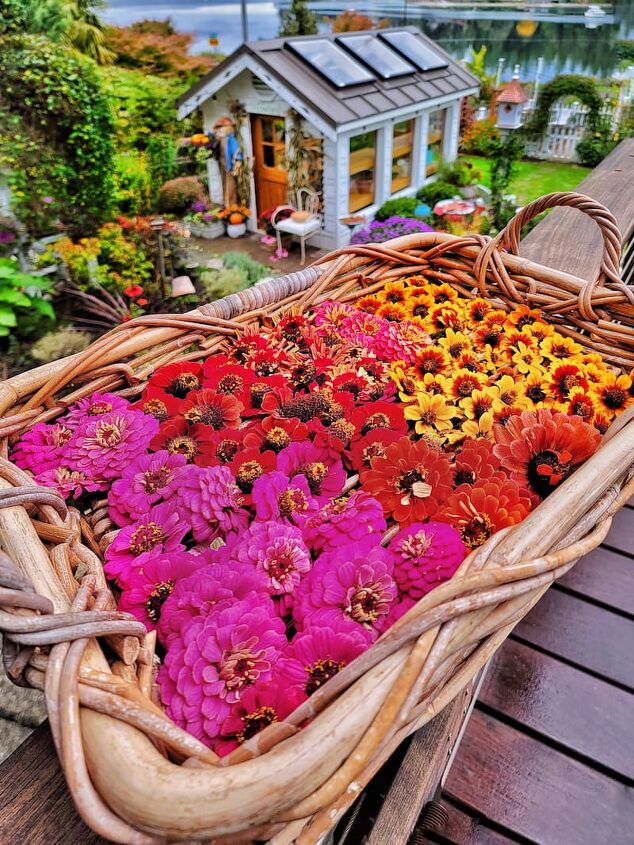
Harvesting
Zinnias need to be picked when they are fully ripe, otherwise, they won’t last in the vase.
Grab the stem about 8 inches below the flower head and gently shake it.
- If the stem is droopy or bends, it is not ready to cut.
- If the stem is stiff and remains erect, it is ready to harvest.
Zinnias are considered a “dirty flower”. Adding a drop or two of bleach in their water can help though. They are very cold-sensitive so it’s important not to put them in a cooler.
Blooms should last about 7-10 days in a vase if flower preservatives are added.
The Most Common Mistakes Made
Here are some of the most common mistakes made when growing zinnias.
- Forgetting to add support at the time of planting outdoors
- Planting too close together which can create powdery mildew and crowding, which reduces the plant’s flower production.
- Not pinching the plants after they’ve reached 12 inches in height.
Zinnias are annuals and will die with the first hard frost of fall. If you want them to reseed, let the last flowers of the season mature fully and scatter their seeds.
I would love for you to stop by my blog SHIPLAP AND SHELLS for the full post as well as other gardening tips, tricks, and tours.
Until next time,
Happy Gardening!

Comments
Join the conversation
-
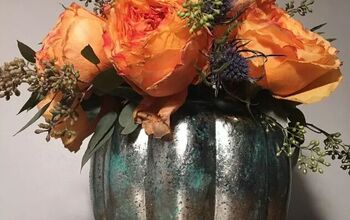
Love zinnias! Such an easy way to fill your house with color. And your friends love you when you give them a surprise vase full!


Frequently asked questions
Have a question about this project?