


Trimming Hedges DIY Style

by
DeeDee
We are focusing on the outside of our house this year. Main focus, we need to be able to get to the "painted parts" of the house so we can hopefully get that painted soon!
A little back story, when we moved in four years ago the hedges around our house were already way out of hand. We had to use a ladder to give them a trim each season. That is NOT safe when using the electric hedge trimmers.....just our opinion! None the less, we've been using the ladder until this year!
A little back story, when we moved in four years ago the hedges around our house were already way out of hand. We had to use a ladder to give them a trim each season. That is NOT safe when using the electric hedge trimmers.....just our opinion! None the less, we've been using the ladder until this year!
A lot of the hedges had dead limbs in them and a few of them even died all together, that's why you see the blank spots in the hedge line. We are not hedge experts nor do we even know what kind of hedges these are, but we took a chance on cutting them back in hopes of not having to pull them up and start all over.
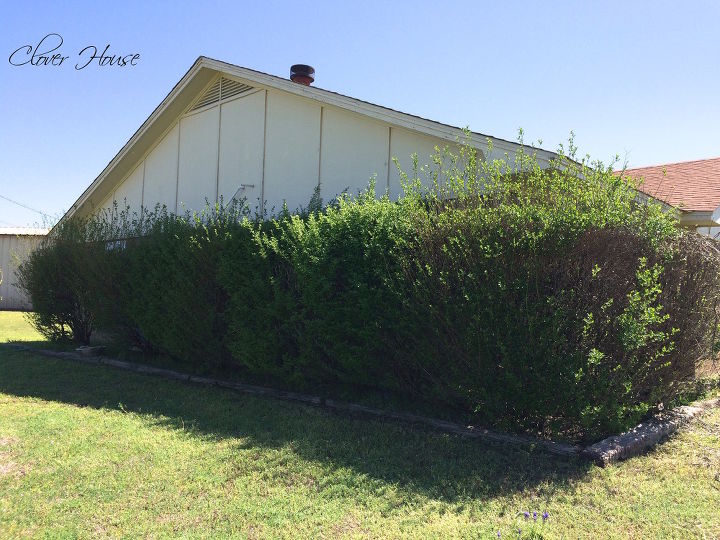
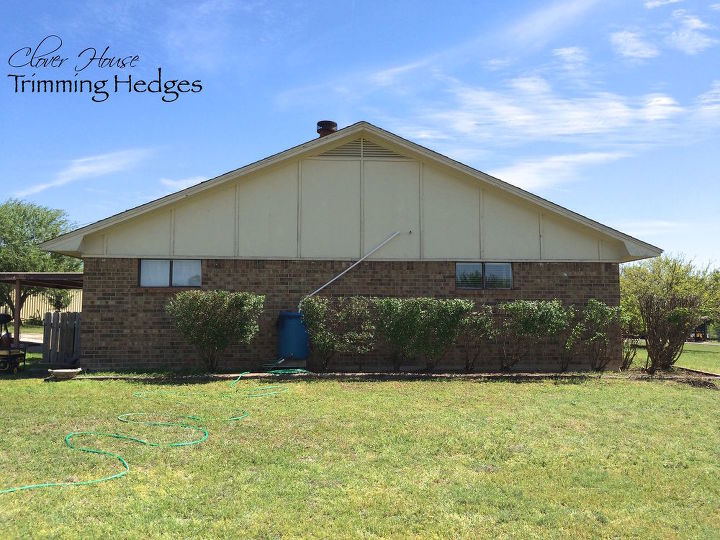
So, this is how they looked before we started. Um yeah, a little out of hand....don't ya think!! To the roof top on the low side for sure! Not at all good for the painting process we need to happen.
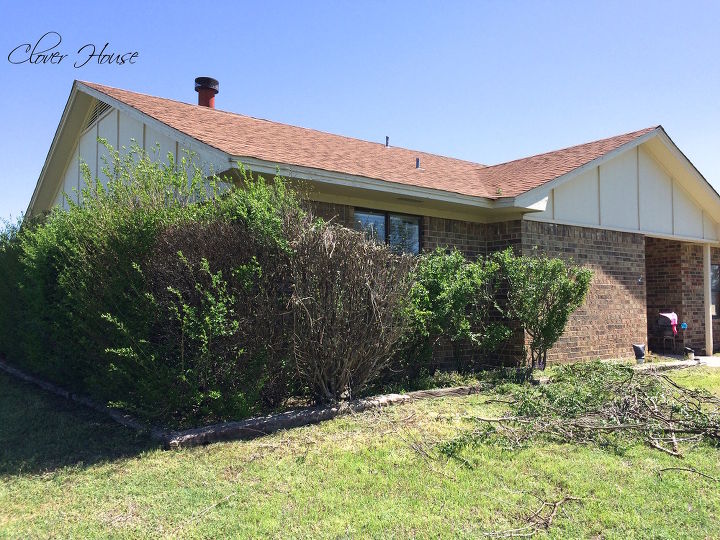
We started in the front of the house and worked our way around to the side. Let me tell you, this is a lot of work. First, we tried to trim out all of the dead stuff and then we worked on lowering the tops to a manageable height so in the future they can be trimmed from the ground and we would not have to use a ladder to reach the tops.
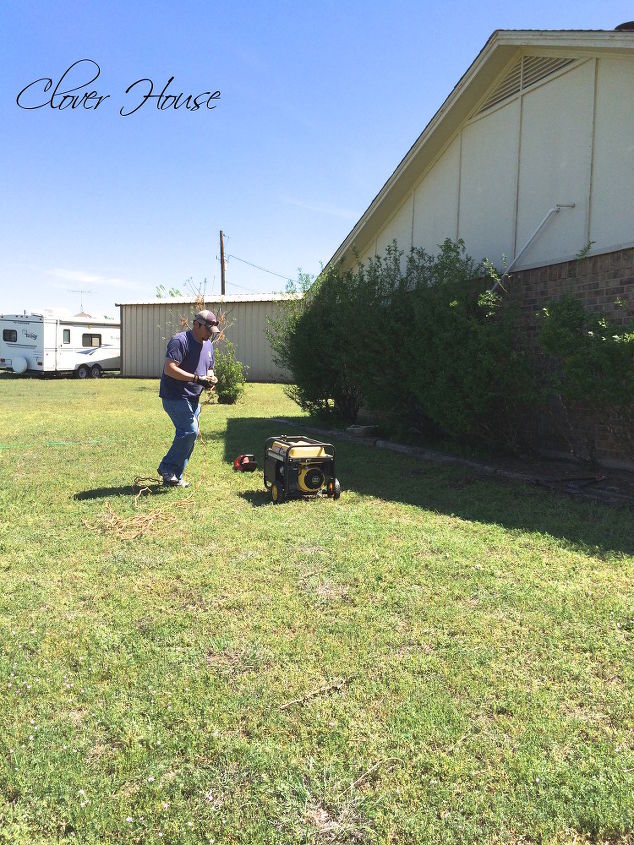
My honey didnt want to get out the really long, heavy electric cord to use the electric hedge trimmer, so he just grabbed our little generator we use for the camper. Worked perfect! Just wanted to share that in case someone who has a large property needed to use something electric way out and about!
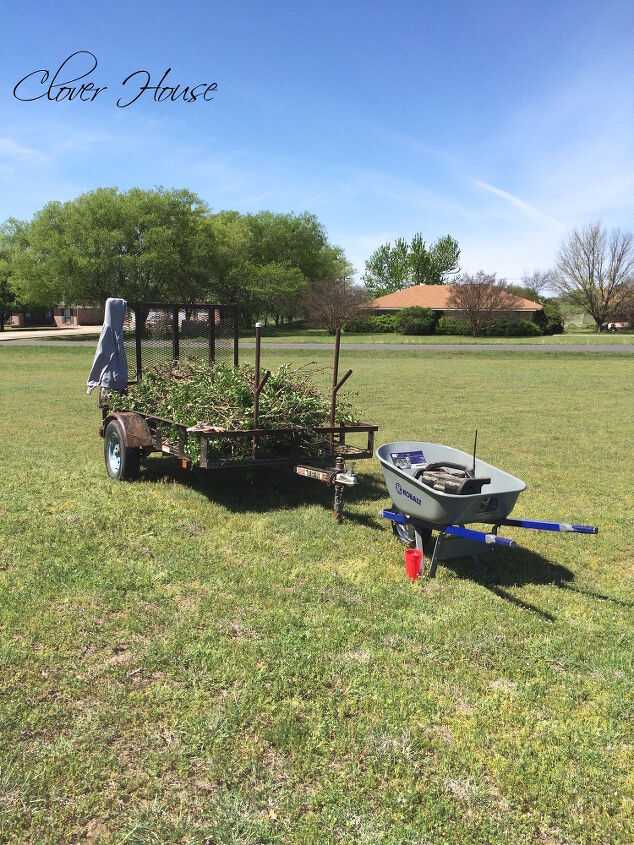
Here we have the little trailer filling up with the cuttings from the hedges. By the time were were done, we had made three trips to dump the trailer, it was a small trailer, but at least we had one or it could have been worse!
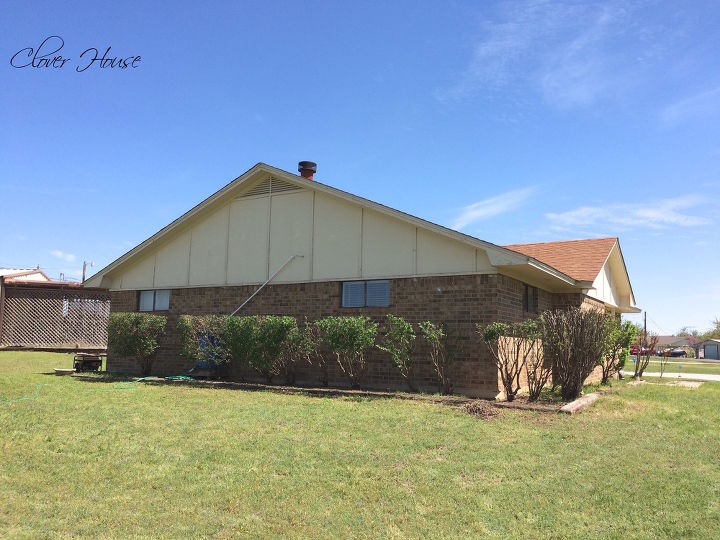
Oh look!! We have windows!! LOL! Our bedroom is much brighter now. I love it! Some of the hedges look really sad and thin, but two weeks later, they are still alive and sprouting new leaves every day. We are hoping the remaining hedges will make it.
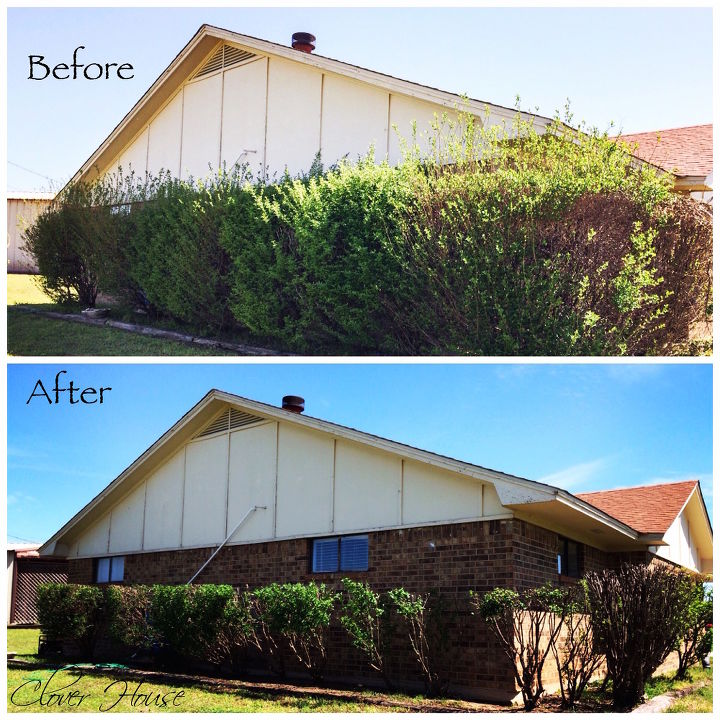
And just to remind you, here's a before and after. Even though they look a little thin in spots, they certainly look much better than they did to start with AND we can manage them better now. No more ladders and danger to worry about! YAY!
Want more details about this and other DIY projects? Check out my blog post!
Comments
Join the conversation
2 comments
-
@Clover House, DeeDee they may look thinner, but they will be healthier and grow much better too! We have a cheyenne privet hedge and it needs lots of trimming but come back healthier every time. We also add bone meal a couple of times a year which they thrive on. We keep ours tall for privacy from our neighbours but they are not next to the house.


Frequently asked questions
Have a question about this project?