


How I Gave an Old Dressing Table a New Lease of Life.

by
Jess Taylor
6 Materials
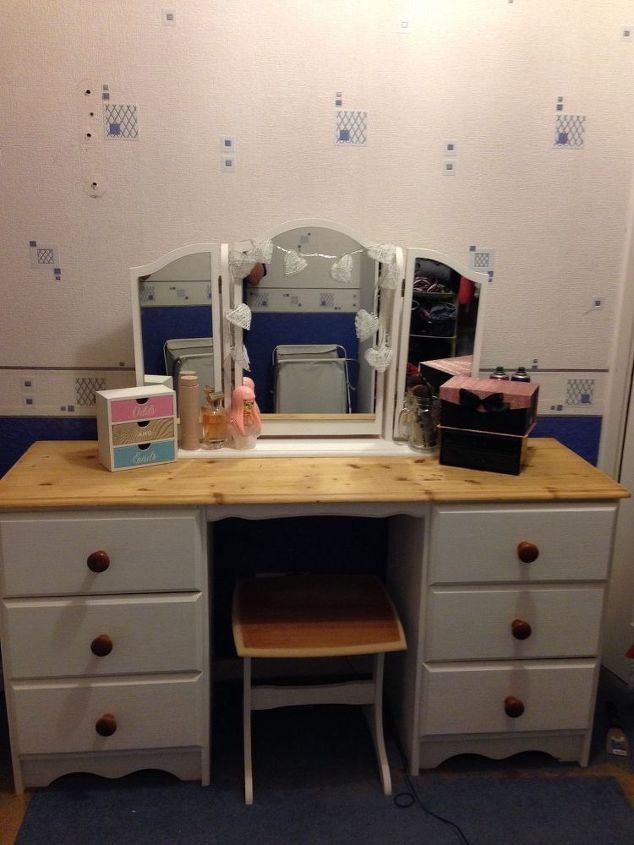
Hi I'm Jess, I was scrolling through my newsfeed and this dressing table popped up on one of the selling groups in my area. The person wasn't actually selling it; they were giving it away! When I went to collect the table later that evening I was told if I didn't have come to collect it, it was actually going to the tip. How could any one throw this away. There isn't much to upcycling however I'll share how my little project went.
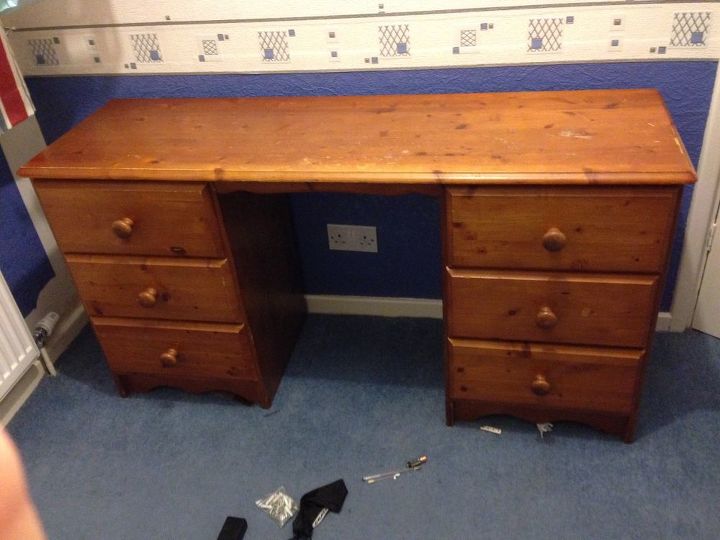
The first thing I did was get the heavy thing up the stairs.
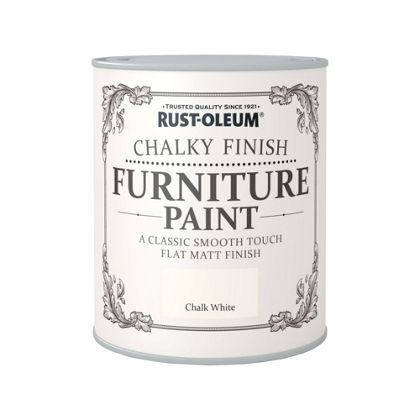
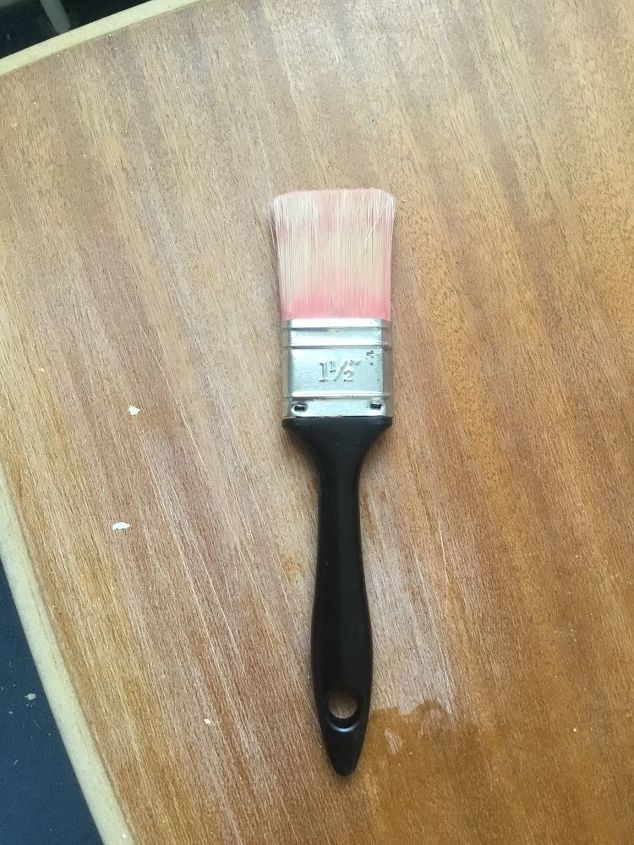
The next day I went to a local store called Boyes and purchased a tin of Rustoleum chalk paint, some cheap decorating brushes and some grade 140, 100 and 80 sandpaper as I was unsure which grade I would need.
You should be able to purchase any of these at any hardware store.
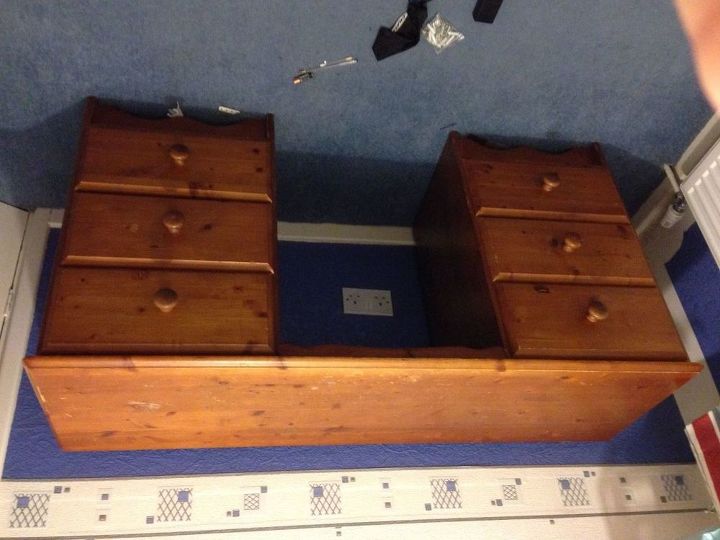
Once home, I turned the table upside down (I have no image of it upside down so I flipped the image). I started to use the 140 grade paper and sand gently as didn't want to damage the table as this was my first upcycle. I soon realised I would need a lot more elbow grease and to use the 80 grade paper if I wanted to ever get the table finished. Once I started using the 80 grade paper the varnished/waxed layer soon came off and I realised the 140 grade paper would be of no more use.
Once the legs/ sides were sanded I used the 100 grade paper with much less pressure just to make it have a better even finish before painting.
I finished sanding but it was covered in dust, I grabbed an old cloth, wet it so it was damp and wiped the whole sides and
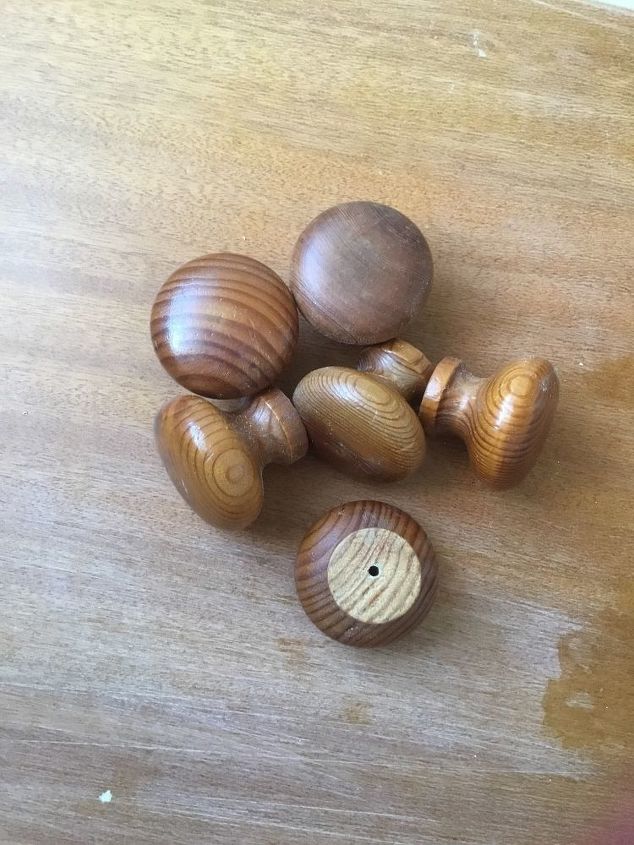
I then moved on to the draws, the knobs needed to come off so I could sand the fronts easily. They were held on with screws so I raked through my husband's tool box and found one of his screwdrivers.
Once the door knobs we're off I sanded the draws in the same way as the sides with 80 grade paper until the varnish/wax layer had come off and then again with the 100 grade paper with much lighter force.
I grabbed an old cloth and wet it until it was damp. I then wiped all the dust off the sides and draw fronts (there was a lot of dust). Let it dry and finally opened the paint tin.
I started to paint the whole bottom/sides and draws of the table. The paint was quite a thick paint and covered quite well. I let it dry for around 2-4 hours and then repeated the process. It only needed the 2 coats. Once the second coat had dried I turned the table back the correct way up, popped the knobs back on the draw fronts (I thought it'd be too tricky painting the knobs so left them to a side) and put the draws back in the table.
It was now time to tackle sanding the top. As I sanded the top the lovely natural colouring come through and I thought it looked lovely and complemented the white painted bottom. So instead of painting and ruining the top I decided to just sand it down in the same process as the draw fronts and sides and leave it natural!
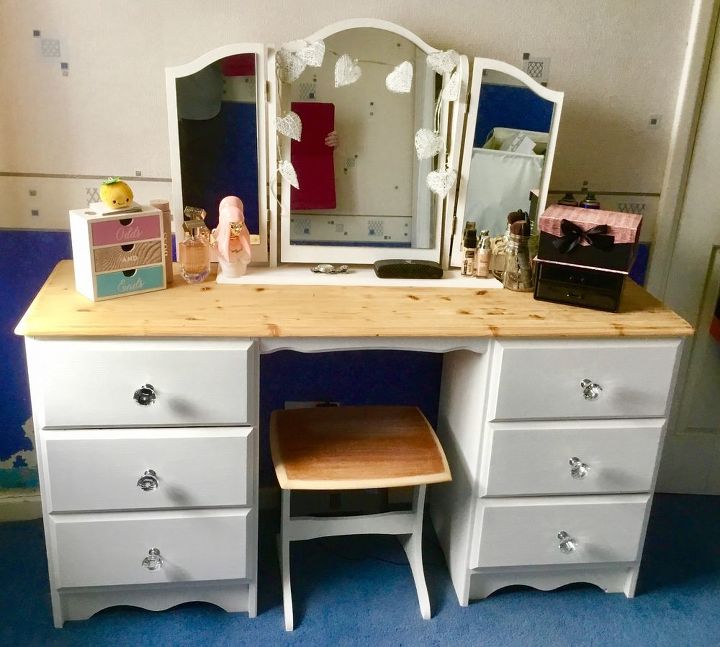
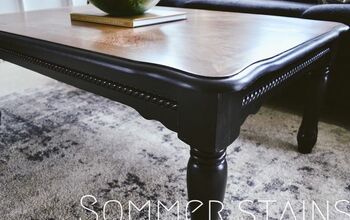
I didn't like the original doorknobs so I went and bought some crystal looking knobs and changed them over. This is the end finish and I'm very happy with it, I've never upcycled anything before so I hope you all like it.
Comments
Join the conversation
3 of 9 comments
-
Wow!! absolutely beautiful job! I can't believe someone wanted to get rid of it!!
-
Wonderful! I'm glad you saved it!


Frequently asked questions
Have a question about this project?