


Ugly Desk Makeover in a Few Hours With 'quick Veneer' and Spray Paint

Updating a desk that did not go well with my bedroom. Here's how I tied it in to my headboard. I basically sliced 2x2 lumber longways to create a simple veneer that was easy to handle and stain.
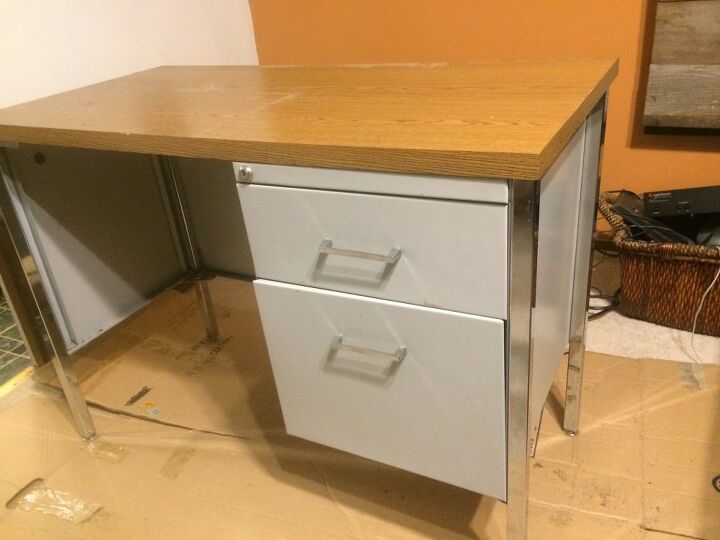
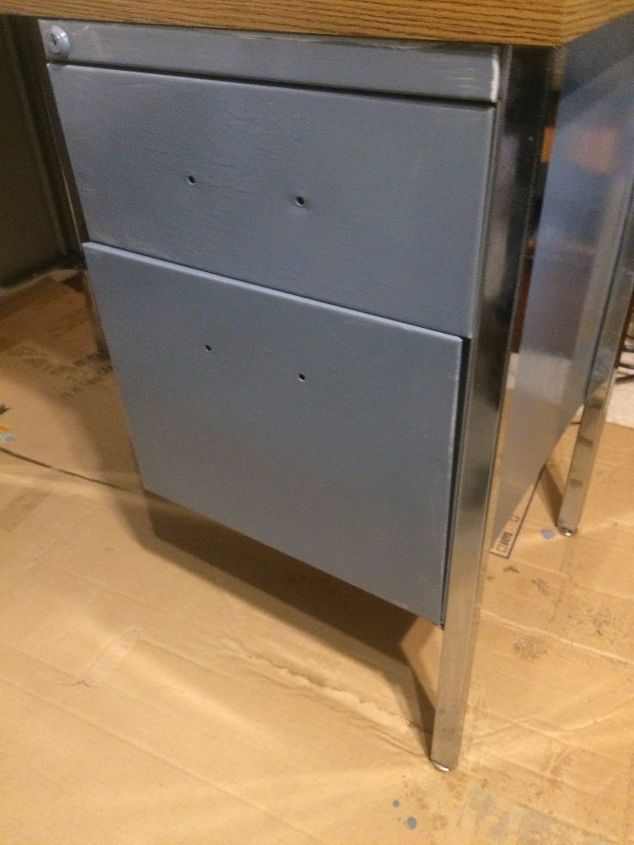
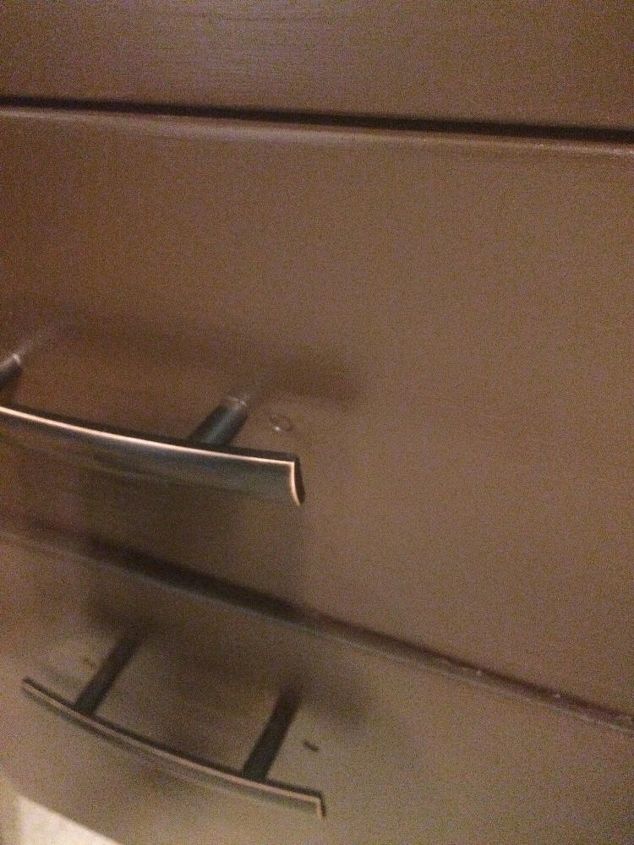
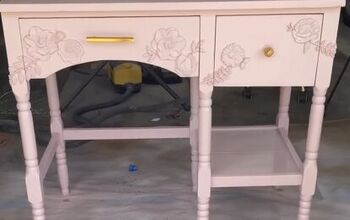
Ugly old desk from the basement at my hold house. It did not belong in my bedroom looking like this, so.....
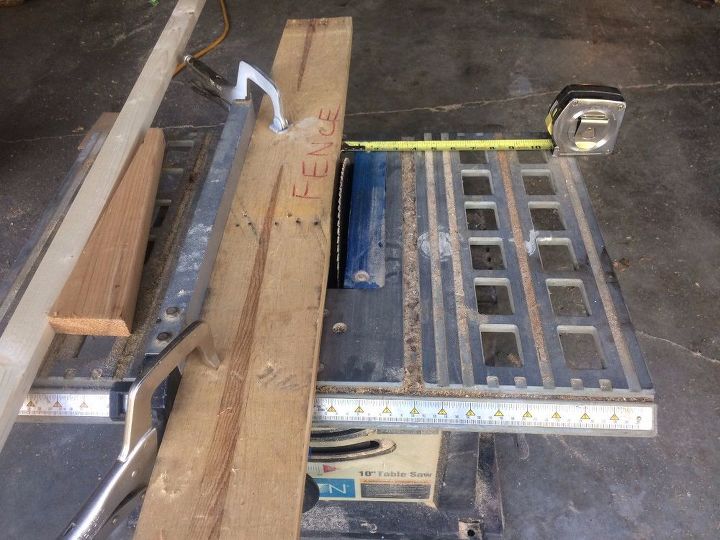
I set up my table saw for ~ 1/4" thickness. I use a separate board for a "FENCE" so I have a longer surface to guide against. Measure from the fence to the far side of the saw both front and back: "Measure twice cut once" as the adage goes. Yes it takes longer with the vise grips etc, but it's much more accurate ( I learned this from a guitar builder I once worked for). The odd wedge on the left is my push stick, so my hands don't have to get near the blade.
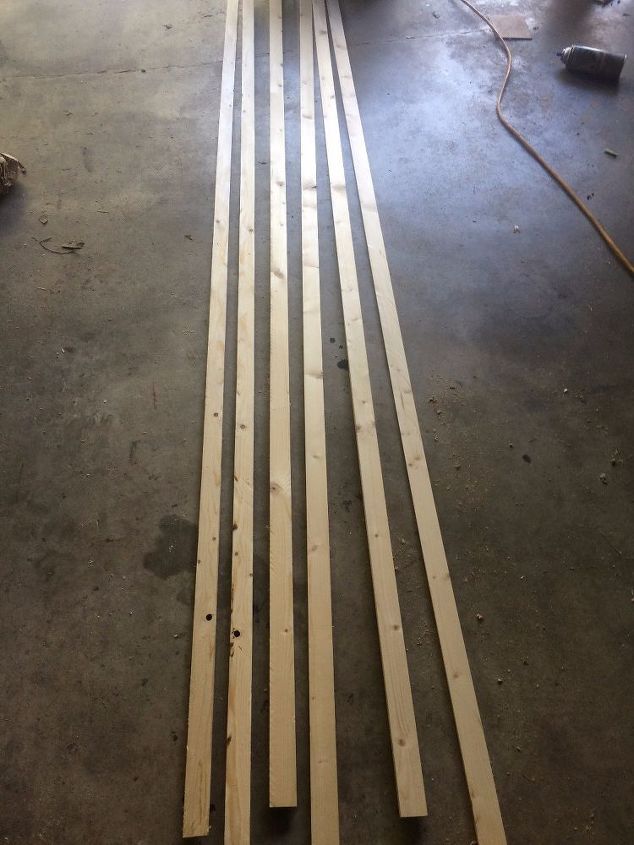
I cut up a couple of 2x2s from the lumber yard into 1/4" strips for wood trim to hide/cover the chrome legs on the desk
I measured the front of the chrome legs and added 1/4" for the front cover to mate with the side covers
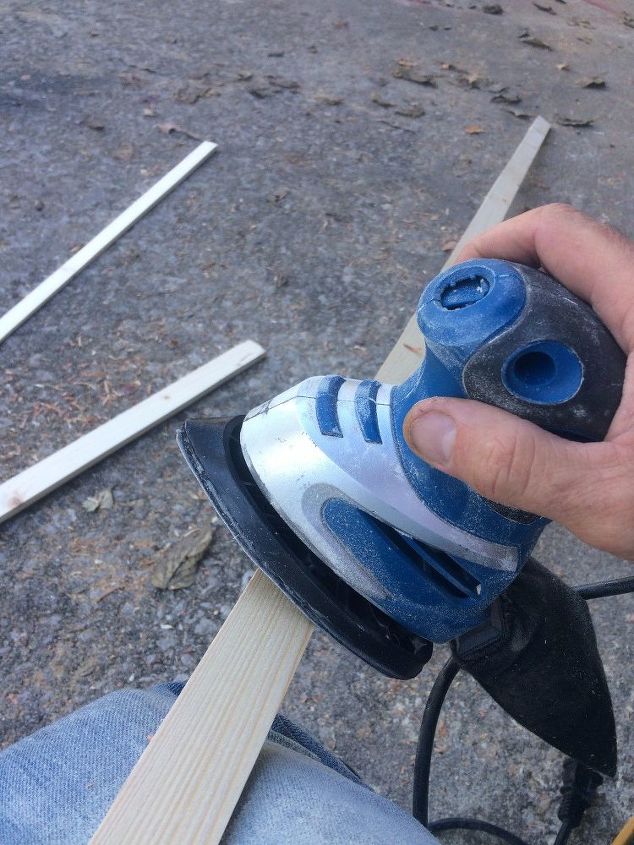
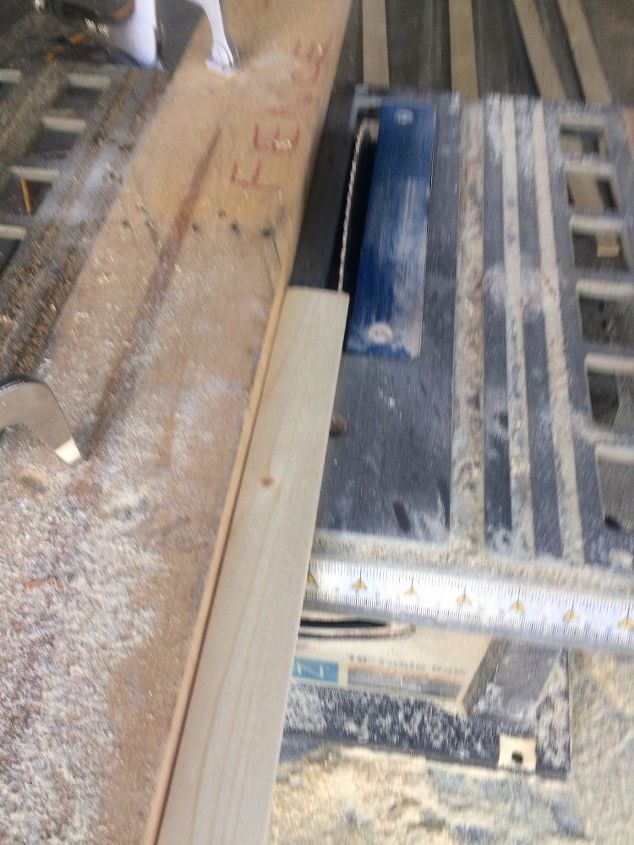
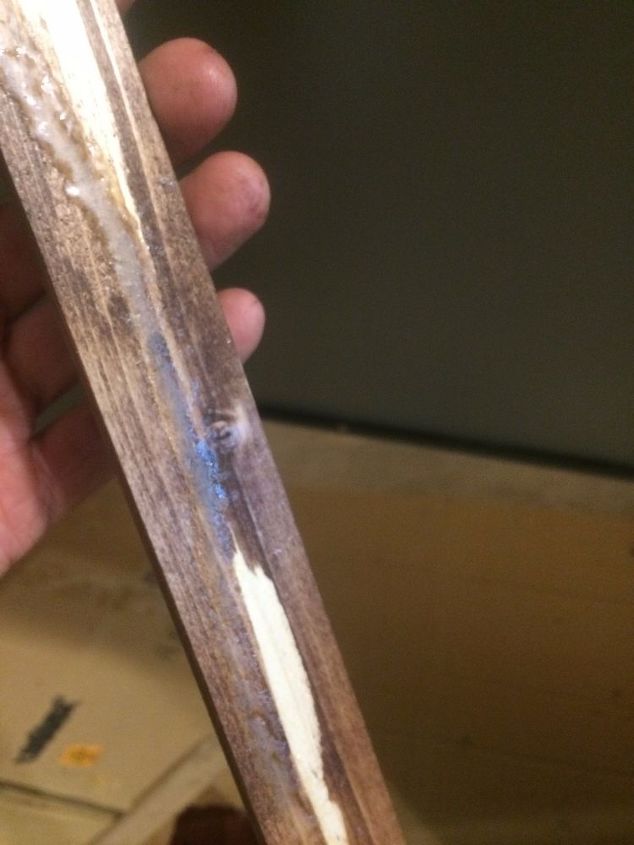
I sanded the saw marks out of the wood, but didn't go to too much trouble, I wanted it to blend with my headboard (see my other projects). Just enough sanding to hide the big marks, and rounded the corners to avoid splintering.
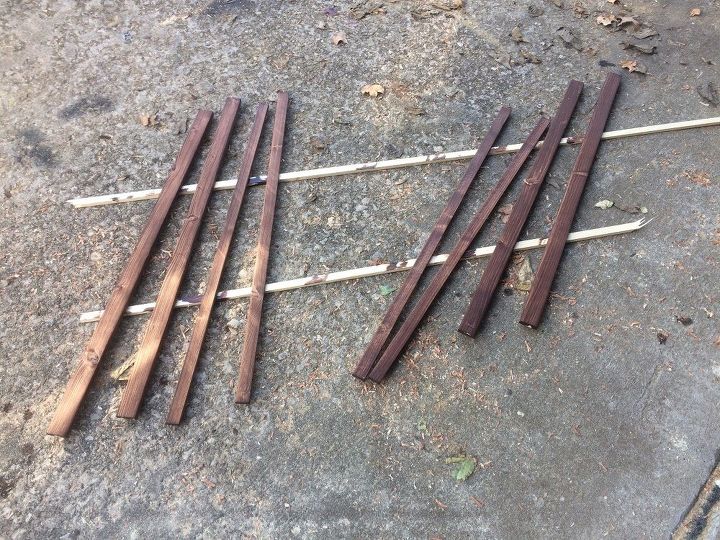
I measured the chrome legs, and then cut the strips to match and stained. I skipped the clearcoat/varnish this time, again to match the headboard.
Quick FYI I didn't actually buy more stain for this project. The $8 can I bought for my headboard was over 3/4 full so I already had it, and knew it would match as well. Same with the spray glue. If you're going to get into DIY, look around at what you already have :)
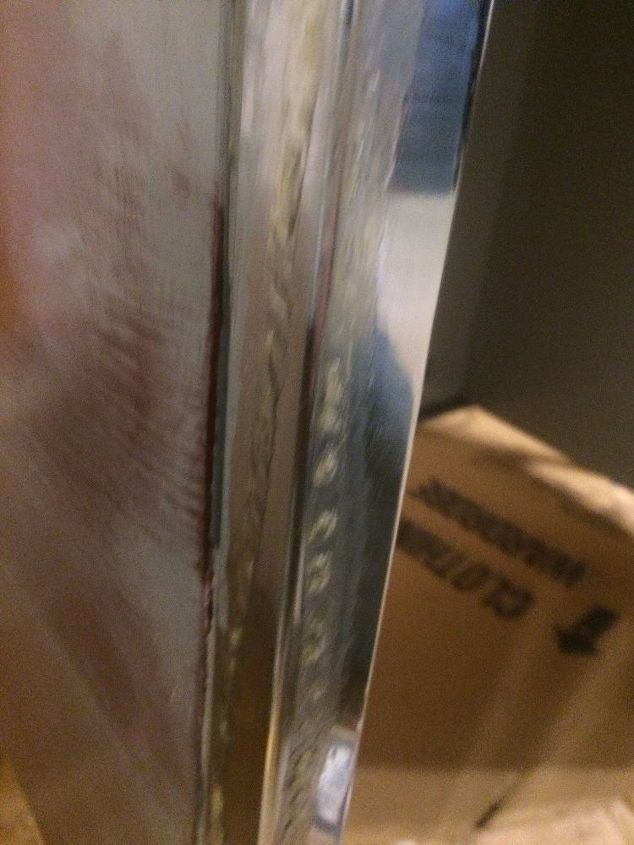
Here's the chrome leg ready to get it's front side covered. In hind sight I should have painted the desk before attaching the coverings
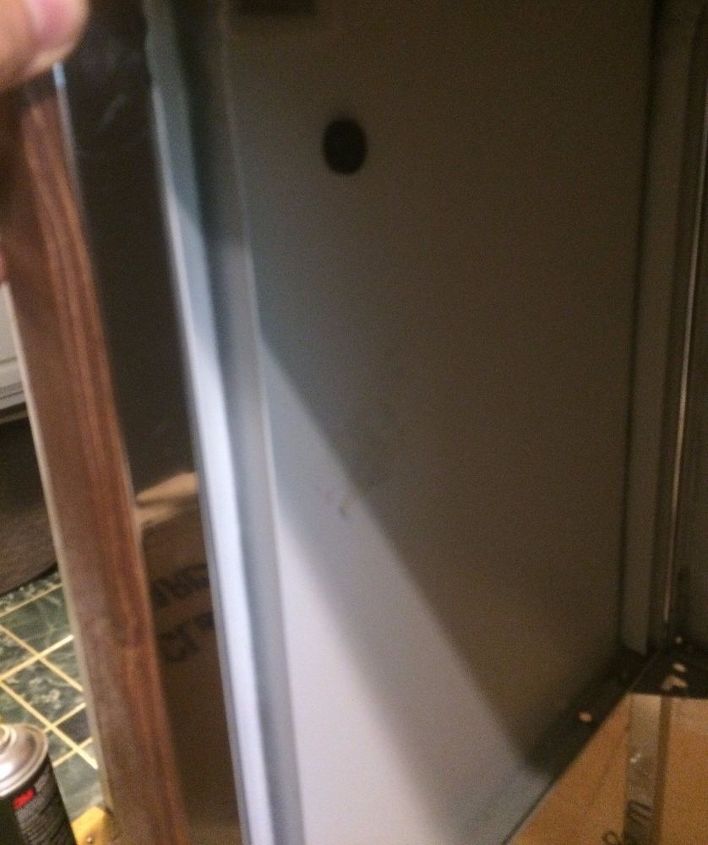
Here's a covering test fitted against a chrome leg.
Here's glue down the front and side of a chrome leg. (ignore the paint experiment on the gray). I'll bet silicone caulk etc would work too.
spray glue on the back side of the cover. Let each stand in open air for at least one minute, five minutes doesn't hurt. This helps the glue tack up. Carefully place the wood onto the metal surface, you won't get much time to correct it.
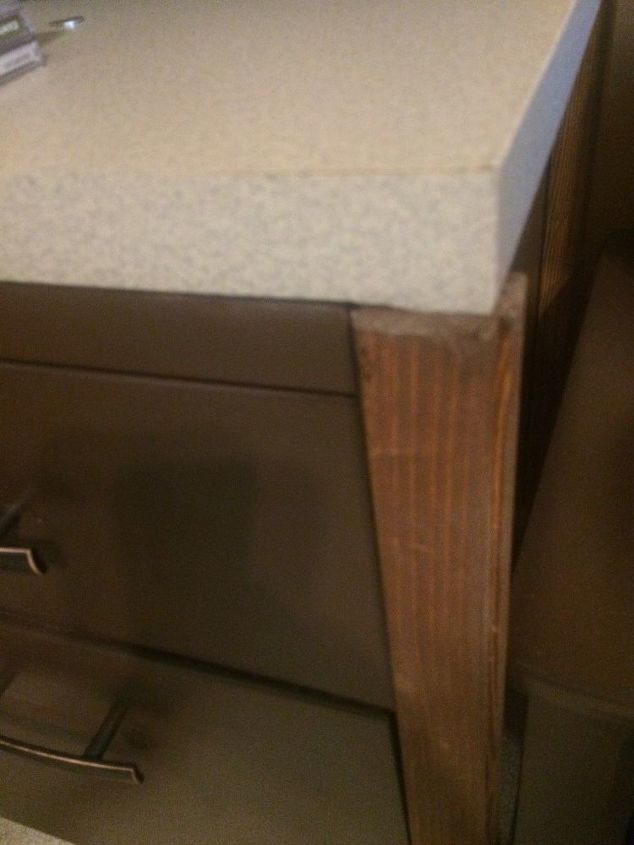
Here are the wood pieces glued to the chrome legs. I have the narrow one on the side, and the wider one on the front to hide the seam. I didn't bother with the 'back' of the legs, I simply scuffed it and spray painted.
(Sorry these later pics are out of order, there was an unpleasant issue with some unmatching paint and I got behind on my pics while finishing up)
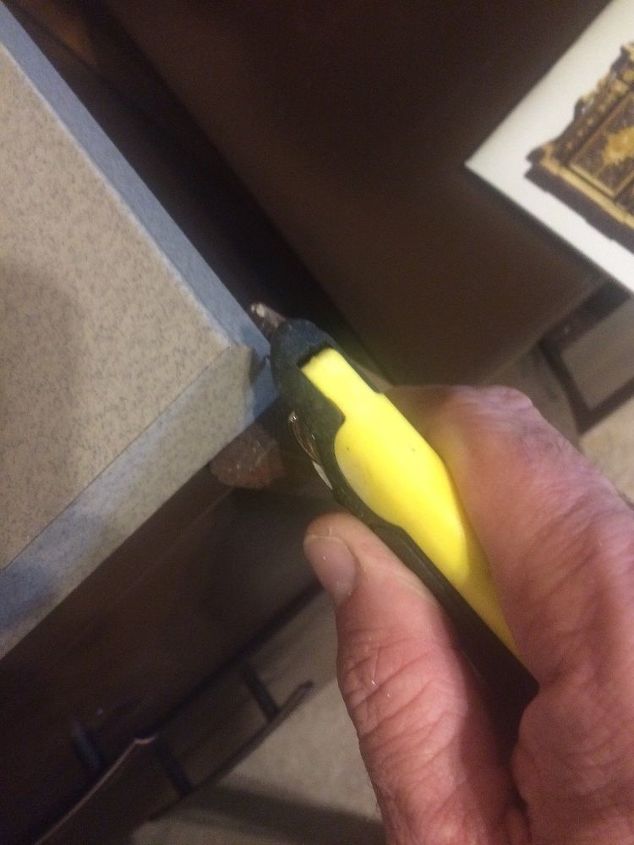
Here I am trimming the top of the desk with stone look contact paper. The paper was 24" wide and so was the desk top, so I went left side to right side and eliminated two seams. I then covered the front and back with what was left.
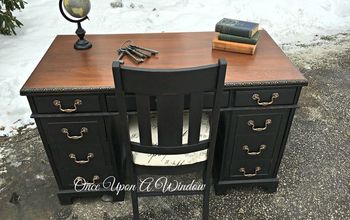
I wanted new copper hardware to go with the Kona brown Rustoleum. It was a different width than the old hardware so the holes didn't line up. I drilled these holes before paint (again sorry for the lack of images). I put masking tape on the back side of the old holes. Once it was painted they can hardly be seen!
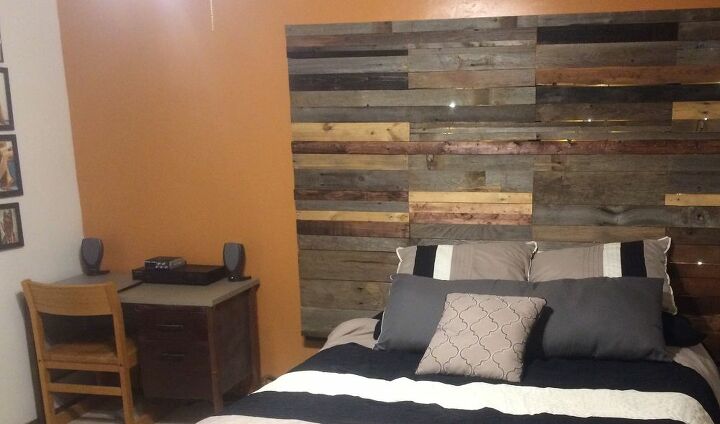
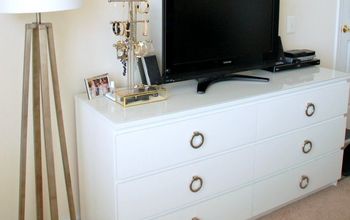
Here's the completed desk alongside the headboard. The legs are stained with a color repeated in the headboard
Comments
Join the conversation
-
Wow! Love it! And you headboard is looking amazing!


Frequently asked questions
Have a question about this project?
Nice transformation! What type of glue did you use to attach the wood to the metal?