


A Kitchen Reno Can Really Be Easy On The Pocketbook
We are getting ready to retire, we want to sell our house and do some travelling. To get the house ready to sell and get the most value we know we have to do some updating and renovations. We decided to start with the hardest and most expensive room-the kitchen.
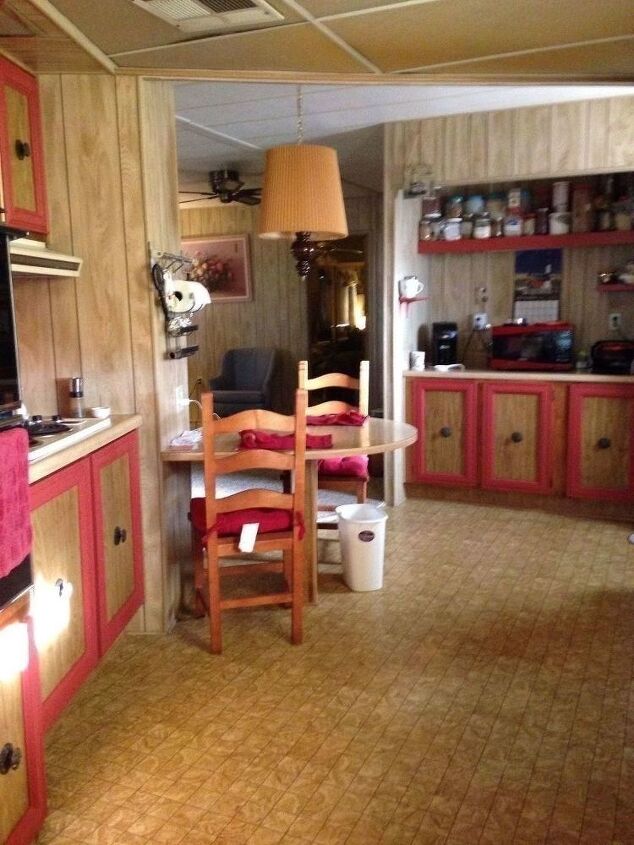
Nothing has been updated in this house since it was built in the '70's. I tried to paint and brighten it up a bit, but it just made it seem more dreary and sad.
When my husband said he was going to begin demo on the kitchen my mind became flooded with ideas. The wish list was long and now it is going to become a reality.
Knowing we must keep costs down and make cuts and concessions where we can we started making lists of what we thought we could get at building supply liquidation centers, DYI shops, Habitat ReStore, and other thrift stores. My husband and his buddy are doing all the work themselves. I am the documenter, photographer, designer and the suggestion maker. I will also do some cleaning, sanding, painting, and shelf lining.
The first thing I wanted was the cabinets to go to the ceiling. In order for that to happen the (some people call soffet) bulkhead above the cabinets had to come down. We got really lucky there was nothing inside the bulkheads (like electricity or vents) to prevent their removal.
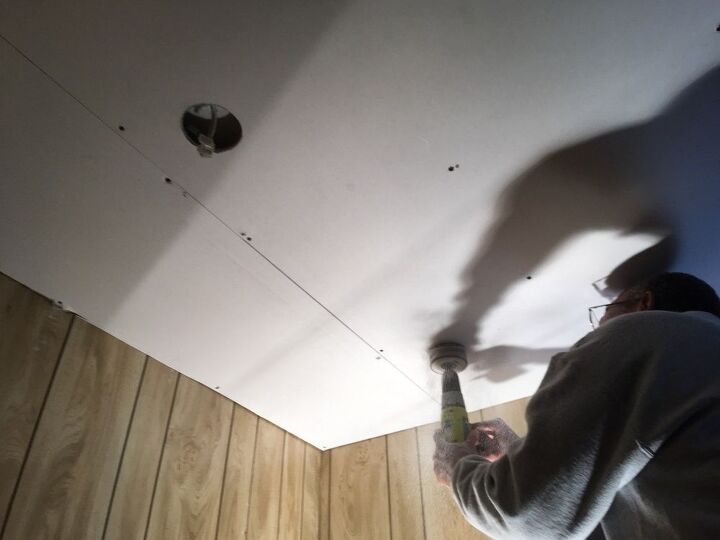
We had old fluorescent lighting that needed to come out. Which also meant a new ceiling and recessed lights. The recessed lights at the large home improvement stores were $28.00 each. We wanted 14 of them. We went to a kitchen and bath home improvement liquidation store and bought the same lights for $8.00 each. That was the first of our huge savings. They put the drywall up on the ceiling, marked where the lights will go and began drilling the holes for them. The drywall and finishing material all came from Home Depot. There wasn't much we could do in trying to save $$ when it came to those items.
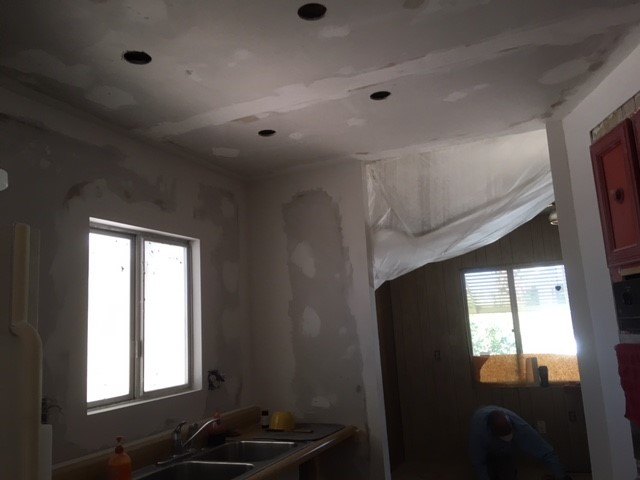
After the speckling we were able to put up a temporary support to hold the sink so we could have running water in the kitchen.
The speckling and sanding was incredibly dusty and seemed to take forever. To make it more difficult I was determined to have no texture on the walls, which meant more Speckle, sanding, dust and time.
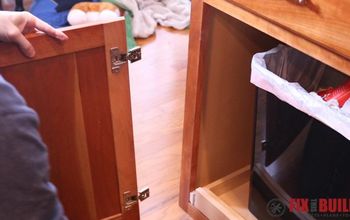
We found cabinets, at building supply liquidation or thrift stores, Offerup, and Habitat Restore. The cabinets will get new faces and be painted to look uniform. All of the cabinets bought came to $80.00. The wood for the doors, drawers and upper cabinets was free from someone on Freecycle.com, or people wanting to be rid of it. It just so happened that the stove top fit almost perfectly into this cabinet.
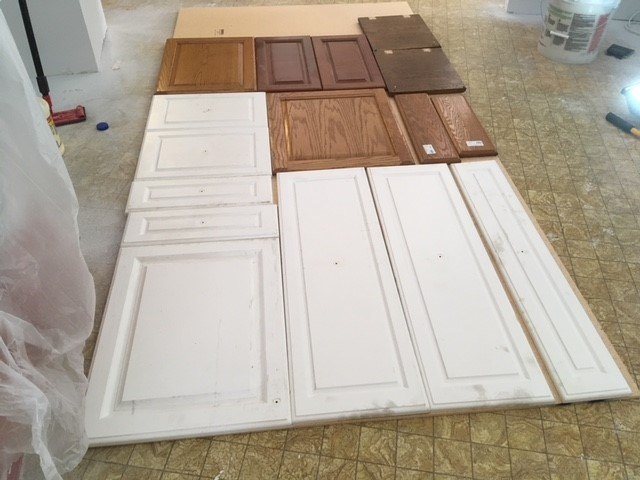
The used cabinet doors were laid on a piece of plywood and used as stencils to make the new cabinet doors. The wood for the doors and drawers was free from someone on Freecycle.com.
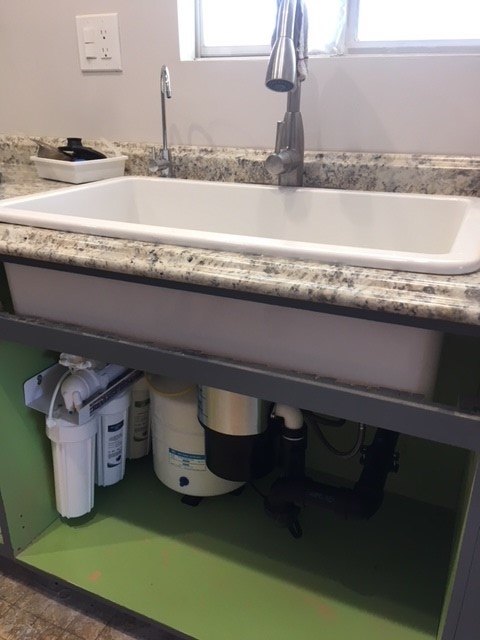
They were able to get the counter top, sink, RO System and the Insinkerator in over a weekend. The room is really coming together.
The sink and faucet was bought at a building supply liquidation store for $150.00. The RO system was bought on Amazon for $183.00.
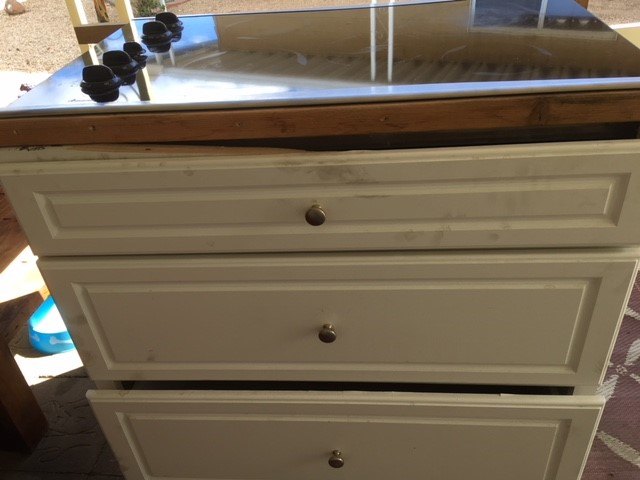
I wanted to create a bit of a surprise and fun in the kitchen. I chose to paint the inside of the cabinets and drawers a bright green. Each time we open a drawer or cabinet it will be kind of cheerful.
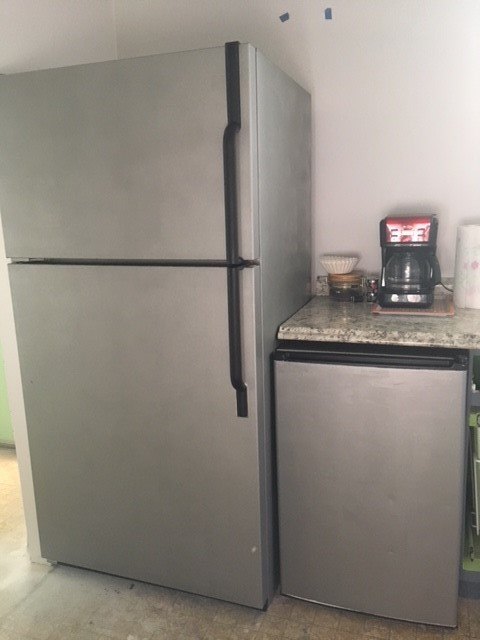
Given that the refrigerator and the small freezer still worked fine I didn't need to buy new. Instead I used not even 2 quarts of Rustoleum Stainless Steel Paint ($29.00) and Semi-Gloss (we should have used high gloss and still may) Sealant ($6.00) to protect the paint. I spray painted the handles black. It looks like I went out and bought new appliances! They look brand new!
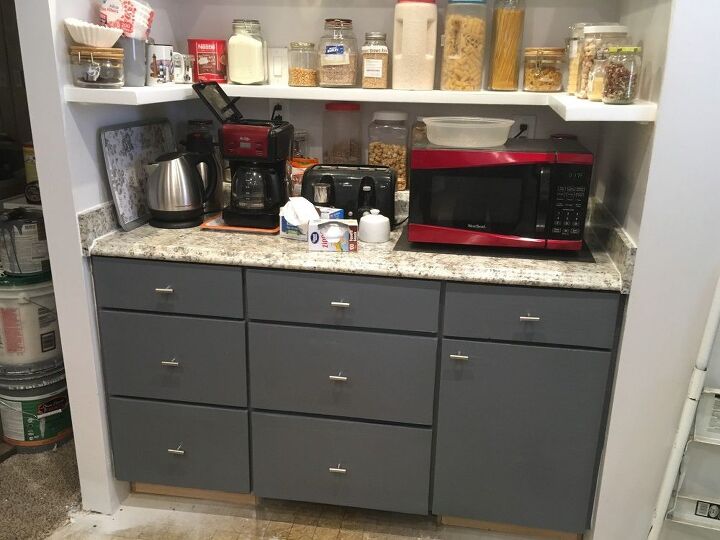
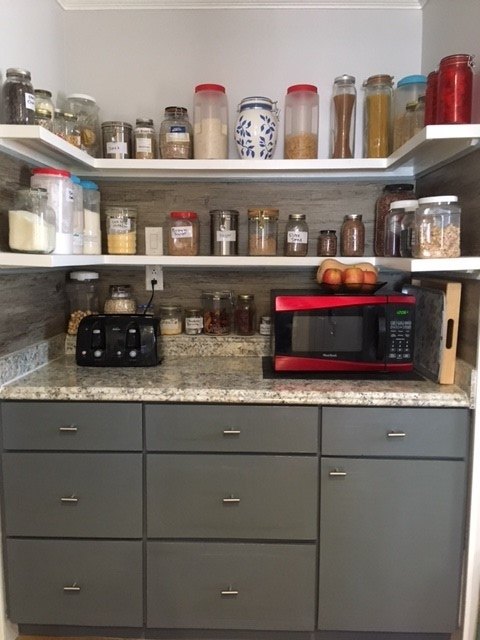
This I am calling my butlers pantry. There are actually three shelves for my dry goods above the counter. Where there was cabinets there are now deep drawers that pull all the way out. There is still a cabinet on the right with but now the shelf pulls out. No more getting on my hands and knees to search the back of a cabinet! The drawer slides are a bit costly at around $20.00 a set. Fortunately we had some leftover from another project.
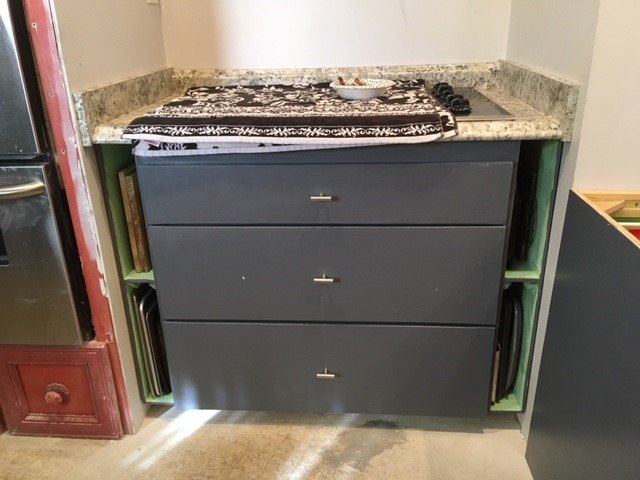
There was a little, maybe 8" of space between the stove cabinet and and the side walls. Centered that gave me 4" on each side for cutting boards, backing sheets, and racks. The slots will get doors to hide what's inside.
The top drawer has three sections for cooking utensils, spoons, spatula's and what not. The other drawers hold pots and pans. They are deep enough that even the big spaghetti pot fits! They pull all the way out so I can see into the back of the drawer!
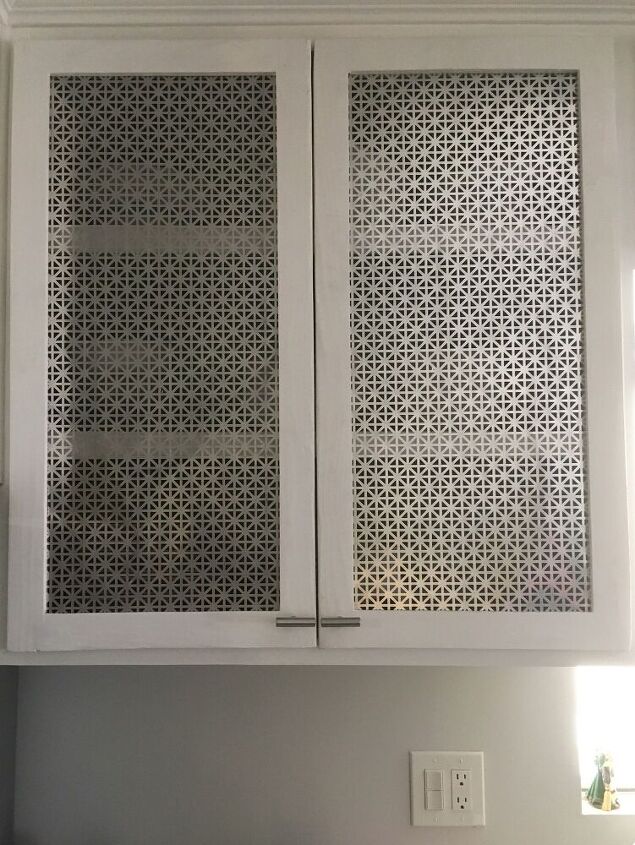
Frosted glass doors was a bit too expensive so we went with sheet metal for the upper cabinets. It's about $10.00 a sheet.
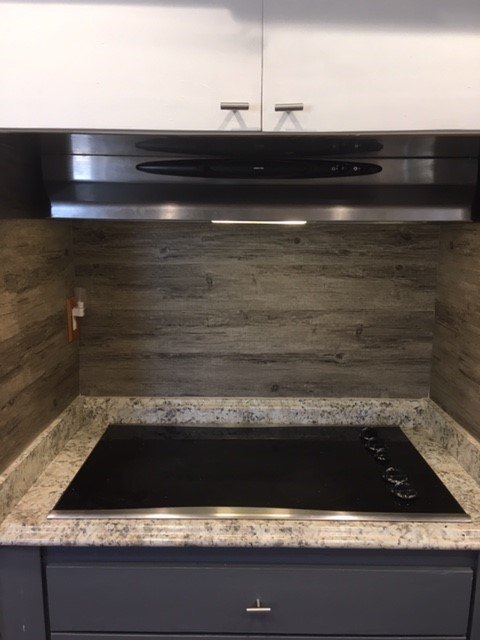
We used vinyl flooring for the backsplash. Tiles were too costly and I am not a good enough painter to paint a pattern on the walls.
The countertops are laminate, although they have been mistaken for quartz. The drawers all go all the way back to the wall. The lower cabinet shelves pull out. Every bit of space is a cabinet or a drawer.
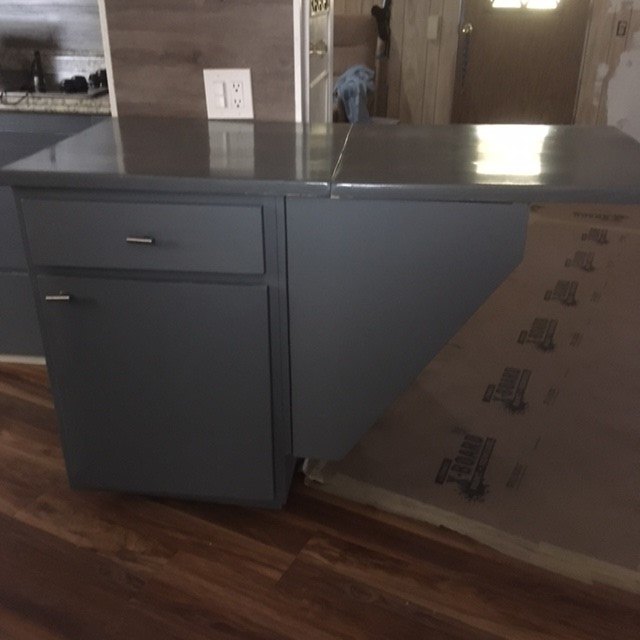
The kitchen table cabinet was given a new top and an extention for when we need a mini-island.
I am loving my new custom kitchen. We cut corners where ever we could but it still has all the function and style of a premium build.


Frequently asked questions
Have a question about this project?