DIY Vent Hood
When I first came up with the design for our kitchen, I envisioned a black range hood chimney...which we installed originally. What I hadn't taken account for was our 10 foot ceilings and the issue of the chimney being too short to reach to the ceiling. We were left with the options of purchasing an extension which would run around $200 for a three sided metal piece, or to leave it as is - looking a little funny, or to build a vent hood and just cover it all up.
You can guess what my vote was.
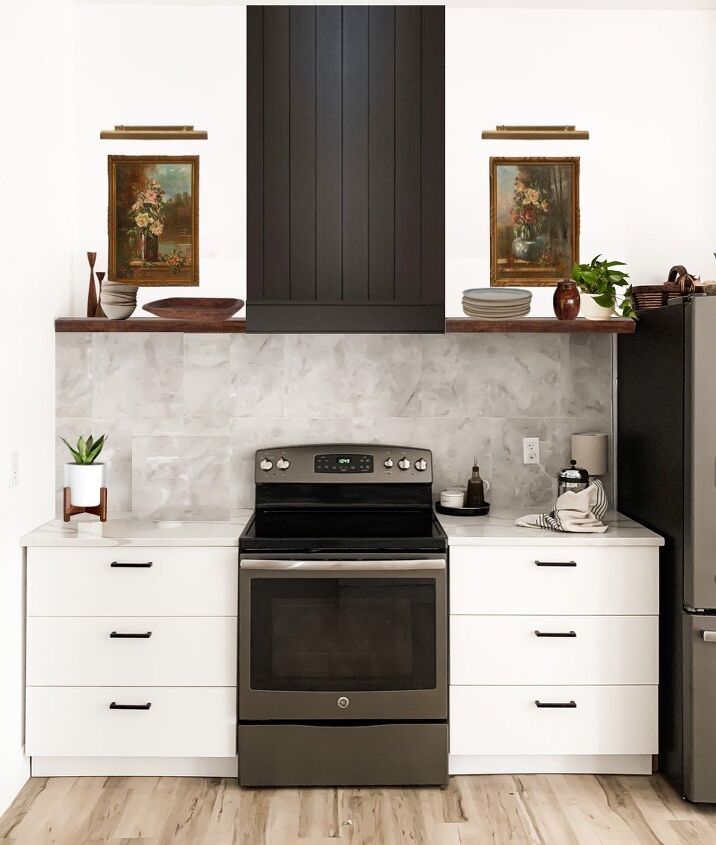
So I created this design board to help me get focused. I landed on a vertical shiplap vent hood, made from ripped pieces of 1/4" birch plywood, and flanked by floating shelves on both sides. We had installed floating shelves with the original range chimney, but they were hung up using metal rod brackets that the heavy wooden shelves slid onto. Because our studs weren't in great locations, the resulting shelves weren't super sturdy, and one sagged both due to the lack of studs and because of a warped board. All in all, I knew we could do better and would need to build something but solid for when we rent this house.
We started with two cleats, made from 1x2s, that would form the back of the floating shelves, and would also be a junction point for the vent hood. then we created the top and bottom braces.
We used painters tape to hold the sides in place while we attached the front pieces, and left a 1" gap so we could still access the hood buttons.
At this point we had the option either place braces on the wall vertically, or on the front. We ultimately decided to go wit the front both to help support the long pieces of plywood, and because the front part of the ceiling brace was very secure and we felt it would help solidify the structure.
We also added middle braces attached by pocket holes. All internal framing was done with 1x2s with the exception of the front part of the brace on the ceiling which was a 1x4.
Next we ripped our 1/4" plywood into 6" pieces and attached them using a nail gun to face out the vent hood.
The last step was attaching 1x4 trim around the bottom to create a clean modern look.
Then I stained it with a classic black stain.
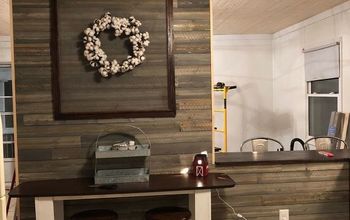
And finished the floating shelves in my favorite English Chestnut stain, and with that my vision came to life and totally transformed our kitchen!
I was able to build the hood and the new shelves for just over $100 versus the $200 plus tax and shipping the chimney extension would have cost. I feel like this route resulted in a much better and bigger impact!
For more details on this project and this room makeover visit my blog The Barn Collective, and don't miss out on the play by play action on my Instagram!













Frequently asked questions
Have a question about this project?
Isn’t the shelf covering the vent opening? Maybe I missed an explanation in the write up. But it is a focal point when looking into the kitchen.
How does it actually vent to the outside? I don't see a connection to a ceiling pipe. Is it through the wall at the back?
I really like this! Nice Job.
Just curious, how high are your ceilings?