


How to Make DIY Storage for an Organized Home


If there is an official month for organizing allllll the things, it must be January! It definitely feels great to clean things out and take a look to see if there are any changes I can make to our organizing systems that could better serve our family and home!
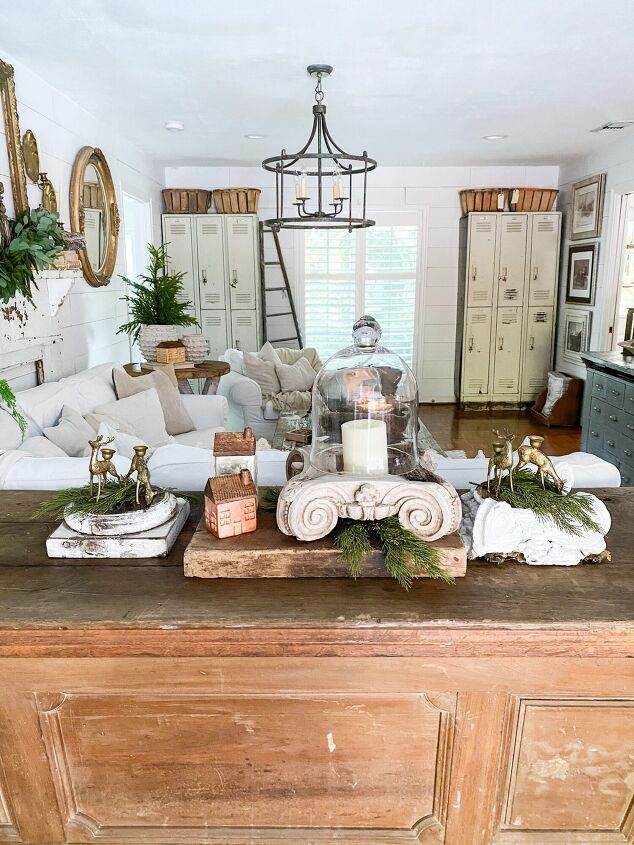
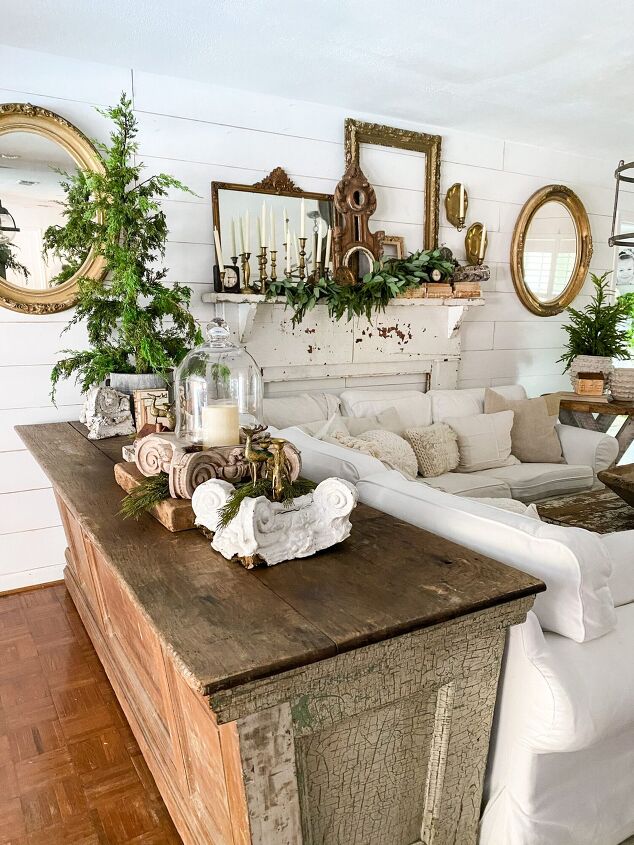
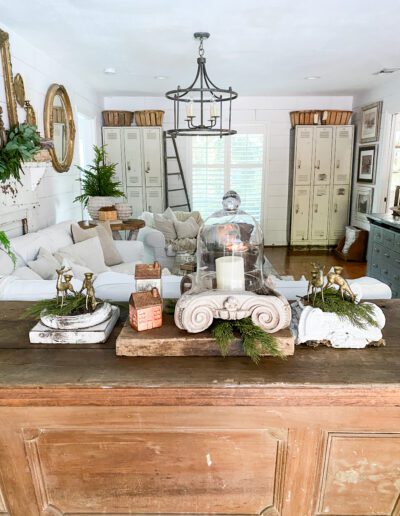
Most of those aren’t super exciting, but one that I’m asked very frequently about is where I store my home decor!
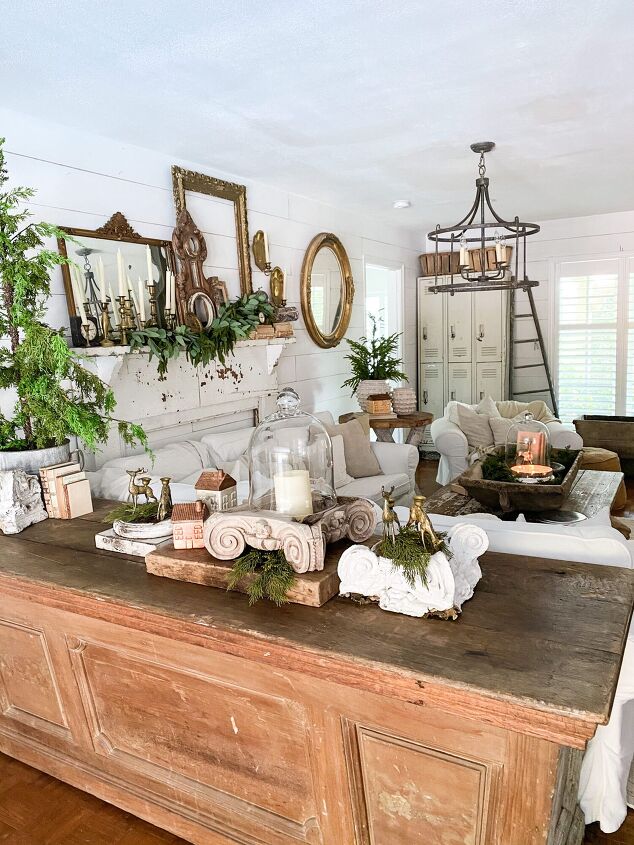
It’s a fair question! Being a home decor blogger and sharing home decor styling tips and ideas as part of my income, I definitely end up with a lot of home decor pieces and they can’t all be used at the same time!
I love my “job” here and I love decorating. Keeping my pieces organized, accessible, and cleaned out really helps me to be able to enjoy them more. It also saves me money because I’m not re-purchasing items that I could just reuse or repurpose!
Wait…let’s try that again.
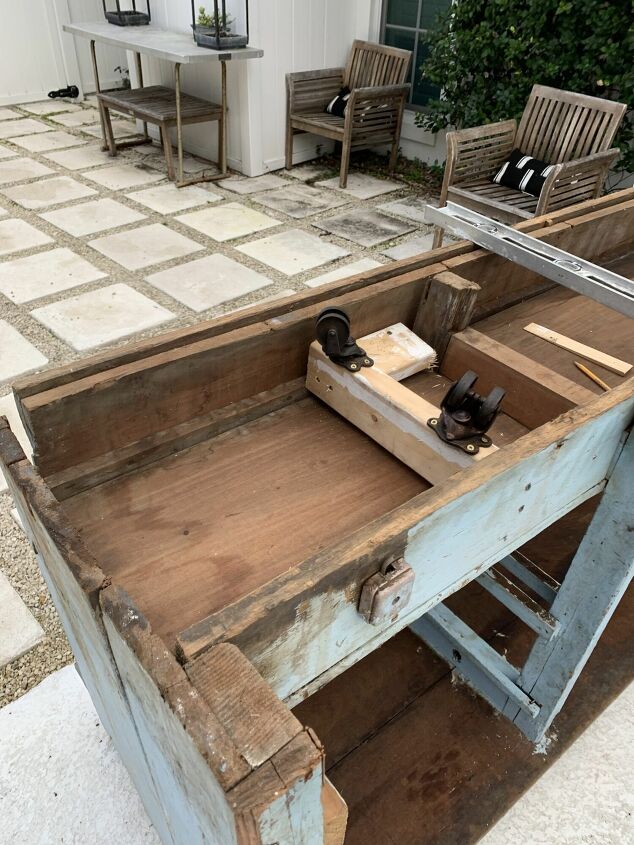
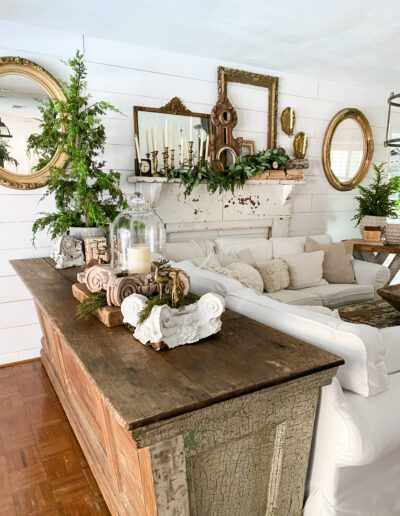
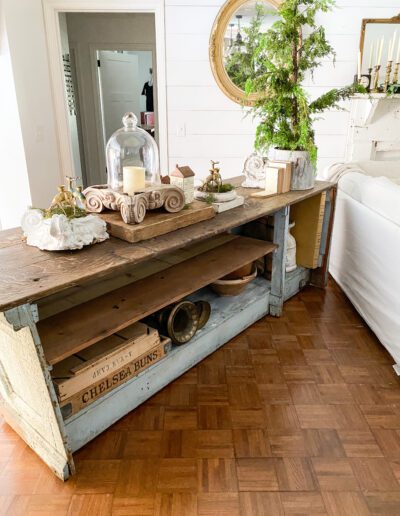
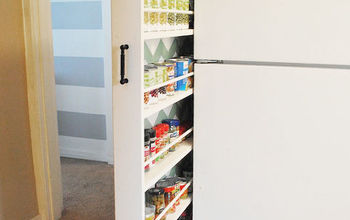
I decided that my old store counter could be great for organizing with a simple DIY storage solution.
Robb very kindly did the DIY for me!
Robb did a great job at figuring this one out (it was a little more complicated than we originally thought) so I’m going to turn the blog over to him!
We hope that this blog post inspires you to think differently about storage in your home! There are a lot of out-of-the-box storage solutions and by sharing ours, hopefully it sparks an idea for you too!
And maybe the things Robb learned along the way for our DIY storage can make your project just a little less complicated too!
Soooo, Robb here.
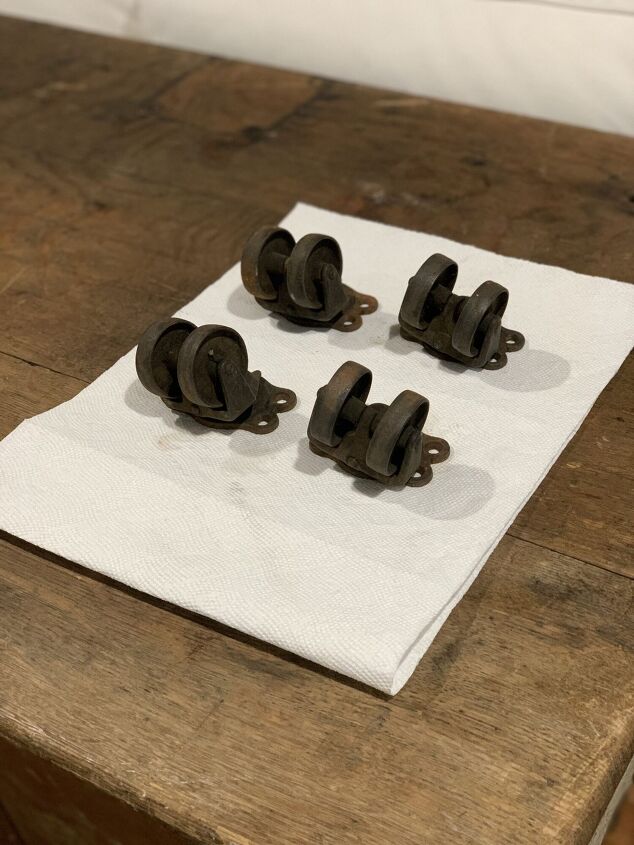
Robyn & I do projects differently. I like anything with directions. She likes anything without directions. So when she asked me to add some old metal casters to a cabinet to help with storage, I didn’t think much of it. After all, what could go wrong? It’s just screwing on some wheels, right?
Maybe it should have been easy. But it wasn’t quite the cakewalk I had planned.
I’ll share my experiences (good & bad), and hopefully you can learn from them the next time you have an “easy” project.
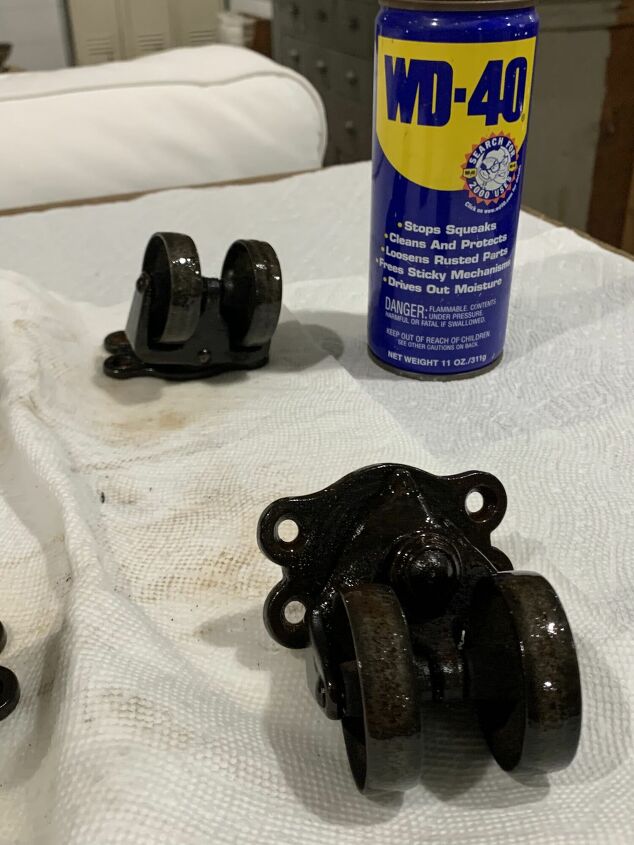
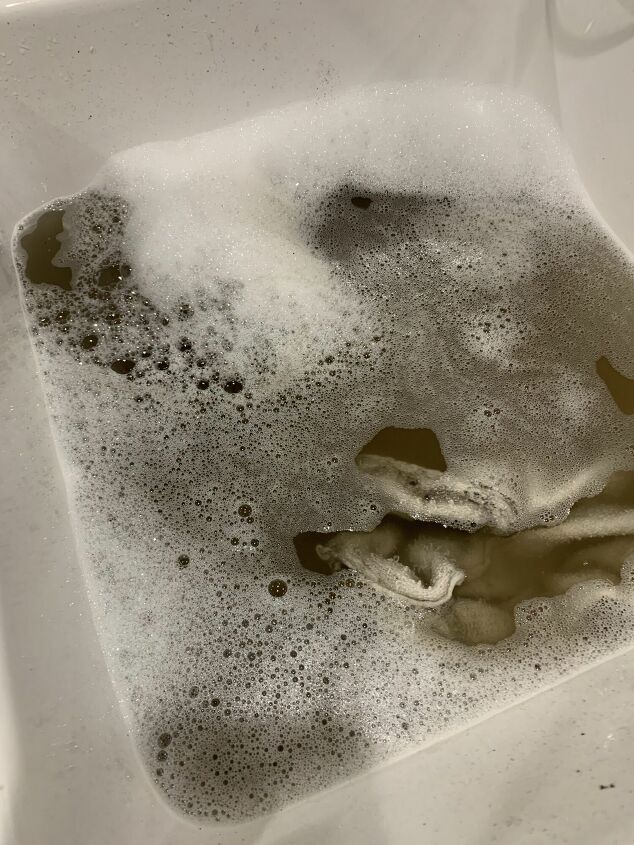
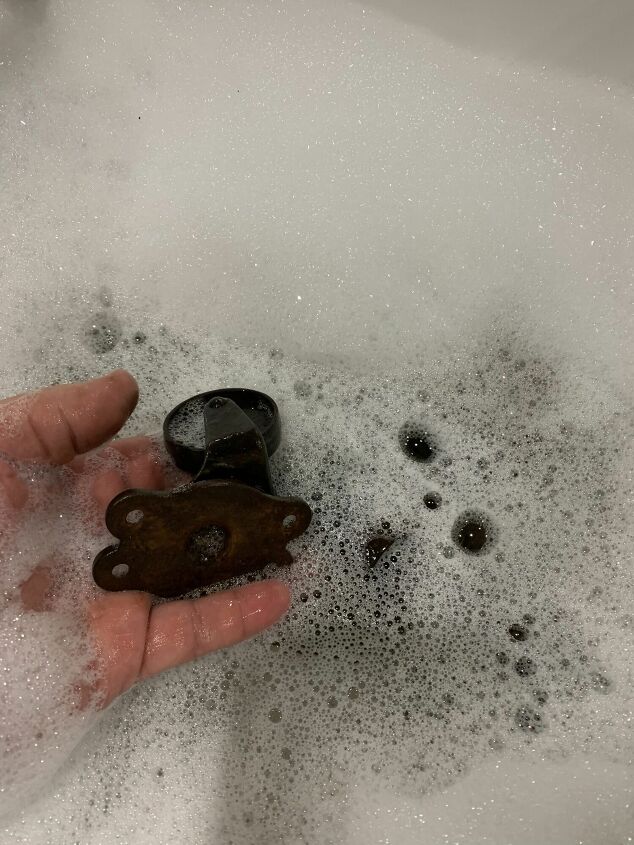
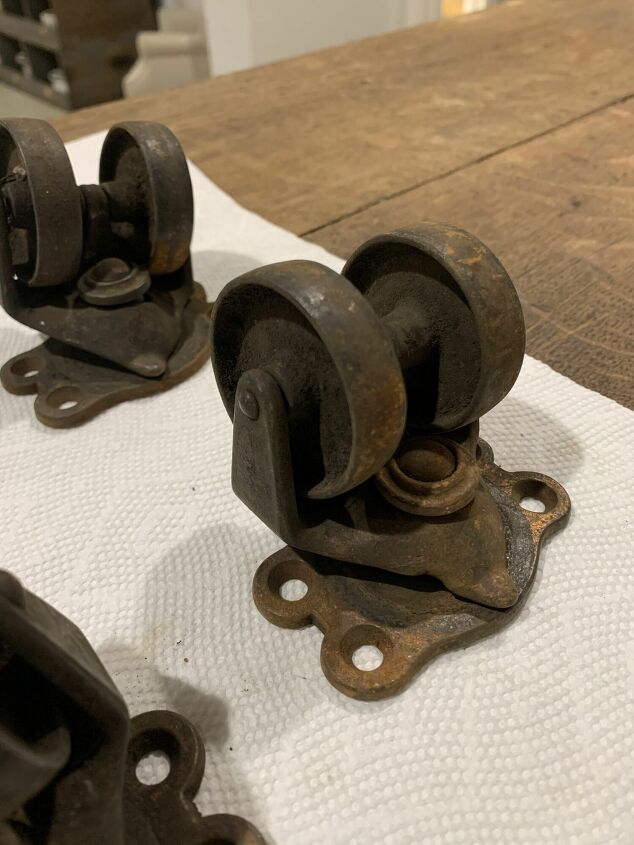
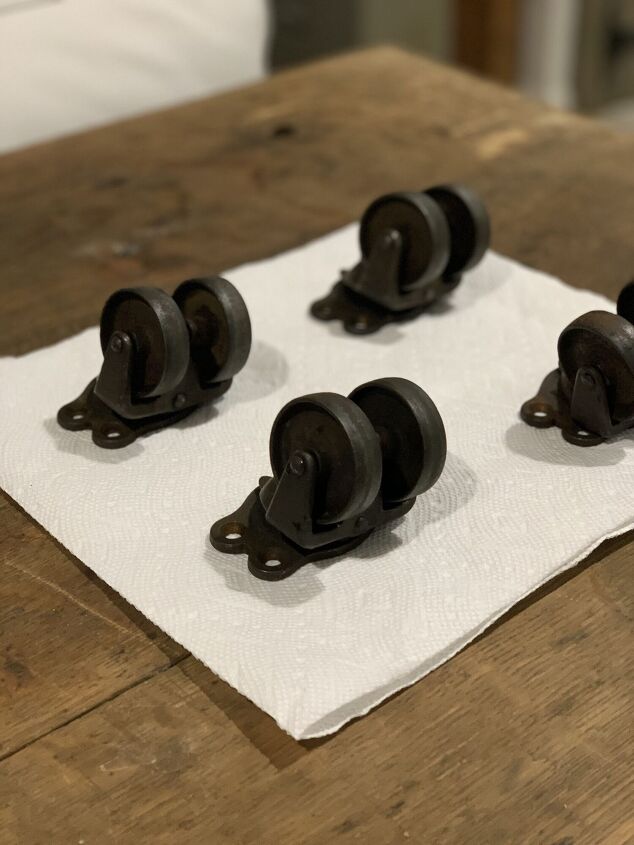
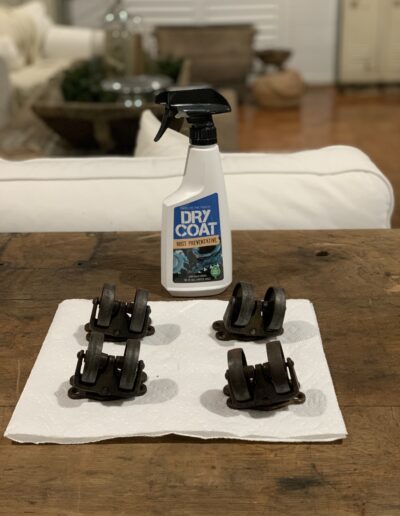
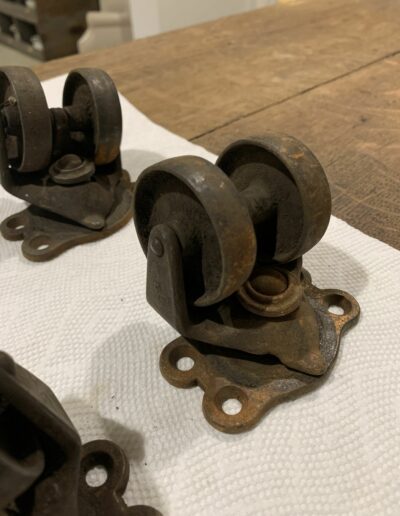
Prepping for the project wasn’t too bad. I recruited some little helpers to wipe out the old cabinet, while I started cleaning up the wheels. Mind you I know next to nothing about cleaning up old casters.
Here’s what I did & it seemed to work pretty well:
- Sprayed them lightly with WD-40
- Washed them in soapy water (Don’t tell Robyn I used the kitchen sink!)
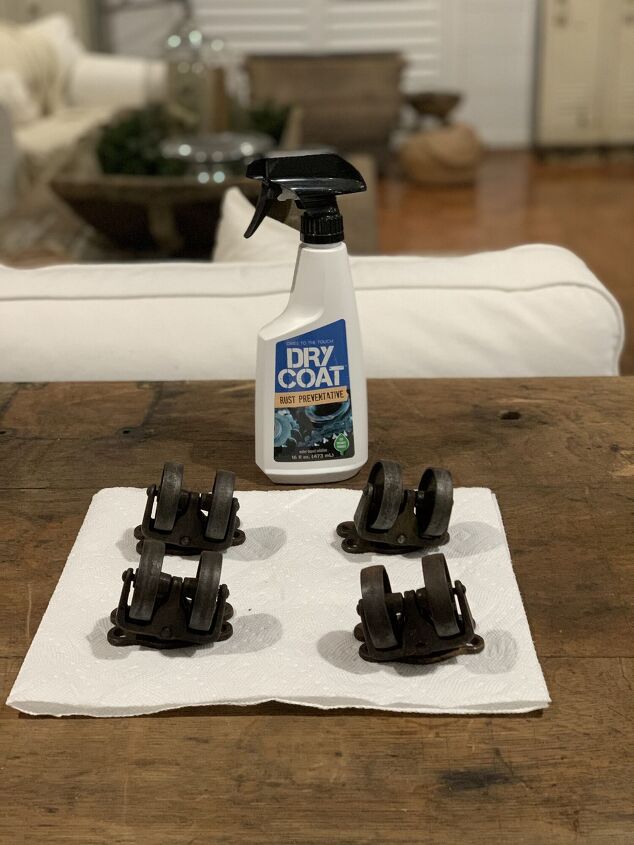
- Sprayed them with a rust preventative.
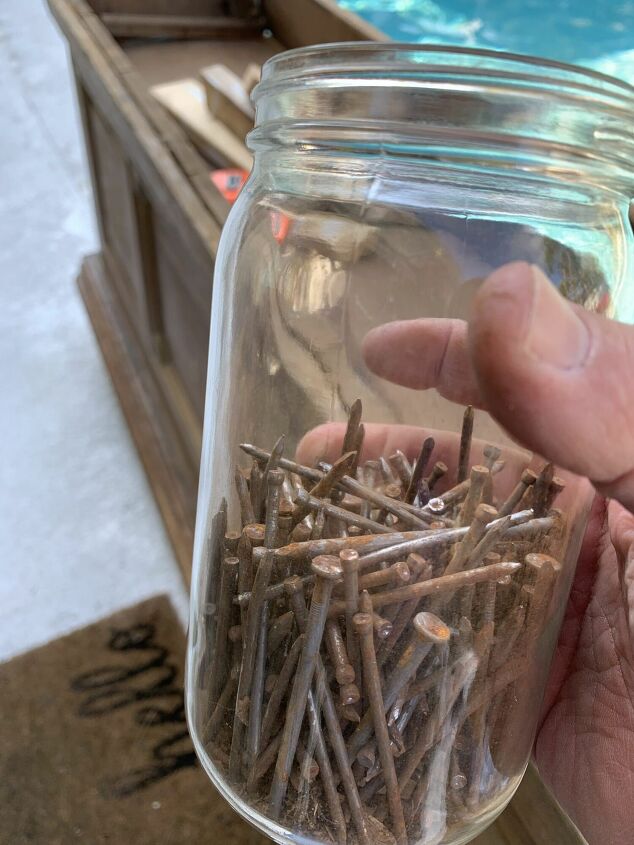
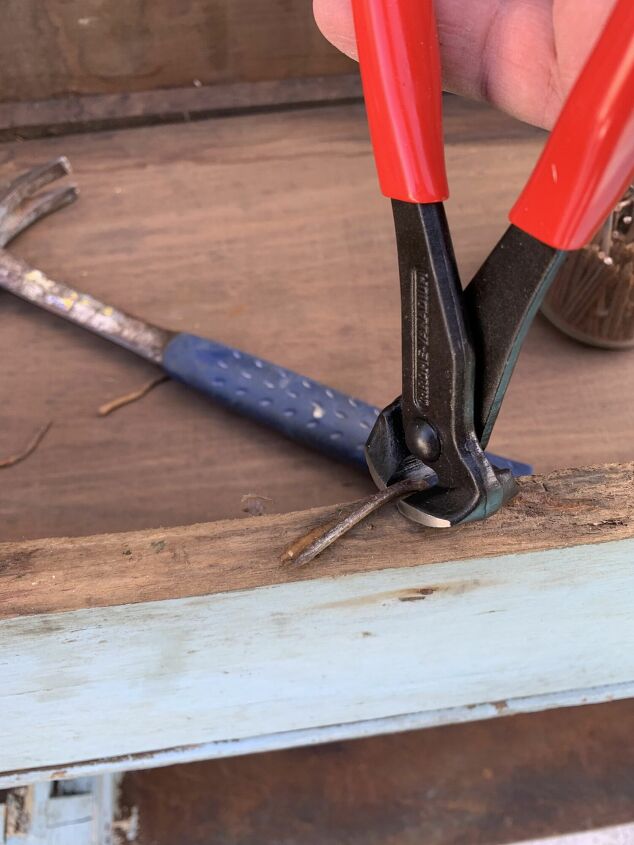
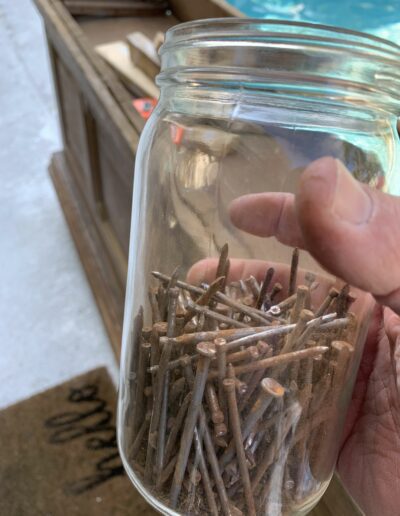
Next, since it was an older piece, I added some nails at the more rickety areas & clipped off some old exposed ones.
TIP: Look for a jar of old nails at garage sales or flea markets. They make for the best repairs on old pieces!
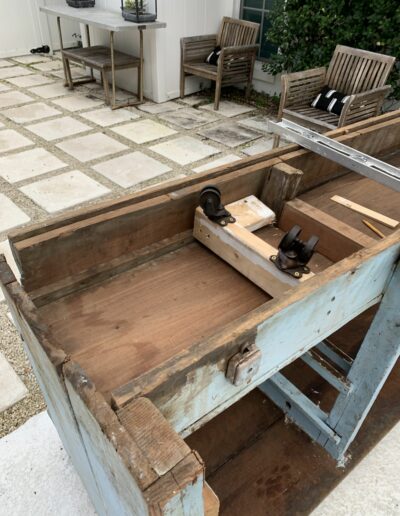
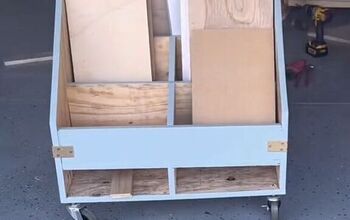
Adding the Casters
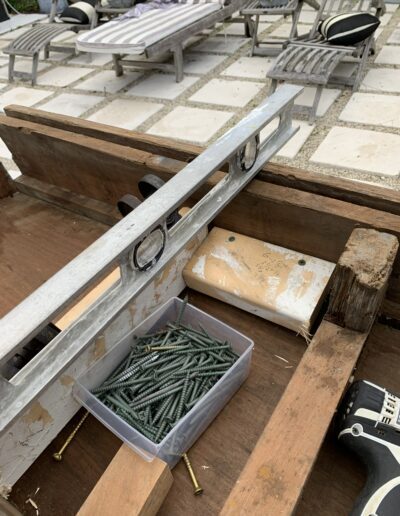
With a newer piece of furniture, adding casters could be as simple as screwing them to the bottom. Not so with this cabinet! All the angles were a bit off, which I found challenging.
After some thought (and trial & error & error & error!), here is my solufion. First, I found some wood blocks and screwed them inside the front & back sides of the cabinet to support the casters.
(Real carpenters may want to look away at this point! It may not be beautiful, but it worked :>)

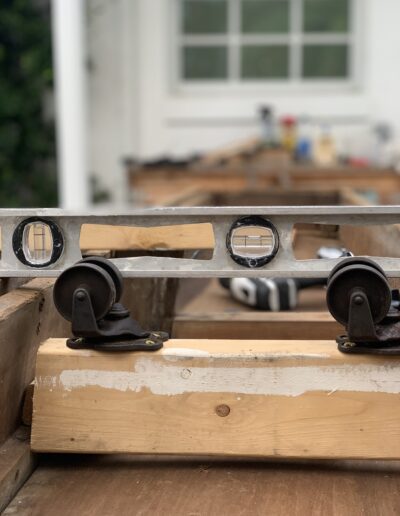
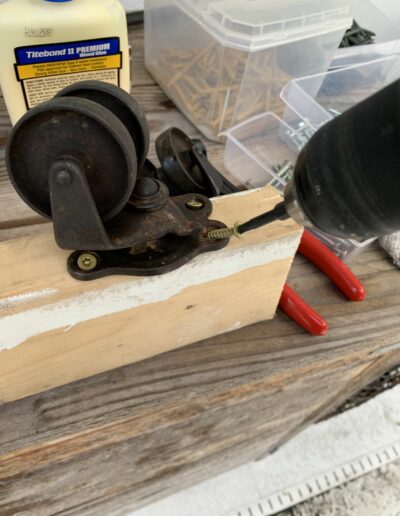
Once I had measured out the locations, I screwed the casters into a piece of scrap wood.
TIP: Keep a few pieces of spare lumber around. You never know when it might come in handy.
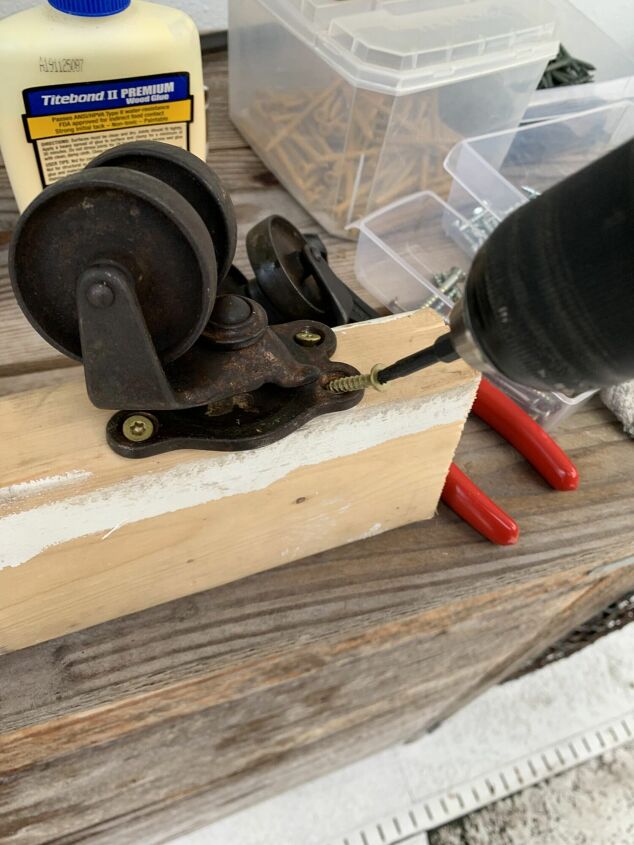
Did I mention the piece had funny angles? This meant I couldn’t screw directly into the bottom or sides of the cabinet, so I used a level to make sure the center of the wheels were approximately even with each other.
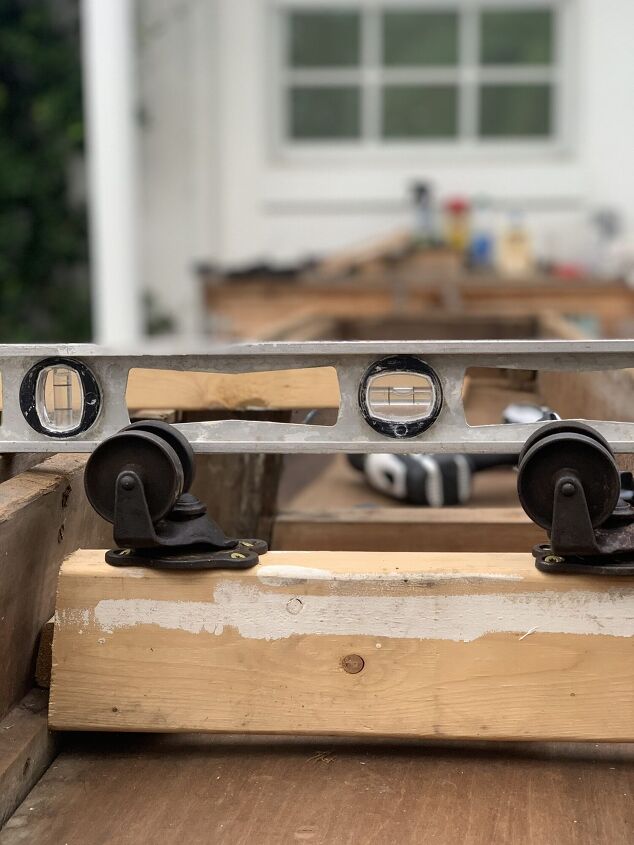
Then I screwed the caster supports from the side into the wood blocks from the first step & with long screws through the front & back.
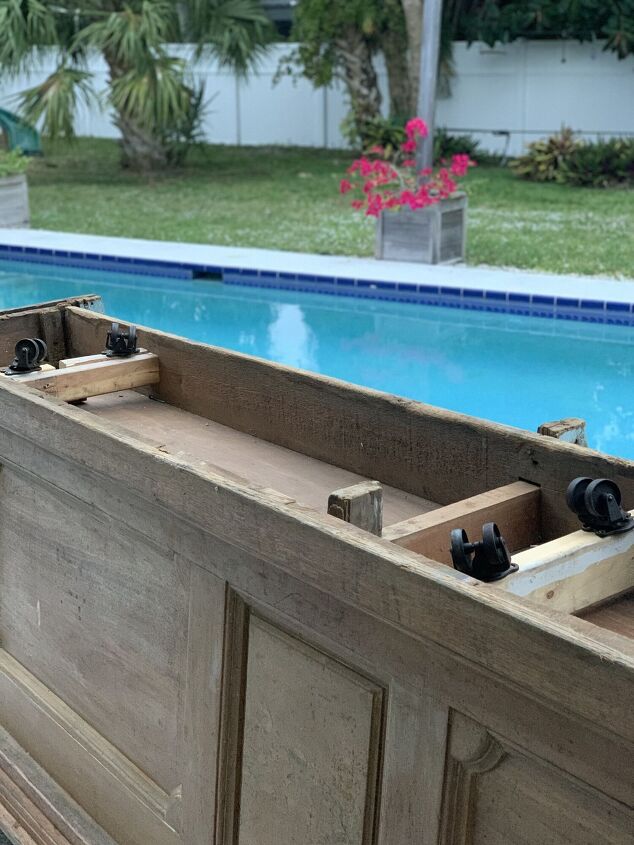
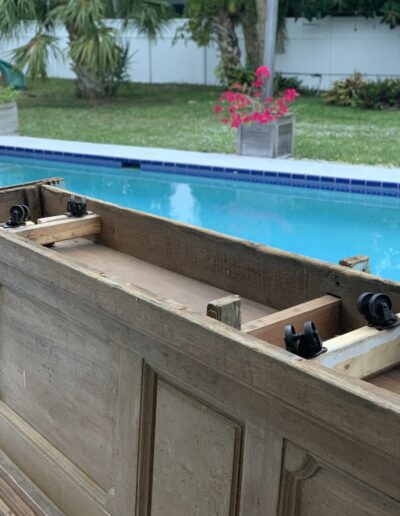
Here’s a quick shot of the casters installed. Not too bad, right?!?
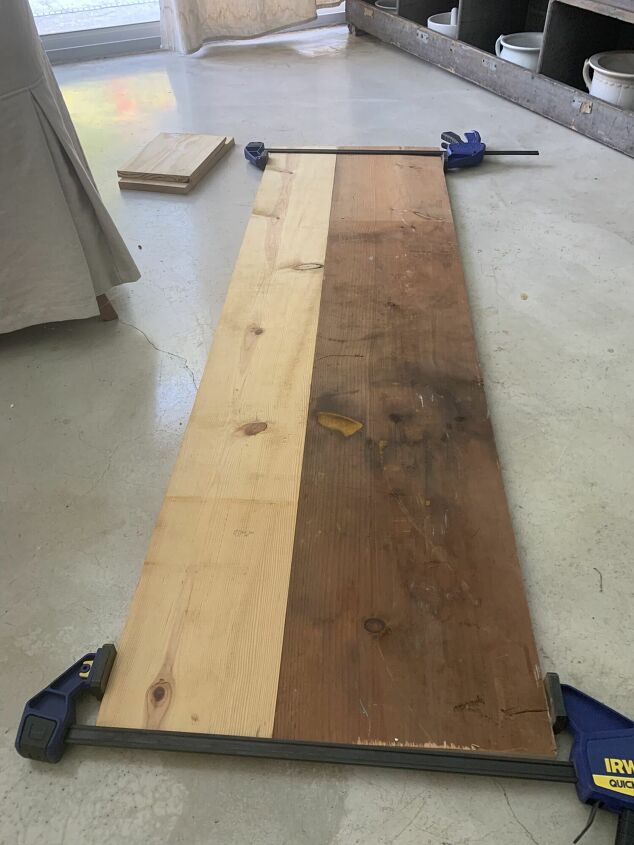
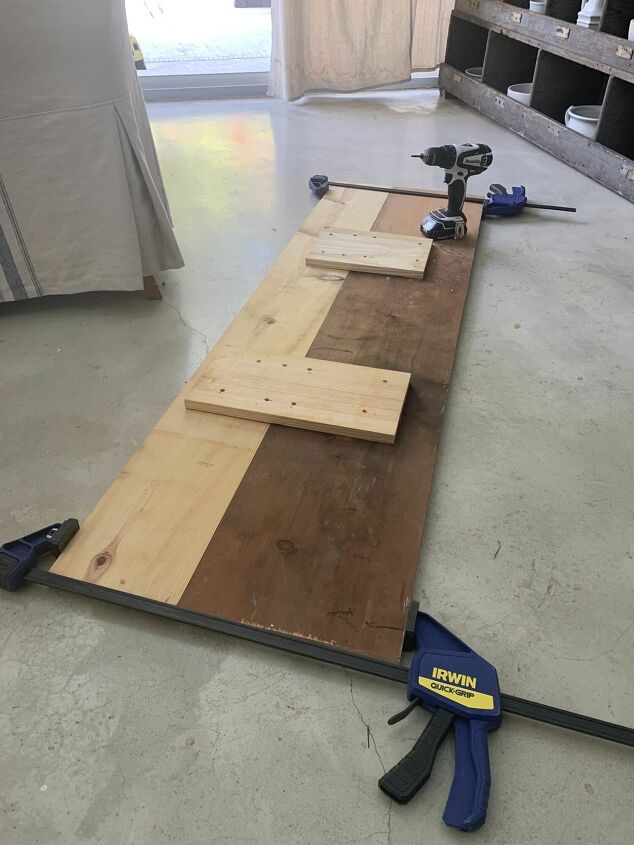
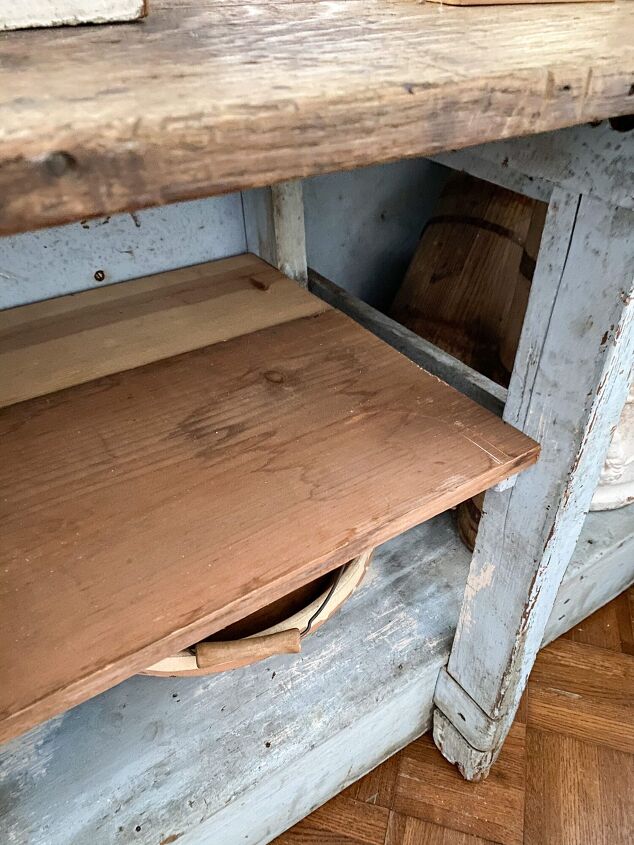
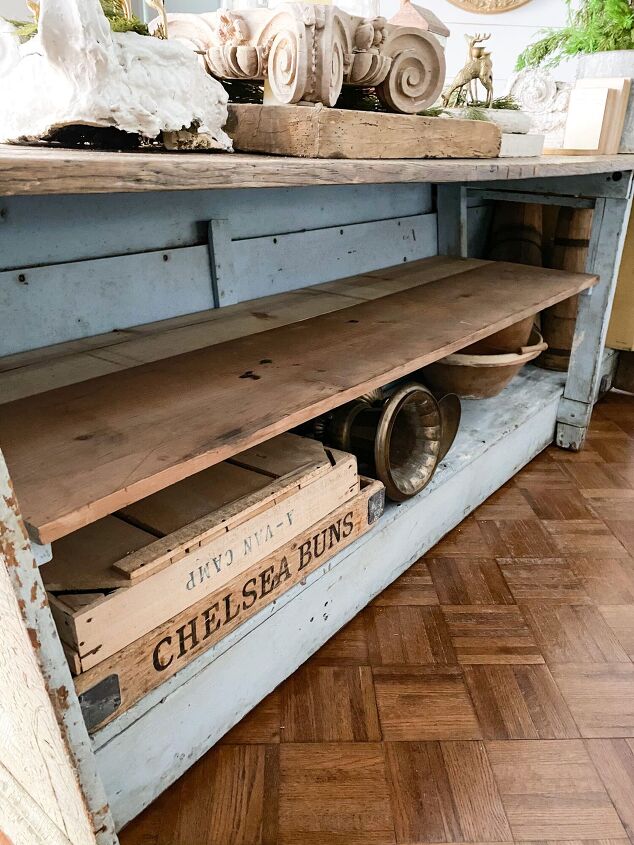
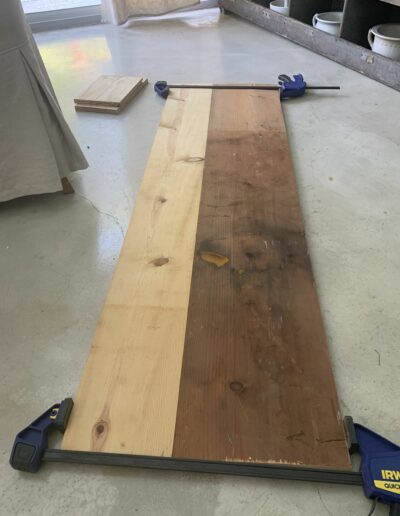
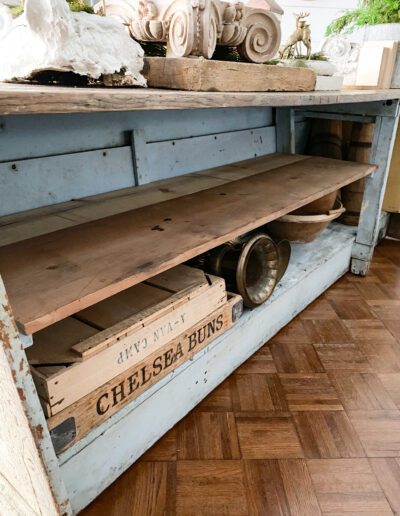
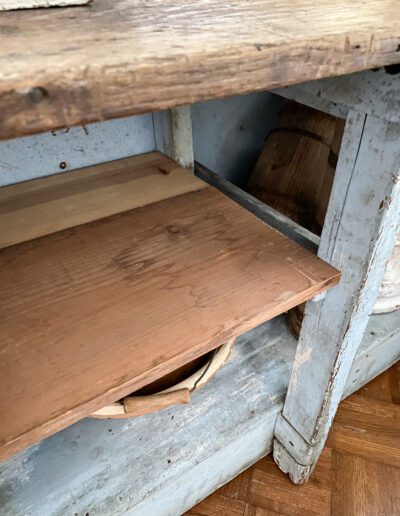
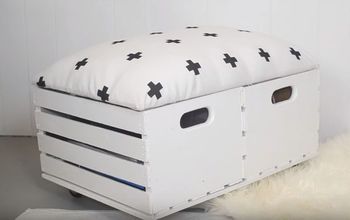
Shelf
With the casters on, I just had to add a shelf. Fortunately I had two pieces of old wood I could cut down to size. I clamped them together & screwed in a couple of scrap pieces to make it stronger.
SOOO…one last thing. After I set up the cabinet & rolled it back to the couch, it was perfect. For about five seconds. Then it tilted forward.
I was not thrilled. Fortunately, the fix was fairly simple (See final tip below!)
TIP: When adding casters, put them as close the edge as possible for stability! Anything less can make an older piece tipsy.
Finally, these tools are super helpful when working with older furniture.
- Impact Driver (Helps with those longer screws.)
- Clamps (DId I mention I split more than one piece of wood? Clamps help avoid this!)
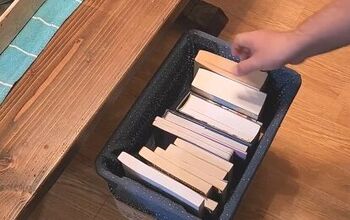
- Old-Nail Nippers
- Jar of Old Rusty Nails (Value: Priceless!)
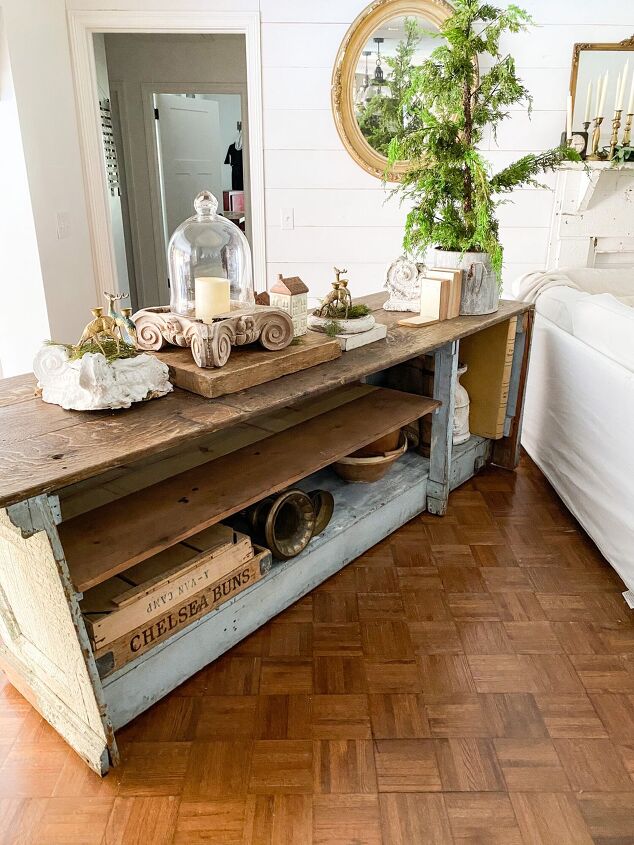
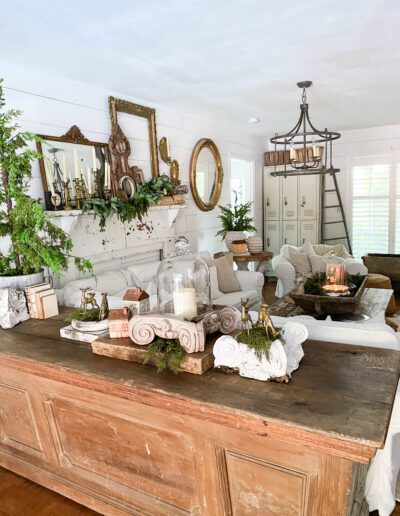
He did a great job…both explaining our DIY storage and creating it too! I hope you’re inspired to take a look around your home and see how you can use your pieces for even more and better organization.
A simple DIY storage solution might be a game changer for you too!
I’d love for you to follow me on social media! You can find my home decor inspiration on Instagram, Pinterest, and Facebook!


Frequently asked questions
Have a question about this project?