


'70's Brown Hutch Timeless Update

14 Materials
$400
40 Hours
Medium
No one wants to inherit or pass down brown and boring furniture. Look at this dark 70's oak hutch transform into a bright and timeless display and storage cabinet! This piece is something that will now stay in the family.
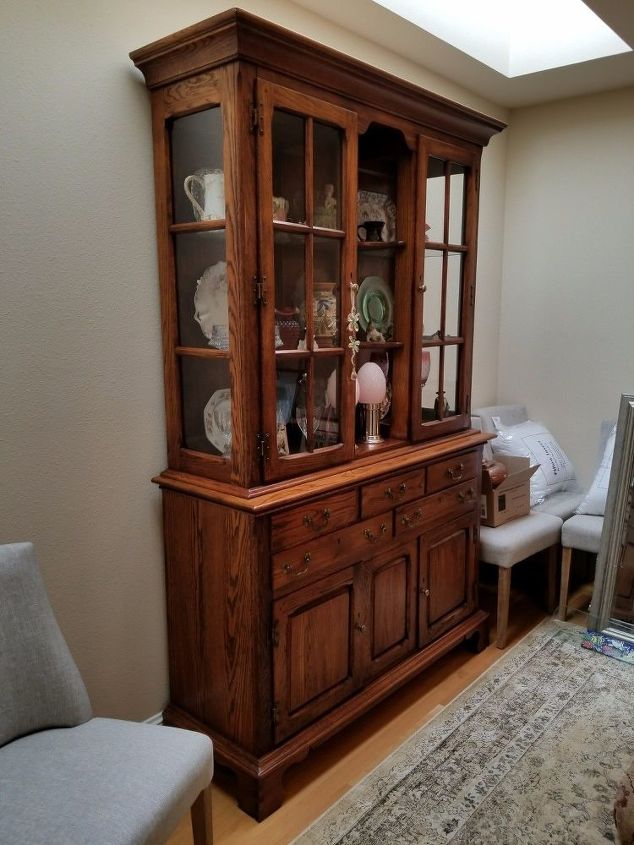
This picture was taken in the client's home. Even the skylight couldn't brighten this piece up enough. 
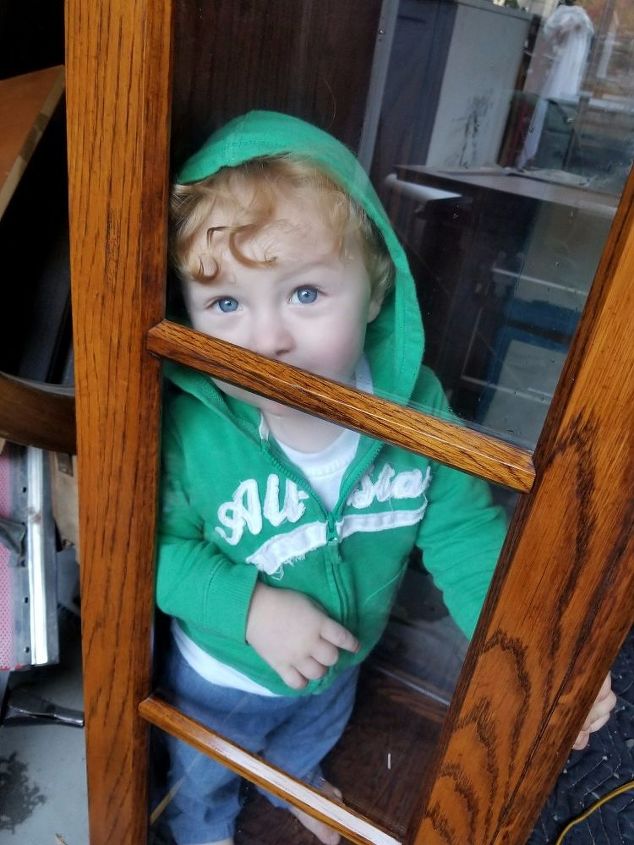
My helper could not wait to get started! We had to move him out though because we had to wipe down all surfaces with mineral spirits to remove dirt, oil and grime with lint free rags.
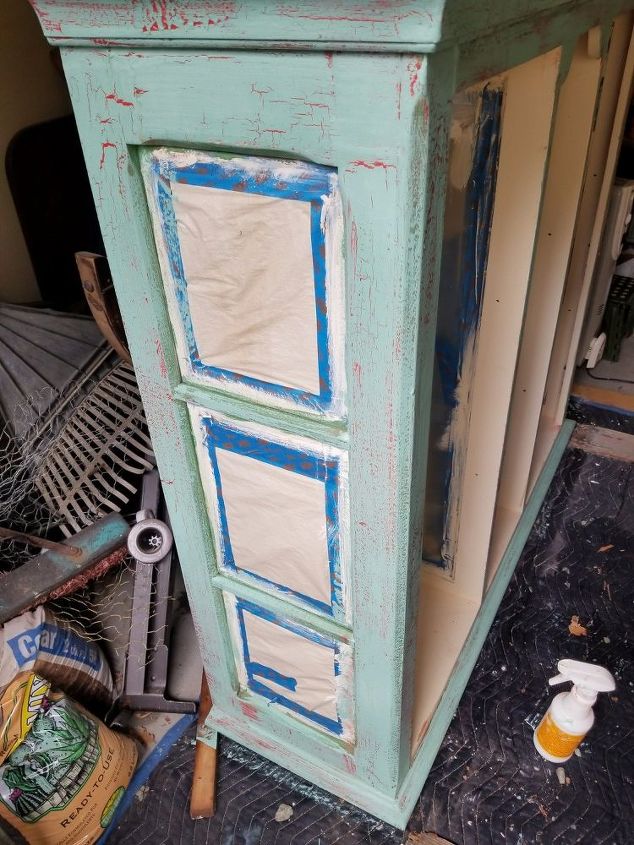
First use packing paper and painter's tape to protect all glass from paint splatter. Ignore color, it is already to the second coat phase here...
Next, I made a custom batch of plaster using plaster of Paris and opps paint to degrain the wood. This was a butter cream color you can see peeking out form the inside. Because oak is such a deep and loose grain it was necessary to smooth out all the surfaces using the plaster mixture.

After sanding hutch with 100 grit sand paper and wiping with a damp lint free rag, I squirted Cracked Patina by Amy Howard all over the piece. I smoothed the Patina layer using a Dynatron Bondo 358 Dynatron Yellow Spreader. You could also use a spatula.
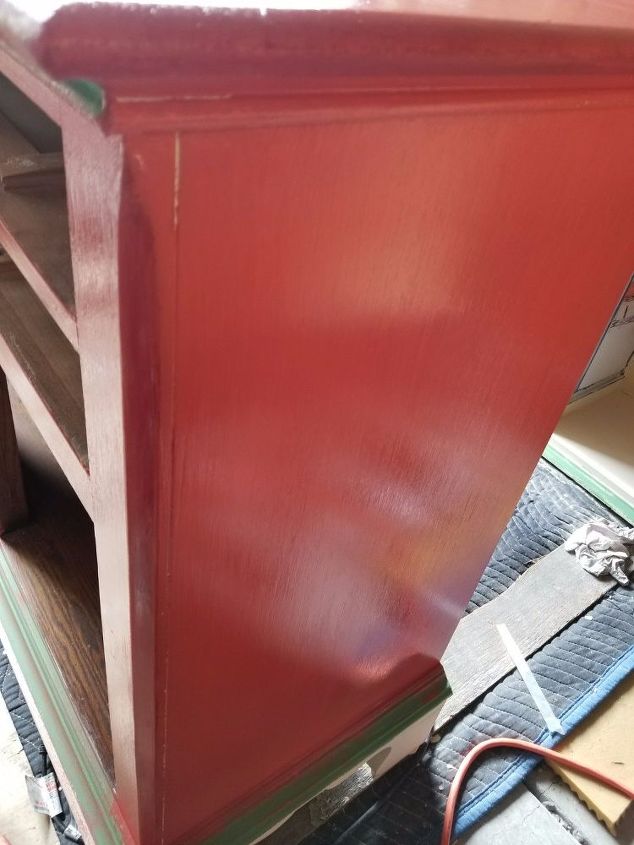
There are three layers of paint to this project. First layer is Chalk paint Dixie Belle (Barn Red and Florida Orange mixed together along with Kudzu Green highlights). I used varying sizes of chip paint brushes to apply the paint and a sponge brush to apply Patina by Amy Howard to the places that the hard spreader would not work. Look at that amazing color glisten through the Patina lens!
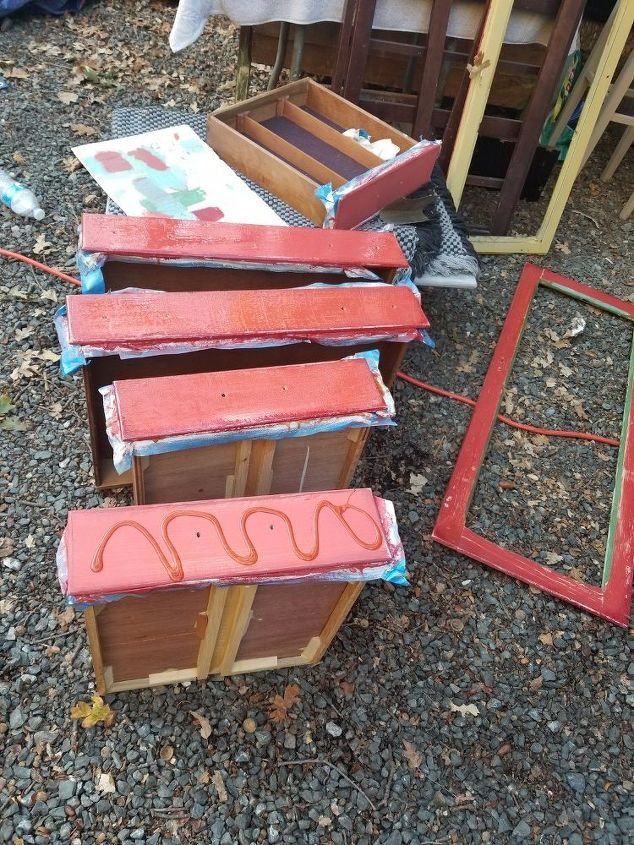
I repeated the above step on the drawer faces, door frames and everywhere. You can see the smoothed layers of Patina on the first 3 drawers.
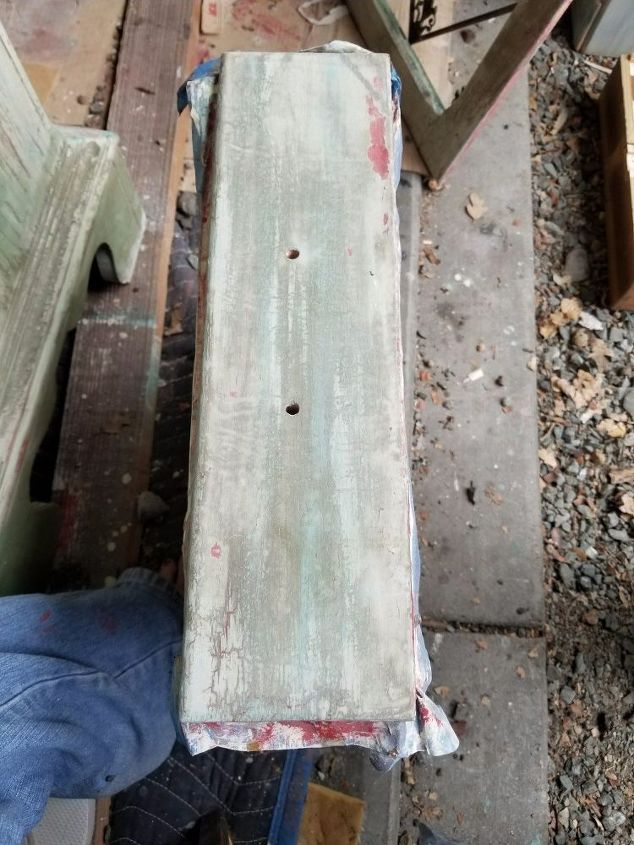
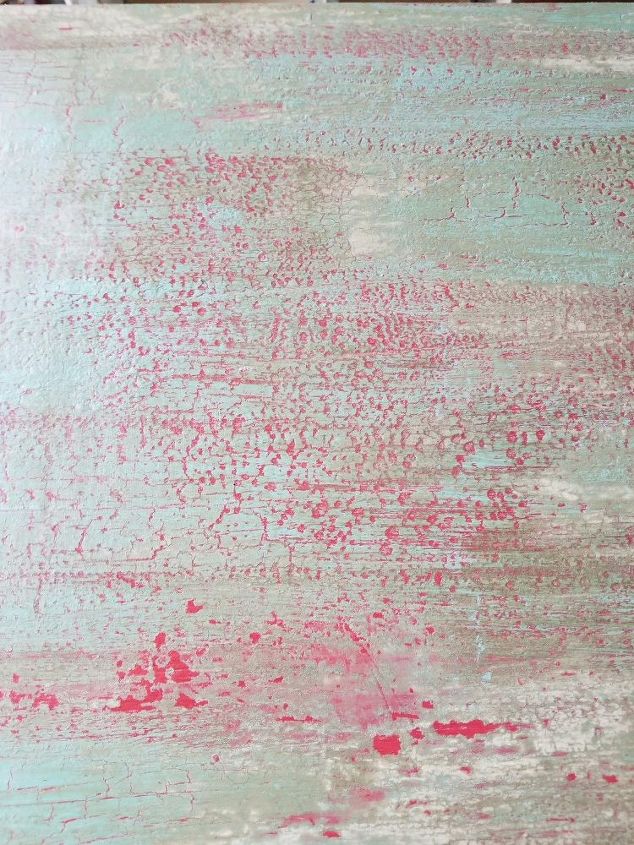
After allowing the Patina to barely dry, you want it ever so slightly tacky, I applied the Wize Owl Restful paint. Lastly, I applied the Toscana milk paint. The milk paint is the lighter color. After allowing all layers to completely dry, I then took a scrapper and randomly scraped to reveal the red. Bonus, you get some authentic chipping.
I sealed the exterior piece with Modern Masters interior dead flat finish to keep the chips in place. I used Mind Your Own Bee's Wax to seal the interior top and bottom of the hutch.
Mind Your Own Bee's Wax by Amy Howard is a time saver. It is liquid in form and I used this for the inside of the piece.
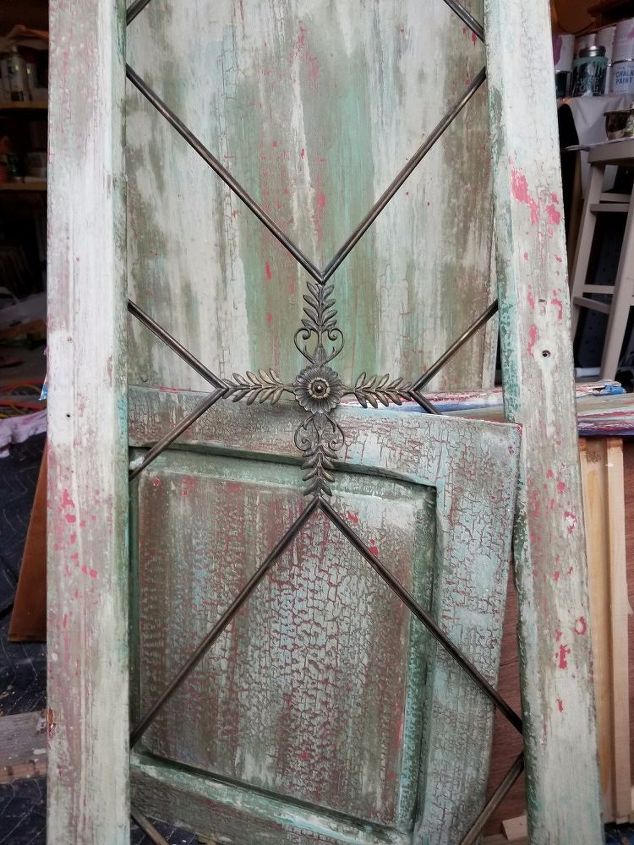
The glass and wood panes had to be removed from top door frames to make way for these these sturdy yet intricate metal panels from Plain Jane's in Sonoma, California. Beautiful.
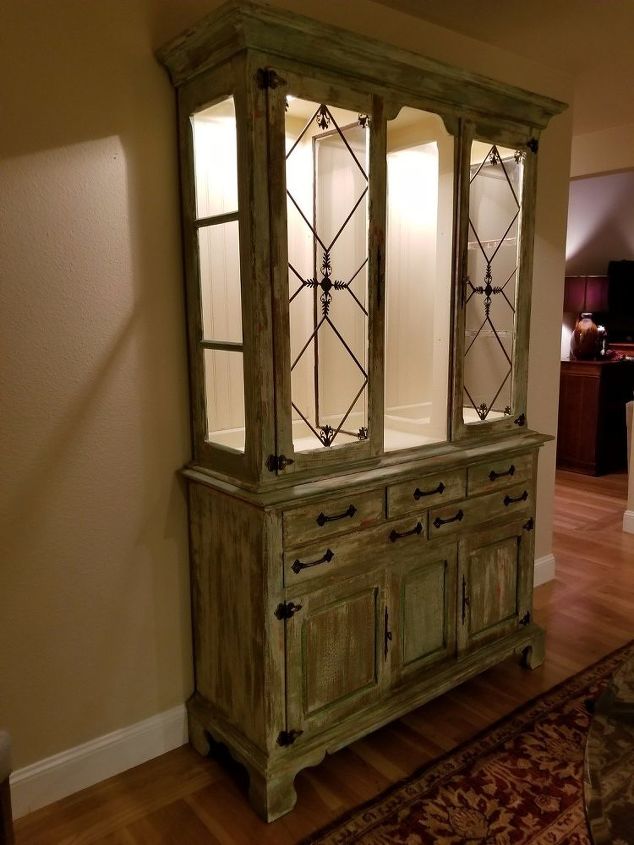
Here is the reveal. Just in time for Thanksgiving. The client was thrilled. She especially liked the delicate iron panels, handles by Dritz, and the hinges from House of Antiques. Hardware really is furniture jewelry. Now this piece is the crown jewel of the dinning room!
Comments
Join the conversation
3 of 22 comments
-
Loribeth, after reading all the preparation and detail that went into my hutch, you are a true artist. Never could I have imagined that my 30+ oak hutch would turn out like it did. Now it's a fight between my two daughters on who will get it in the future! Gorgeous!!!!!
-
I am completely amazed at the creativity of Loribeth in making this hutch look spectacular. My client is over the moon in joy.
Bonnie, an interior designer in Sonoma, Ca.


Frequently asked questions
Have a question about this project?
I wonder whether I can try it on my kitchen cabinets? I have a white quartz counter top.