


Dining Table Top Refresh

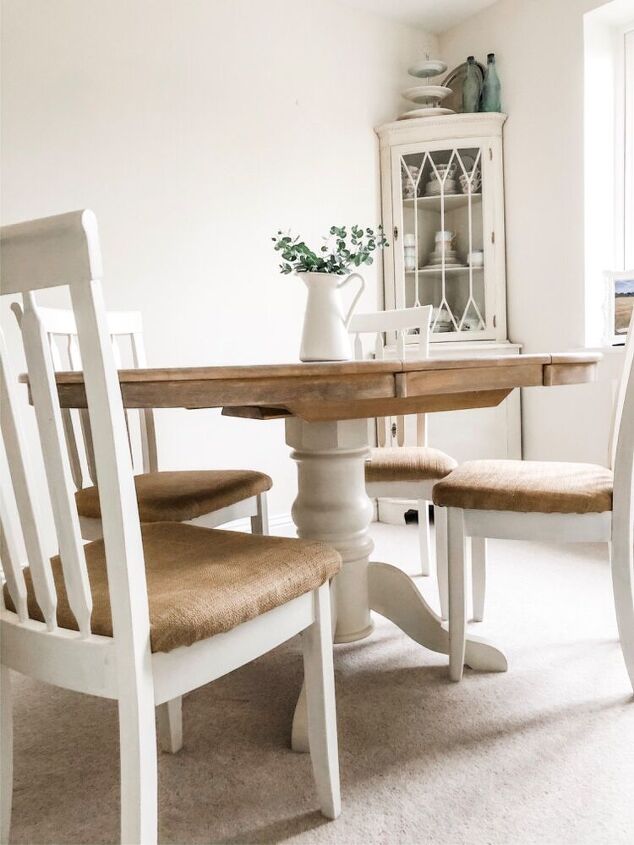
I bought this dining table and chair set for £100 6 years ago. I love the chunky base of the table and the fact that it can be extended or just used as a smaller round table. While I had worked on the chairs and the table base to create the look I wanted to fit in with our home, I had left the table top until last and it was time to finish off the project!
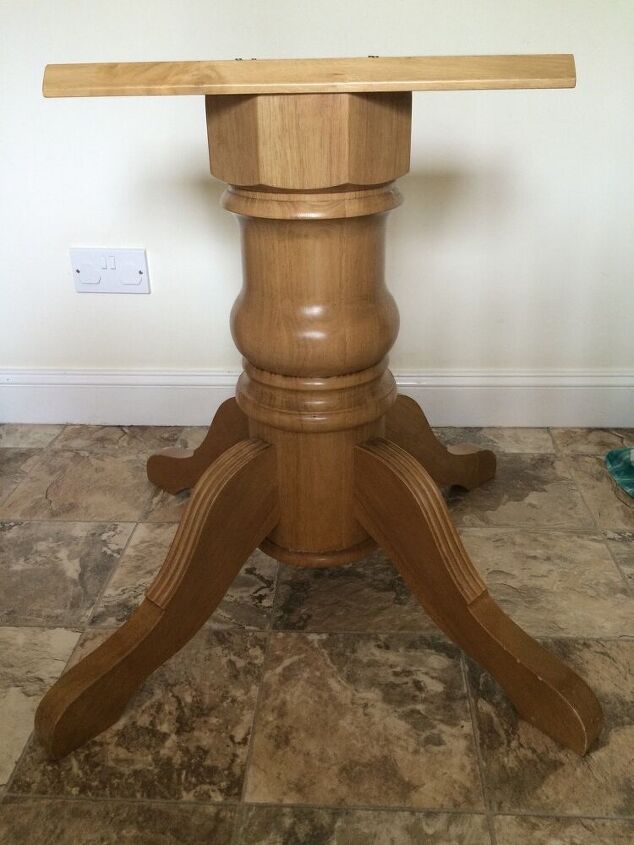
I painted the chairs and covered the seats with hessian fabric but left the table alone for several years. I then painted the base with white chalk paint which massively improved the look for our home. However, the table top was just the wrong shade of wood and needed to match the feel of the rest of the piece.
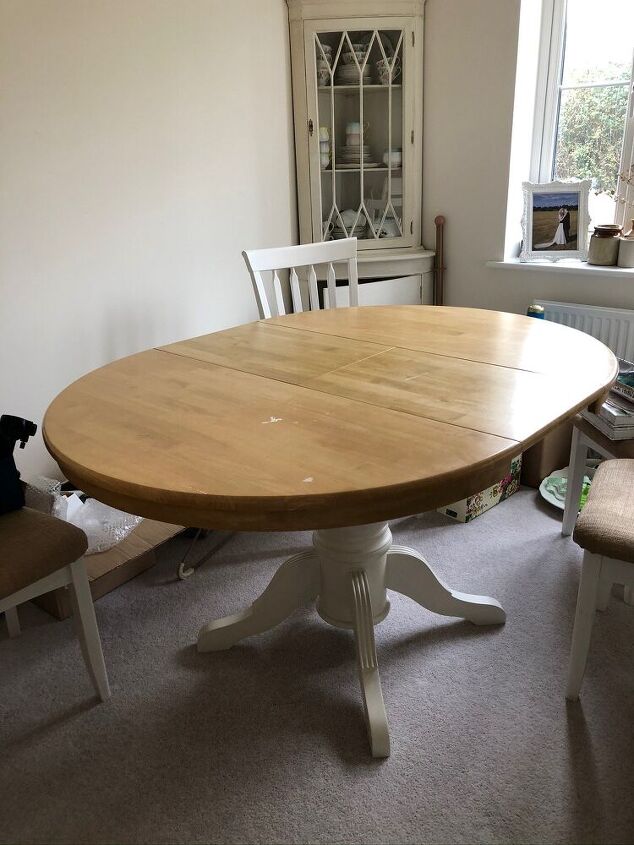
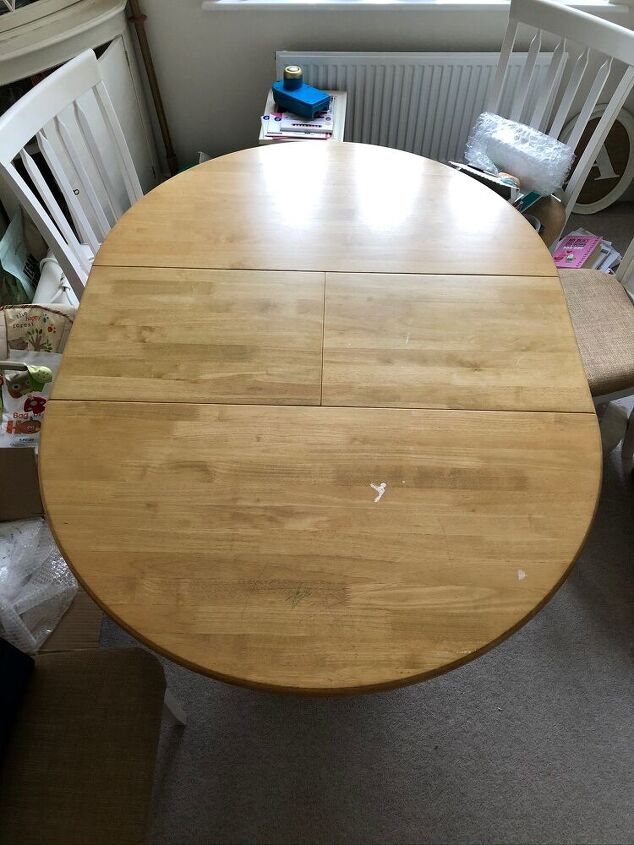
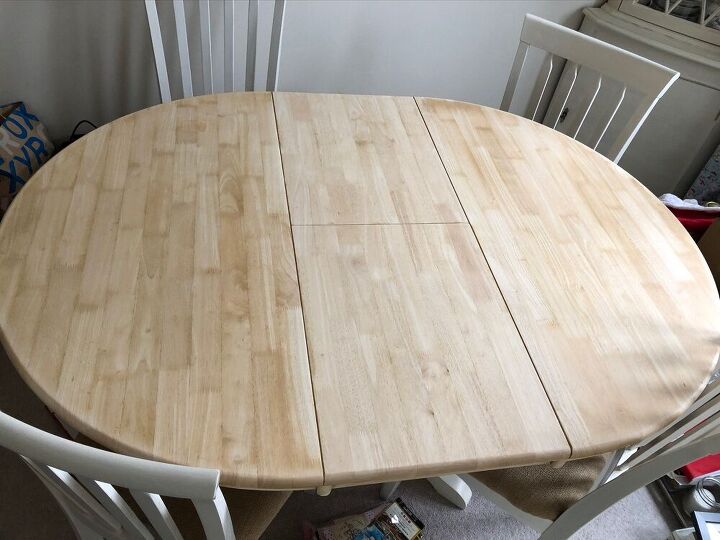
This is the table top prior to sanding, it was in good condition apart from a few scratches and paint spills as the finish was very hardwaring. I just didn't like the green/yellow shade and the high sheen of the finish.
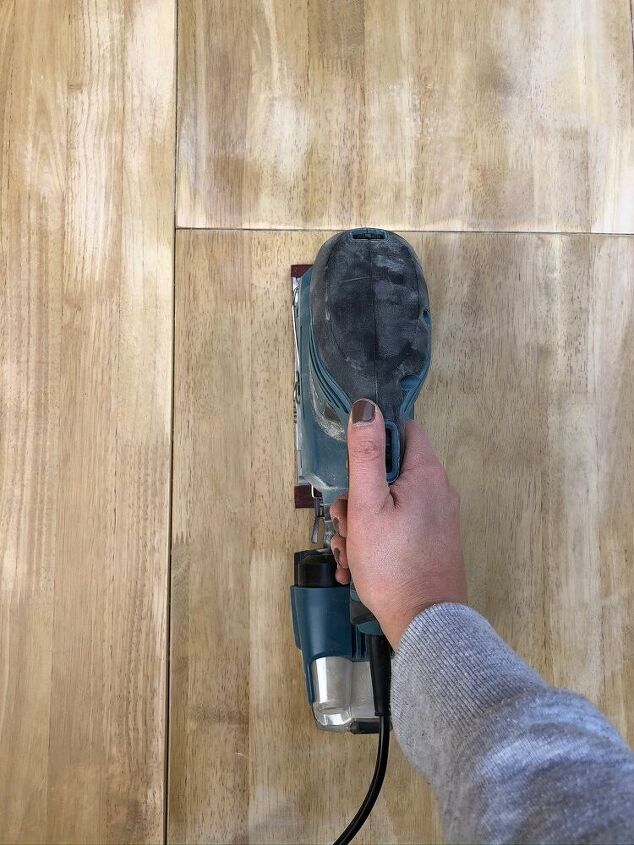
I took the top outside to sand off the surface. Initially I hadn't used course enough sandpaper so while the edges sanded easily, the table top surface didn't.
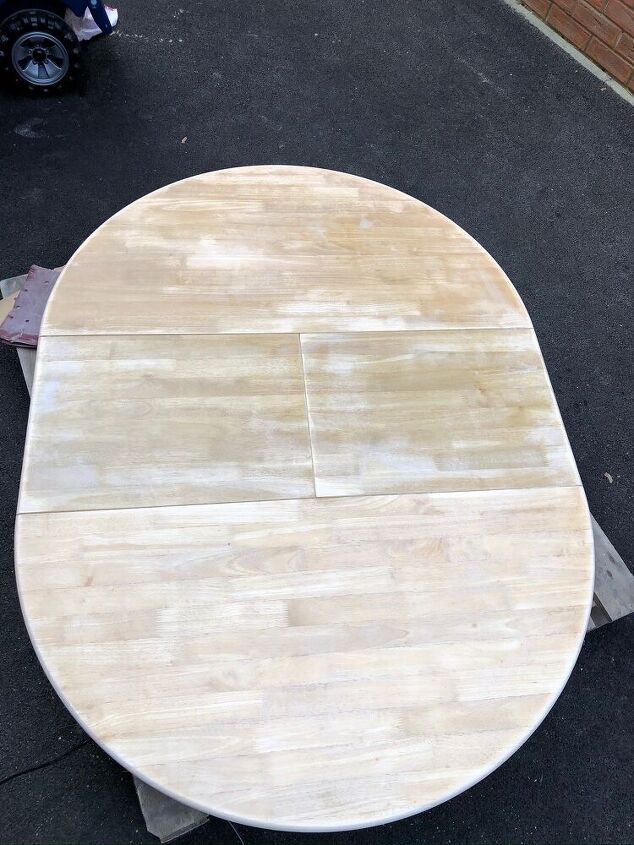
Even after sanding well there was still a lot of finish left on the surface to be removed.
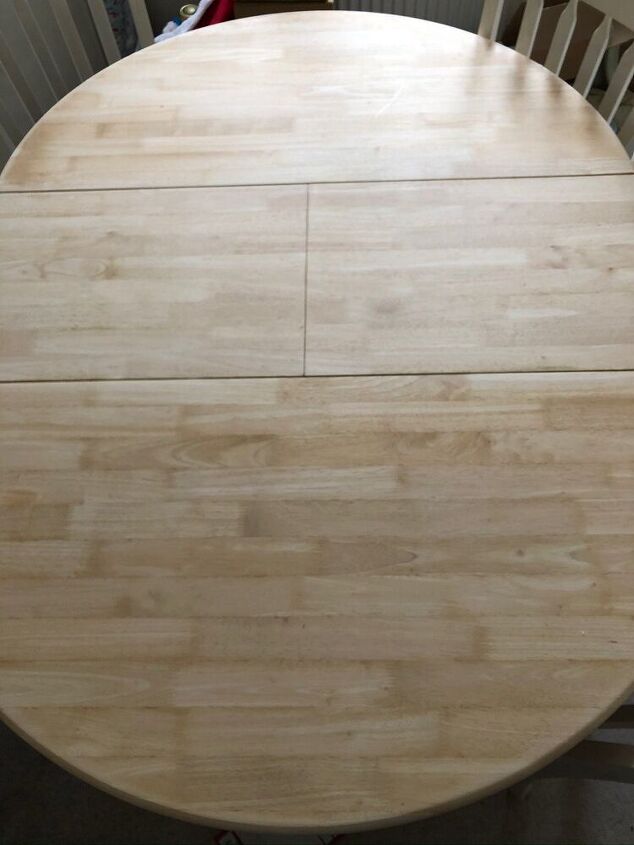
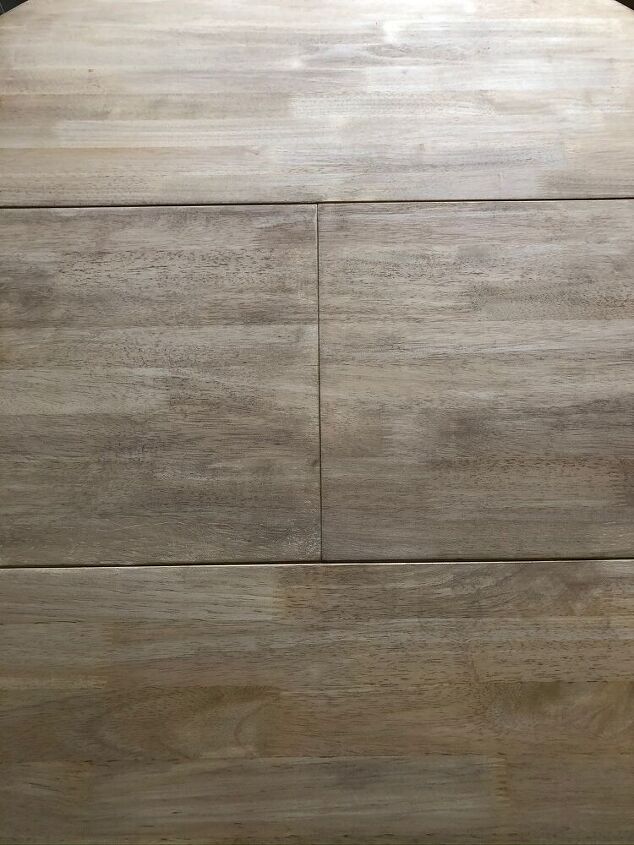
I then sanded again and this time used a 60 grit sandpaper, followed by 120 and then a fine grit to finish for a smooth surface. This is the unfinished wood underneath and while I made sure the factory finish was removed, I wanted a weathered look and so didn't overly worry about an even finish to the wood at this stage.
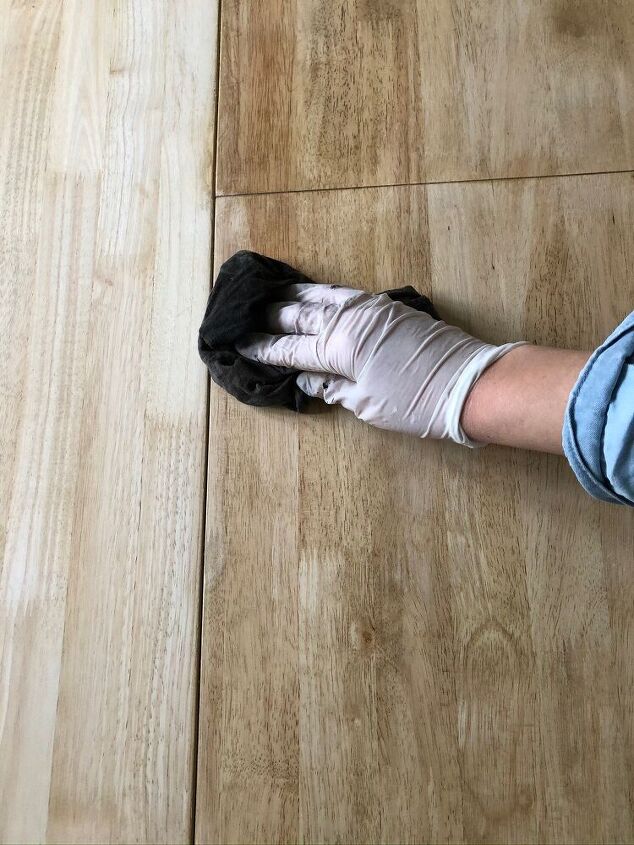
I applied a coat of woodstain in an oak shade using a damp t-shirt.
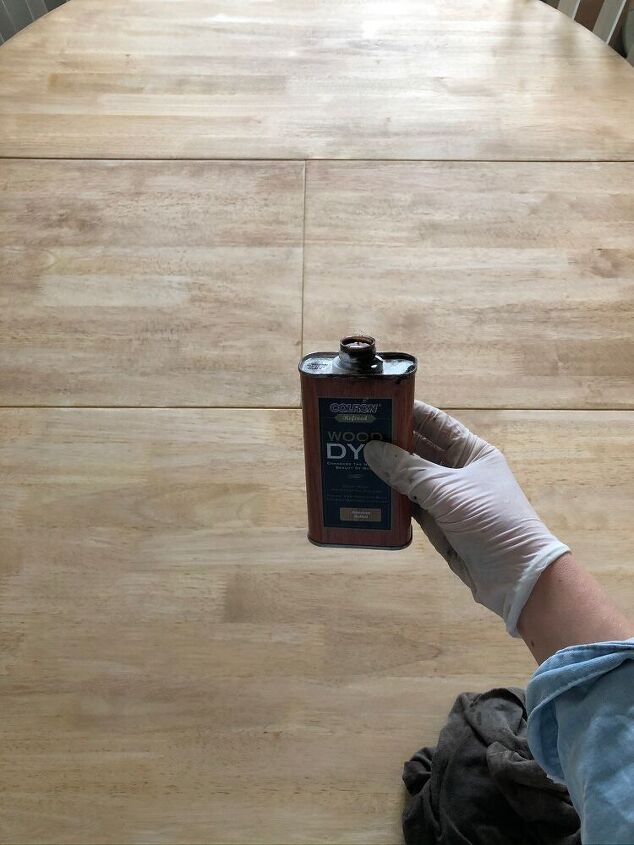
This shade was too light so I repeated this step again with a walnut shade.
I applied two coats of walnut stain which worked well to achieve the look I had in mind. However, it was just slightly too yellow/orange in tone.
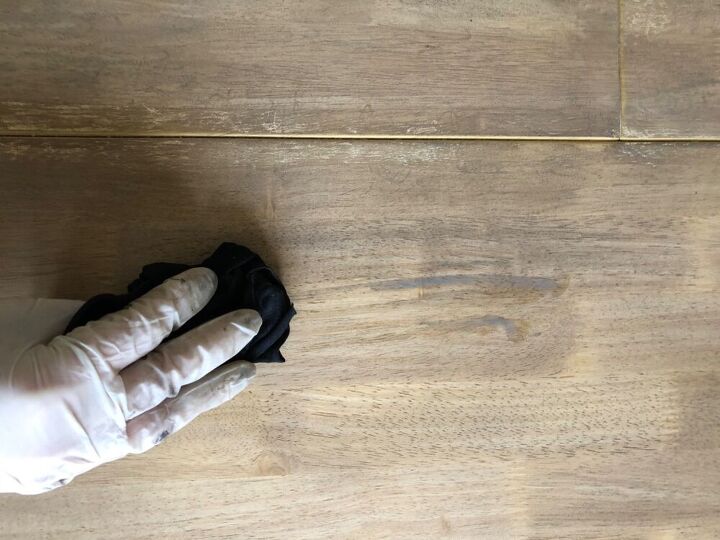
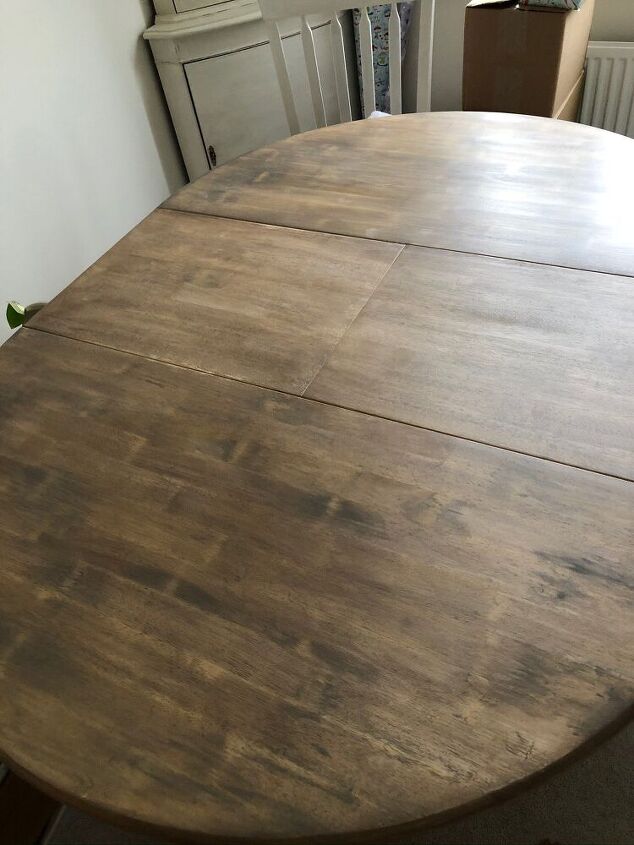
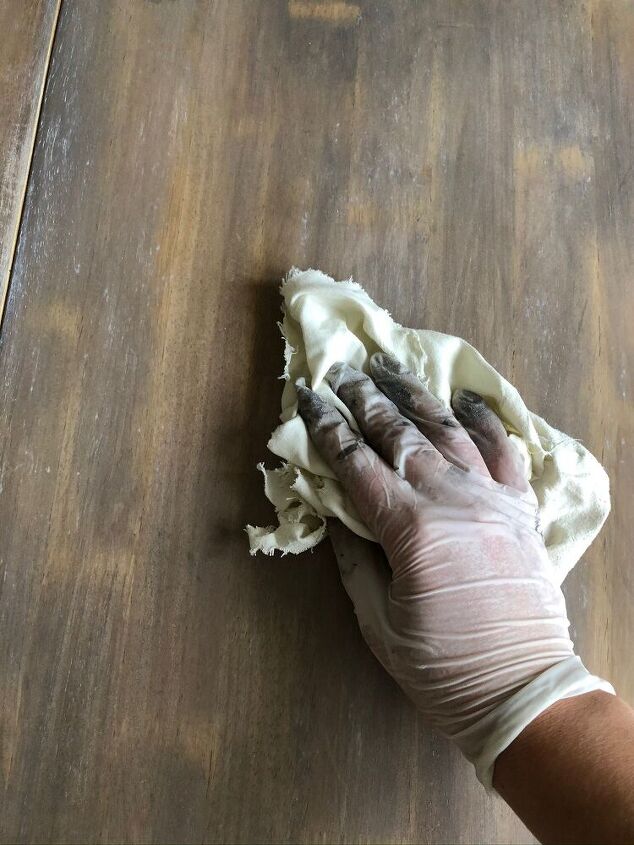
I took a watered down grey stain and applied with a dry t-shirt all over the surface.
Then I had achieved the desired shade but there were patches which were overly noticable from the uneven sanding finish which I wasn't happy with since they were just too obvious even for a weathered look.
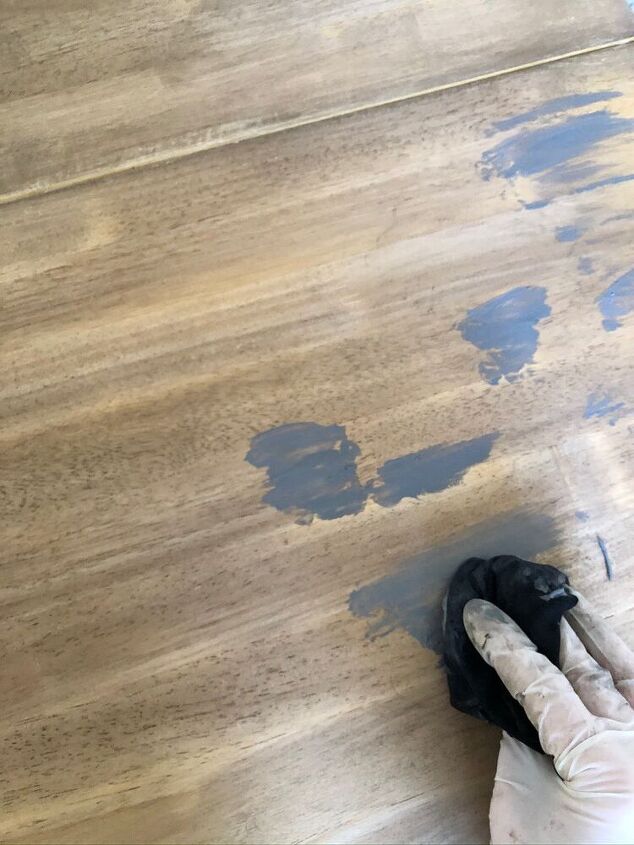
I took the neat grey stain and applied it to these patches with a damp cloth.
This blended in it all in together but parts of the wood were then slightly too dark with the grey colour.
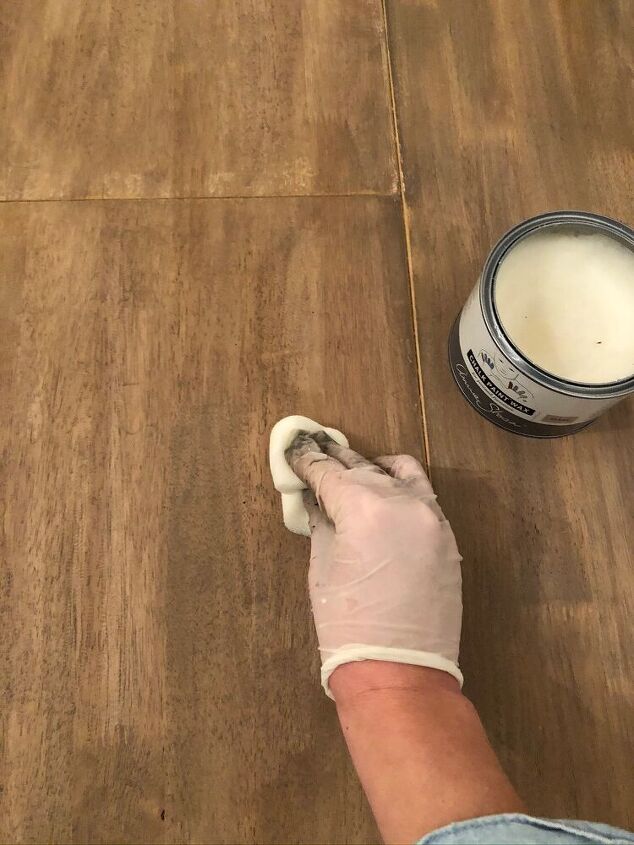
When starting to apply the clear wax to I decided to try a white wax instead to blur it all together and make the shade differences less harsh. Since this was out of stock at our local hardware store I made my own by taking one part of white paint and mixing with four parts of clear wax.
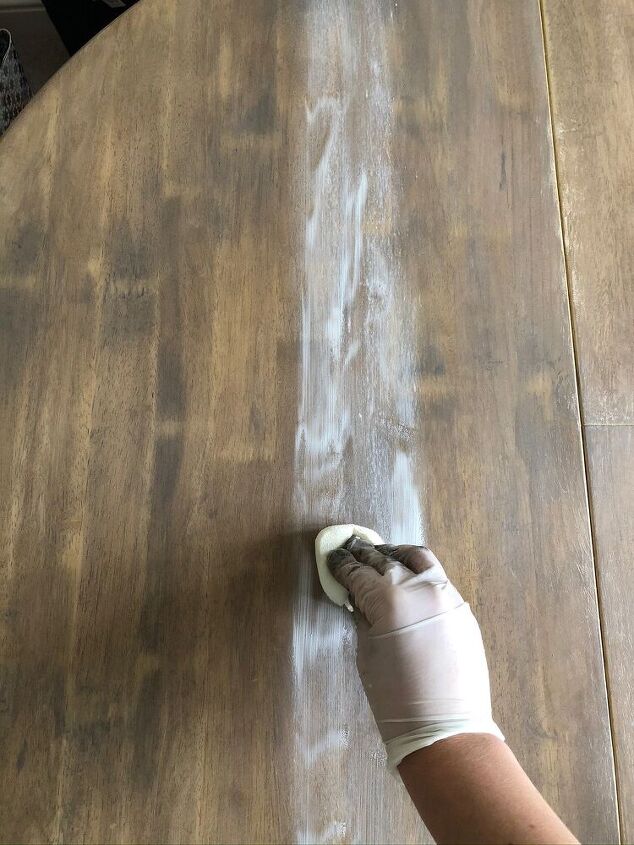
I applied this over the table with a sponge in sections so that I could then wipe off with a lint free cloth before it dried.
I buffed it off and then went back over any darker areas to apply more white wax to add more definition to those areas. This has then left the weathered look I wanted but has blurred all the tones together and left a nicer finish. I then finished by buffing the surface well and it will be left alone for two weeks for the wax to cure. I will add that a wax finish on a tabletop is not ideal. However, for me I decided that this would be the easiest way to seal it and as this table is only used occasionally for eating the risk of spills and damage from use is very low in this case. I will just take care to use a table cloth where necessary but otherwise I'm happy that any damage is low risk.
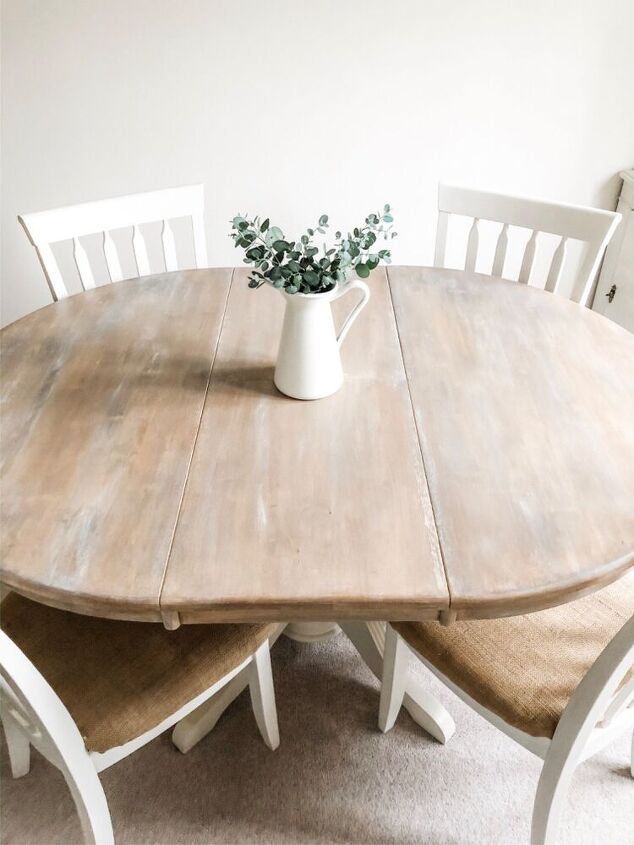
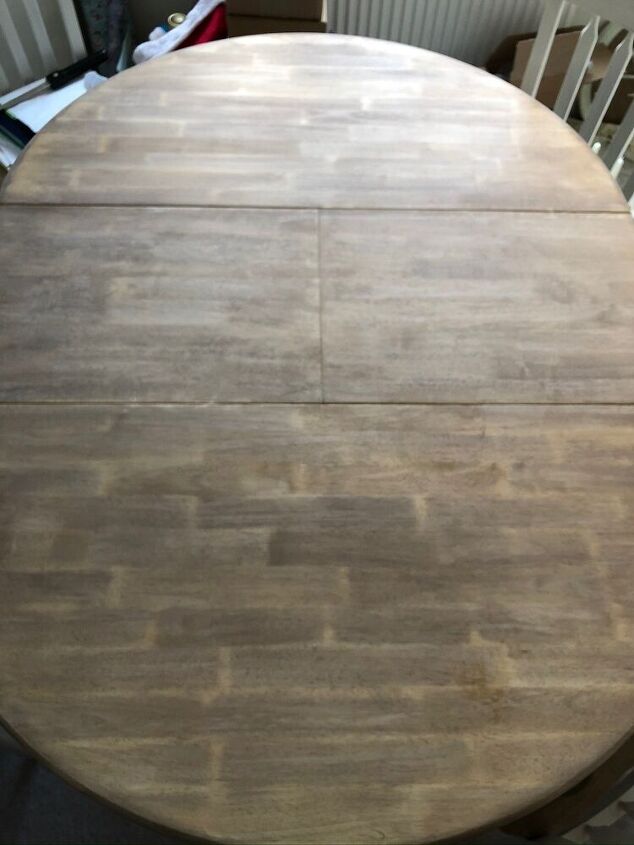
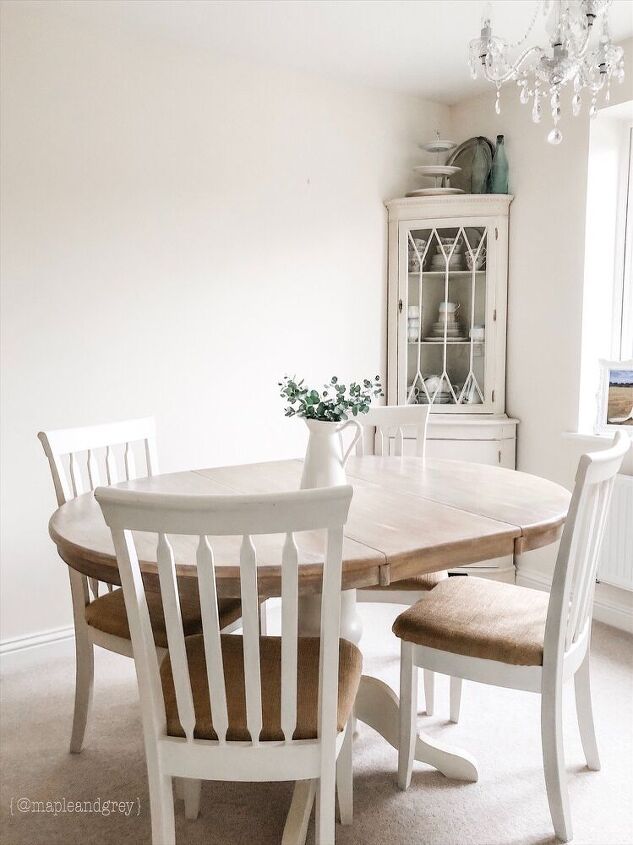
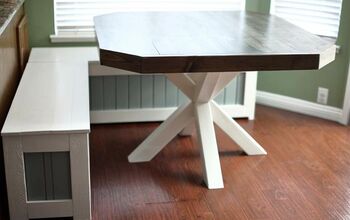
This is the finished look! It is just the shade and look I wanted but required lots of little steps and shade adjustments to get there. I love that it is weathered and rustic and I wanted a french farmhouse/ cottage style feel to the wood so that it would contrast nicely with the white pieces that I have in the room.
I love the details on the edges especially as there are so many different tones in the wood and I love how the white wax has picked up the detail of the wood grain so well here.
It was an effort to sand off that factory finish but the wood underneath was beautiful and now that I have added some character to it through the staining technique I'm definately going to enjoy seeing it in this room a lot more.
To see more of how this room is coming together follow along on Instagram!
~ Rachel ♡
Resources for this project:
See all materials


Comments
Join the conversation
-
Love the way you didn’t quit when you weren’t getting desired effect. I think you nailed it in the end. I like that finish not as durable as you hoped but went with it. Sometimes we loose site of what want to get a result for an occasional use item instead of enjoying what you create and like. Thanks for sharing your process and realistic approach
-
Really nice. Great job!


Frequently asked questions
Have a question about this project?