


Faux Marble Counters (No Painting Required!)

We've all seen the trendy marble painted counters on Instagram, Tik Tok and Pinterest. The paint kits have taken over social media and made their effective presence known! But these kits run about $200 and this mama doesn't have money for that. So here is a super frugal alternative that saves time, money and essentially your sanity. Here's how I created a faux marble countertop for $6!
Materials:
- Marble Contact Paper
- Exacto Knife
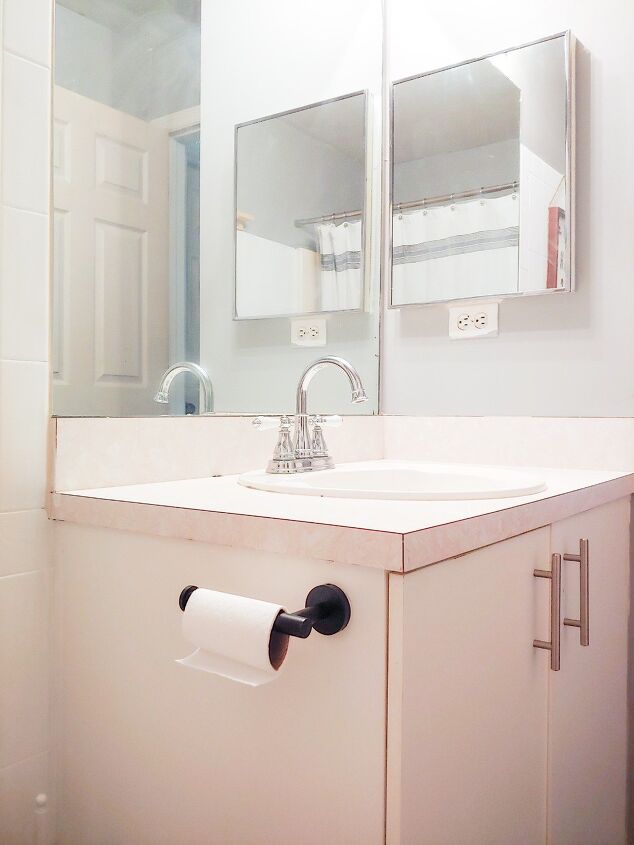
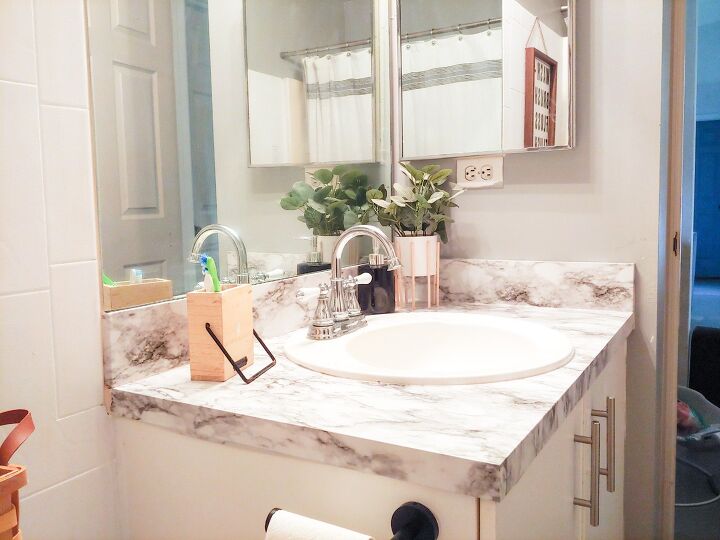
BEFORE
This bathroom serves as our guest/ kid bathroom. The builders grade counters and cabinets are a reminiscent ode to the 90's, and while I consider that to be the greatest decade ever (not at all partial as a 90's kid) I'm not a major fan of the Formica overload.
***I spy with my little eye a very controversial bathroom topic... my toilet paper roll is backwards but tbh I am a becoming a convert on this one!
Okay, now back to the reason we are all really here..
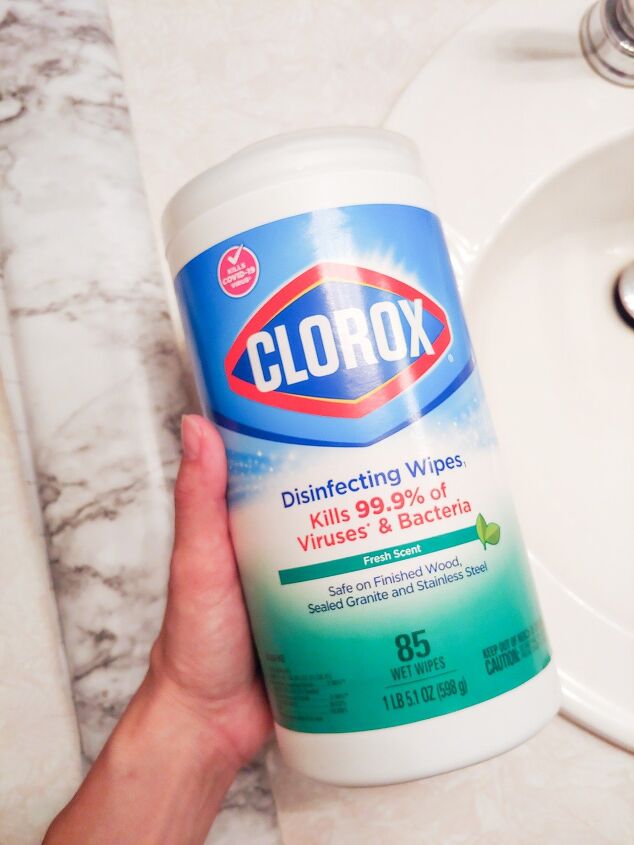
I started by wiping down the counters. One thing formica can do is hide dirt, toothpaste and dust so wiping down my counters was essential before starting this project.

Now onto the meat and potatoes of this DIY. I found marble contact paper at Target for $6 and had previously done this countertop hack in my kitchen. With some practice and seeing firsthand the awesome results contact paper can yield I was confident in this project.
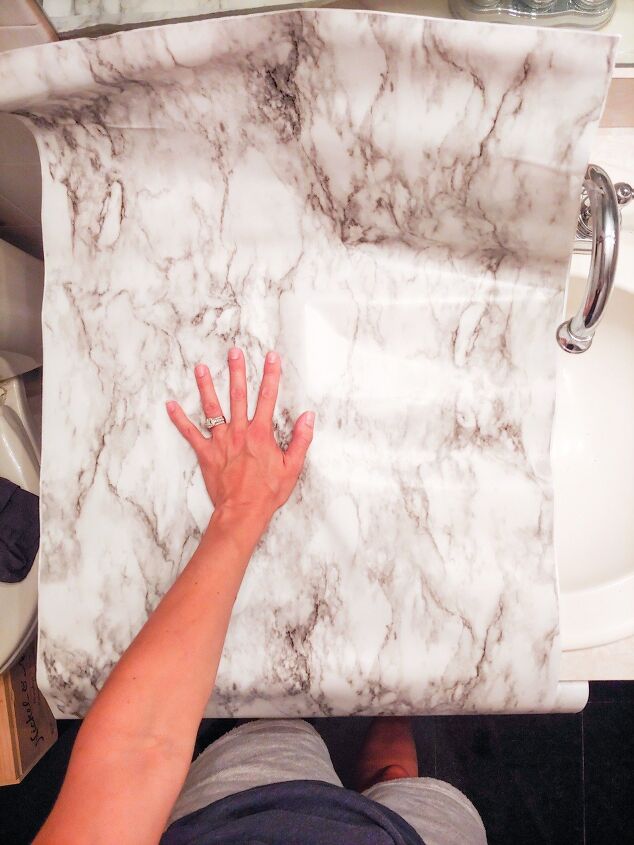
First, I unrolled the contact paper to match the size of the counter, with overhang to spare.
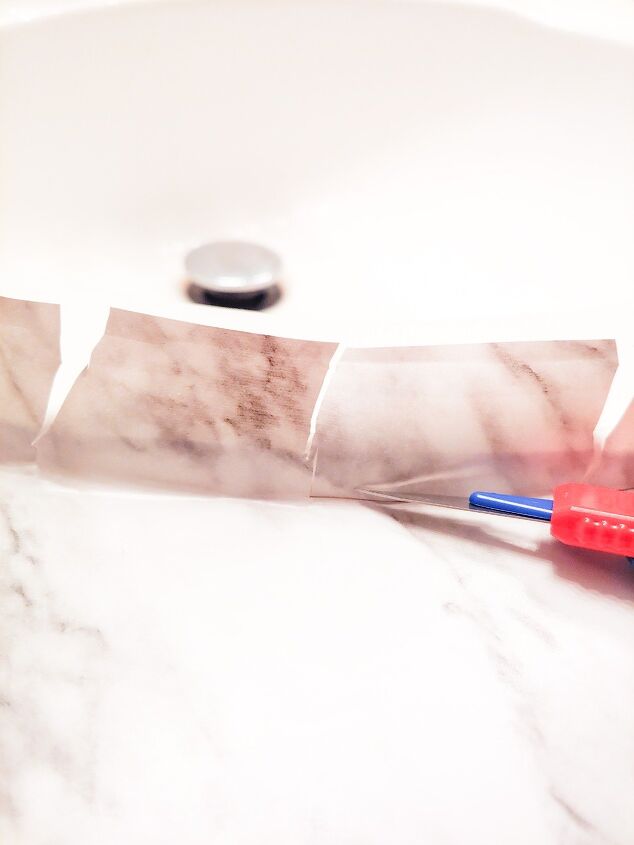
To make sure it fit well around the sink I took my nail and outlined the perimeter of the inside of the sink. Key factor is to make sure you leave a little wiggle room. If you outline the paper to close to the edge of the sink you may end up with gaps between your paper and edge of your sink.
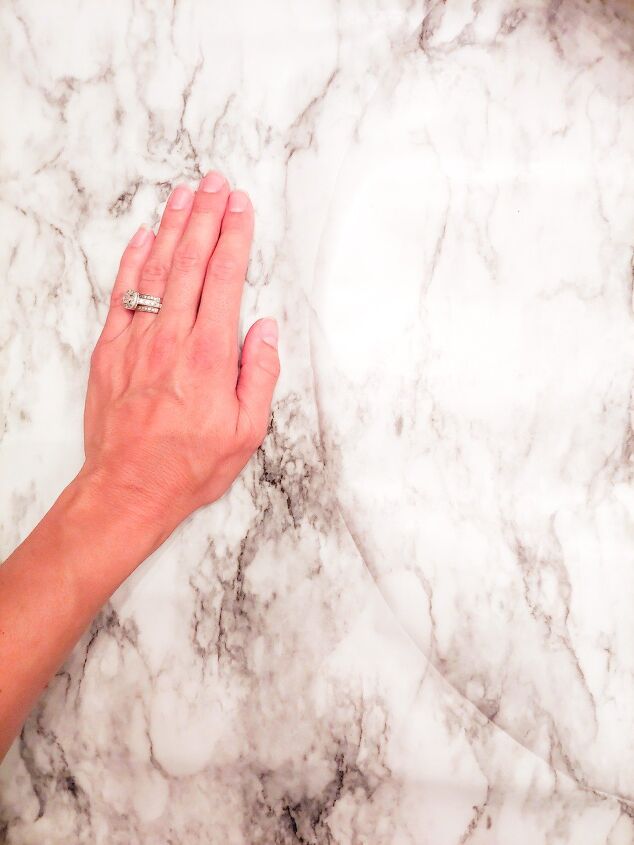
This is the indented outline I created with my nail around the sink. Then I cut along this line with my scissors.
After I cut the sink space out from the contact paper, I carefully peeled an edge of the marble contact paper and lined it against the countertop. Then slowly peeled away the backing while pressing firmly in sweeping motions with my hand to adhere the contact paper to the counter while eliminating bubbles.
Around the sink I then cut slits into the paper in order to apply to contact paper up to the perimeter of the sink. If you do not create these slits, the paper will stretch, creating bubbles and rips in the paper. Use the exacto knife to cut away the slits along the edge of the sink lip.
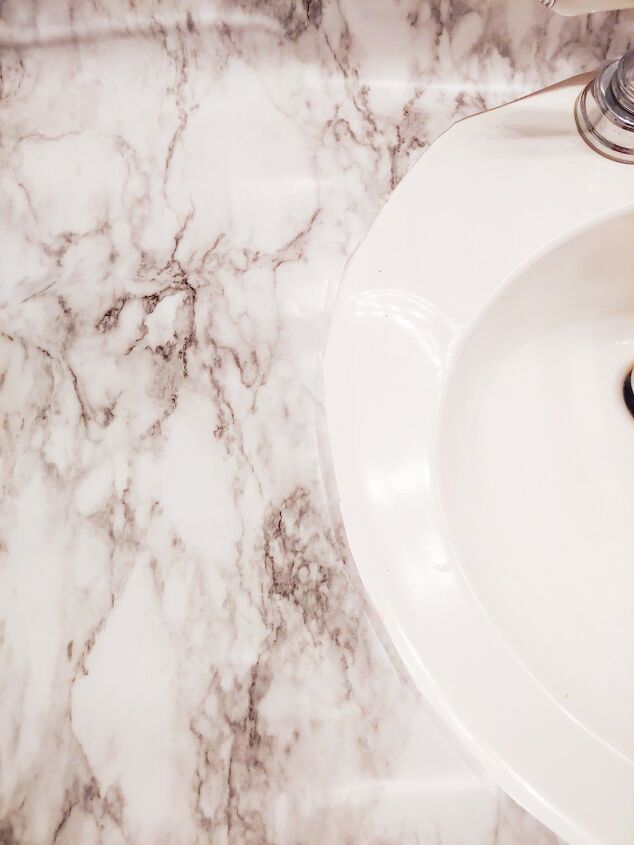
This is how mine appeared after application!
Now to tackle the sides of the counters. This is where that extra overhang of contact paper comes into vital play. This excess paper allows for smooth application over the edges of the counter, rather than having to create a separate piece.
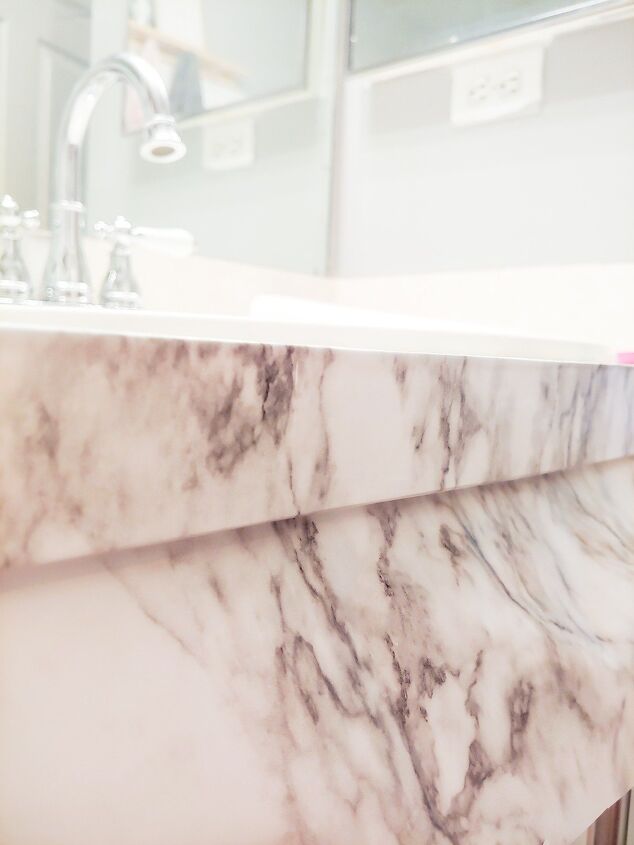
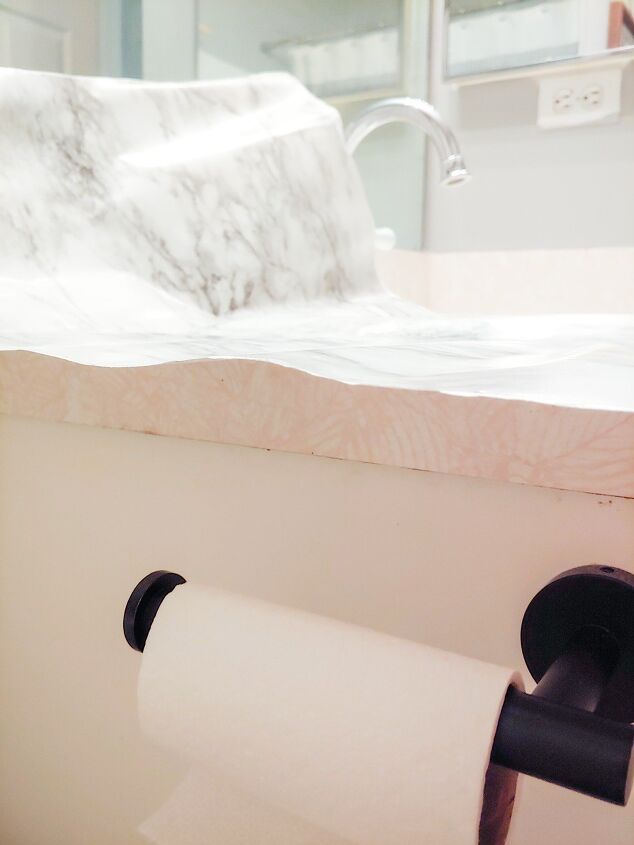
As you can see here, this is the edge of the counter, one continuous piece of contact paper that is applied and pressed firmly across the entire counter.
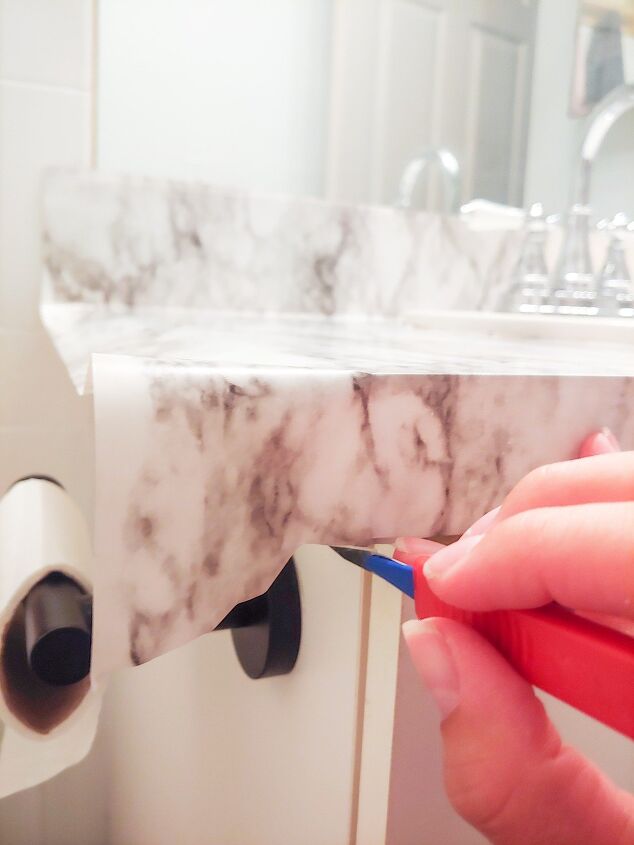
The edge of all things and where a little thinking comes into play. After applying contact paper over one edge you'll need to vertically slice the contact paper up to the corner of the counter.
Here I created my slice. This allows you to apply the remainder of the paper over the adjacent edges.
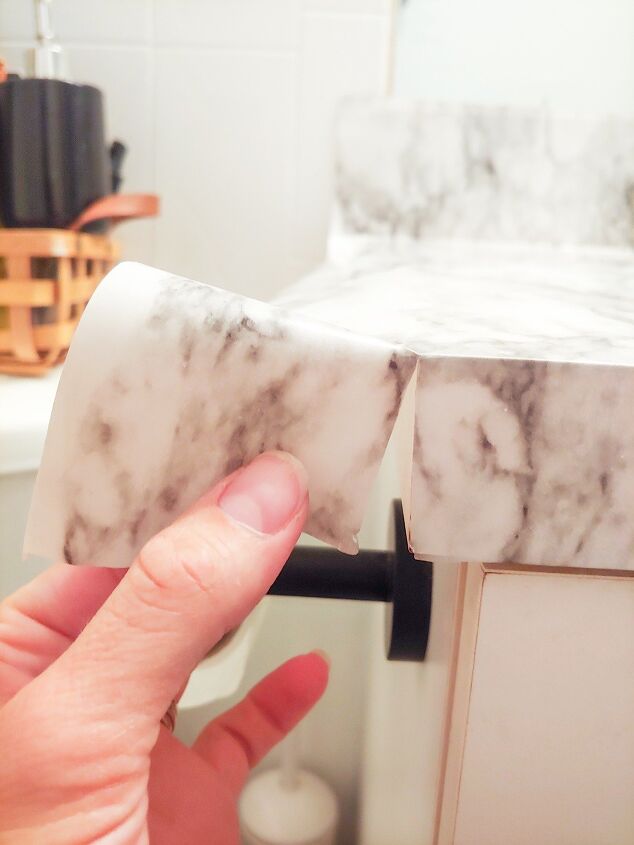
Continue to press down and smooth over the contact paper to apply it to the counter. Either cut the piece left from that flap we made, or pull it and apply it to the adjacent edge.
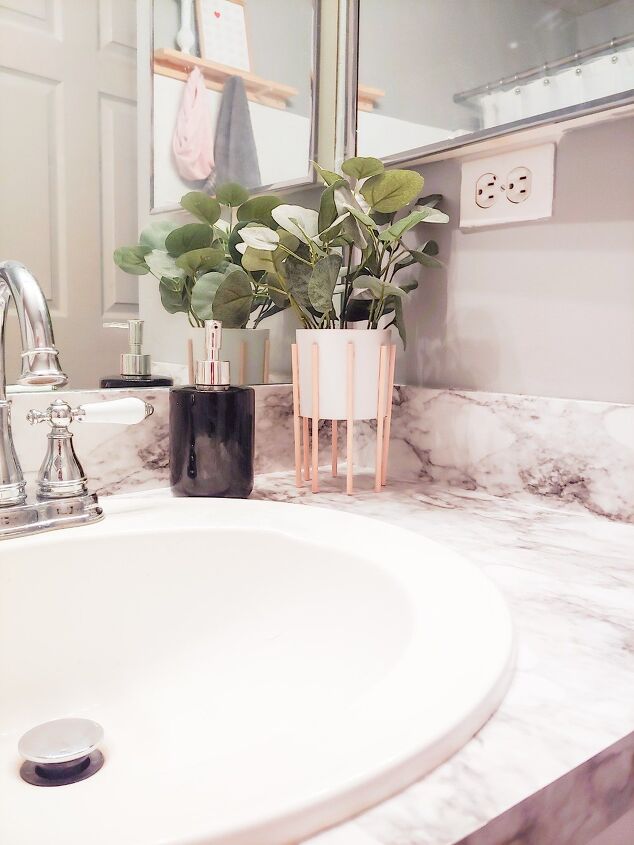
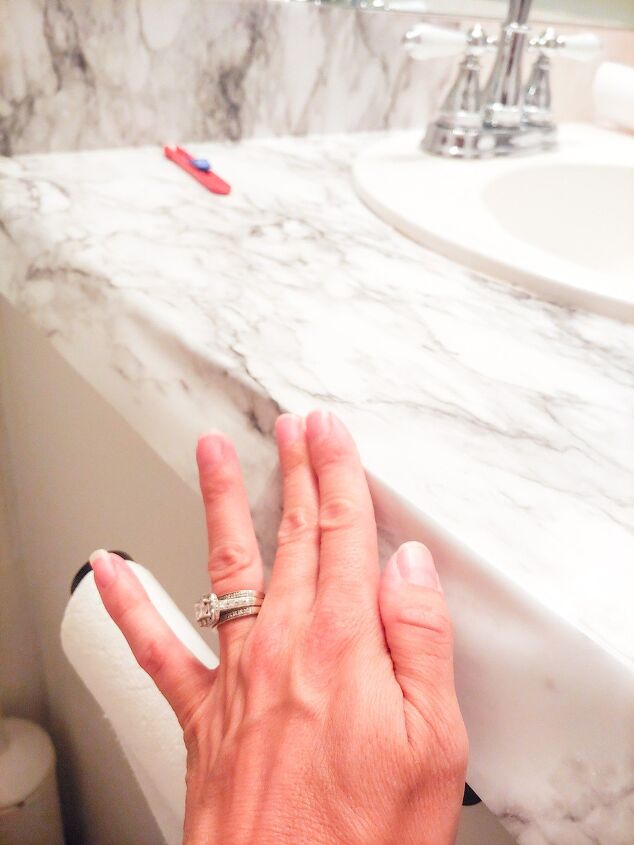
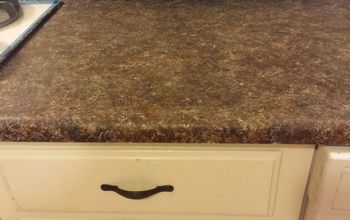
After a little extra smoothing, etc. the counter is complete! I added a little extra decor to update and freshen the bathroom and am super pleased with the results.
For $6 this is an insanely affordable way to temporarily update your space. To create a more lasting effect you can add a clear poly top coat for scratches and durability. I have yet to add poly to the bathroom, but did that step in my kitchen. Several months later the counters in my kitchen are still holding up!
Happy crafting friend!
Comments
Join the conversation
-
You did a super job lady!
-
I bought the countertop 'contact paper' from Home Depot, but haven't used it yet. I'm anxious to do it, but saw posts about it not being very good. Yours turned out good, but don't know how mine will turn out!! At 75 , not going to be an easy task, but can't afford a new countertop right now. Wish me luck!! .😺😸🐈️😊


Frequently asked questions
Have a question about this project?
Is the contct paper water resistant?