


Ikea Cabinet Glowup

It’s so easy to completely change the look of an ikea cabinet with just a few simple steps.
follow along with me and I will show you how I took a pretty basic piece and turned it into something more custom and elegant looking.
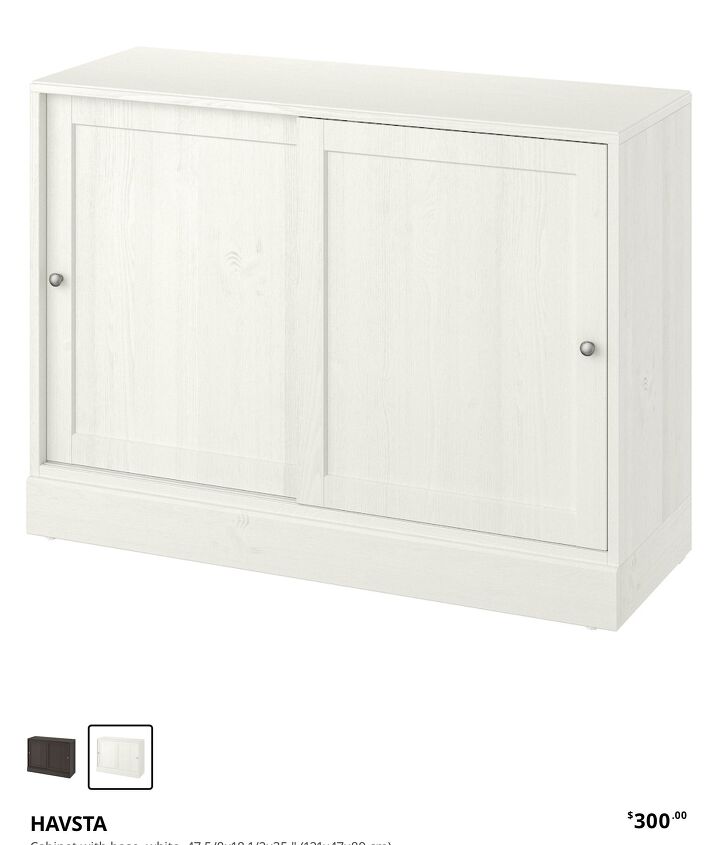
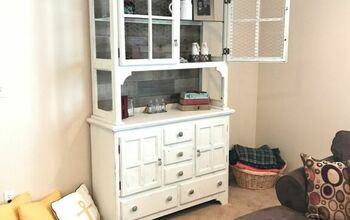
This is the ikea cabinet I started with.
materials used:
- 3/4” decorative primed moulding
- (2) 2x6 pine boards
- stain of your choice (I used general finishes flint color)
- white paint
- caulking
- 4” baseboard
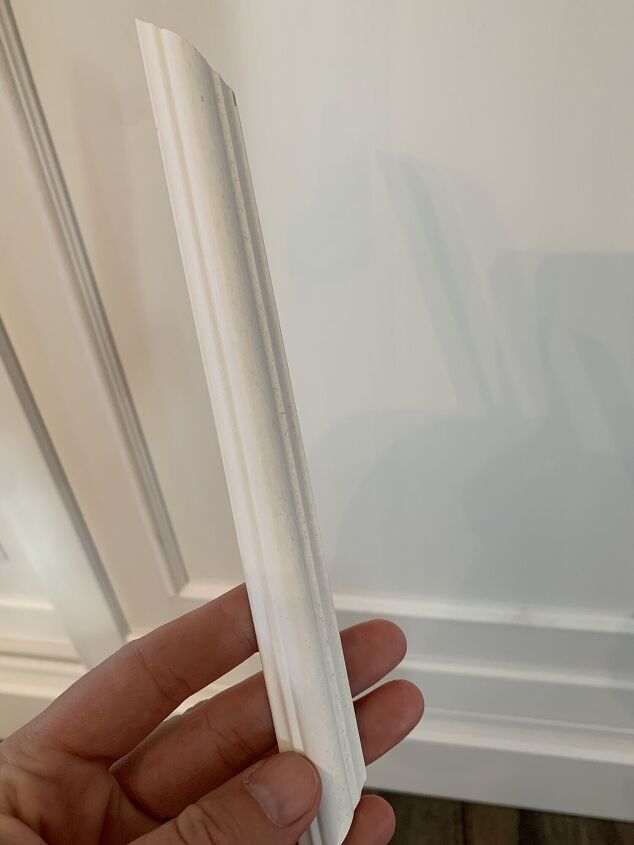
This is the style of moulding I used.
cut list (all pieces have mitred corners, so set your saw to 45 degrees. Measurements are long point to long point)
- (4) @ 15”
- (4) @ 19”
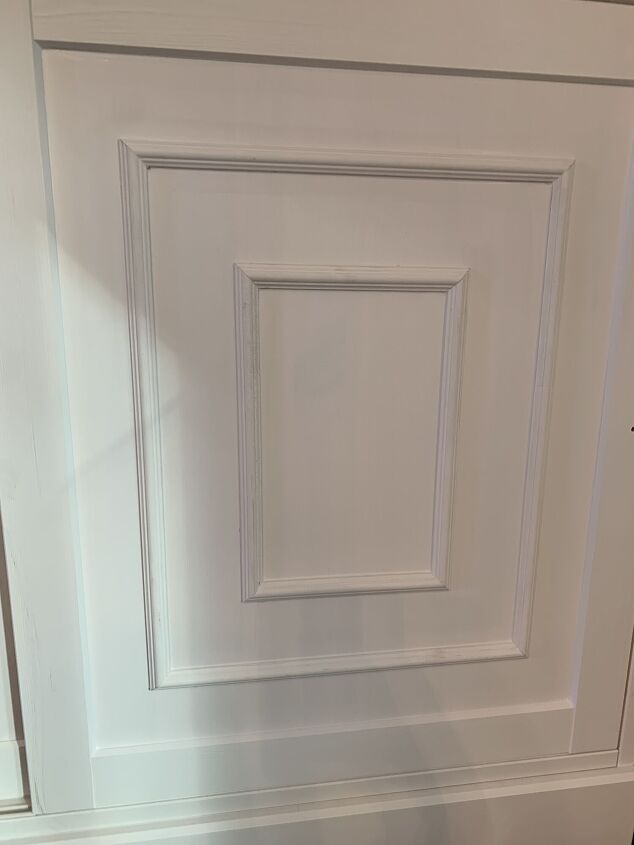
these will make up the outer rectangle
- (4) @ 8”
- (4) @ 12”
these make up the smaller inner rectangles
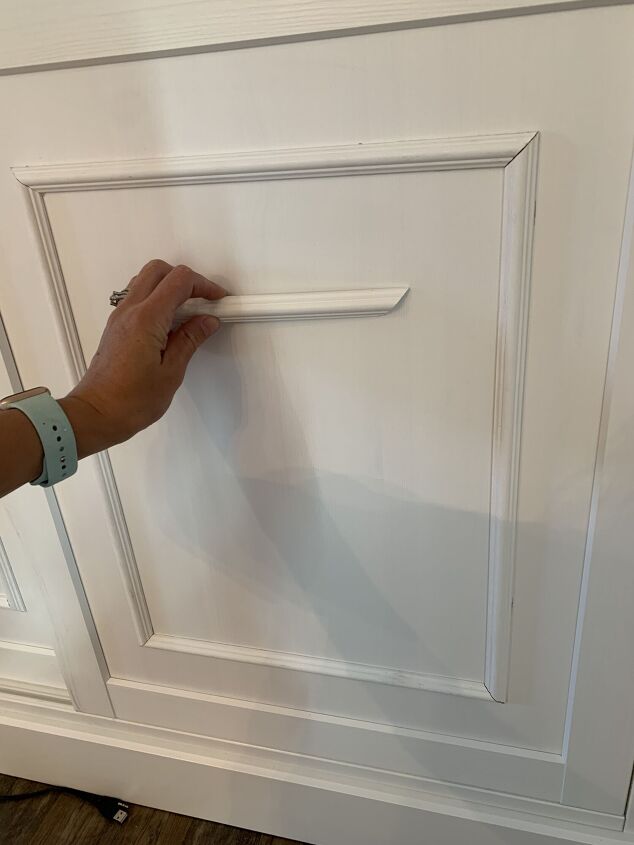
Attach the pieces onto each door. I used CA glue to attach mine. It’s simply a super fast setting crazy glue. You can also use a pin nailer as well.
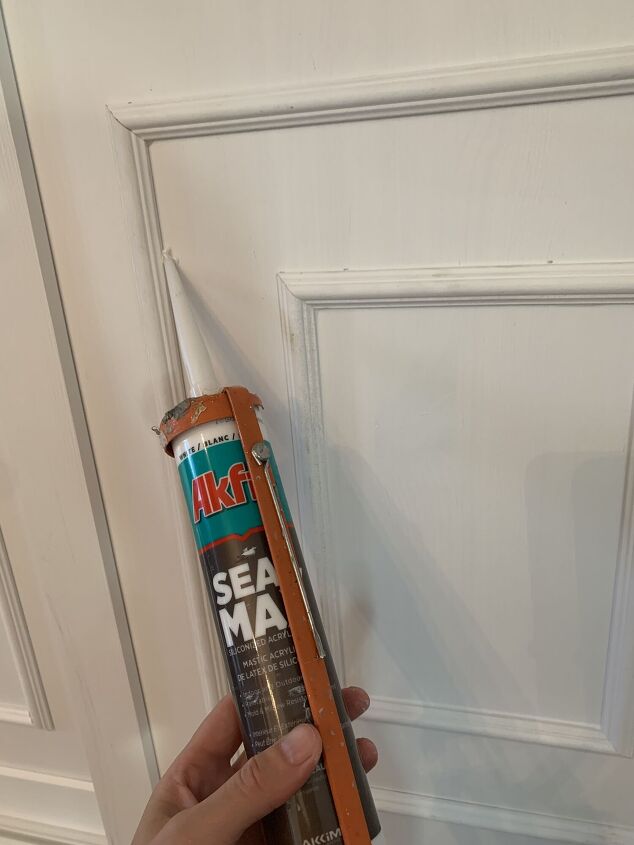
Once all the pieces are in place, I went around all the seams with caulking.
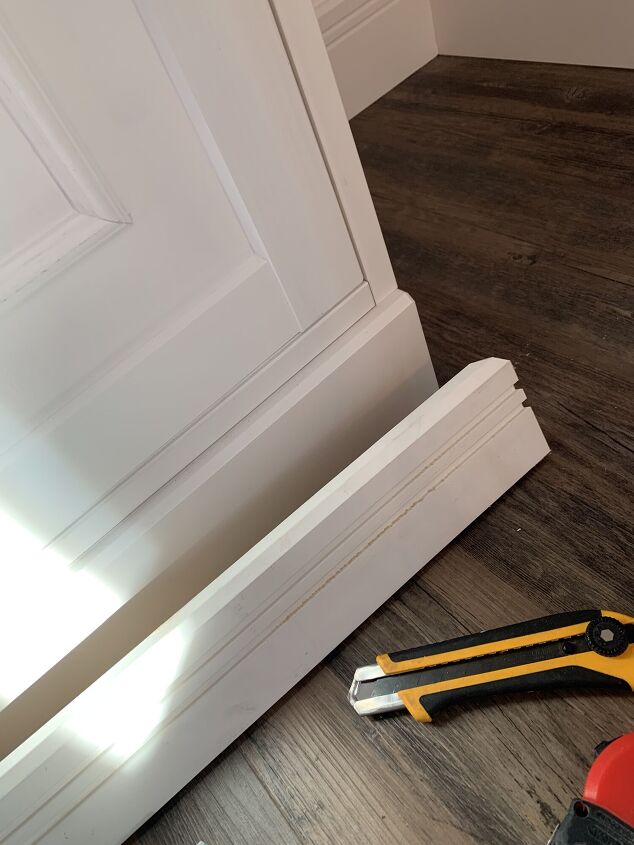
I added detailed baseboard onto the bottom.
I gave the cabinet a coat of white paint. And added my own new handles onto the doors.
For the top, I cut each 2x6 at 48” and glued them together. Sanded them down and stained them with general finished flint stain.

Attached the top with screws from the inside.
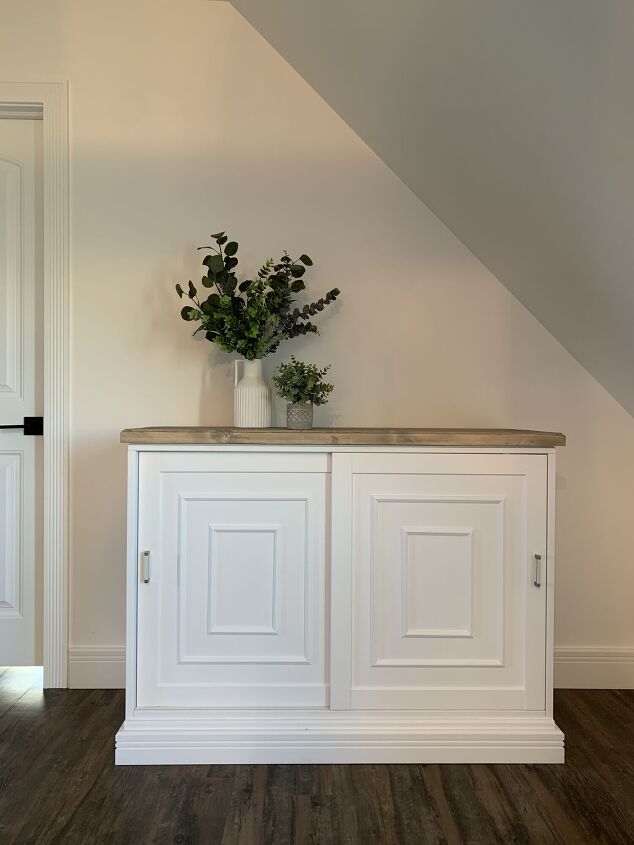
And there you have it, an ikea cabinet with a custom look.
thank you for following along with me on here. Be sure to follow along with me on Instagram as well.
cannot wait for our next DIY together.
Create your own trends, set your own style. This is what separates you from others.
x
Amber
Resources for this project:
See all materials


Comments
Join the conversation
-
It sure has been upgraded, very classy !
-
Beautifully done, you would never know it was a plain Ikea


Frequently asked questions
Have a question about this project?
The top appears to be stained wood - how does this come into the transformation?