


Reupholstered Dining Chairs
5 Materials
$50
1 Hour
Easy
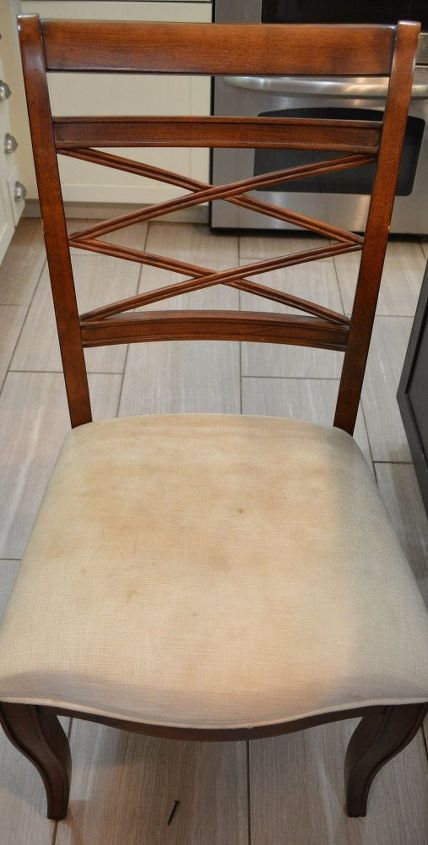
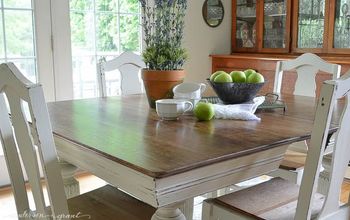
I bought a beautiful dining set when I moved into this house almost 10 years ago. The only thing I realized later that I did not like about it was the fabric on the cushions. It was off-white which meant two things. It was boring and it got VERY dirty very easily. Well, that little problem has been rectified! I reupholstered the chairs (ok, I’ve only done two so far, but I’m 1/3 of the way there). They came out great and I can’t wait to tell you how easy it was!
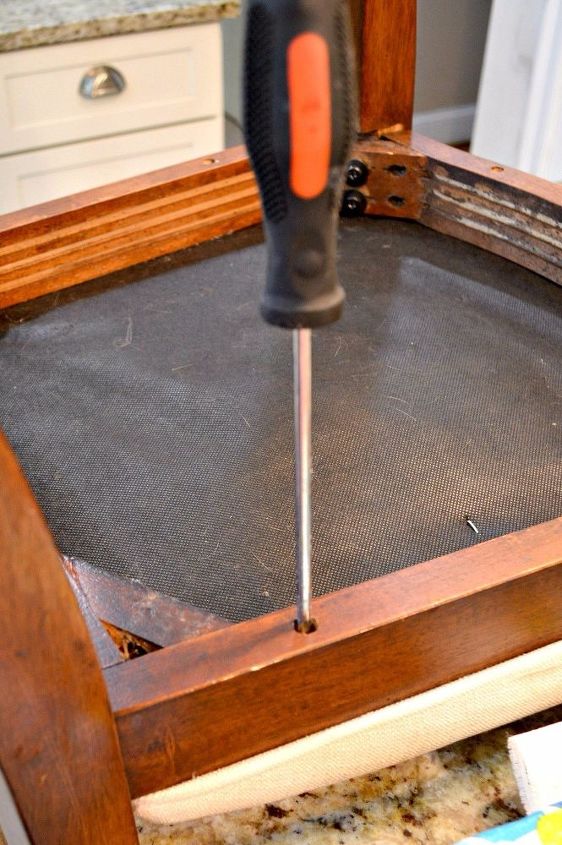
Remove your seat cushion. For some reason, I thought this would be difficult. I was wrong. Just turn your chair over on your counter, find where the screws are that hold the seat on and unscrew them. Voila, seat cushion removed.
Cut your fabric. Be careful and think this through before you cut, okay? Fabric is expensive and you don’t want to waste any. You want to try to have 3 inches of overlap on every side. Put your seat cushion on top of the fabric and fold up all of the sides to make sure you have at least that. If you picked a fabric like mine with an obvious “center”, make sure you are leaving enough fabric on the other half of the width to cover your next chair. Luckily, my 54″ fabric was just the right width to cover two seat covers with another overlap on both sides to be able to staple it underneath. When you are sure you have it right, cut the fabric.
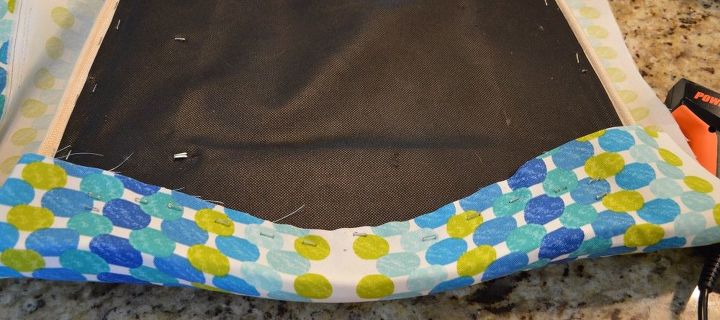
Start stapling. You want to start in the middle of the front of your cushion. Pulling the fabric tightly, pop in one or two staples on that end and then do the same on the opposite end of the cushion.
Don’t forget to pull the fabric tightly! This is super crucial! Your corners will be brutal if you are not pulling tightly every time you staple. And on the topic of stapling, when you are ready to staple, use two hands. Basically it goes sort of like this, pull your fabric very tightly, while still holding fabric, place the staple gun on the fabric, don’t staple yet, but press down while moving your hand that is holding the fabric to the top of the staple gun so that you can press down on the top of the staple gun, then shoot. If you don’t hold the staple gun down from the top, you will find that your staples don’t go all the way into the chair, as you’ll see in my picture below. I figured it out on the second side and had much neater staples, I promise. It’s sounds complicated, but you’ll get the hang of it after a couple of tries. And remember, no one will see that you have some wonky staples underneath your dining chair.
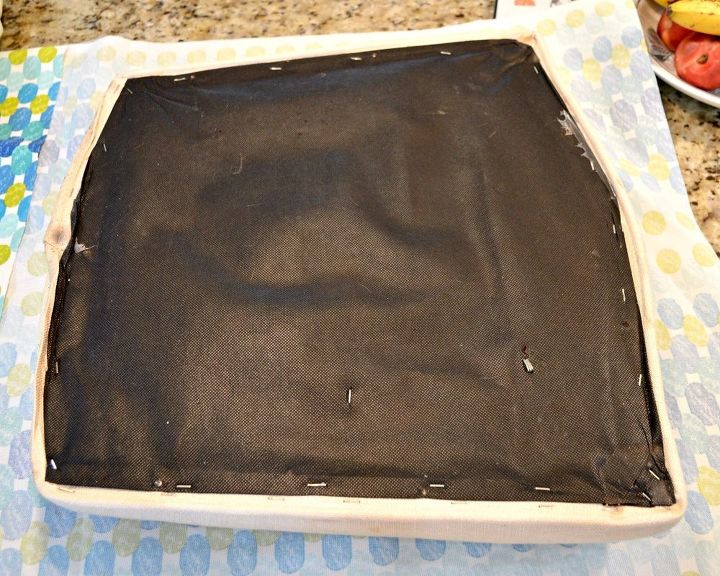
Keep stapling. And pulling tightly. Fill in staples from edge to edge on the front and back sides of the cushion, then do the same process of staple one in the middle on both the left and right side of the cushion. Then fill in staples on the left and right side. DON’T FORGET TO PULL TIGHTLY!
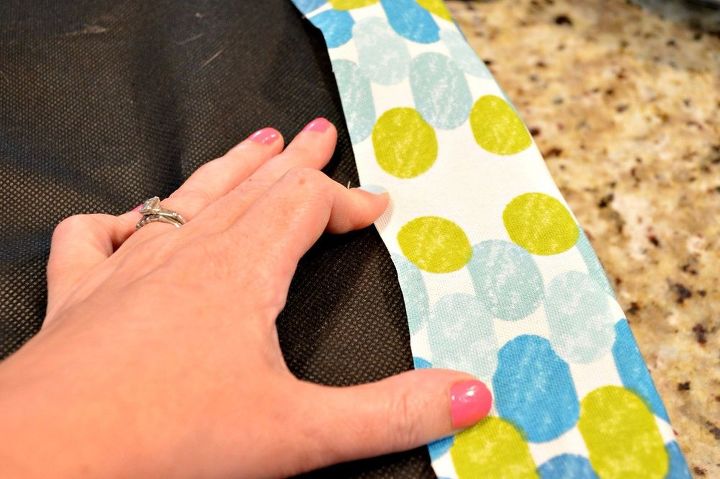
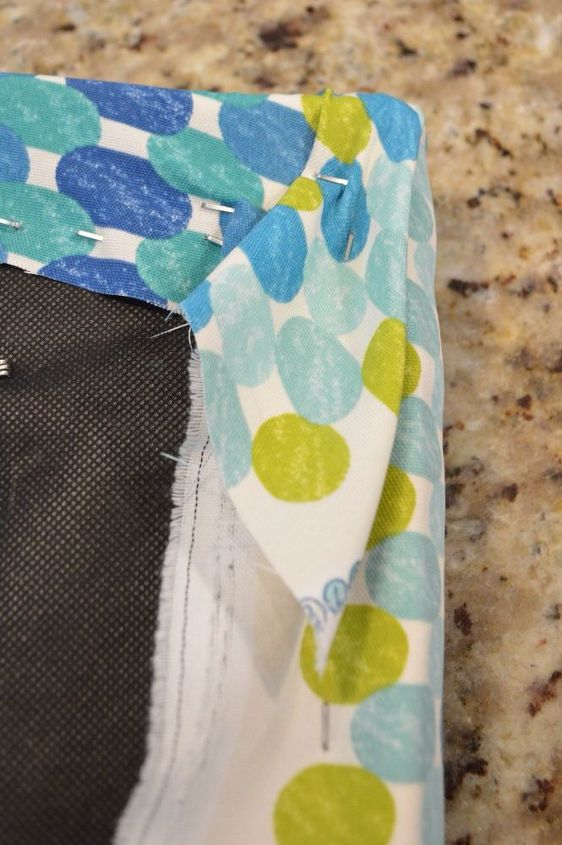
The corners. The corners can be a pain. There are several tutorials available, but the best method for me was to start by adding a couple of staples to help pull tight any loose fabric (see the first picture below) then fold the flap that is left behind toward the back of the cushion (see the second picture below). When you are folding that flap over, make sure it stays within the underneath portion of the chair. One of my flaps was a little too close to the edge and I could see it when I flipped the cushion over. I didn’t fix every tiny wrinkle, but I did fix that.
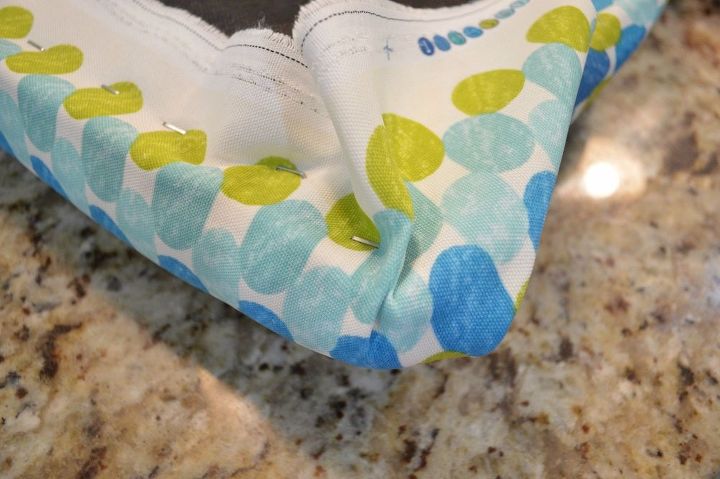
I will give you two words of advice on this part. 1 – Staples are removeable. If your corners are really bad, you can totally start again. 2 – Teeny tiny wrinkles like the one you see above at the edge of the chair in the green dot of the fabric, will not necessarily be visible once you flip the cushion over.
When I was happy with my corners, I trimmed some of the excess fabric off. Not all of it. I left enough so that if I ever had to pop a few more staples in, there would be enough fabric to do so. Call me a doomsdayer, but I was planning for that time when the fabric just rips itself out of the staples. Probably won’t ever happen. Probably.
Reattach your cushion to the chair. This sounds simple, but you do have to make sure that you place the cushion back on just as it was before. The first time I reattached it, I was actually off to the right a smidge and it was not a good look. I ended up standing the chair on an ottoman so that I could place the cushion on correctly and still have enough room to look underneath and figure out where the screws were supposed to go. By the way, you may have a moment when you’re about to reattach the cushion where you realize you’ve covered the screw holes on the seat with fabric! Don’t worry, it didn’t really make any difference. Once I had the cushion aligned correctly, the screws went through the fabric and into the screw holes just as they should.
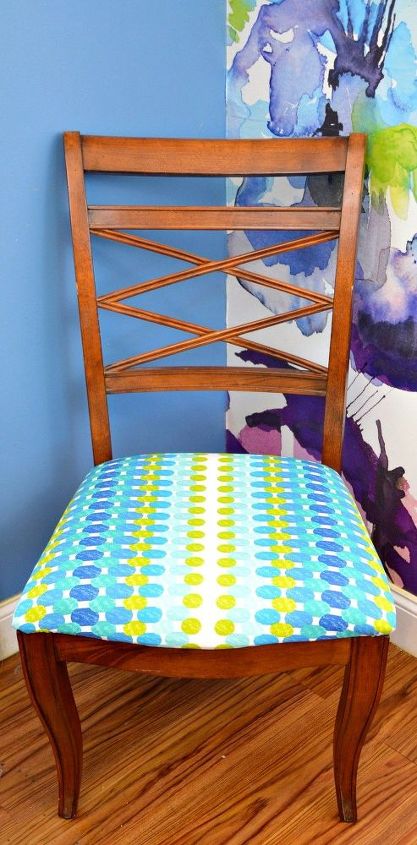
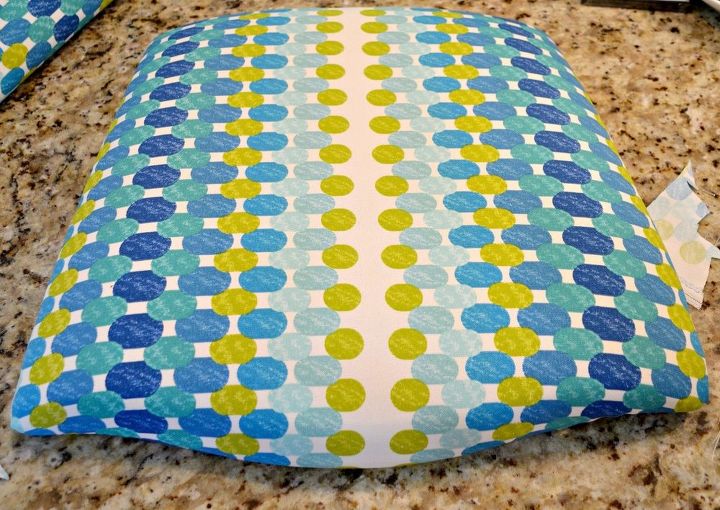
And there's the after, friends! I've got two done, four to go!! If you're wondering about where to find fabric, I bought mine on-line and I wrote all about the experience in this post.

Want more details about this and other DIY projects? Check out my blog post!


Frequently asked questions
Have a question about this project?