


Fireplace Makeover and DIY Modern Picture Frame

I have been working so hard to update my home. The fireplace is the first thing you see when you walk in the house and it has been neglected for at least two years. I decided to change that because I knew it was something I could do quickly, for minimal cash and make a huge impact. I'm a visual person, and if you are too, the Reel (quick video) on how I made this come together is on my Instagram.
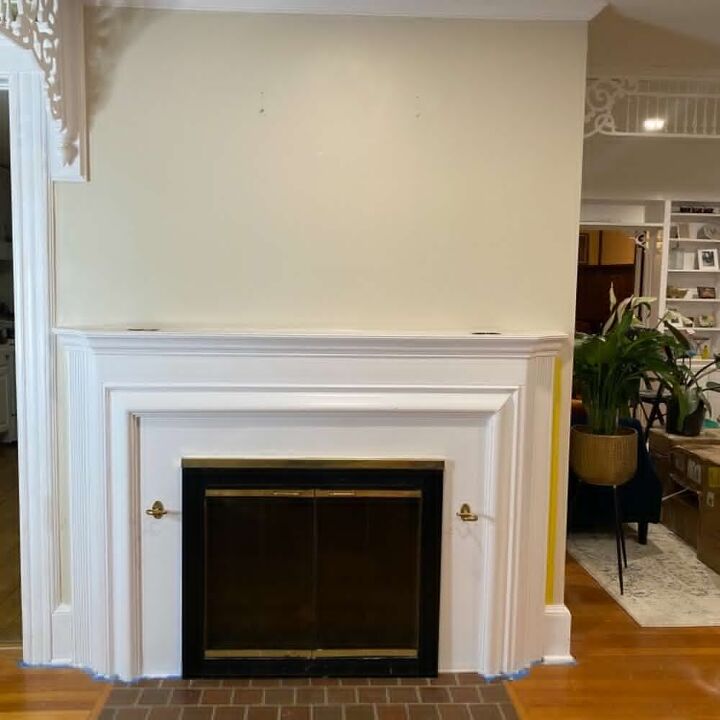
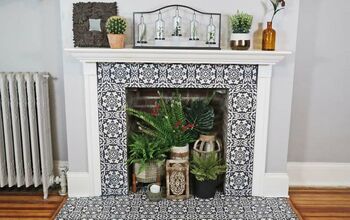
This is what I’m starting with. When I first moved into my house, the fireplace was cream and I painted it white. And then it collected junk and I never got around to changing it.
Let's prep the space for paint.
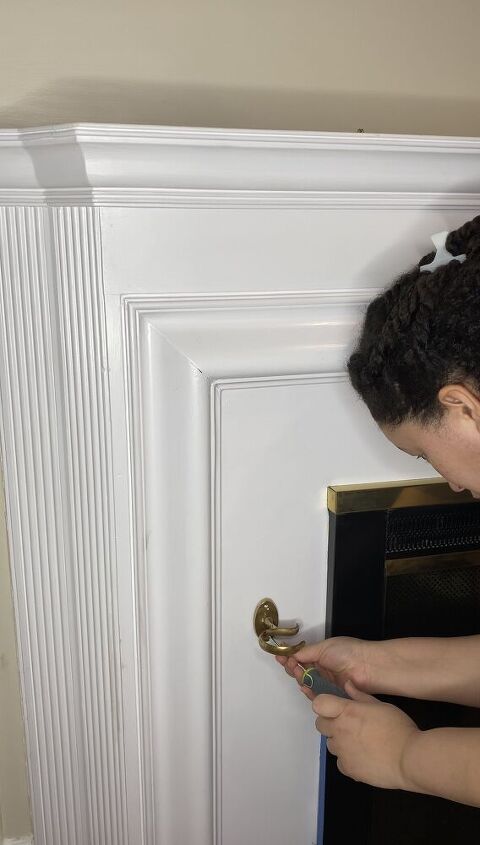
I had old painter's tape already in place so that made this easy. Apparently I attempted to do this before and never got around to it. Welp! I removed the hardware and cleaned the surface.
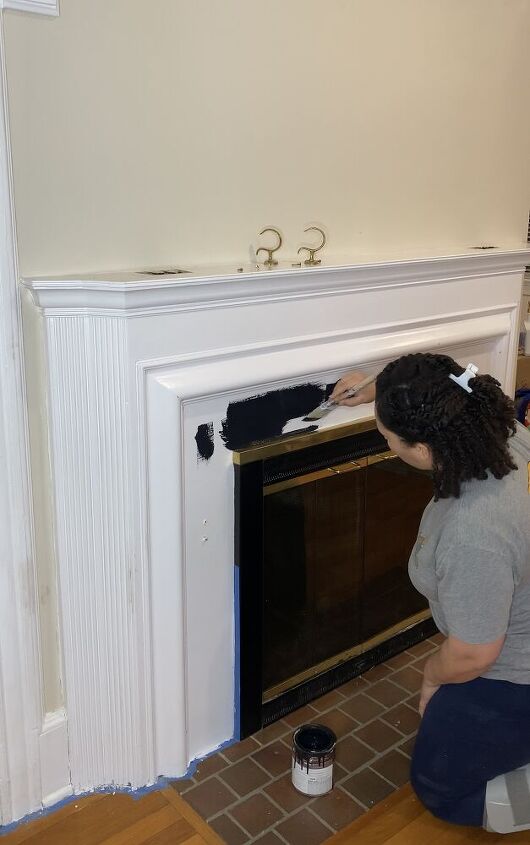
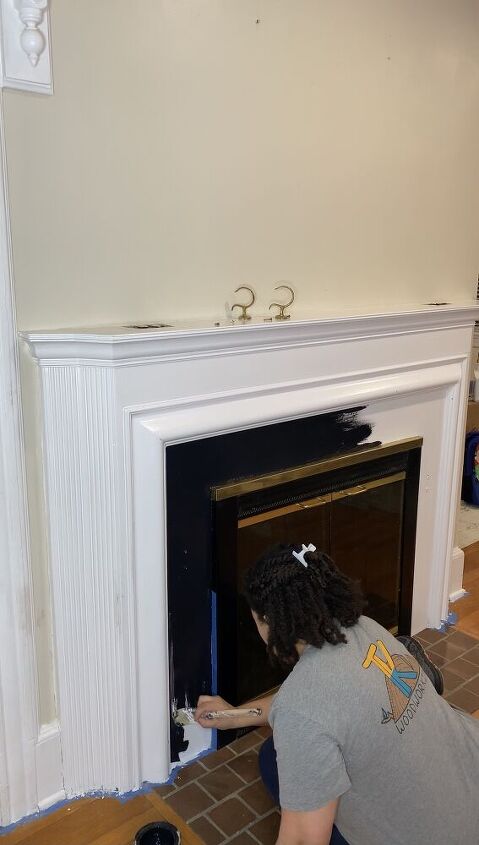
Use painters tape wherever you feel it is needed. I often like to freehand edges -- it's therapeutic!
Once your done painting and it's all dry, replace any hardware you removed as well as the painter's tape.
Let's work on the frame!
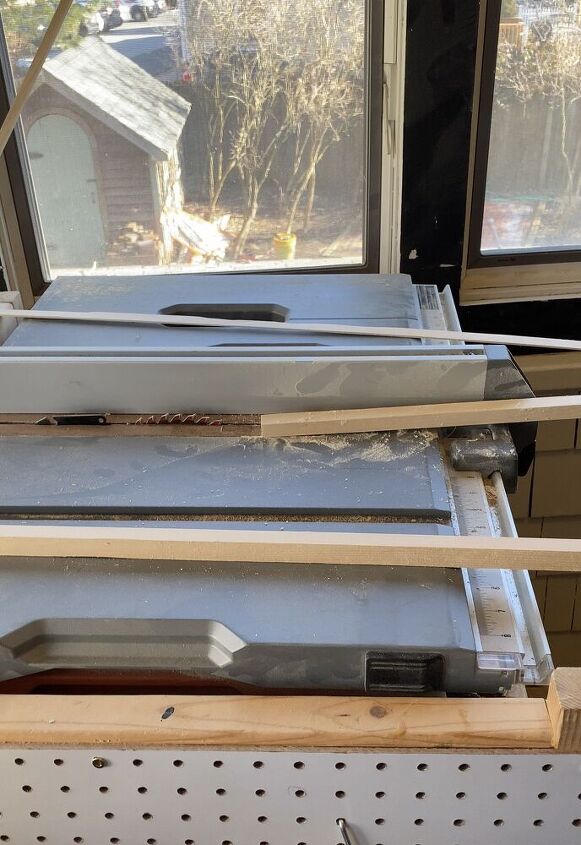
I guess I am grateful I enjoy these products/builds because I always have scrap wood laying around. I found some scrap wood to make the frame and am cutting a "rabbet" in the wood (see next picture). I lowered the blade on the table saw and cut along one edge of the wood.
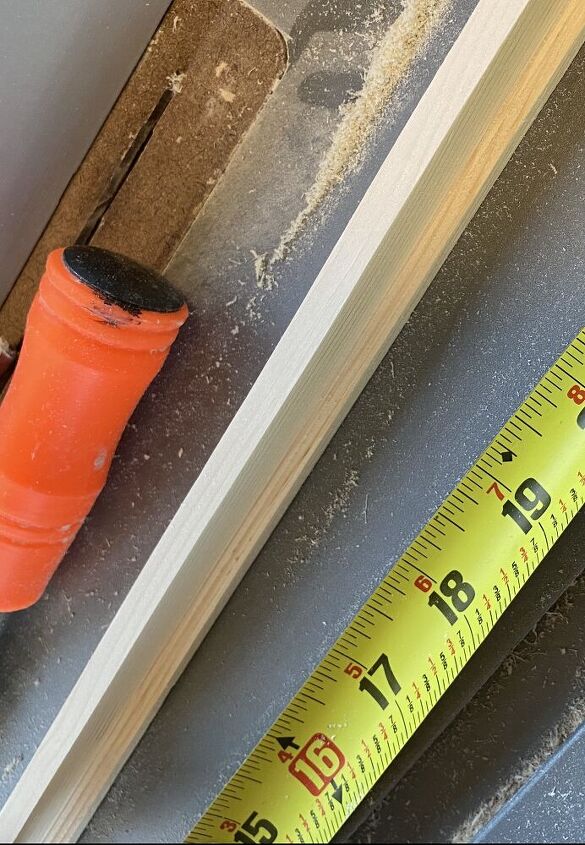
It should look like this. This is what glass will lean against.
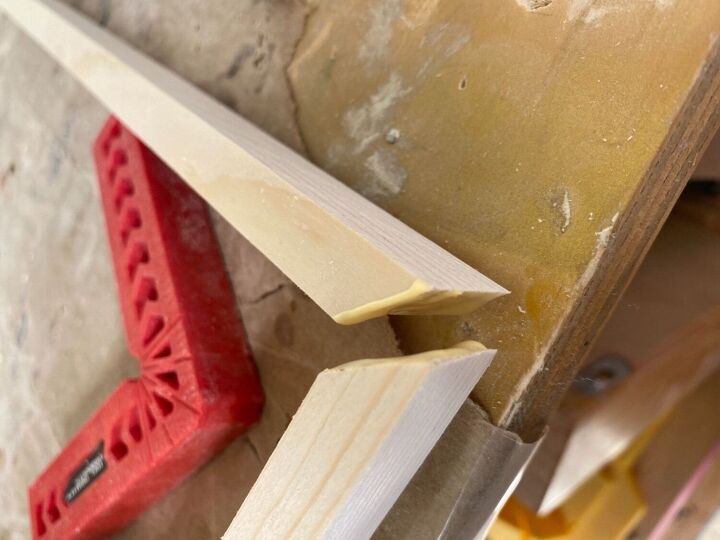
You’ll have to cut the corners at 45° You can see how to do this on my prior post. Glue and attach with brad nails. I used a square (red tool) to make sure everything was aligned correctly.
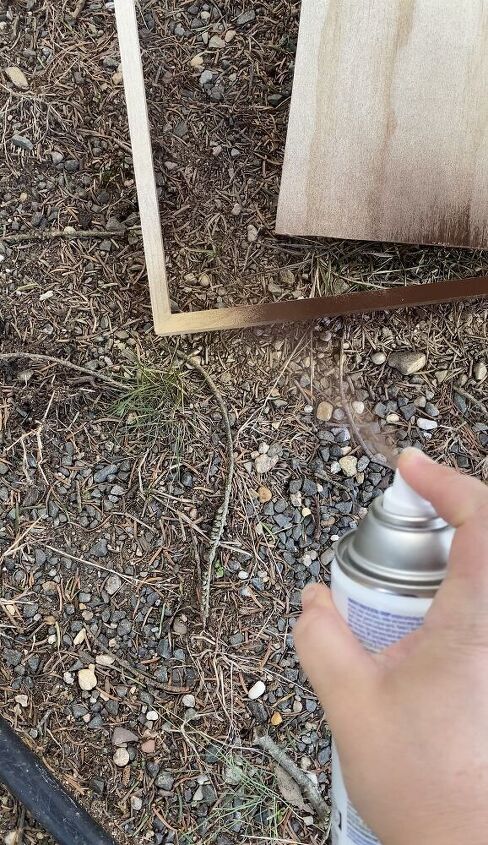
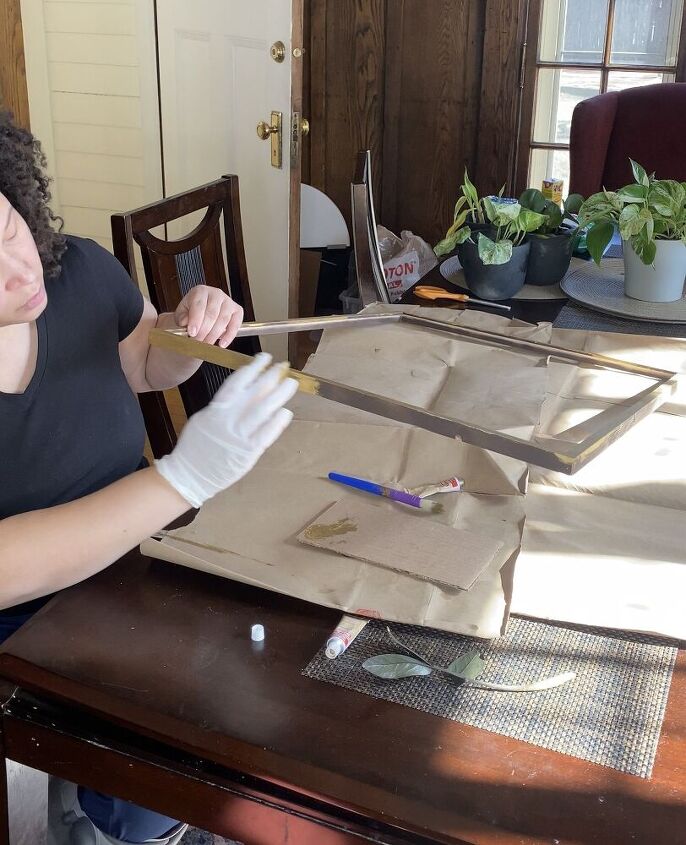
Once assembled, I primed the picture frame with brown spray paint (because I didn't have any more gold).
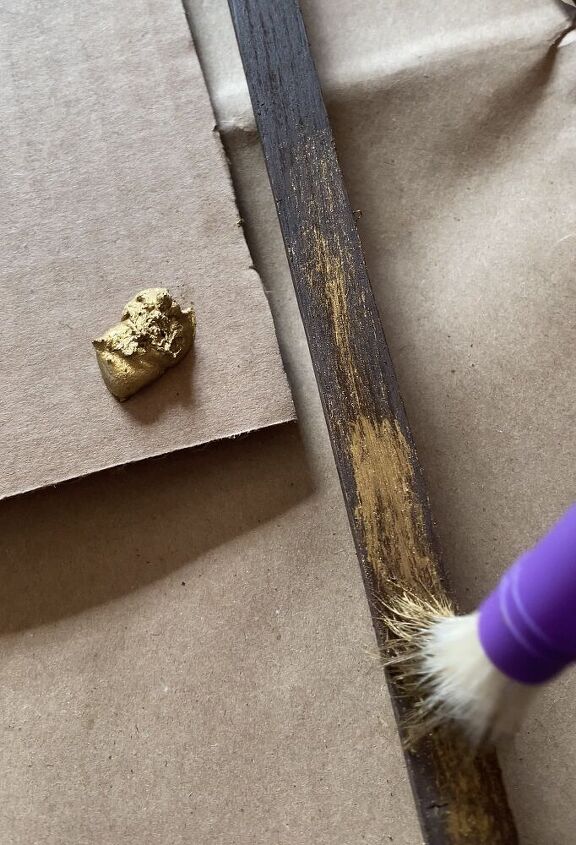
I used Rub and Buff in color Gold Leaf. I love Rub and Buff. A little goes a long way. I recommend wearing gloves and protecting anything around because this stuff stains as soon as it makes contact!
The brush was taking too long so I decided to use my hands (with gloves).
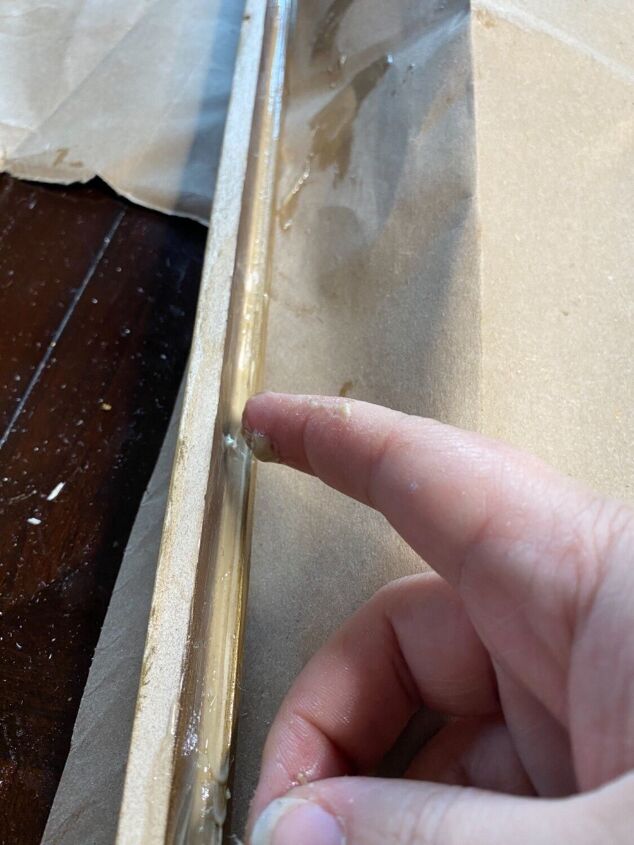
I applied liquid nails for wood and glass to the inside corner of the frame.
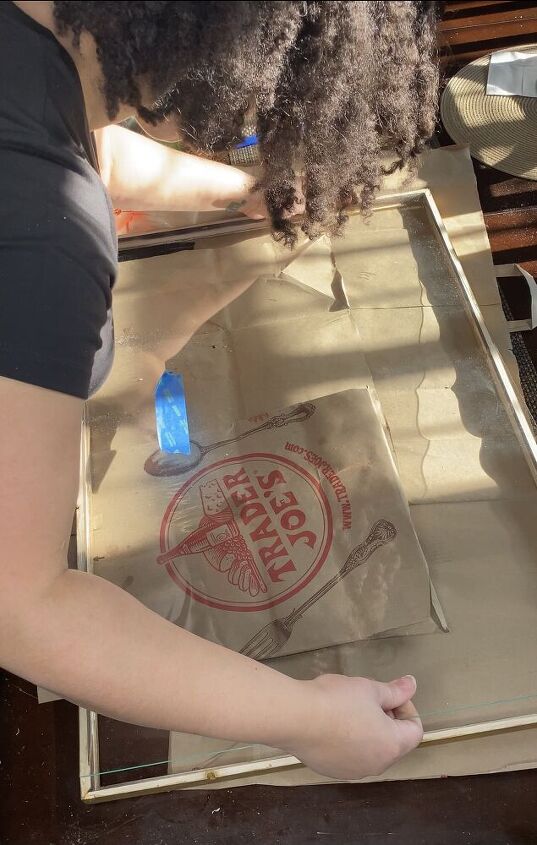
I went to Lowe's to have glass cut. That was my only expense and it cost $22.
I measured the dimensions inside my frame and subtracted 1/16th of an inch. It's important to subtract this otherwise the glass will fit too tightly and it will be hard to insert. This is not tempered glass, so you have to be careful.
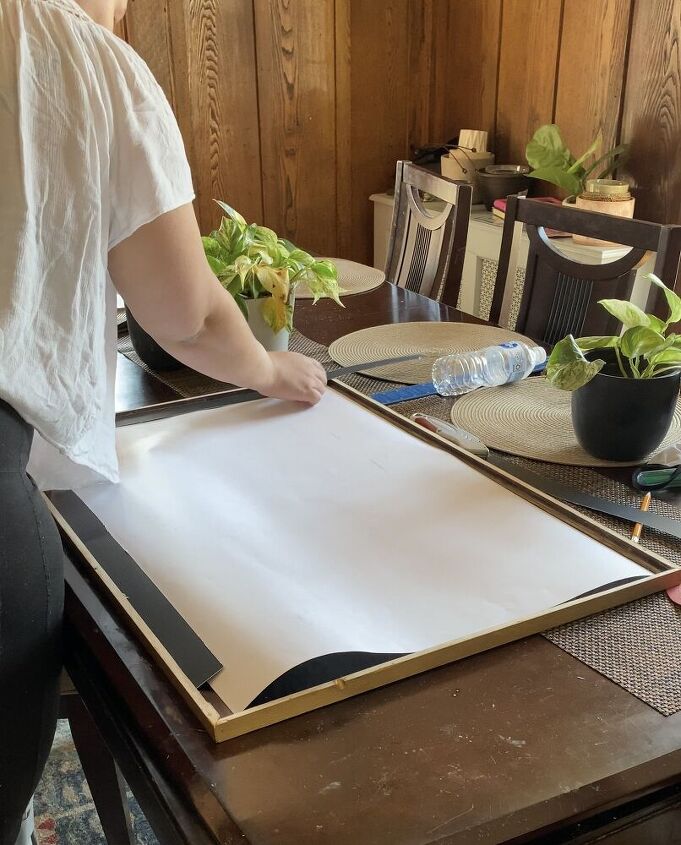
I put my picture in and realized there was a small gap between the picture and the frame. So I cut black construction board and placed around the edges. This ended up looking very intentional.
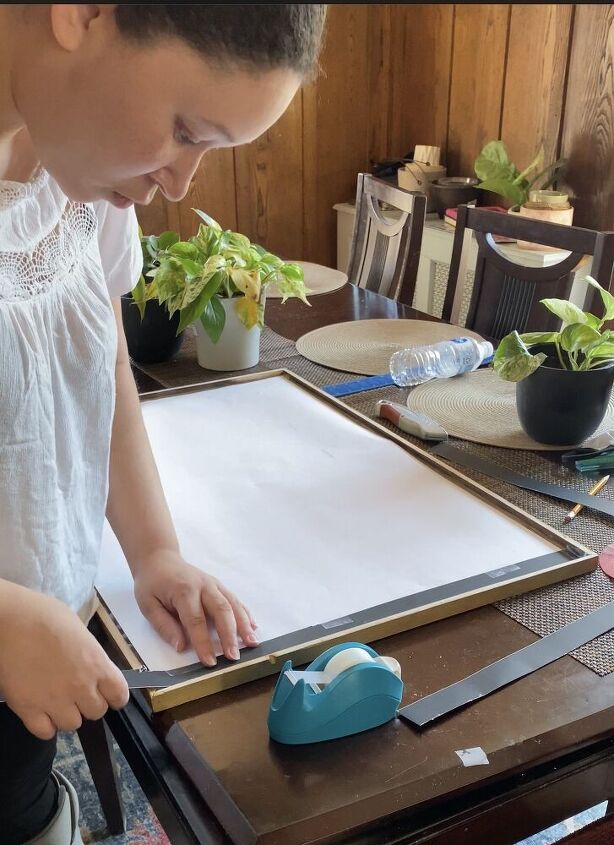
I taped it down and that was it.
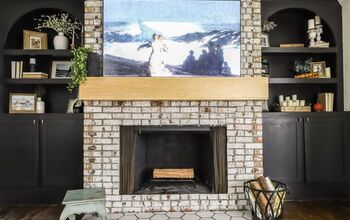
Hang it up and you're done!

It's hard to get a great picture because there is a wall behind me. But I love it. I haven't decided on further decor-- I may leave as is. The frame looks small in the picture, but the final size is 20x30” and it fits the space perfectly. I am so happy.
Comments
Join the conversation
-
👍👍👍👍👍I give it thumbs up😃
-
I second that thumbs up!!!


Frequently asked questions
Have a question about this project?