


5 Easy Steps To Chalk Painting Furniture For The Beginner
6 Materials
$20
1 Hour
Easy
When I began chalk painting furniture a few years ago, I researched everything about chalk painting to death. I've broken it down to 5 easy steps for beginners to start chalk painting their own furniture. Warning: Chalk painting is addictive!

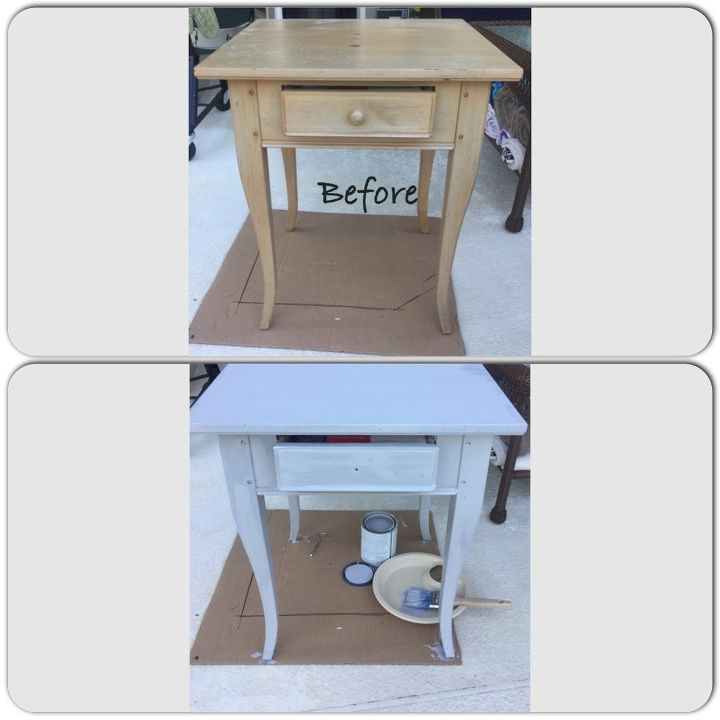
Step 1: With a clean dry cloth, dust off furniture. ( be sure to put large pieces of cardboard or drop cloth under your furniture before painting)
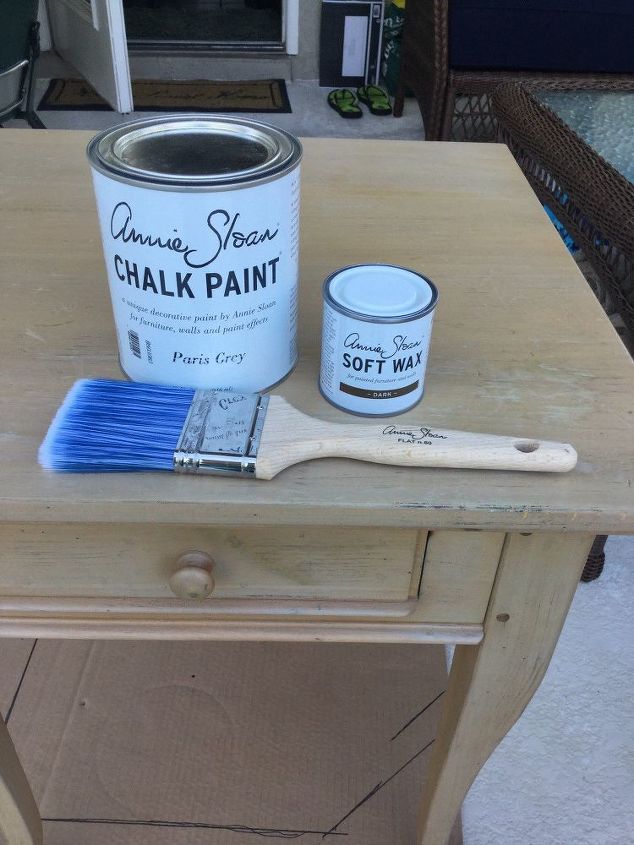
Step 2: Stir chalk paint (I had this chalk paint on hand but there are many chalk like brands available at craft stores and home and garden stores) thoroughly with a paint stick and/or before removing the lid turn the can upside down for a few minutes to let the sediments disperse.
There isn't any prep work needed for the furniture in most cases. You can begin painting! This is when your adrenal kicks in a little! You can use a bristle brush for a more vintage look or a flat paint brush to give a more smooth finish.
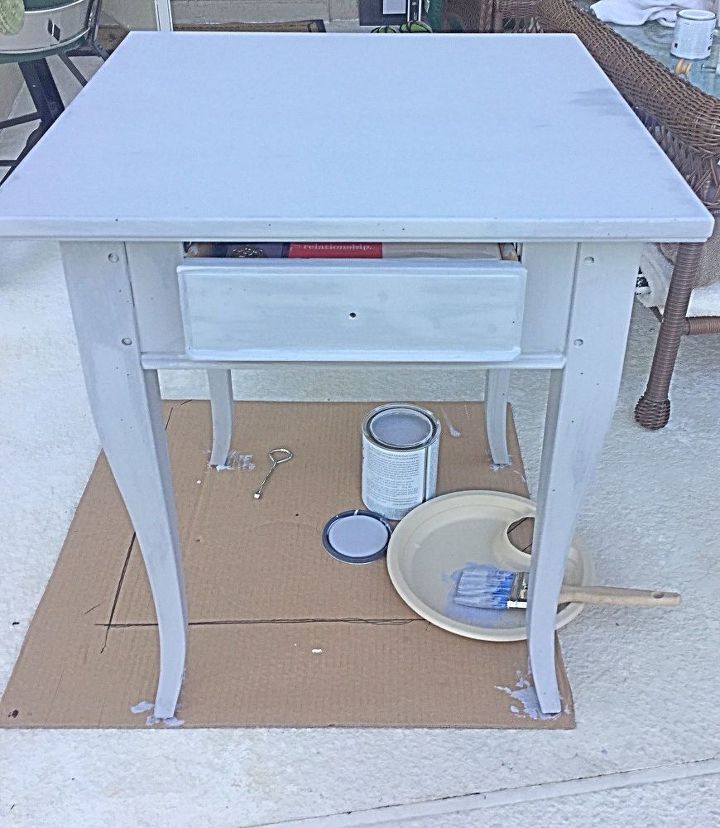
Step 3: Chalk paint dries super fast compared to regular latex paint. You can tell if the paint is completely dry in all areas by noticing if all the paint is the same color. Darker patches mean the paint is not completely dry. It is up to you if you think it needs a second coat of paint. This night stand only needed one coat. I have used two coats on darker wood before. ***At this point, if you wanted to make the furniture look a little weathered, you can use your sandpaper block to sand around the edges of the furniture and around the drawer knob.
Step 4: When paint is completely dry, take a clean dry rag and dip into clear wax. Move rag in circular motion to cover all areas of painted furniture. This is what seals the paint. There are bristle wax brushes you can use instead of a cloth if you prefer.
(If you want a more vintage look and have experience with using dark wax you can use that instead. Using dark wax for the first time can be a little tricky. I would recommend mixing a little dark and clear together on a paper plate and practice on a piece of scrap wood) .
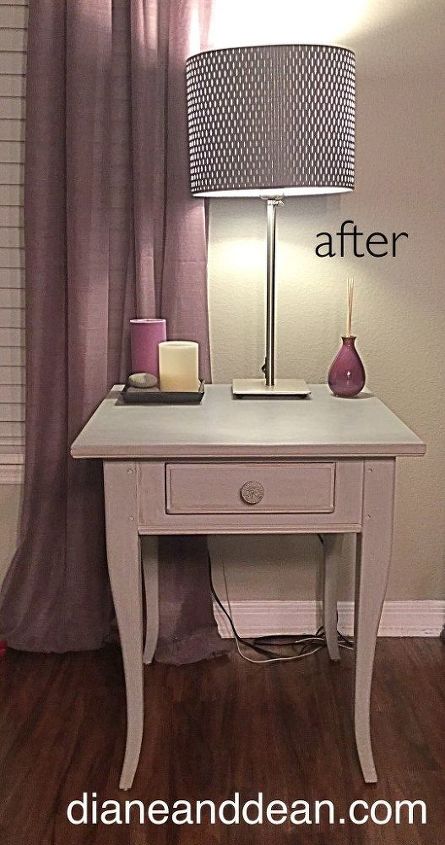
Step 5: Let curate for 12 hours then buff the furniture with a clean rag. This will give the piece a nice finished sheen.
Congratulations on finishing your first piece of chalk painted furniture.
Learning different chalk painting techniques like using dark wax, achieving a distressed look and getting a rough chippy look can be fun to try to.
Click the link below to get the full tutorial and see a list of other chalk style paints and waxes that are very affordable.
Resources for this project:
See all materials


Any price and availability information displayed on [relevant Amazon Site(s), as applicable] at the time of purchase will apply to the purchase of this product.
Hometalk may collect a small share of sales from the links on this page.More info

Want more details about this and other DIY projects? Check out my blog post!
Comments
Join the conversation
1 comment
-
I will be trying this on my bathroom vanity next week.


Frequently asked questions
Have a question about this project?
Should you poly over the finished product? In my case its a bathroom vanity? Thank you!