


Fabric Covered Wall Panels
Do you have a home office where it would be nice to be able to pin things up on the wall?
Do your kids need a place to display their photos and artwork?
Or maybe you could use a place in your closet to hang up necklaces and earrings?
Then these DIY fabric covered wall panels are just the thing for you!
Here’s how we did them:
We used a 4x8 sheet of Soundboard Insulating Sheathing.
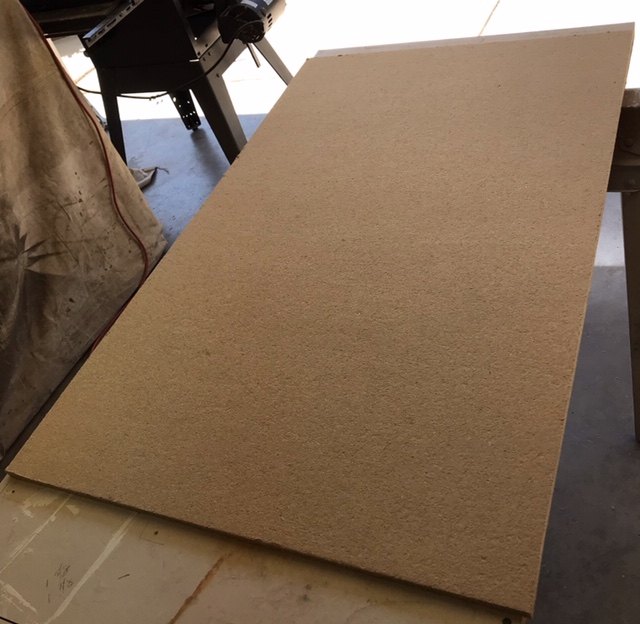
We cut it into 3 pieces — two at 30 x 48 and one at 36 x 48.
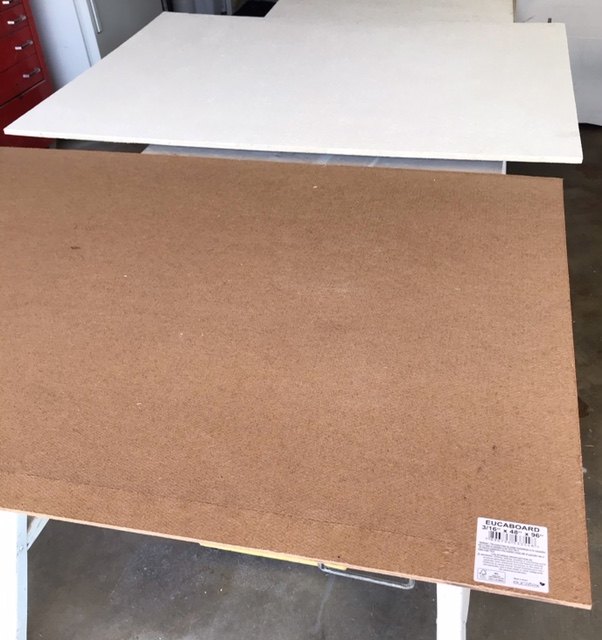
Then we primed the front of the Soundboard so the dark board didn’t show through the white fabric we’d be covering it with.
Then we glued 3/16” thick Masonite to the back of each panel with contact cement. The Masonite is what gives it strength when you screw it to the wall.
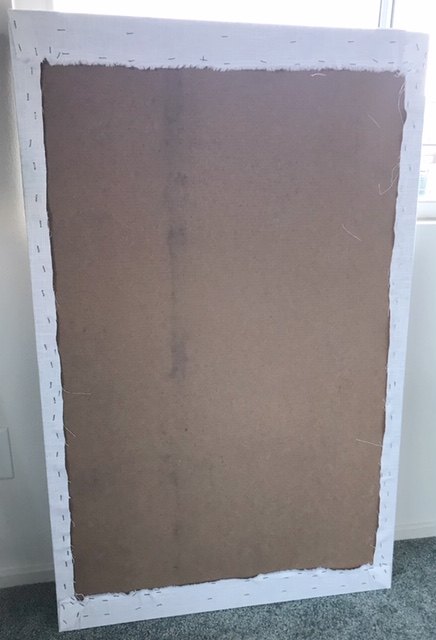
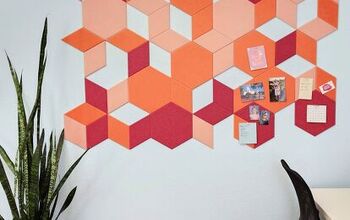
Once we had our panels put together, we covered them in a linen-like fabric and stapled it to the back.
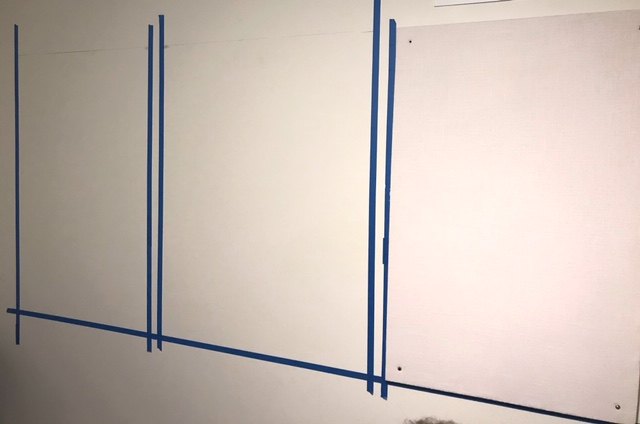
We laid out our placement on the wall using a measuring tape, level and painter’s tape to mark exactly where each panel would go. We put the 36” panel in the middle and a 30” panel on each side of it.
We marked the corners of each panel for our screw placement.
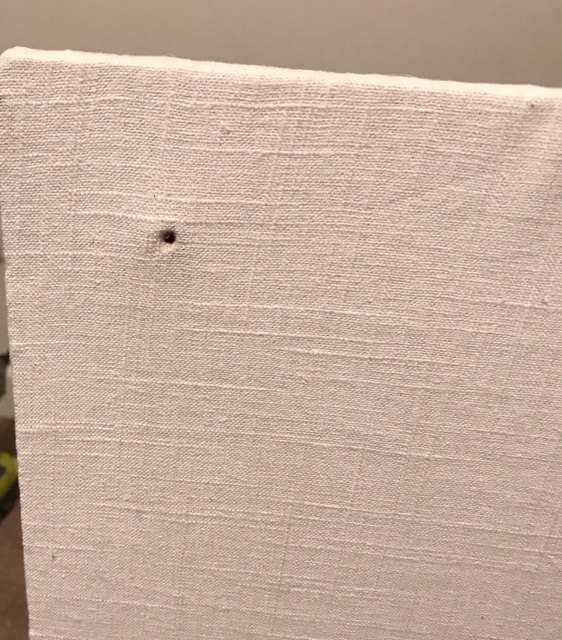
Then poked holes through each panel with an awl or ice pick.
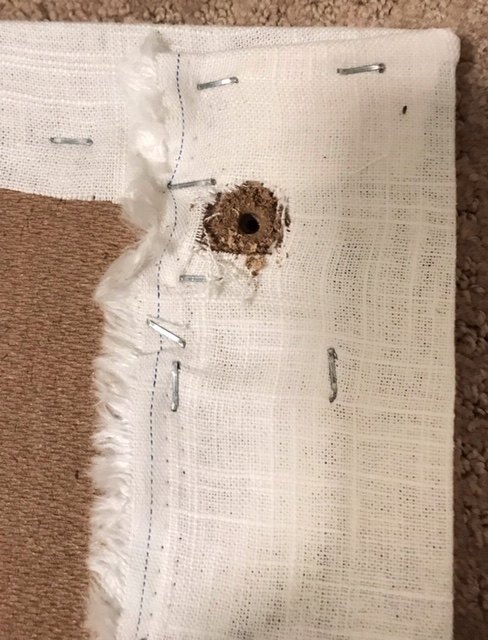
We cut away the fabric on the back around each hole so it didn’t get caught up and snagged by the screws. Then we made the holes just a little bigger with our drill so the screws could go through.
Using our tape lines as guides, we held the panels up to the wall and marked through each hole onto the wall with a pencil.
We installed wall anchors at each mark where the panels would be attached.
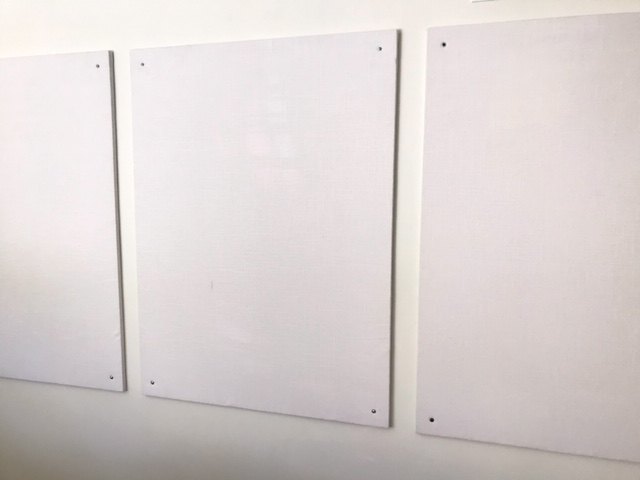
Then we attached the panels to the wall using screws with small washers on the front and screwing them into the anchors. (The washers help keep the screw heads from going right through the soundboard.)
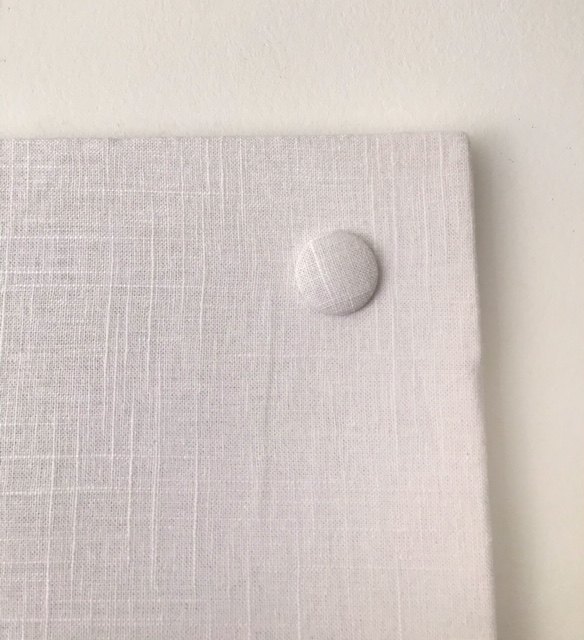
The last step is to cover the screw heads with fabric covered buttons. I just cut the shank off and hot glued them onto the boards.

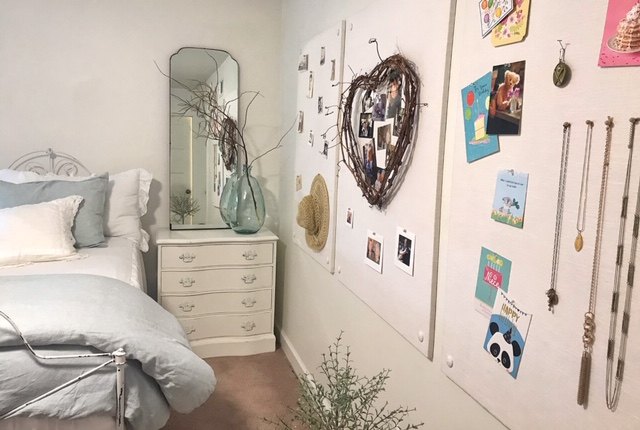
Now Loren has a great place to pin up photos, notes, jewelry, cards — anything she wants!
(See the rest of her room HERE)
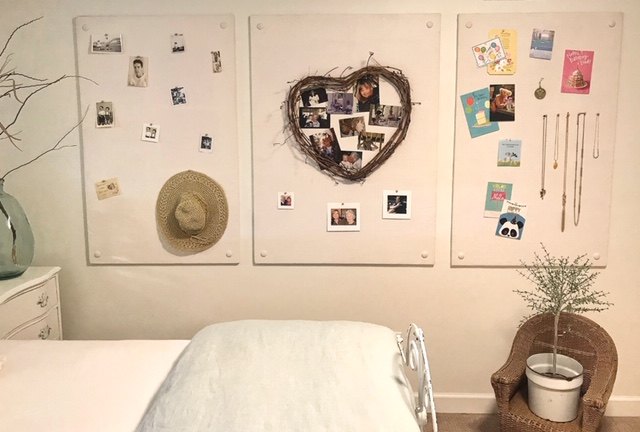

And we don’t have to worry about tape marks or holes all over the walls in her room.
Everybody’s happy!
(Get second-hand furniture ideas HERE)
Resources for this project:
See all materials


Comments
Join the conversation
-
This is a great idea for a teen.
-
Love this idea!!


Frequently asked questions
Have a question about this project?
This is really cute and a great way to display jewelry/art. How heavy is the board? Do you think it could be used as an attached headboard?