


Message Board

Follow along as I take an old plastic oval frame and make it into a whiteboard style message center.
let’s get started…
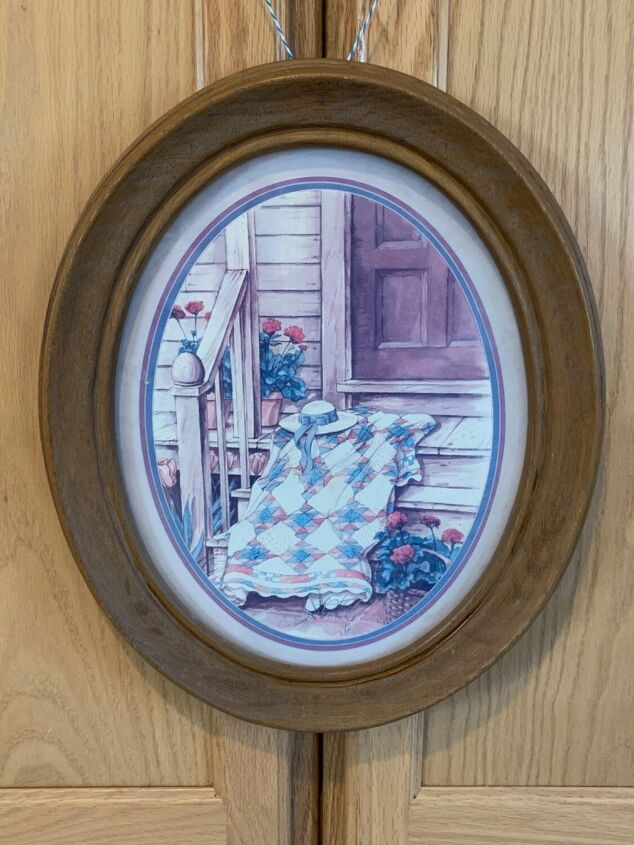
The frame is lightweight because it’s made out of plastic. It has glass over the print. You can use any frame as long as it has glass and it’s the size that you would like.
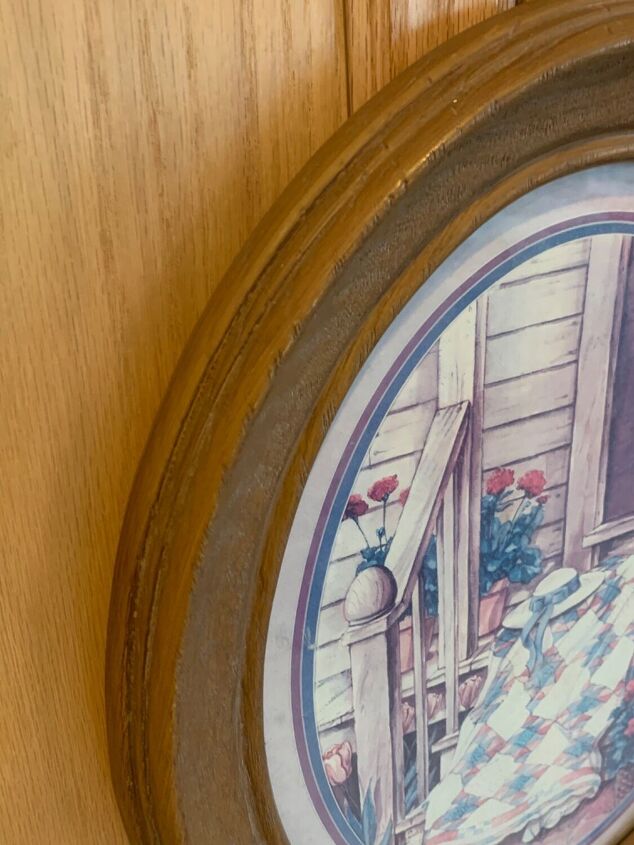
I like the curves on this frame. It gives it dimension and character.
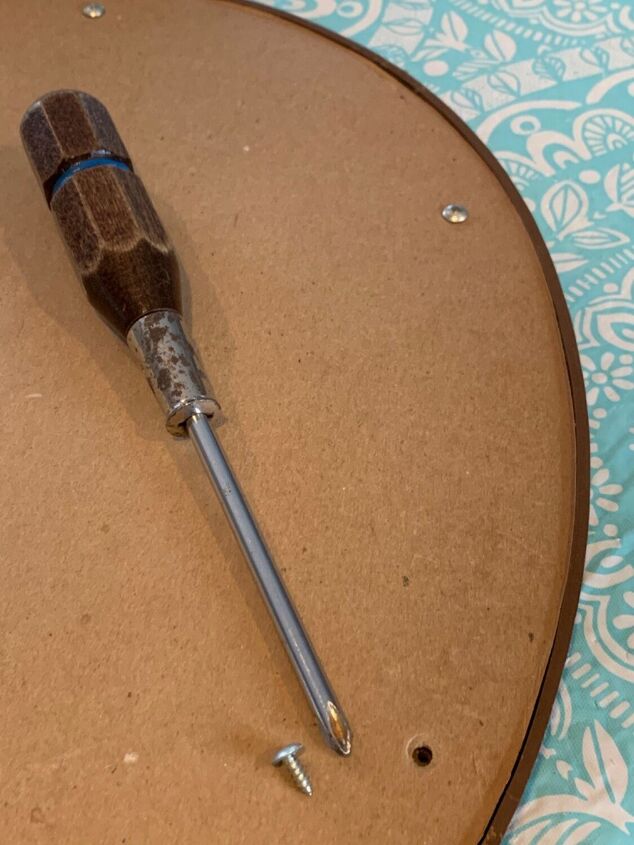
It’s time to take the back off and the glass before we get started.
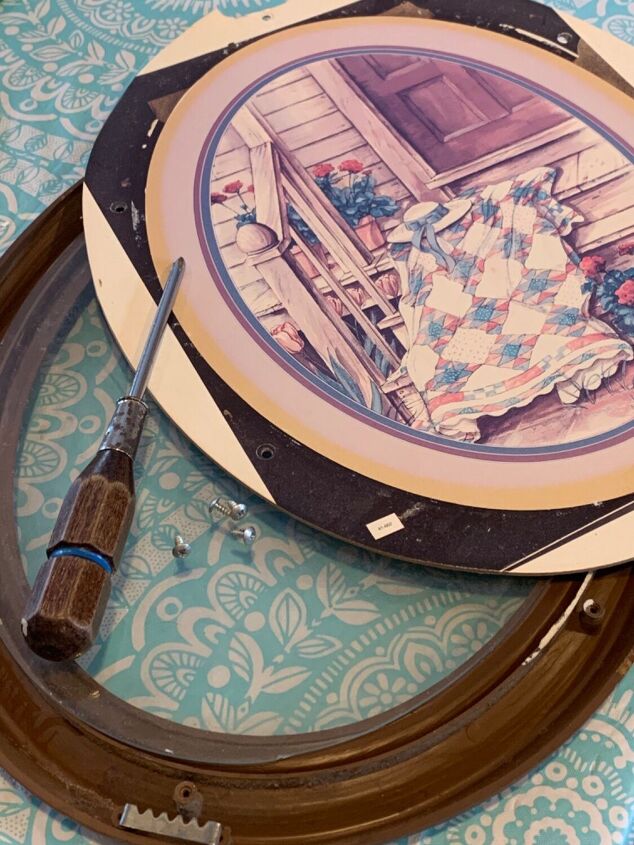
The backing and print is all in one. Set everything aside and don’t lose the screws. We’re going to update the frame first.
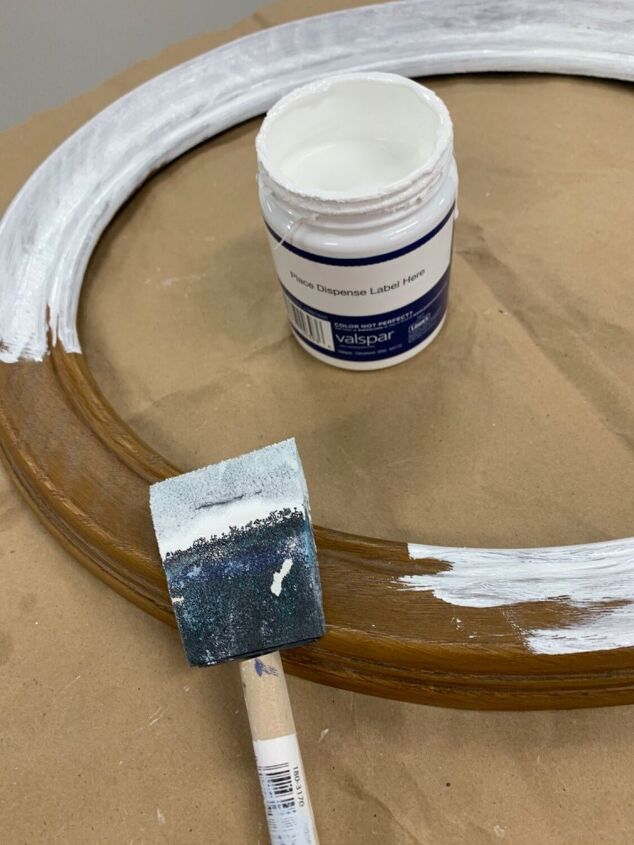
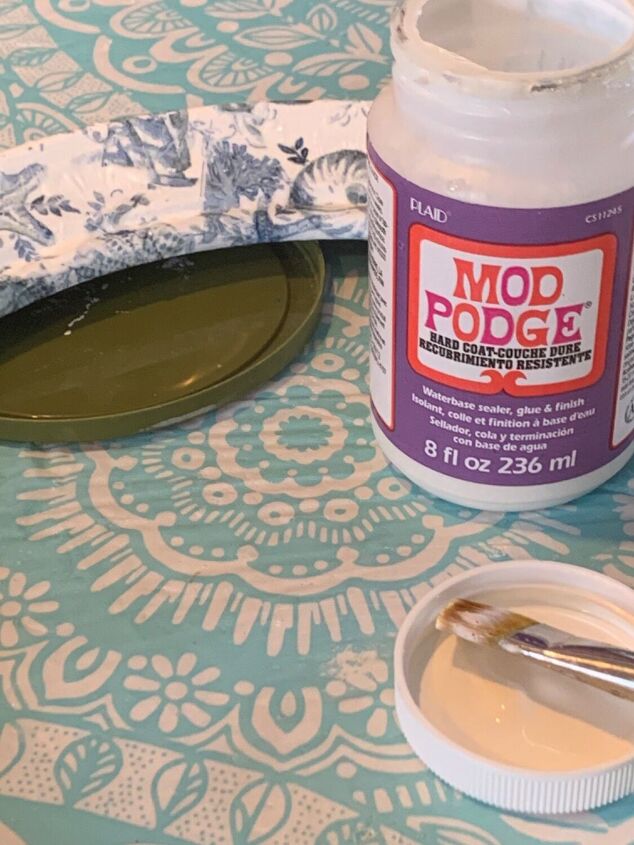
If you follow me you know that I live at the beach… I have a stack of nautical napkins… and I’m just learning how to decoupage. I may not have all the answers, but I’m loaded with ideas. I’m painting the frame white so when I apply the napkin it will have a nice bright background color. You don’t want to see through a pretty white and blue napkin and see a brown frame. So this painting process does not need to be perfect.
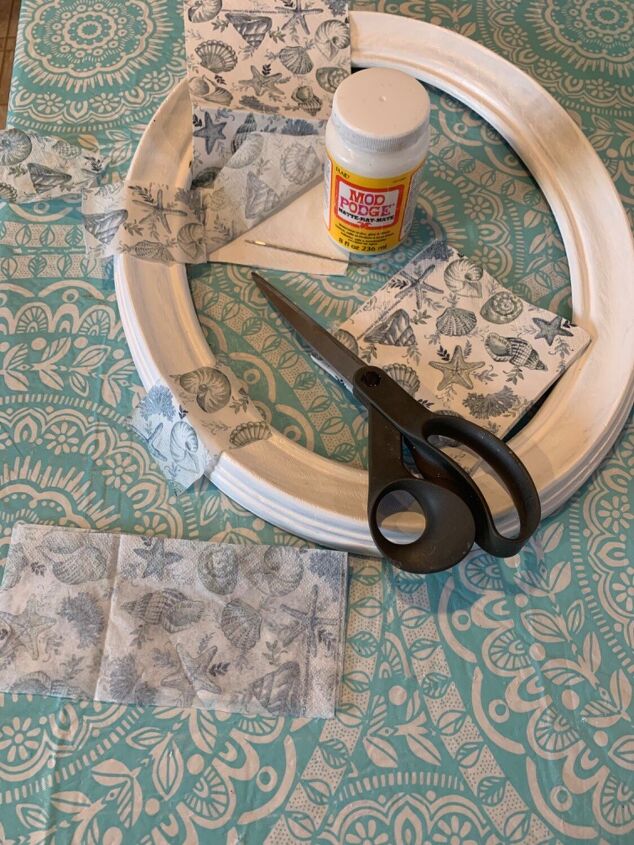
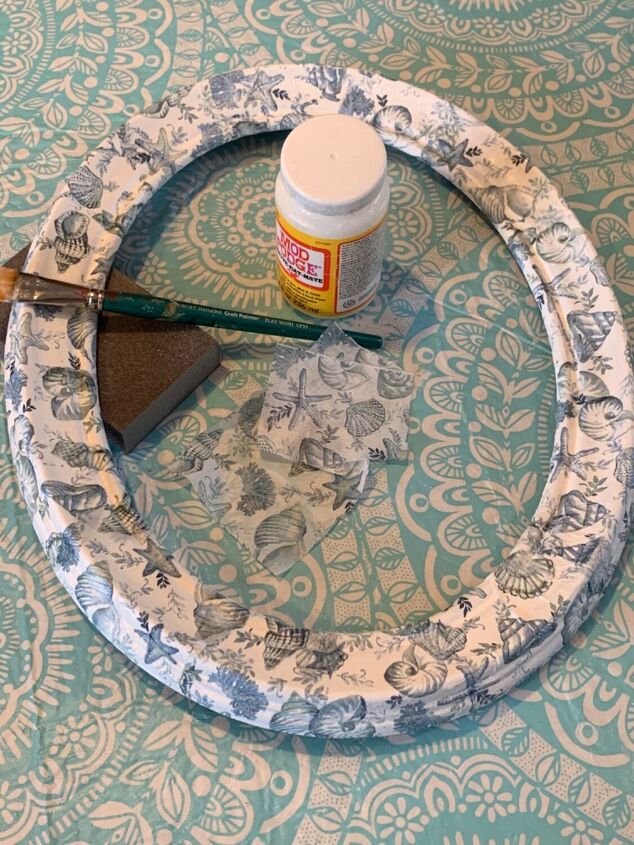
I am using mod podge for this project. But as I’m watching how to videos I see that they sell a decoupage napkin medium. I’m going to use that next time. I take the back two white pieces of the napkin off before starting. I folded the napkin in three and then cut it. This size works perfectly to cover the width of the frame.
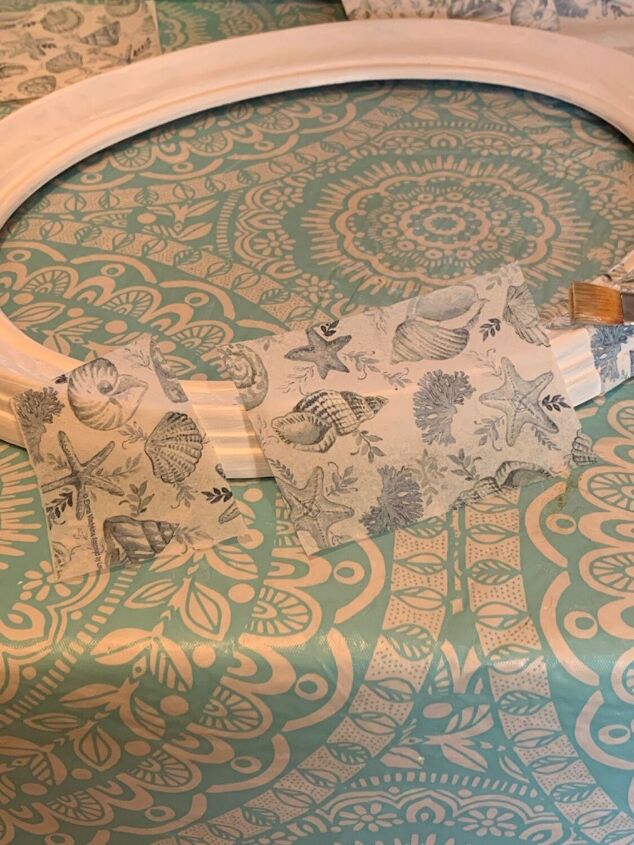
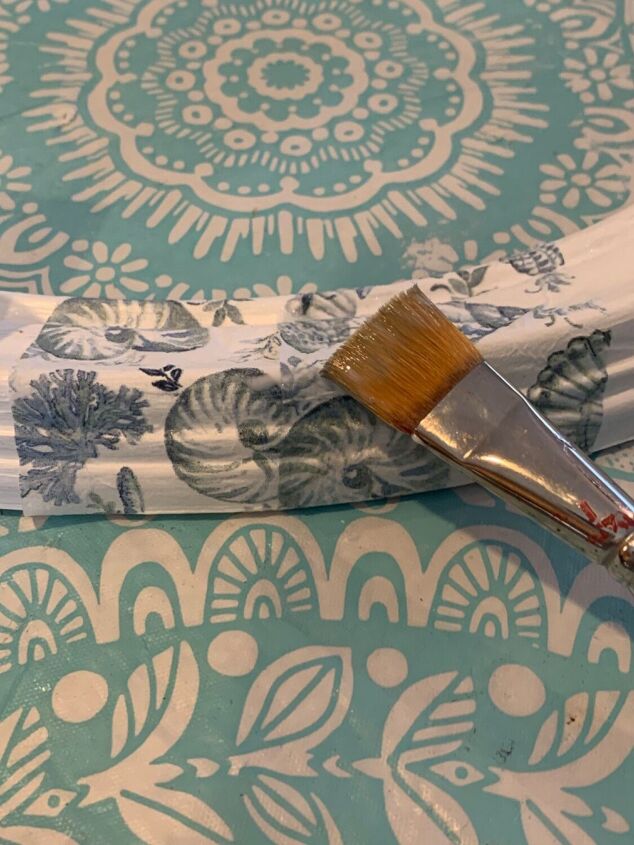
On the long side of the frame I could use longer strips. But to avoid too much wrinkling I used narrow strips around the curved edge. A small design print is best for this size project.
I used the method where you apply the mod podge first and then carefully place the napkin on top. I did this one section at a time. I then very lightly added mod podge to the top of the napkin with a soft bristle brush getting the napkin to nicely fold into the crevices.
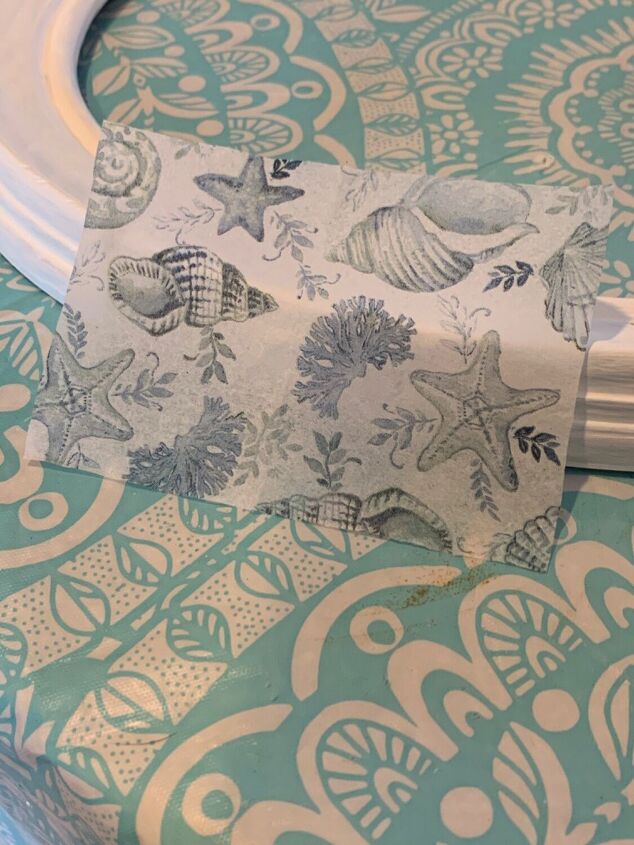
The width of the napkin is perfectly sized so that it covers the width of the frame with a very small piece left to cover under both edges.
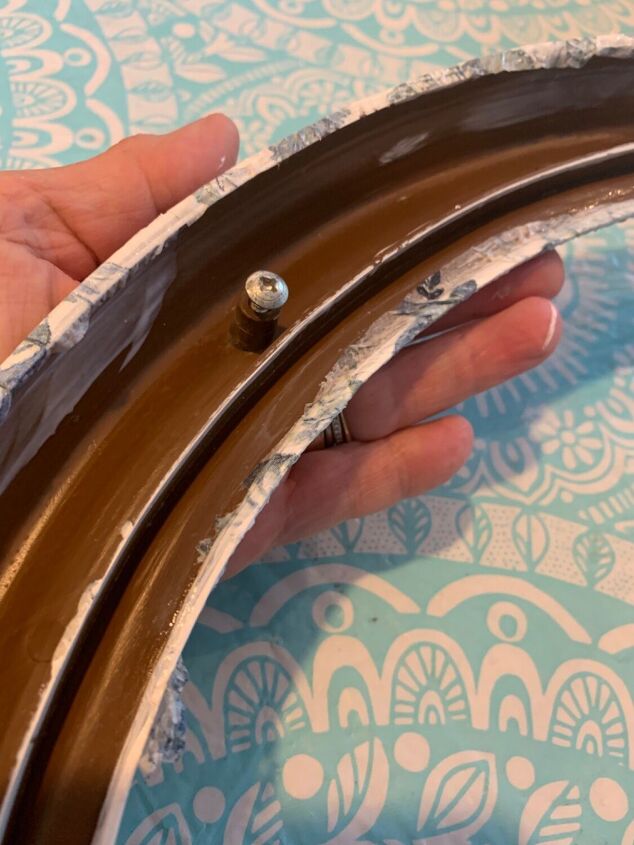
Here’s a picture of the backside so you can see how the napkin overlaps slightly. No cutting or adjusting needed. You will also notice that I temporarily put the screws back in so I would not lose them. Lol
I used a sanding block to lift the frame off the table as I worked. Everything dries pretty quickly but the sanding block helped keep the wet spots I was working on off of the table.
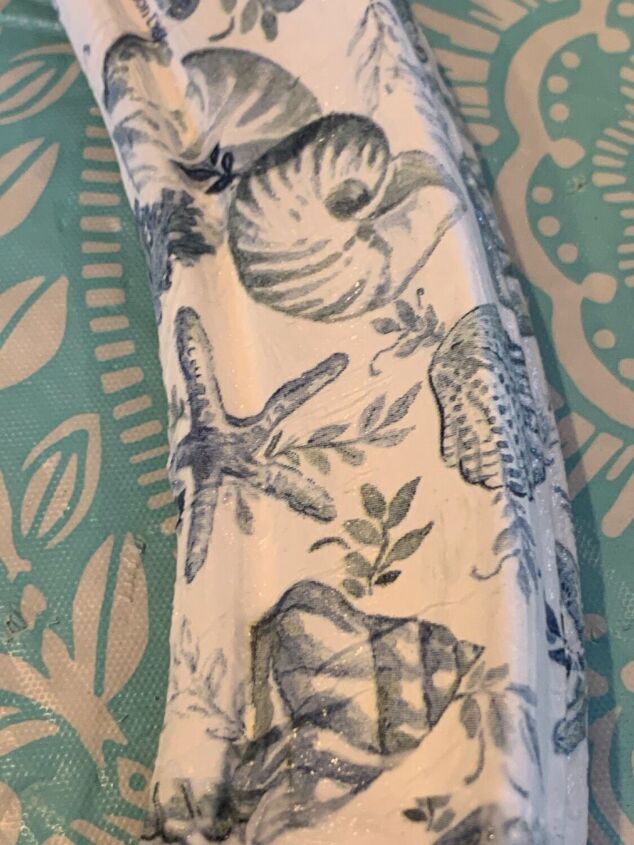
I’m learning that when you decoupage napkins success comes with no wrinkles. Seasoned Decoupagers will know how to accomplish this. I’m a newbie at this but think I did a pretty good job.
I used a second hard coat mod podge for a second top coat. I am learning that there are other varnishes you can use for topcoats.
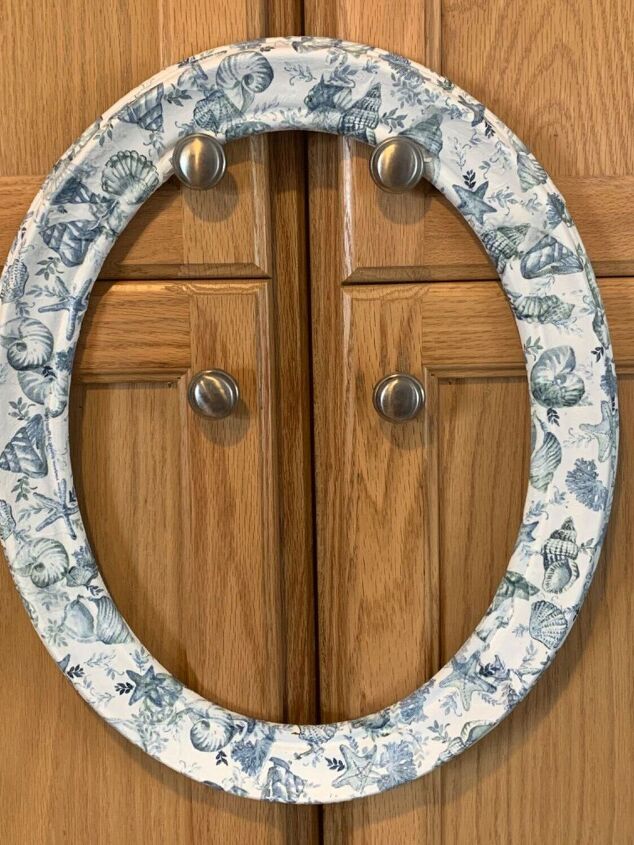
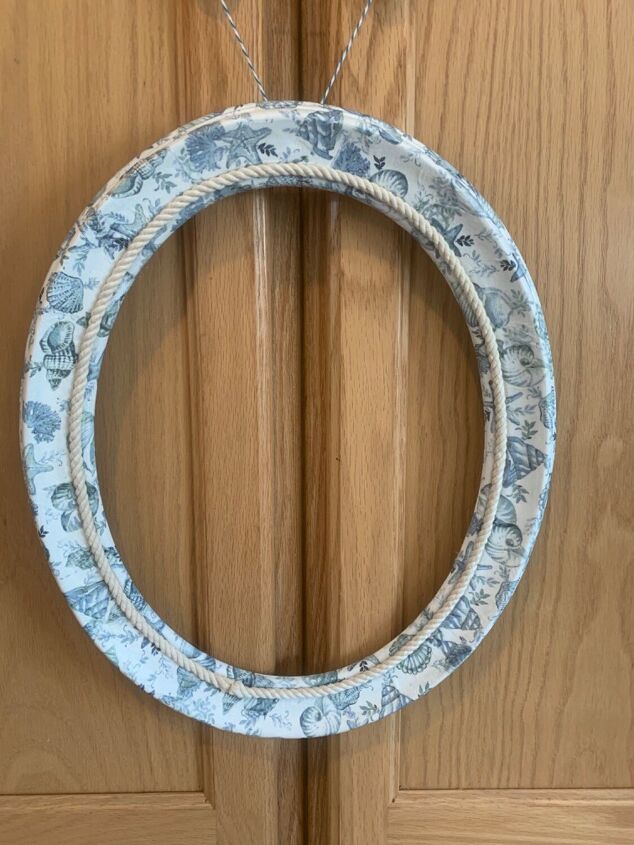
Look at this. If you want you could stop here and put the original print back in. But the purpose of this tutorial is to re-purpose the picture frame.
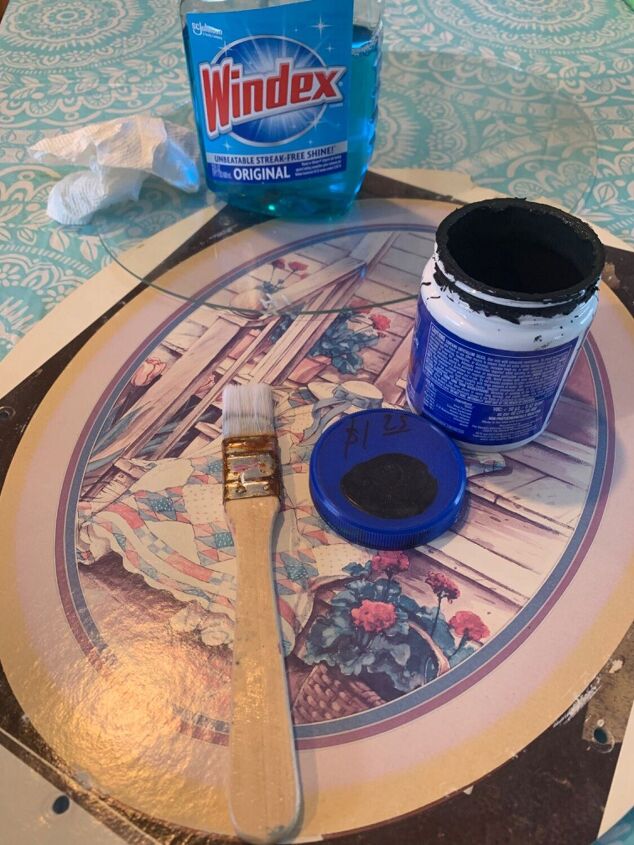
So now I use Windex to clean the glass and I plan to paint the print black. My original thought was to just place a piece of black paper. I just did not have one piece large enough. But that is certainly an option depending on the size of your project.
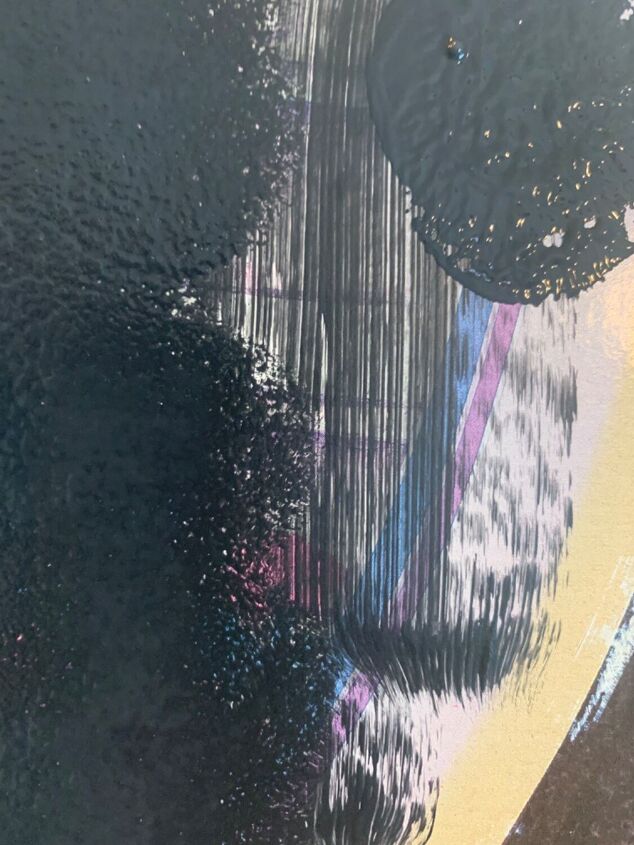
When I started to use the paint brush to apply the black paint I was getting lots of streaks. I could put on more than one coat but because the print is only hard cardboard I didn’t want to apply several layers of wet paint. So I started using a sponge bouncer brush instead.
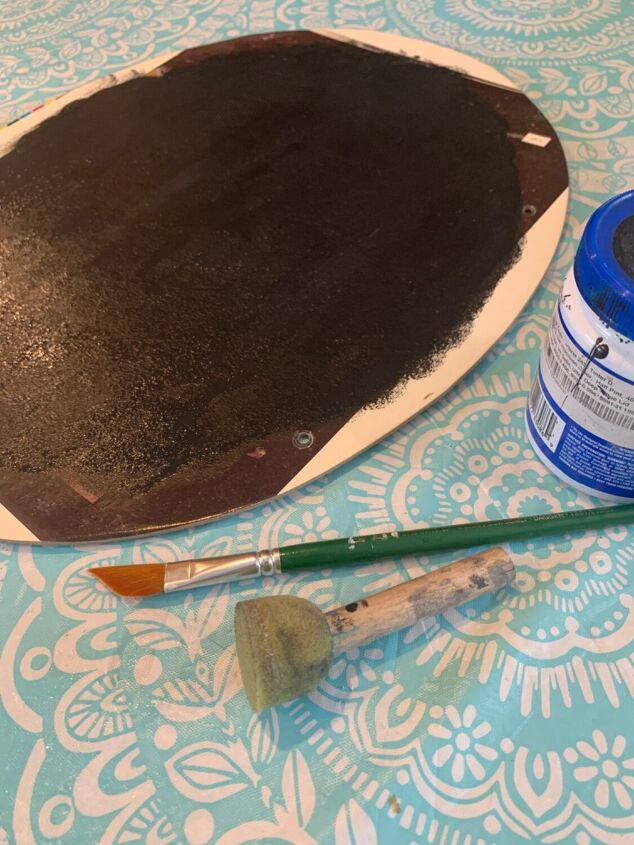
Then I used a super soft brush to help smooth out the paint. Success!
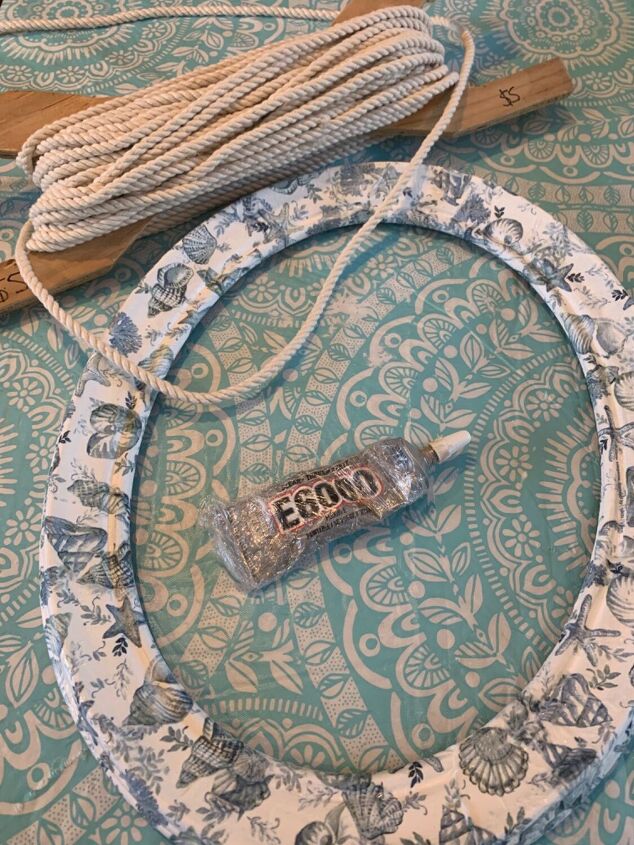
Because of this one perfect ridge around the oval frame I decided to add rope. I used E6000 to connect it.
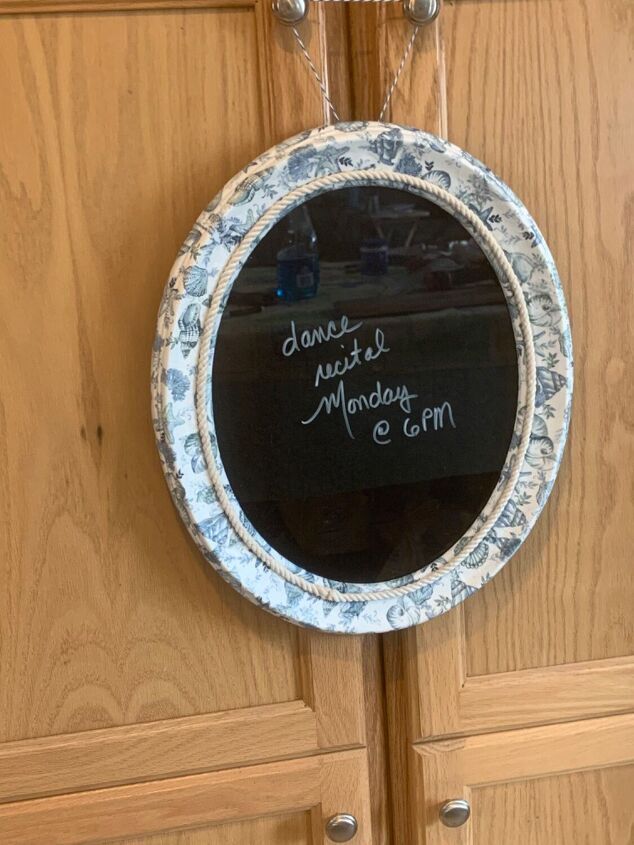
We just need to add the glass and print back in place. I also added a chalk paint marker to complete the project.
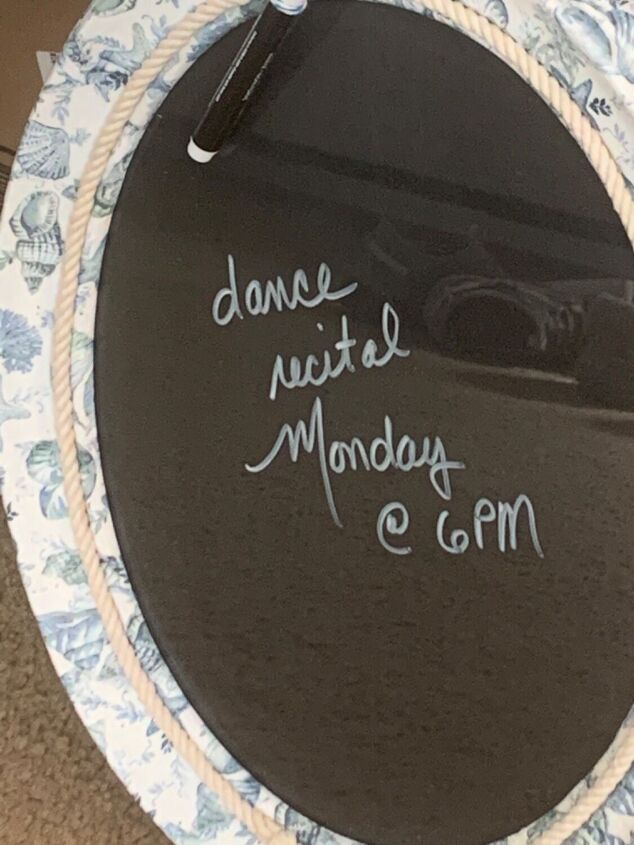
All you need is a slightly damp paper towel to wipe your message clean. I hope this project inspires you to look at glassed frames differently.
Let me know if you like this or if you have a different idea on how to make something similar.
Thanks for hanging in there with me!
I'll be back with another project soon.
Resources for this project:
See all materials


Comments
Join the conversation
-
great idea,pretty and useful!
-
Thanks


Frequently asked questions
Have a question about this project?
How do you avoid wrinkles? I love this project and have decoupaged before, but I can’t seem to get my projects wrinkle-free. What is the trick? Thanks so much for the hints.