


DIY Small Baking Cabinet Organization Idea
While I have a larger kitchen, my baking cabinet that houses all my baking pans is small. Follow along and see how I did my baking cabinet organization in this small 24 inches wide cabinet in my kitchen.
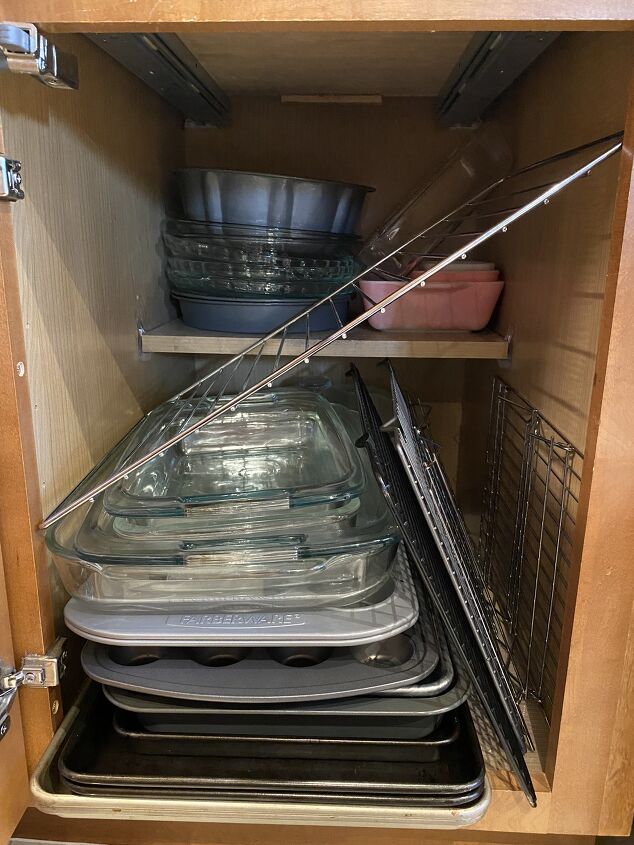
BEFORE CABINET: The stuff did not fit in the cabinet at all, and I had reduced it as much as possible. I used all these items and had items from my oven and microwave in here as well. It was super frustrating to go into this cabinet, as you can see.
First, I cleared out the entire cabinet. Add and cut the liner and place them on the cleaned cabinet shelves.
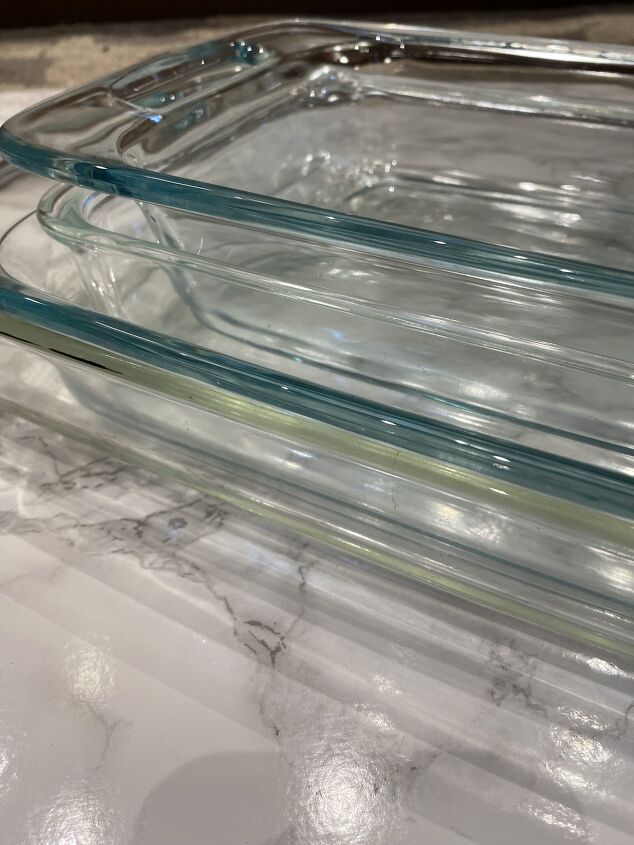
I added the glassware from largest on the bottom and smallest on top. They fit nicely together and could stand on their sides easily.
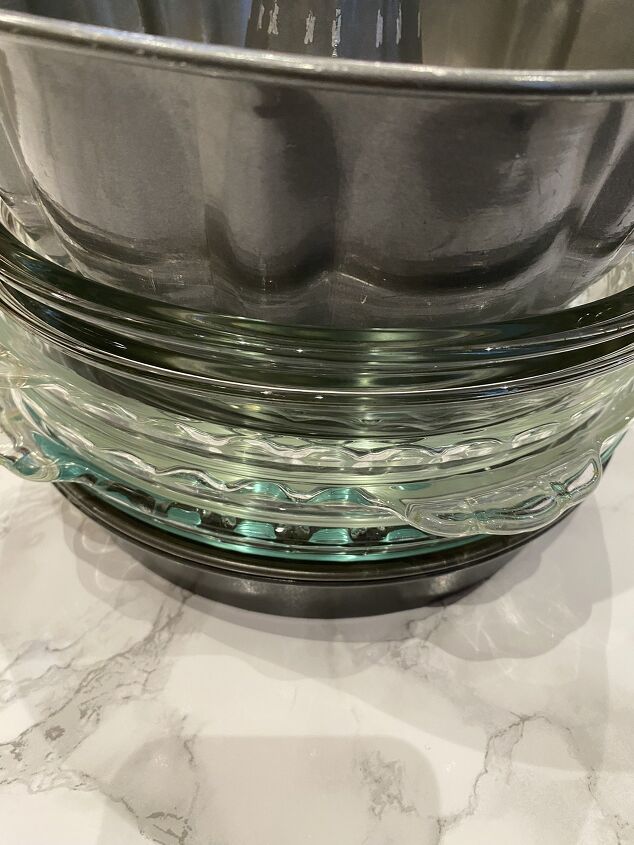
I then stacked all the round baking pans from smallest on top to largest on the bottom on the shelf and added other less used supplies on the shelf and in the back on the bottom of the cabinet.
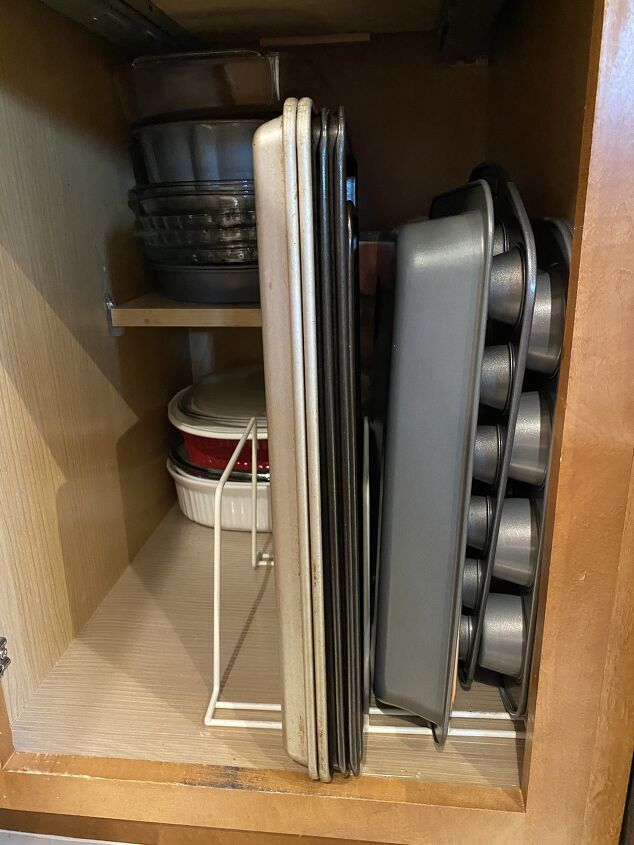
I then added the bakeware organizer to the front right side and started with the muffin tins. I placed them to the side because they are not used that often. This makes them out of the way but accessible when I need them.
I added the baking sheets next inside the organizer. These organizer dividers could hold about 2 inches wide stacked baking sheets so that I could have FIVE baking sheets in various sizes.
The muffin tins were placed on the side with the banking dishes because they sat nicely inside one another.
The oval baking dishes were not used often so placing them on the back and back of the cabinet worked for me.
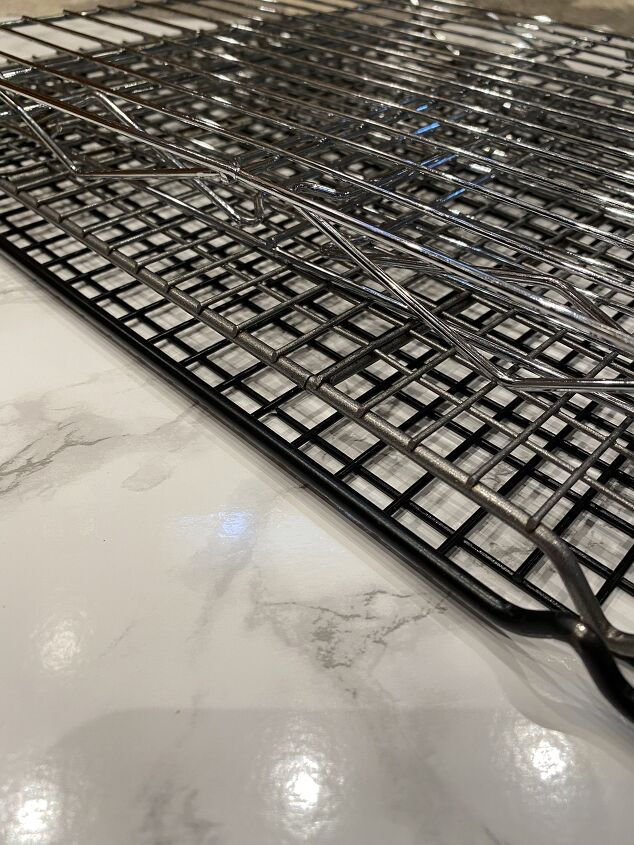
The drying racks' bottoms were facing each other because the racks would get stuck on the wire part of the organizer. By doing this simple change, it made it easier to pull out from the organizer.
The glassware baking dishes were not inside the organizer. If I could find an organizer in this small space, I would add it here to complete the area, but I didn't find one.
Then, I added the extra supplies from the range and microwave. They filled up the rest of the cabinet.
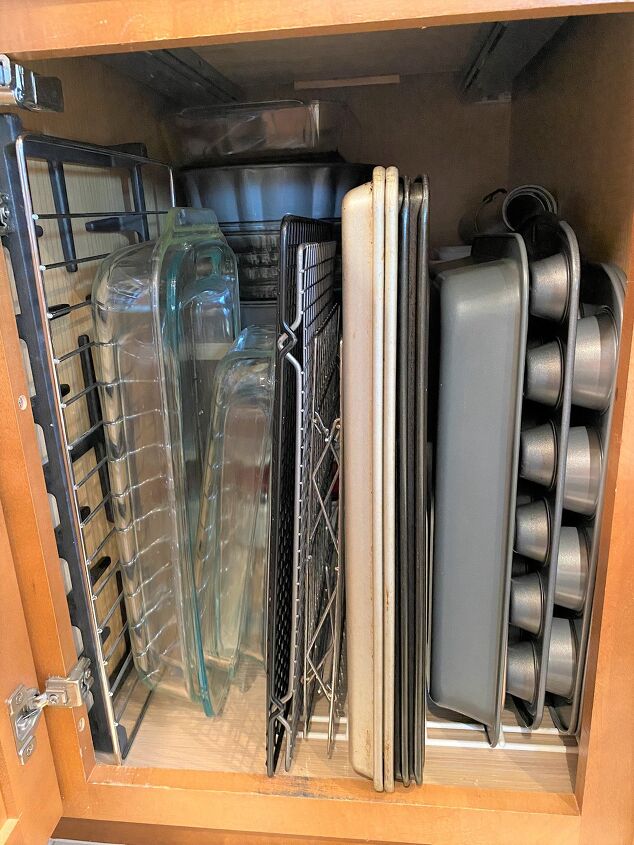
I am thrilled with the outcome. The cabinet door closes too! YAY! I can easily pull out the supplies I need. Since I do not use round baking dishes often, being in the back works well for me.
Here is the video if you want to check it out!
Resources for this project:


Comments
Join the conversation
-
Looks like you will have to pull everything out to get to the items in back.
-
A pull out installed in the bottom shelf area would work well here so that you wouldn't have trouble reaching those things in the back of the cupboard.


Frequently asked questions
Have a question about this project?
What office item was used? Not mentioned in supply list hut in title in email. Thanks!
l