


How to Make Your Own Clear Labels for Pantry Jars...from Packing Tape!
3 Materials
$30
2 Hours
Easy
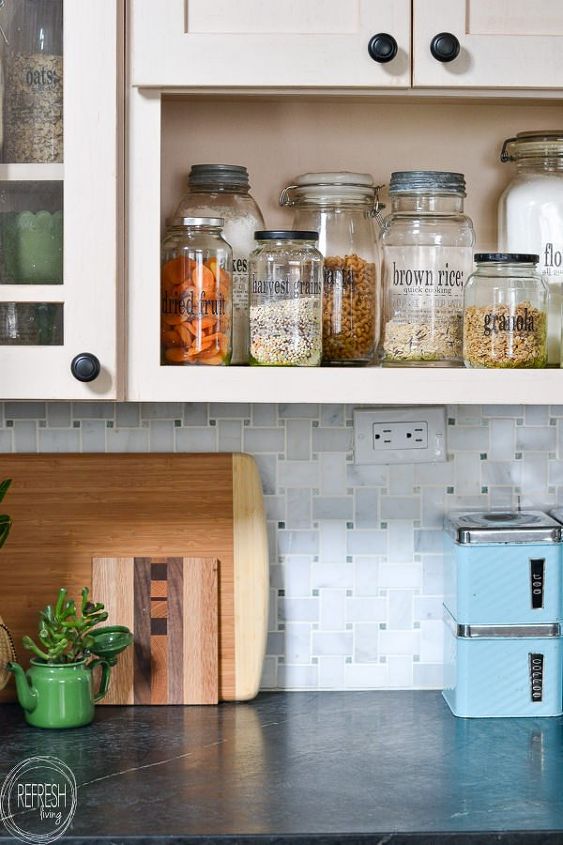
We have a very small pantry, and it was becoming filled with boxes and bags of dried foods. I like to prepare a lot of our meals from scratch, so there is a need for a variety of different dried goods to be here at the house at any given time. I've seen how people display them neatly in glass jars that are all the same and it looks great, but I found a way to great a similar look, but without spending nearly as much money.
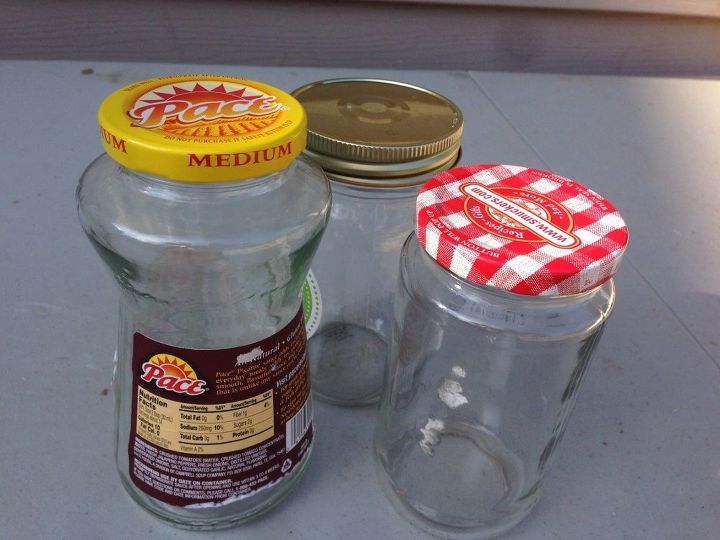
I have a slight issue with saving way too many glass jars. For this project, I used jars that were cylinder shaped (to allow for the label to affix easily). Most of the ones I used were larger jars from apple sauce and pasta sauce, along with quite a few vintage mason jars and other thrifted glass canisters. The most time consuming part of this project was collecting the perfect amount and sizes of jars to fit our dried foods!
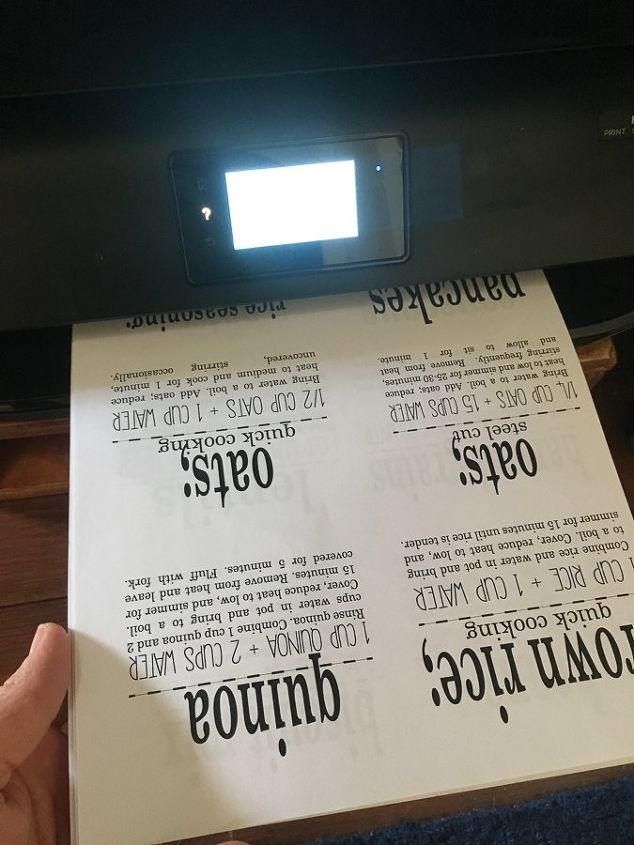
To make the labels, I printed them with a laser jet printer. This step is important, it must be a laser for this method to work. (If you don't have a laser printer, bring them to an office supply store and they will print them for about $0.10 per page!) I have 35 premade pantry labels available for download on my blog. Just visit my blog post with the full tutorial and sign up to receive my newletter in the post.
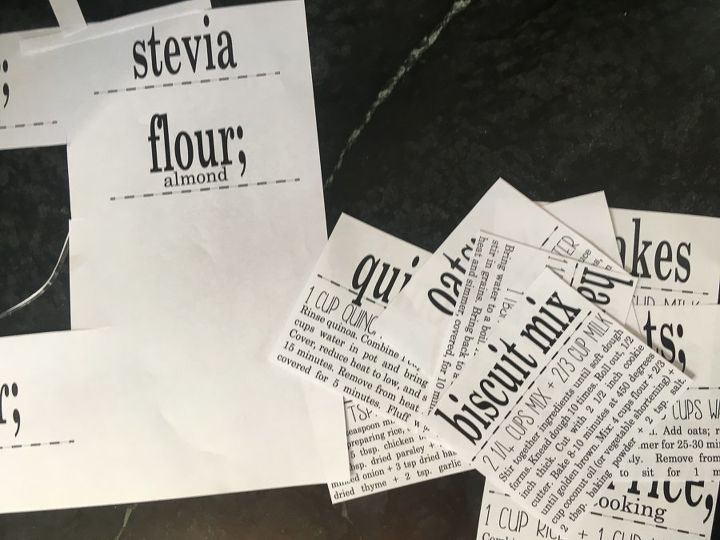
Then, I cut out the labels you would like to use. The size you cut the labels out during this step doesn't really matter, as the paper will be removed in the next step.
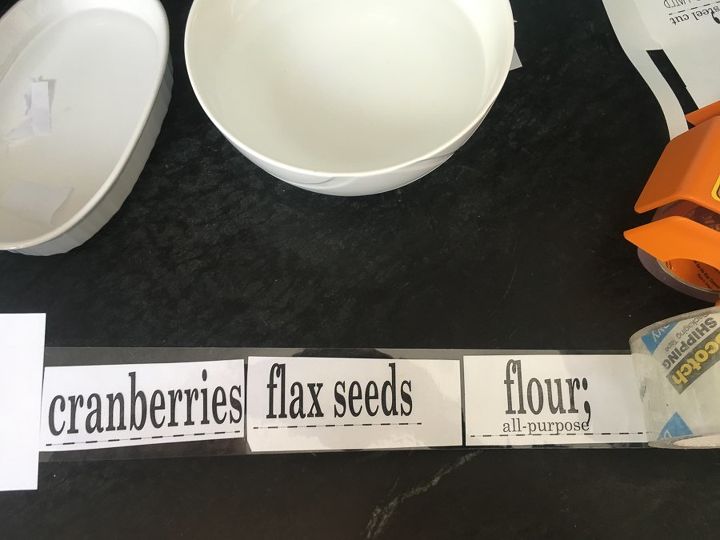
I attached packing tape to the front of the labels, pressing down on the ink with a credit card to transfer the ink from the paper, to the tape. At this time, you can cut out the tape with the paper attached to the size you would like them to be. Then, I placed the tape with the paper attached in a bowl of warm water. After letting it sit for a couple of minutes, I rubbed away the paper with my fingers.
Feel free to view the full video on this process here. I'm able to share a lot more tips as I walk through all of the steps. As you can see, now I don't need to store all my dried goods in my tiny pantry, because they look so pretty on display in all of my reused and vintage glass jars. Remember, if you want to print the labels I've already created, just head to the blog post linked below.


Any price and availability information displayed on [relevant Amazon Site(s), as applicable] at the time of purchase will apply to the purchase of this product.
Hometalk may collect a small share of sales from the links on this page.More info

Want more details about this and other DIY projects? Check out my blog post!
Comments
Join the conversation
3 of 46 comments
-
Much better and likely keeps longer than boxes & bags.
-
rubbed away the paper with my fingers.


Frequently asked questions
Have a question about this project?
Missing the last step I think?
How does the tape not get ruined if it’s in water ?
Once you put a label like this on a jar it is unlikely you'd be apt to use the jar for anything else. Too much hassle to remove the label and the residual icky-goop only to add a different label. And on a common-sense note, do we really need a label saying 'brown rice' to tell us that there is brown rice inside of a clear glass jar??? Or oatmeal, or chocolate chips or flour or dried beans or anything else a home cook may have in his/her pantry? A better idea may be to spray- paint chalkboard paint on the jar lid, then if there is flour in the jar that is not just regular all purpose flour, you could note on the lid with chalk : SR for self rising. You can easily erase it and write anything else you wish on the lid, for those times when you no longer have SR flour in your pantry. There is more beauty in the simplicity of a clear glass jar than there is in a jar gussied up with an unnecessary label. In your closet do you need to label your shirts with the word shirt on the hanger?