


Delightful Wall Organizer

9 Materials
I had made a sign from an old board for a Paris themed event at my church which had cost me nothing, but the sign has sat in my garage for almost a year waiting to be made into something else. This is what I did with it.
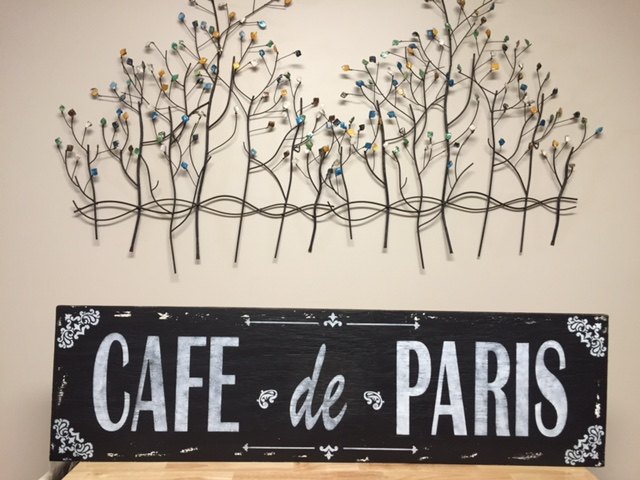
So, this is what I started with. I had made this back in February of 2016 for a church event. A friend had an old piece of wood he cut to the size I needed and even gave me the piece he had left over. My daughter cut the stencil for me on her machine and I had the paint and stencil for the "framing" details.
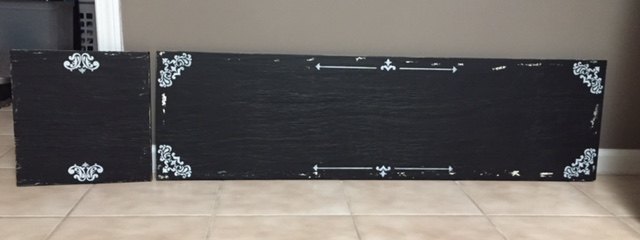
Here are both pieces in the design stage. By the way, this wood is heavy, so I made sure to use (2) heavy duty sawtooth picture hangers on the back to hang it.
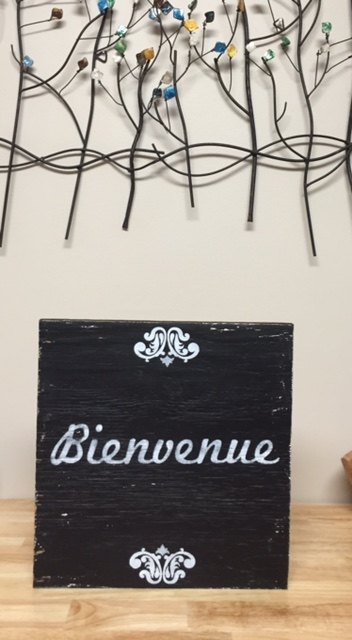
And this is the smaller left over piece for which I have plans. : ) (What kind of crafter would I be if I didn't?)
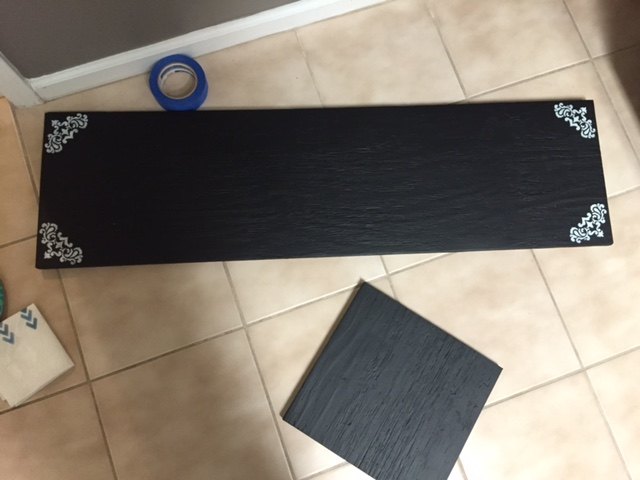
I carefully taped off the design elements and painted over the words. I had already distressed this piece when I made the original sign.
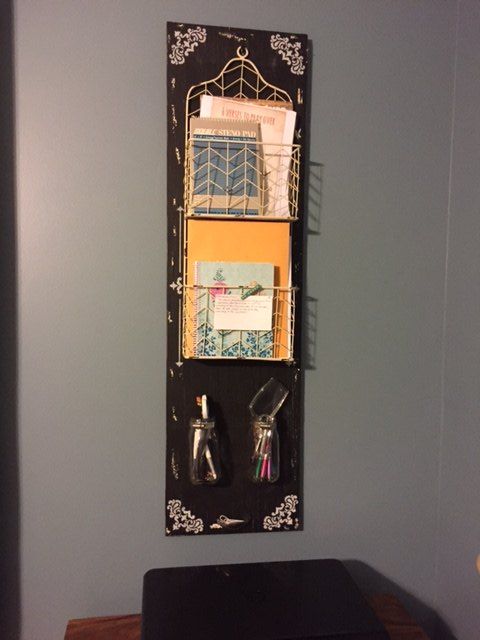
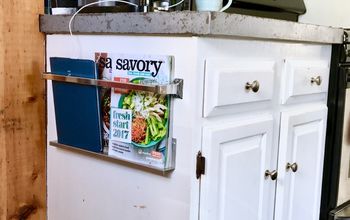
I simply added two (2) distressed decorative wire file holders (with screws) and two (2) Marzetti cole slaw dressing jars (they are a great shape, by the way) to hold my pens, pencils, scissors, etc. At the bottom, between the two corner details, I put a drawer handle (I had left from another project) upside down to hold paper clips. This is on the wall above my printer station. Everything very neatly and compactly organized.
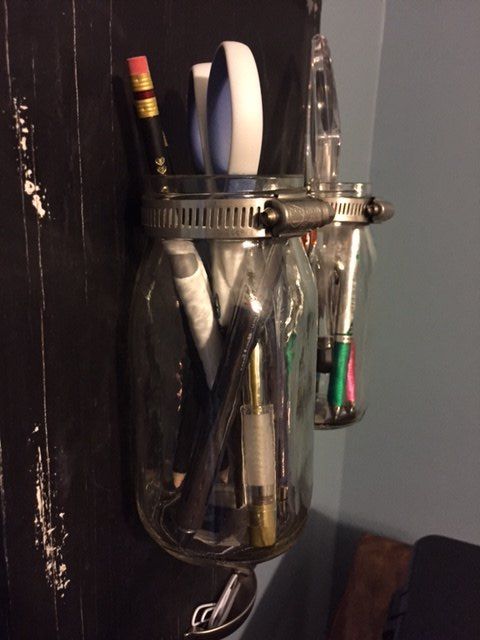
This is a close-up of how I attached the jars. I used a hose clamp secured to the board.
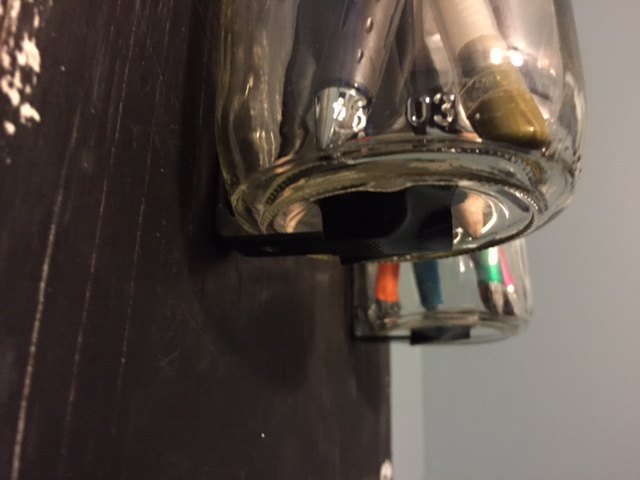
For an extra measure of security, I attached a black L bracket which allows the jar to rest on it. Because the bottom of the jar is inverted a bit, I attached a small square of black Gorilla tape on the jar over the bracket. No chance of these babies moving any time soon!
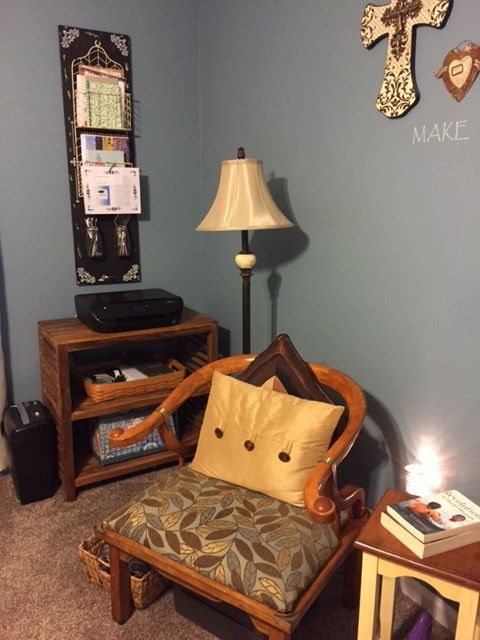
This is what this little area looks like in my bedroom. I mean, if you have to have your "office space" in your bedroom, it's a good thing to make it blend in as much as possible and to make it neat. As you can see, the first shelf below the printer has a basket which holds extra printer paper, tape dispenser, stapler, office supplies. The bottom shelf has a wire legal size file folder basket with colorful legal size file folders (Amazon) which allows me to immediately file all my important papers. (I could do an entire blog just on handling paperwork!)
I hope this inspires you to re-think any old boards or even drawer fronts you could use to get your paper clutter under control. Life is so much easier without clutter! : )
Comments
Join the conversation
2 of 4 comments
-
This is absolutely lovely! Awesome job :)
-
Thank you, Nicolette!


Frequently asked questions
Have a question about this project?