


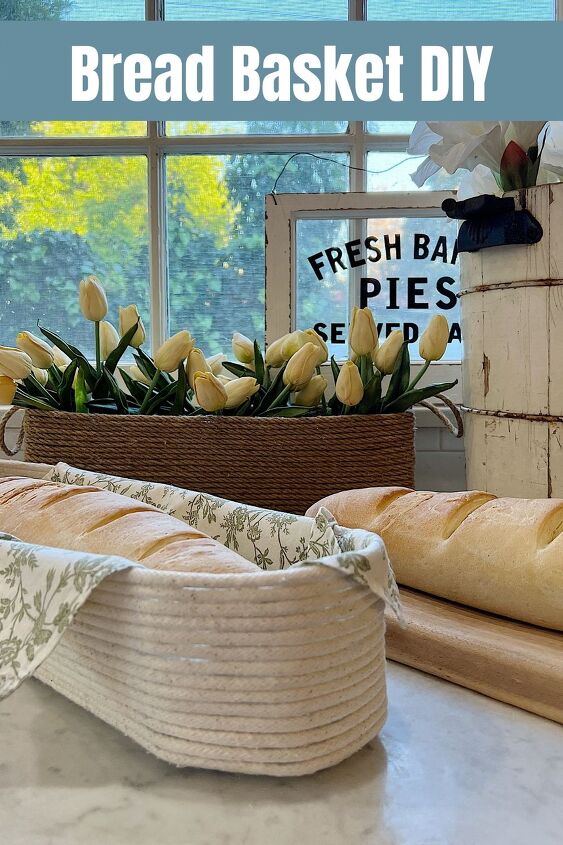
How to Make a Bread Basket
I love serving bread and I believe it always looks better when it is served in a nice-looking bread basket. Here is a DIY to make your own!
Bread baskets make great craft projects for anyone looking for a simple way to add a touch of personality to their home. In this post, I’ll show you how to make a quick and easy bread basket and share my favorite recipe for french bread. Keep reading for all of the details you need to make your own!

Bread Basket DIY
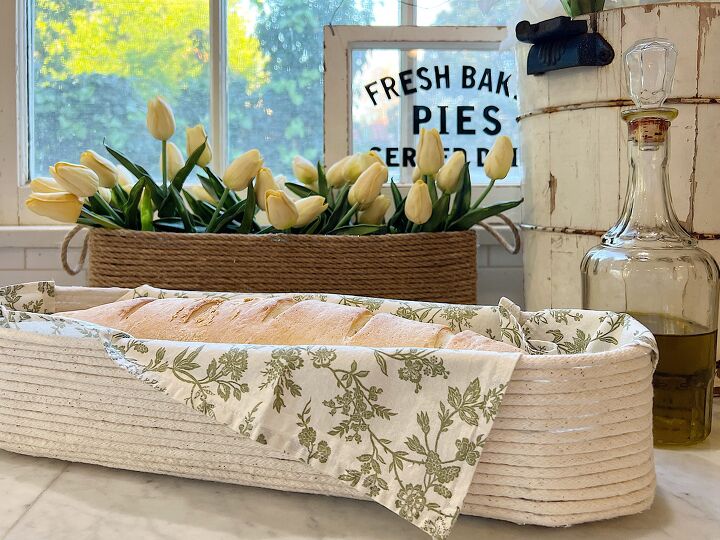
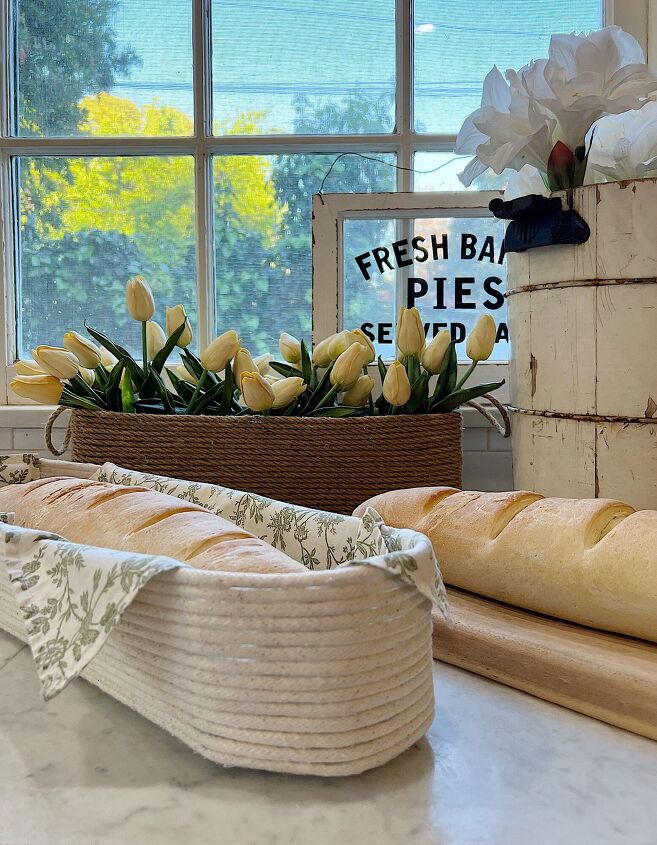
I don’t know why this is, but I don’t own a bread basket like this. It’s such a nice item to have but every time I make my bread recipe, I end up serving this warm fresh bread on a cutting board.
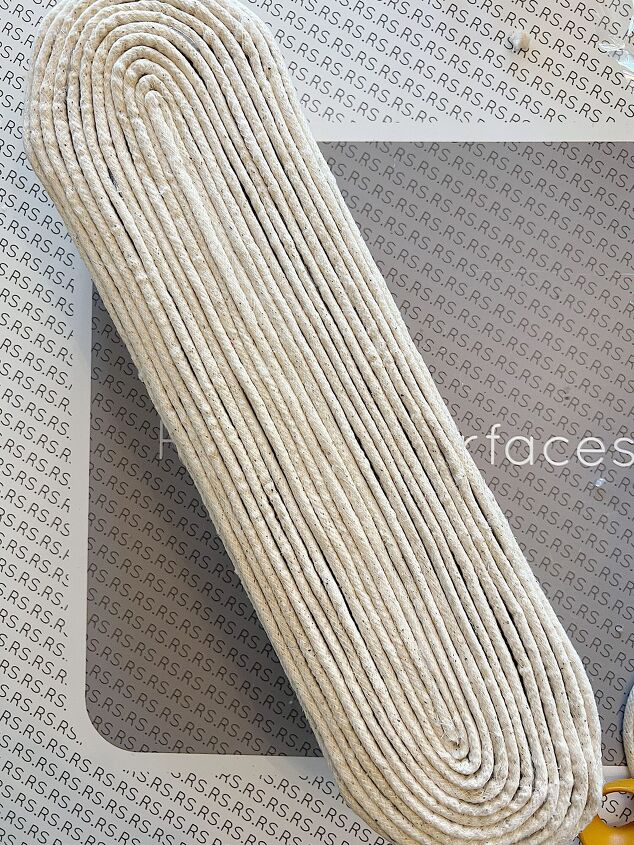
Last week I made a jute rope basket for flowers and I liked the method so much that I decided to make a bread basket.
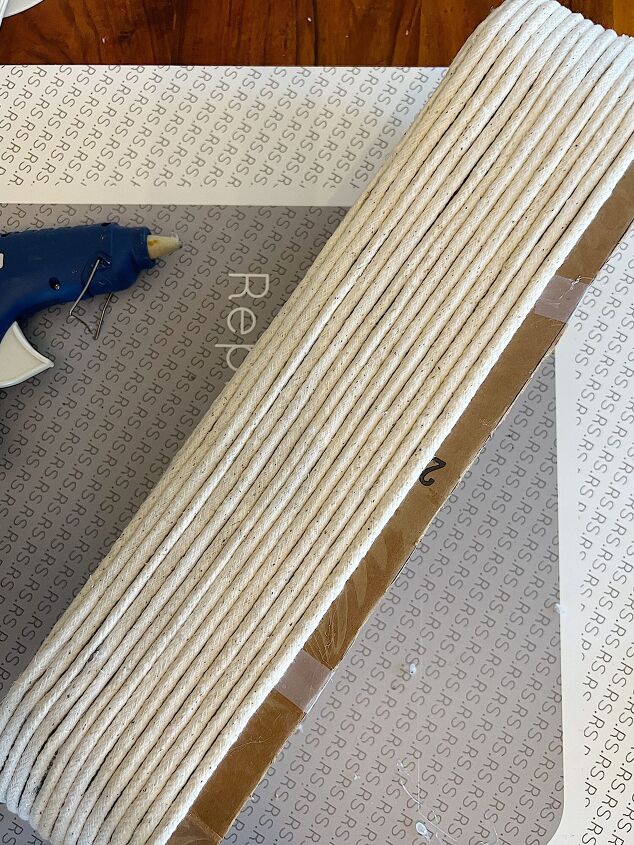
I knew I had some of the thick white cotton piping upstairs in my craft room storage so I thought it would be fun to use that instead.
A Handmade Bread Basket
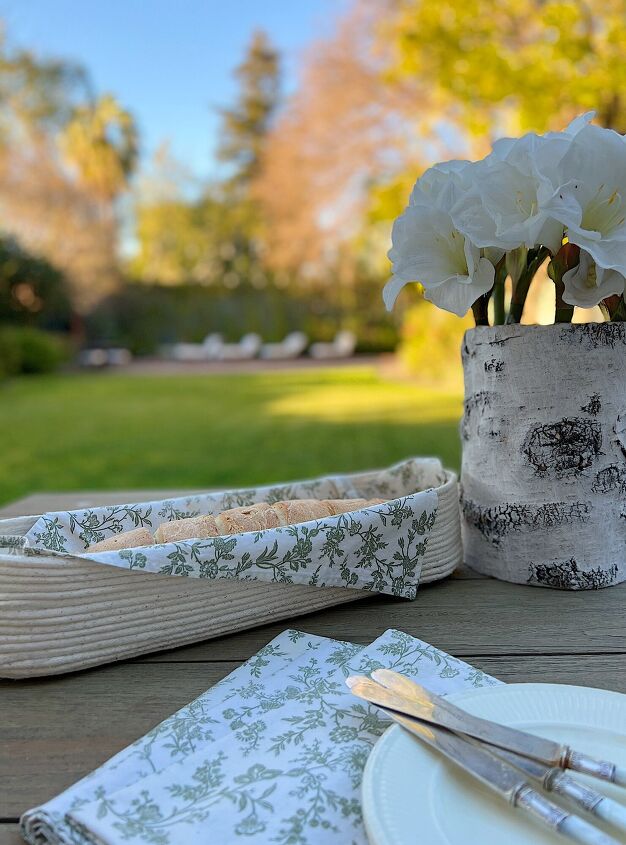
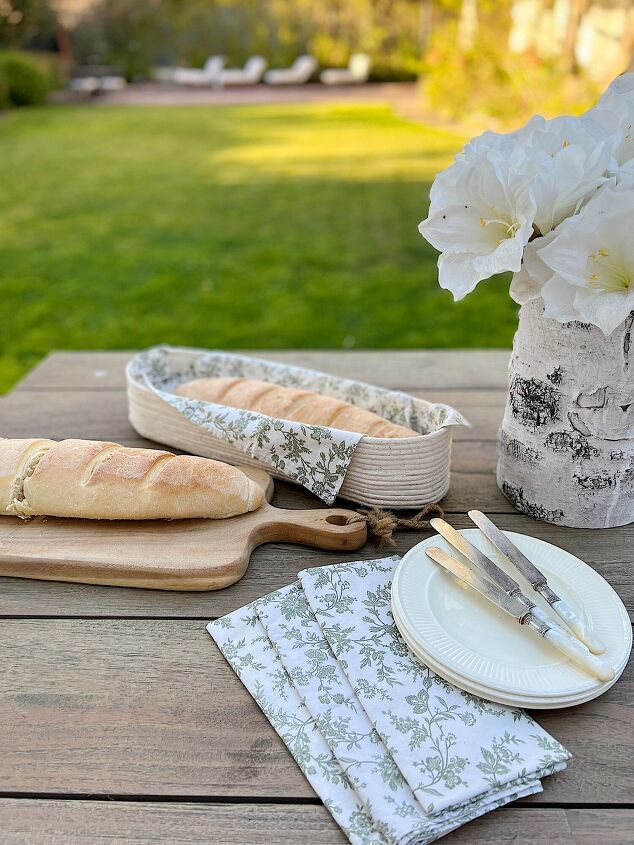
I just love how this came out. I always throw a napkin in the basket but it is lined with cellophane which makes it so practical.
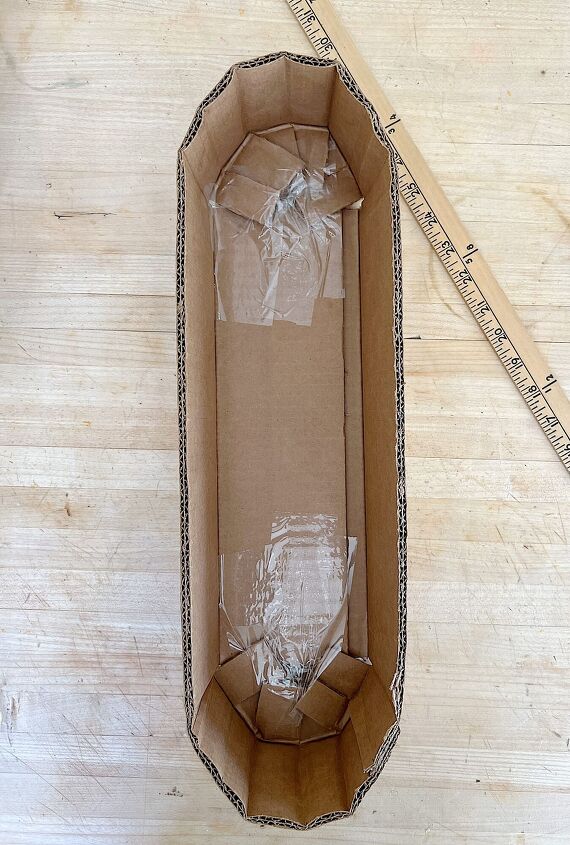
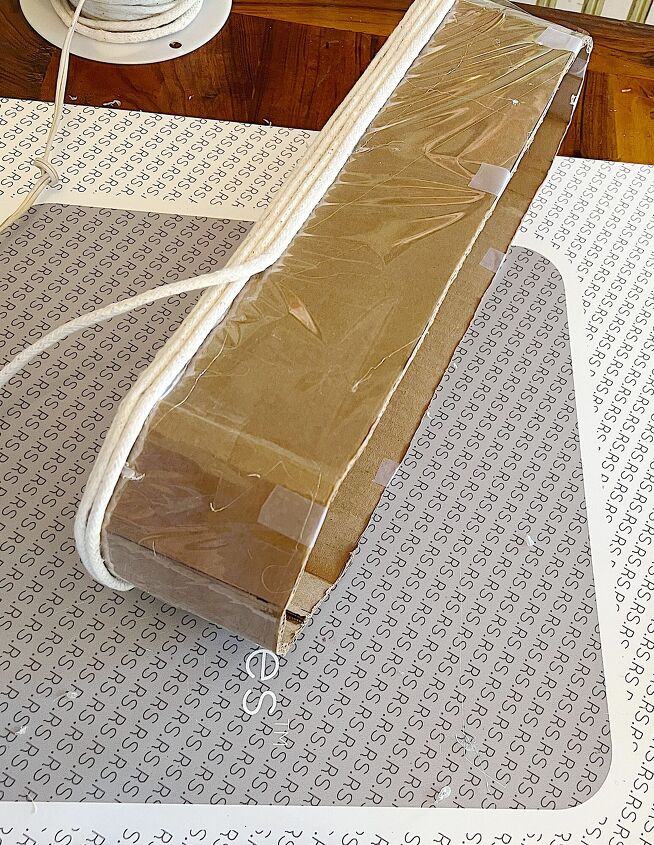
The trickiest part of this DIY was finding a cardboard box in the shape of the bread basket I wanted to make. I don’t even think they exist.
So I made one.
Yes, I made a cardboard box and a basket.
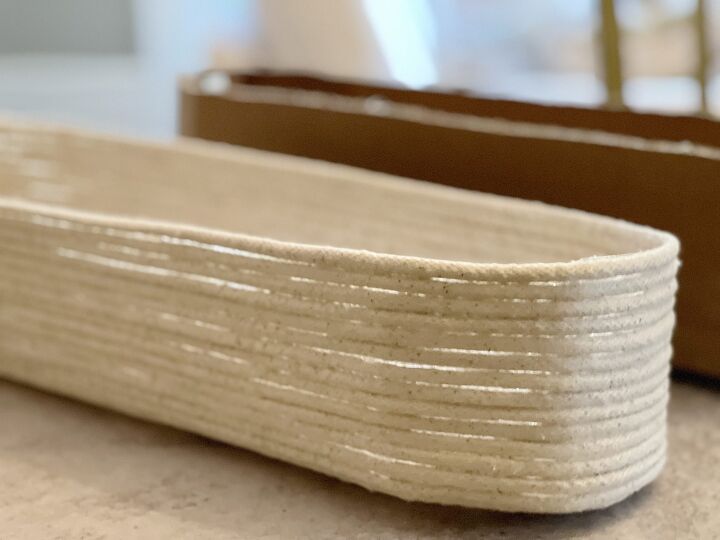
You can see both the box and the basket above. (And just so you know, I am going to keep the box so I can make a few more baskets!)
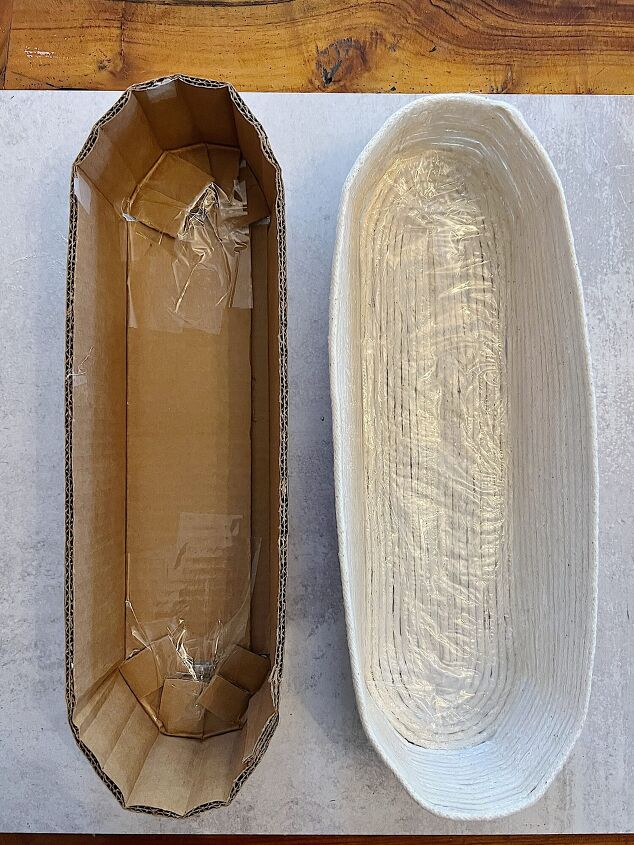
Isn’t it funny to see the box and the basket side by side?
How to Make a Box for the Bread Basket
I had a lot of ideas about how I could make a cardboard box with curved edges.
This was not what I had intended but it came to me at the last minute and ended up working really well!
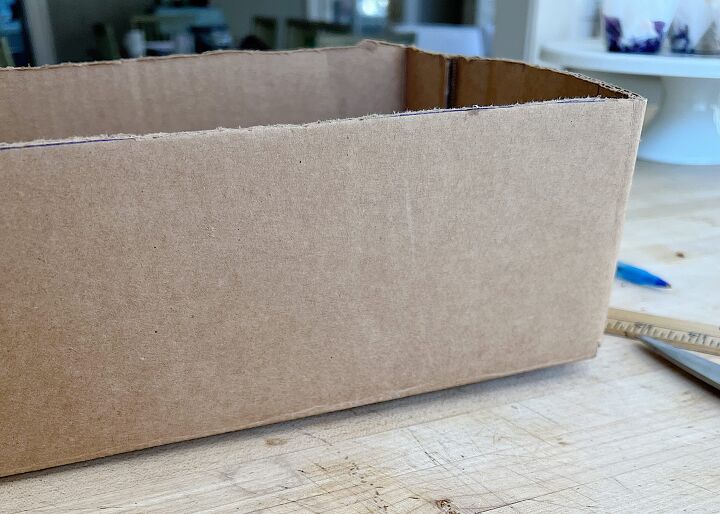
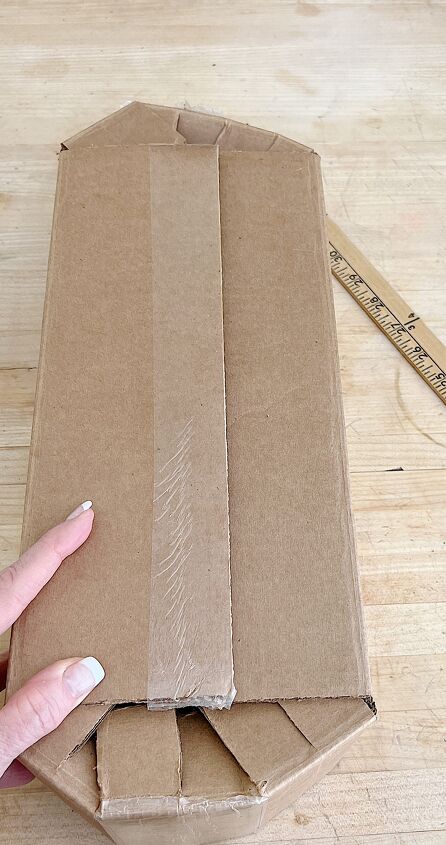
- one – Find a box that is close to the size you want. Just know that the shorter ends will actually be cut so that they can curve. Cut the box so that the height is slightly taller than the finished size of your basket.
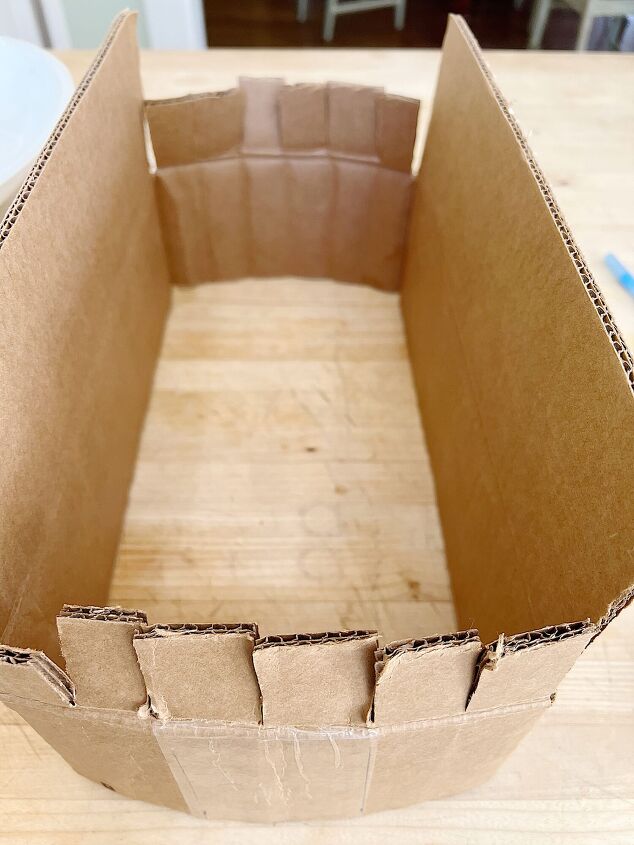
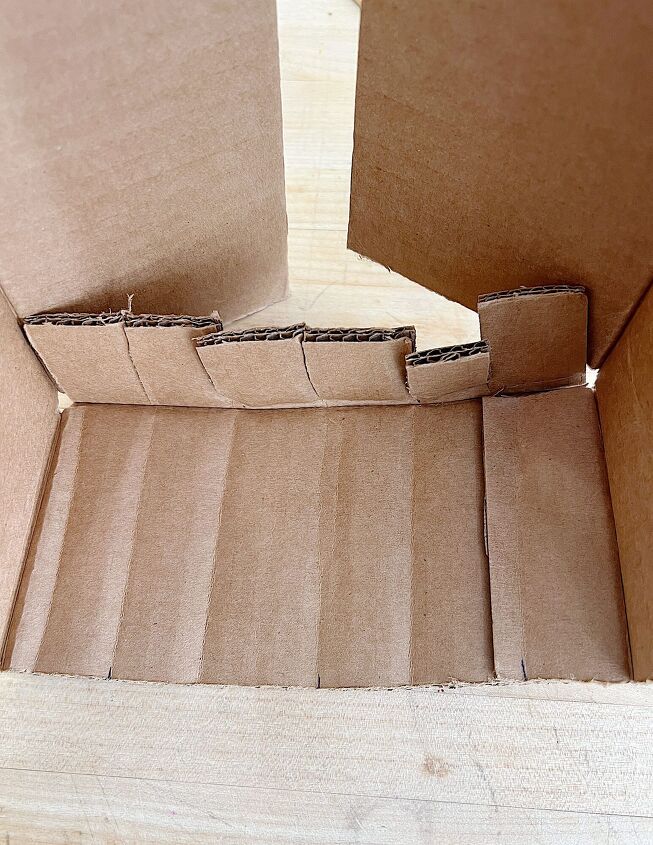
- two – Open up the bottom of the box and cut down the side flaps by 50% in height. Cut the bottoms of the side flaps into 1″ sections.
- three – Fold the sides of the box to match along with the 1″ cuts.
- four – On the bottom of the box, pull the bottom flaps so that they cross over. I crossed them over by about 2″. Seal with packing tape, just make sure to keep the flaps straight on the sides when you tape the bottom.
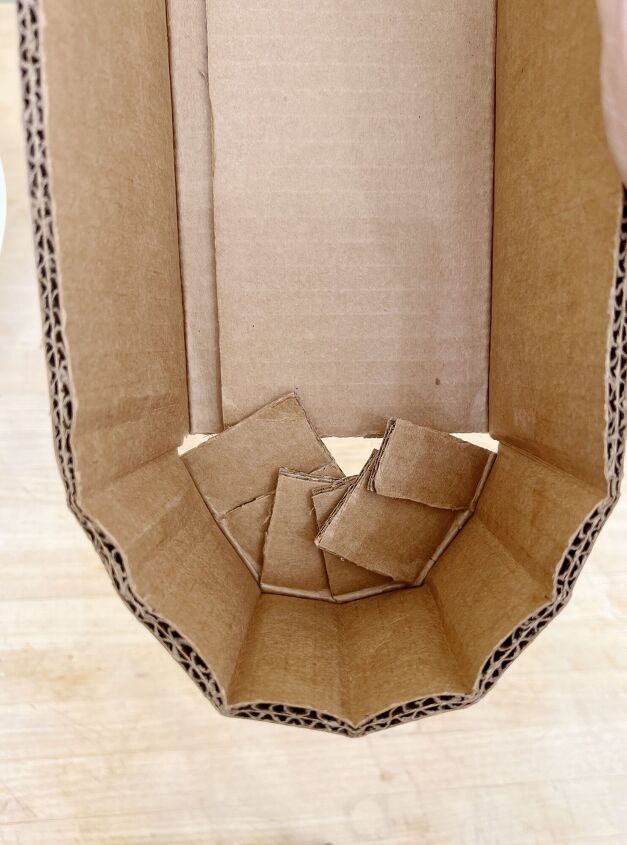
- five – Making sure that the bottom flaps of the sides are resting on top of each other, adjust the side of the box to the curve that you want. Do the same to both sides. Hint: If the sides won’t curve easily, the 1″ flaps are probably stuck together.
- six – Use more packing tape to secure the bottom flaps on the sides. Tape on both sides.
If you are enjoying my blog, you can sign up to receive my blog updates here. . .
Bread Basket DIY Steps
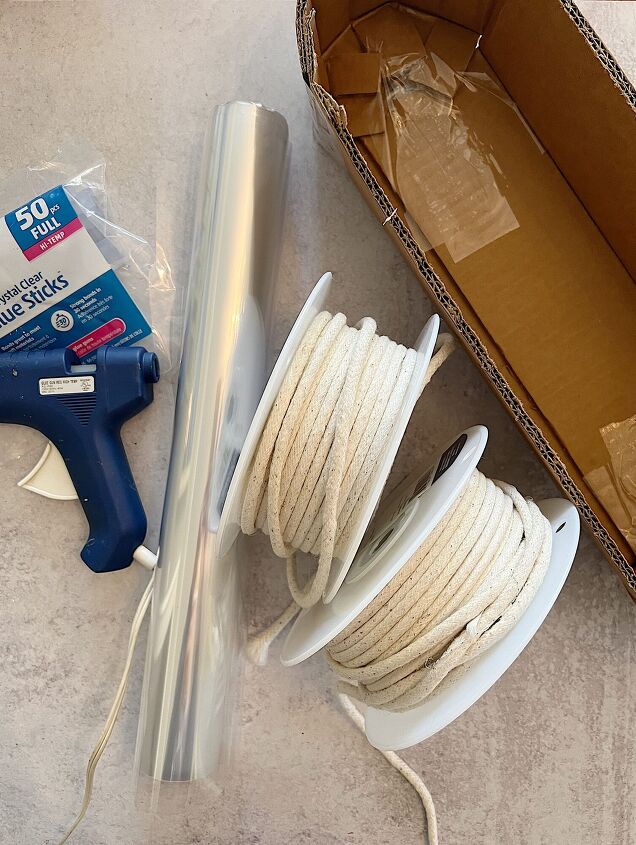
Here is what you need to make this basket.
A cardboard box
One roll of rope (see below)
Cellophane
Glue gun and glue sticks
Packing tape
Ten Steps to Make a Bread Basket
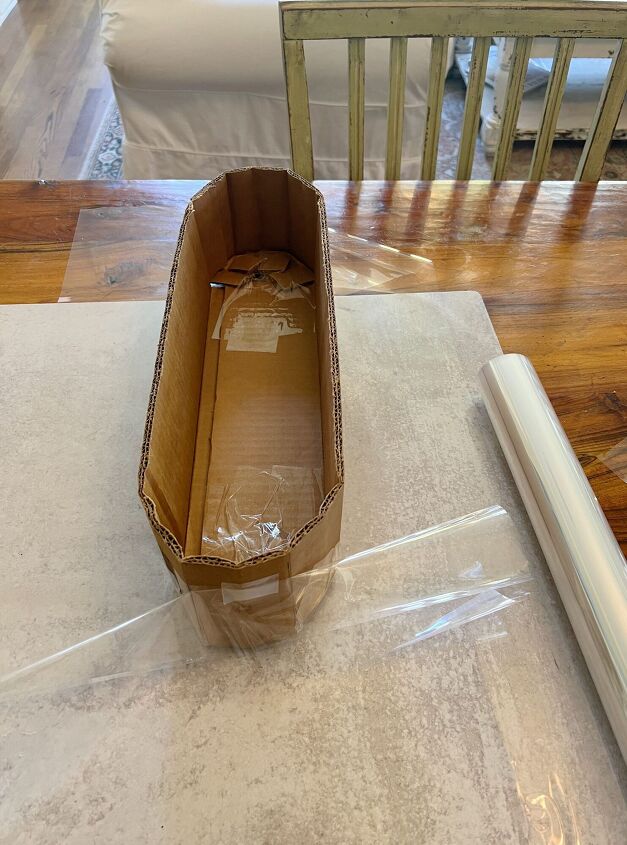
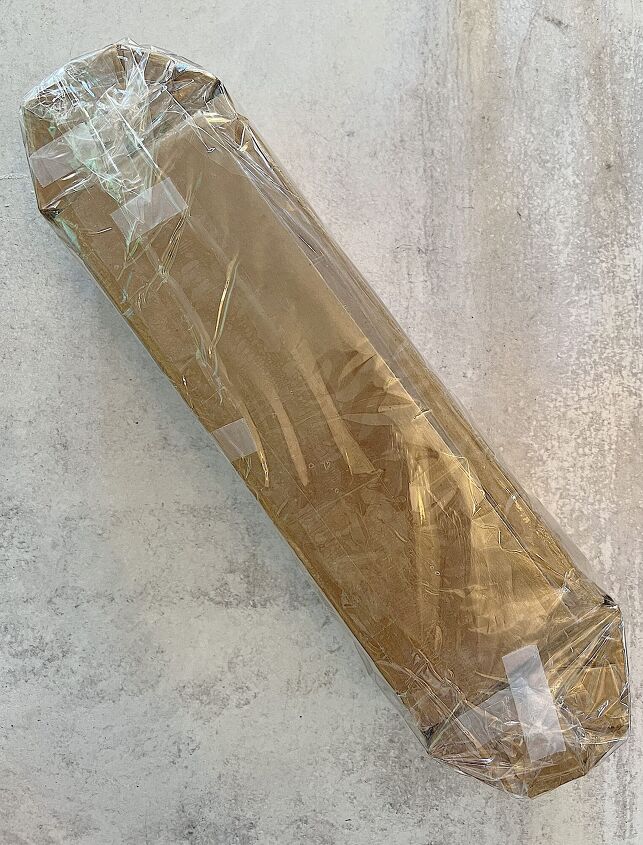
- one – The first step you need to do is wrap the box in cellophane so that you can glue the rope to the cellophane and then slip the cellophane and rope basket off of the box.
- two – Wrap the box with cellophane tightly and securely, just make sure that the cellophane will be able to slip off the box when you are done. I added scotch tape to hold the cellophane along the top and then removed it when it was time to take the basket off of the box.
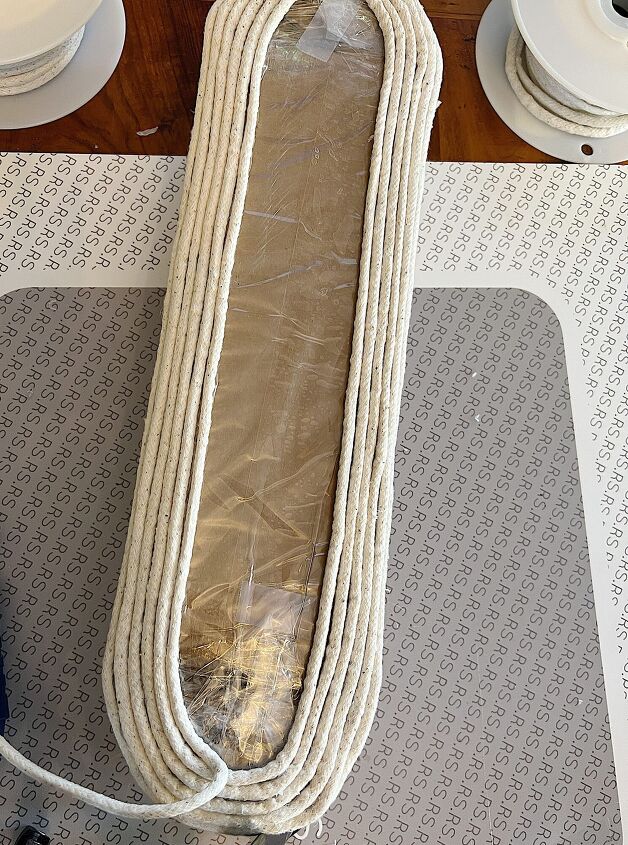
- three – Start adding the rope to the bottom of the basket. Start on the outside of the bottom of the box, gluing the rope with a hot glue gun. The first row should actually be placed on the side of the bottom of the basket so that the first row of rope on the sides can sit on top of it. After you have the outside row glued, continue adding rope while working into the center.
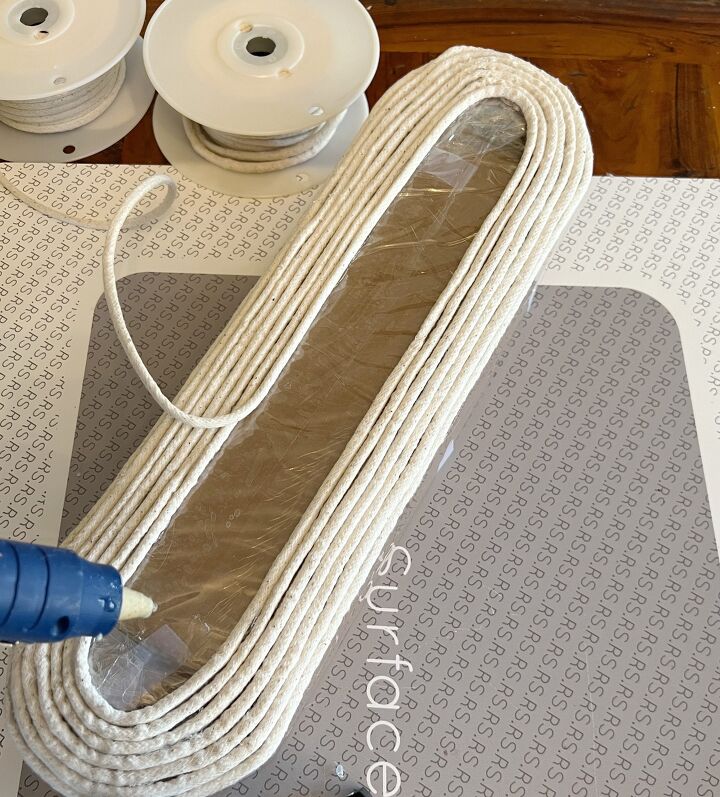
- four – Adding the rope to the bottom actually goes very fast. Try to make sure the rope is touching the sides as you keep gluing.
- five – Once you are finished, cut the rope and secure it with more glue.
- six – Start adding the rope on the sides just as you did the bottom, continuing to wrap around the box.
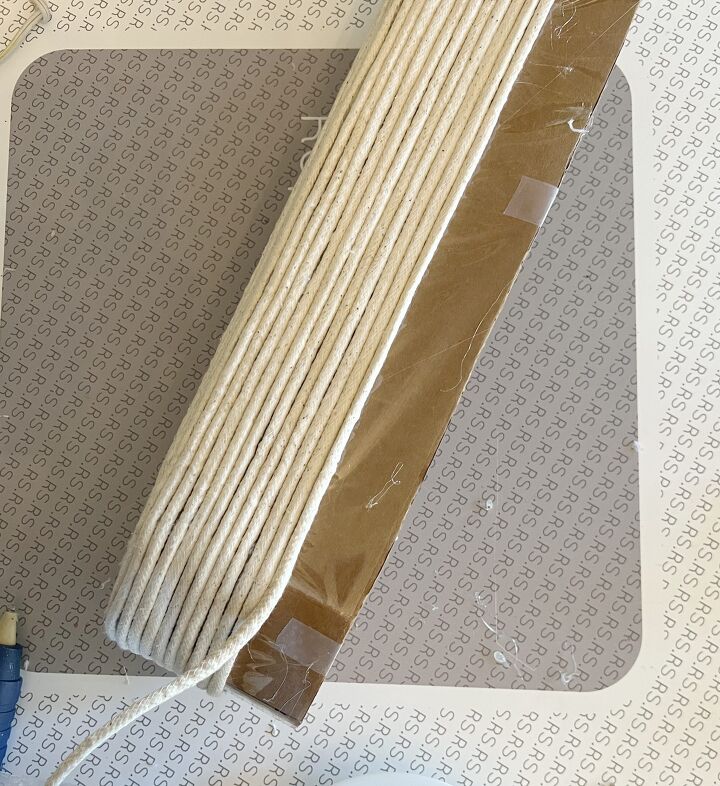
- seven – Continue gluing the rope.
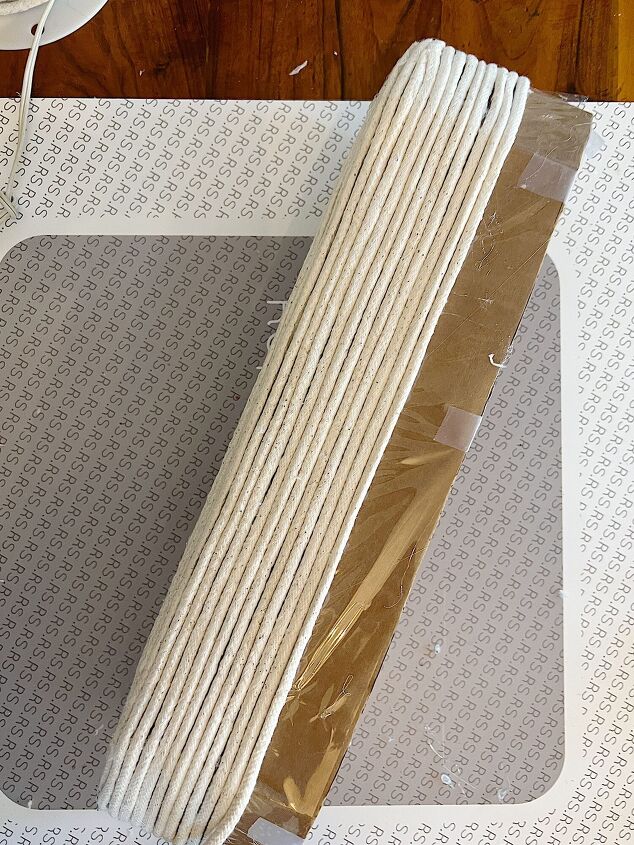
- eight – Once you are at your desired height with the rope, count the rows on each side to make sure they are even. End the rope at the same place you started.
- nine – Remove the tape that is holding the cellophane to the box and gently pull the basket off of the box.
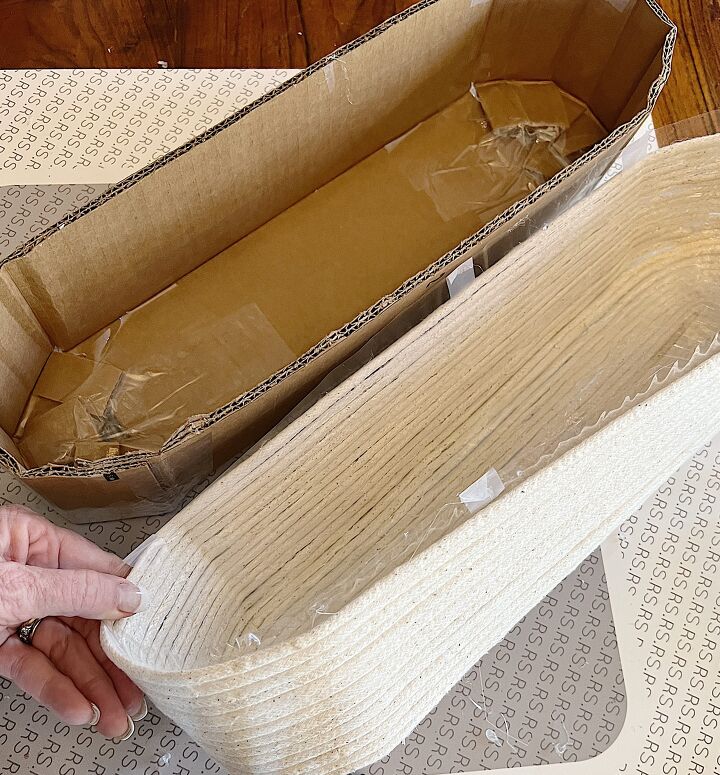
You can see in this photo how similar my basket is to the box! Grab a sharp pair of scissors and cut off the extra cellophane along the top.
That’s all you have to do!

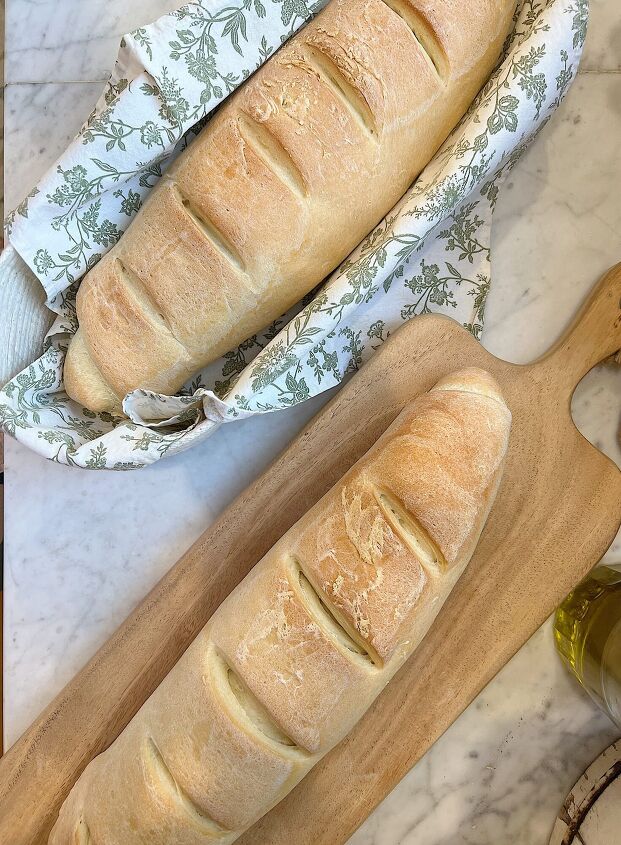
In case you want to make easy and delicious french bread, be sure you use my recipe. It’s an easy yeast recipe that comes out great every single time. (Just make sure your yeast is fresh and not expired!)
Prep Time
2 hours 30 minutes
Cook Time
25 minutes
Total Time
2 hours 55 minutes
Ingredients
- 2 1/4 cups warm water
- 2 tbl sugar
- 1 tbl instant or active dry yeast (one packet)
- 2 tsp kosher salt
- 2 tbl olive oil
- 6 cups bread flour
Instructions
Attach the dough hook to an electric stand mixer and add the warm water, sugar, and yeast. Let sit for three to five minutes.
Add the salt, oil and half (3 cups) of flour. Mix for one minute. Add the remaining three cups of flour, one-quarter cup at a time. You want the consistency of dough which isn't sticky to your fingers. If it is too wet, add a bit of flour until it won't stick to your fingers. Knead in the mixer for three to four minutes.
Transfer the dough to a lightly greased bowl and cover with greased plastic wrap. Let the dough rise for about an hour until doubled.
Remove the dough and place on a lightly greased surface (I used parchment paper with cooking spray). Pat each half portion into a thick rectangle, approximately 10X14-inches. Roll the dough in jelly-roll style, starting from the long edge. Press out any air bubbles. Place on a cookie sheet lined with parchment paper, seam side down.
Take a sharp knife and slice cuts diagonally about 2" apart. Cover with greased plastic wrap and let the loaves rise for about an hour until they are nearly double in size.
Preheat the oven to 375 degrees and bake on the center rack.
Bake for 20 - 25 minutes until golden brown and on top.
Serve warm with butter.
Below is everything you need to make this super cute bread basket.
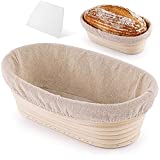
If you don’t have time to make your own, you can find all of the Best Selling Bread Baskets on Amazon here.

Wrights Cotton Piping 1-3/16″X50yd, Natural
6mm (1/4″) Jute Rope, 66 Feet Strong and Thick Twine Rope

2.3 Mil Clear Cellophane Wrap Roll
10″ Glue Sticks, 5 Pounds

Amazon Basics Scissors, Set of 3

Dual Temp Glue Gun
Scotch Heavy Duty Packaging Tape
Lace Edged Cloth Napkins, Set of 12
100% Cotton Vintage Stripe Kitchen Towel, Set of 4, 20″x 28″
Or, if you don’t want to make your own, here are some of the best sellers!
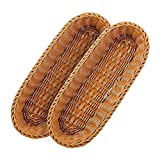
14.5″ Wicker Bread Basket, Set of 2
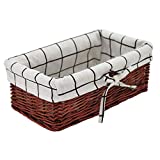
Wicker Storage Basket, With Cotton Liner
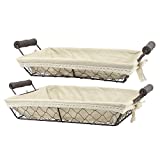
Rectangle Metal Serving Basket with Fabric Lining, Set of 2
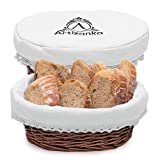
Bread Basket with Removable Liner and Cover

Bread Baskets with Eyelet Liner
Oval Rattan Bread Basket With Linen Cloth
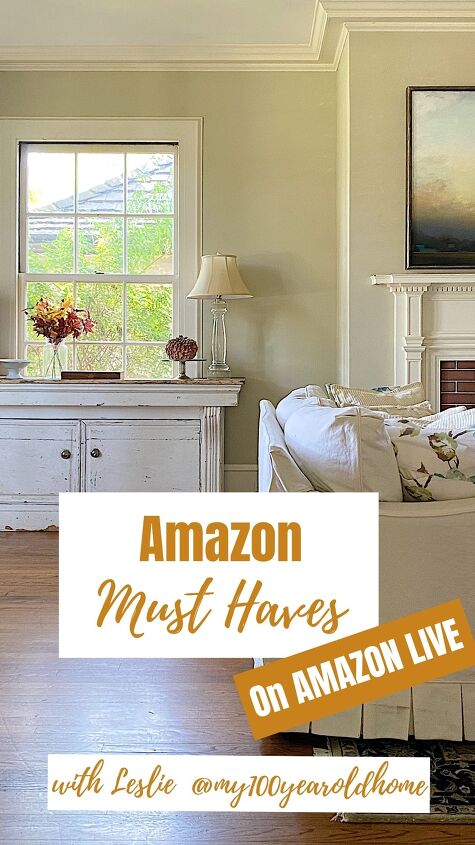
Watch My Amazon Live
I love having the chance to talk with all of you about all of the things that I love.
I am now sharing a few Amazon Live broadcasts every week and I hope you will tap on the links to see what’s new.


Pin the image below to your boards on Pinterest (just click the Pin button in the top left corner). You can also follow along with me on Pinterest!
For more real-time updates, follow me on Instagram @My100YearOldHome

ABOUT LESLIE
Welcome to My 100 Year Old Home. I started my blog so I could share my passion for entertaining, décor, cooking, and crafts. You will find all this and more right here. Read more…
Resources for this project:
See all materials


Comments
Join the conversation
-
I can not wait to make your basket and your yummy looking French bread Leslie! 😊
Thanks for sharing this! 💕
-
Very inspirational. And thanks for including your recipe. I'm going to give the basket and bread a try!


Frequently asked questions
Have a question about this project?
Won't the hot glue melt the plastic wrap?
So cute! How much rope for the bread basket?
I know you tuck the ends under. Would have liked to see.