


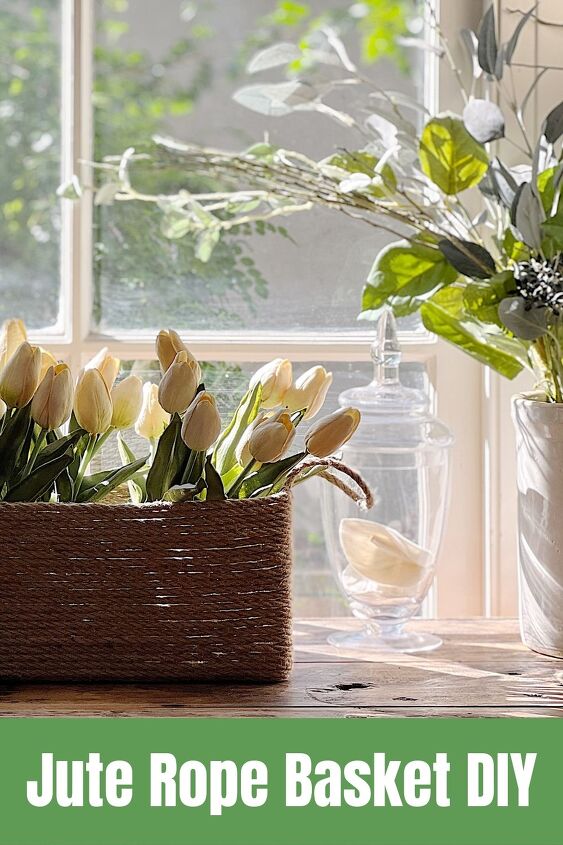
Jute Rope Basket DIY
There’s something about a jute rope basket that just feels so rustic and charming. Today I’m going to show you how to make one yourself!
Maybe it’s the natural color of the jute or the way it weaves around and around for a unique texture. Whatever the reason, jute rope baskets are both beautiful and charming. I love to use them for both storage and decor and I have decided to make one just like it. So let’s gather the shortlist of supplies needed and get started making one!

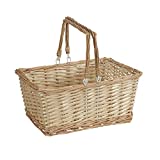
I have a french basket that I got at a vintage flea market years and years ago. It is my absolute favorite basket and I thought, why not try to make one.
I was inspired by a straw bag made by @dekorhomedekor and found the perfect box to use as the guide for my box.
It’s funny because when I look at this jute basket, I kind of can’t believe I made it.
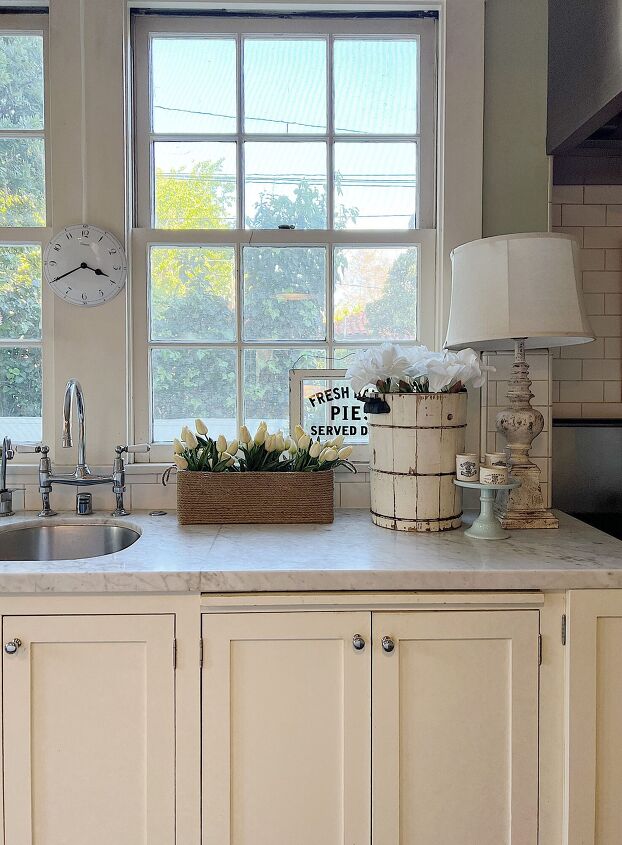
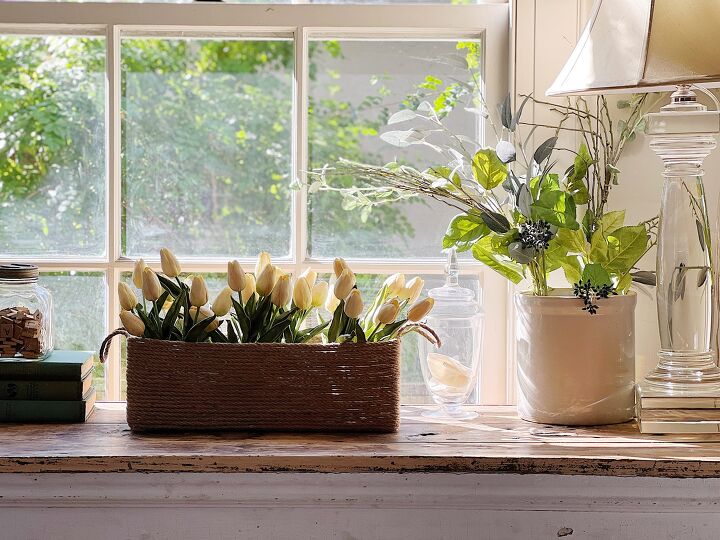
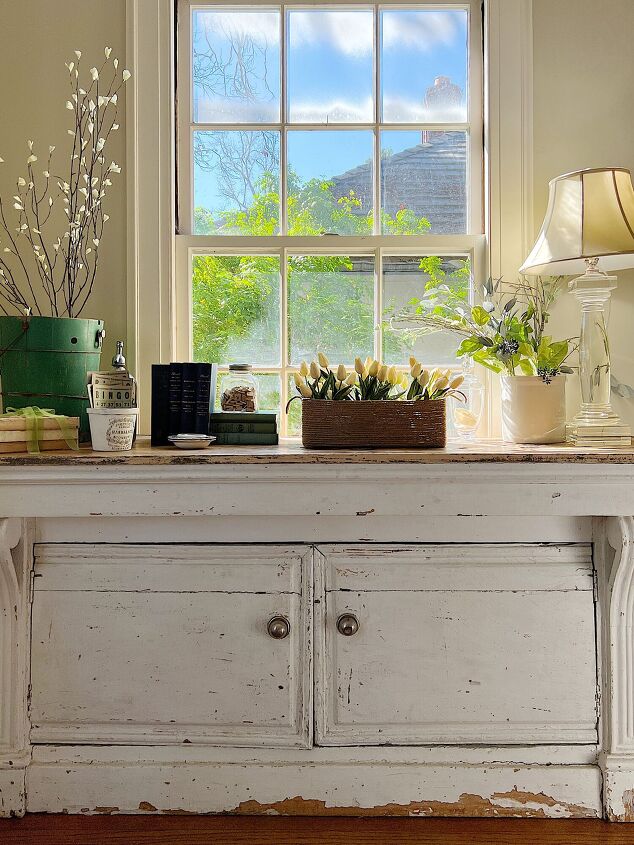
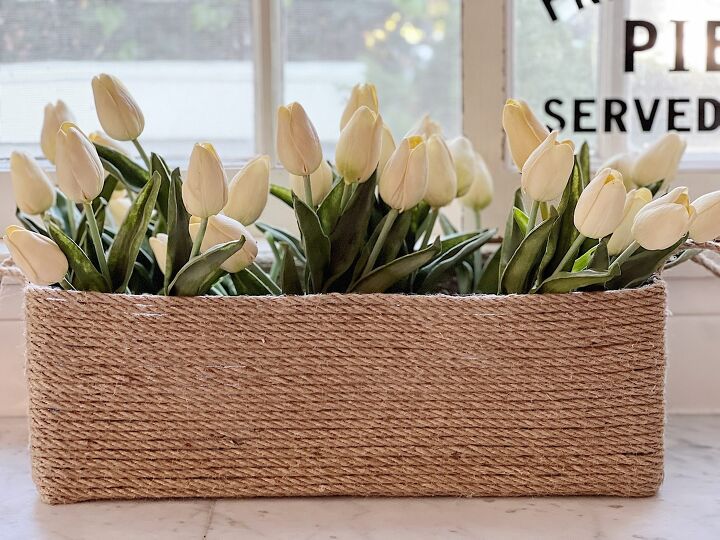
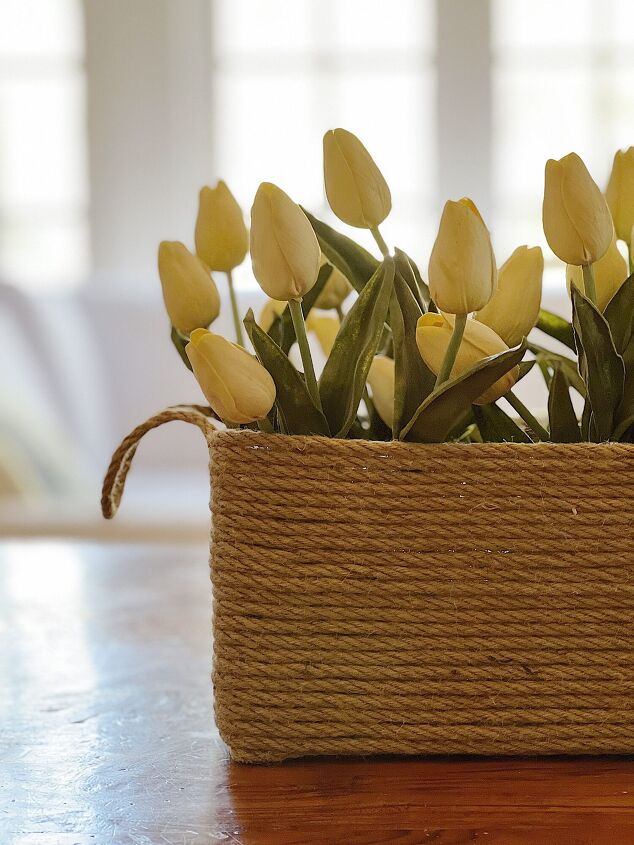
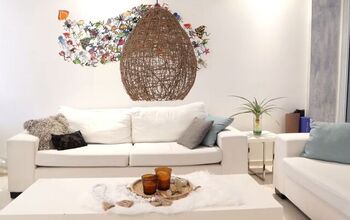
I can’t wait to use my favorite basket when styling. I will use it in the living room for holding vintage Christmas balls or in my dining room holding fall leaves. Perhaps I will use it in my family room to hold balls of yarn. I am most excited to use it to make centerpieces with flowers. Just like I did here.
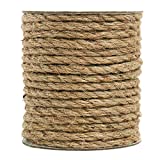
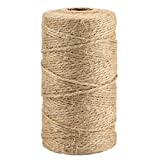
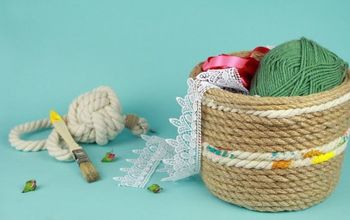
Since I am not a basketweaver, I decided to use jute rope instead. I used 1/4″ jute rope for this project. Below is a list of the materials you need to make this Jute Basket DIY:
- 2 rolls 6mm (1/4″) Jute Rope
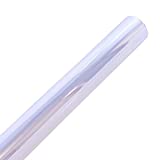
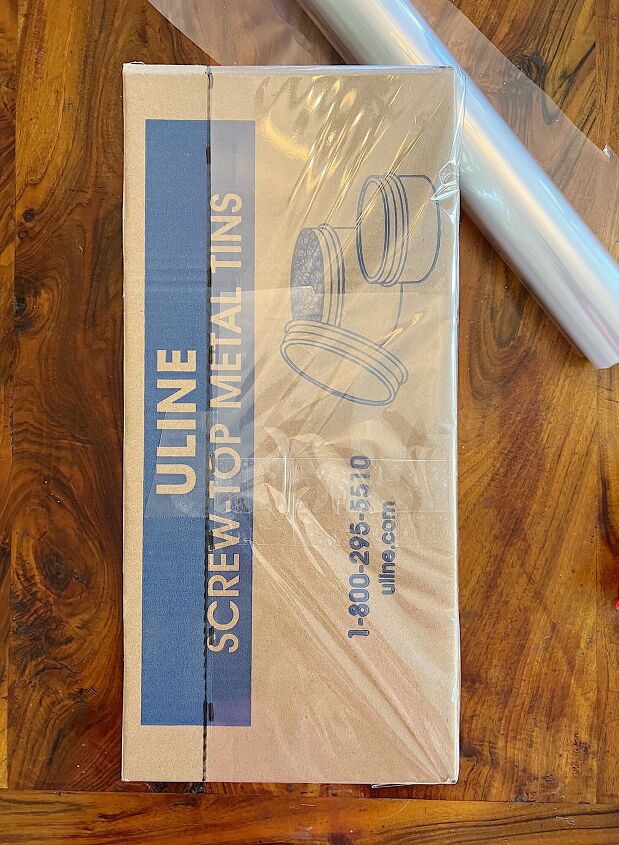
- 1 Roll 2.3 mil thickness cellophane wrap
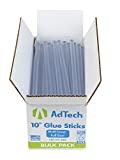
- Dual Temp Glue Gun
- Glue Sticks
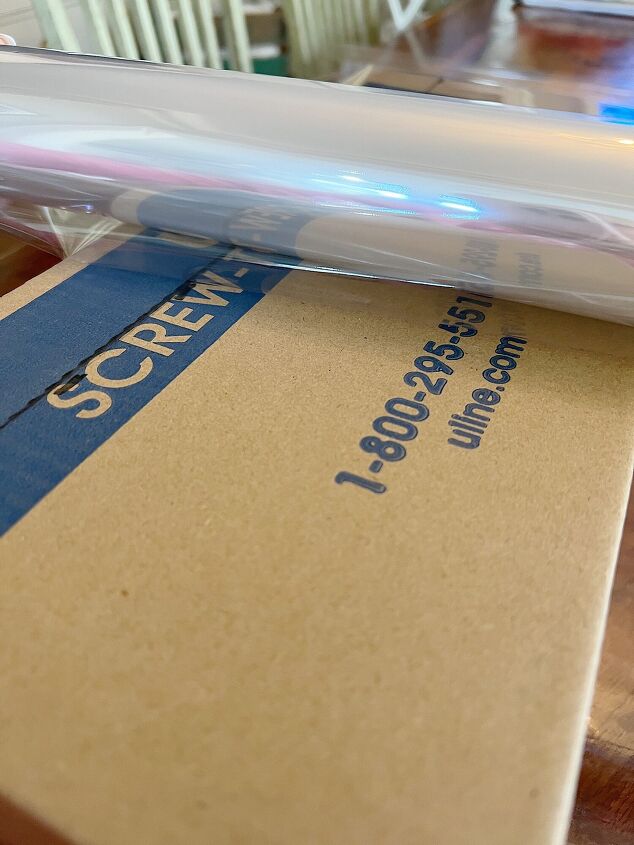
- Empty Cardboard Box desired size of basket (I used an empty Amazon box)
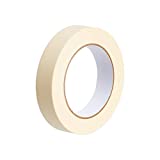
- Roll of Tape (as guide for handles)
- Craft or Wrapping Twine
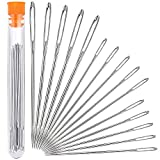
- Wide Eye Needle


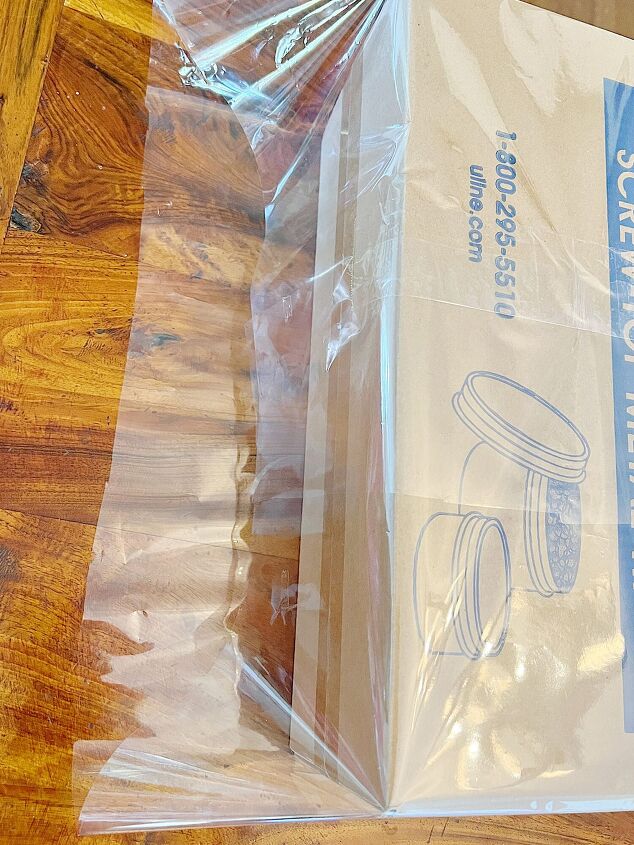
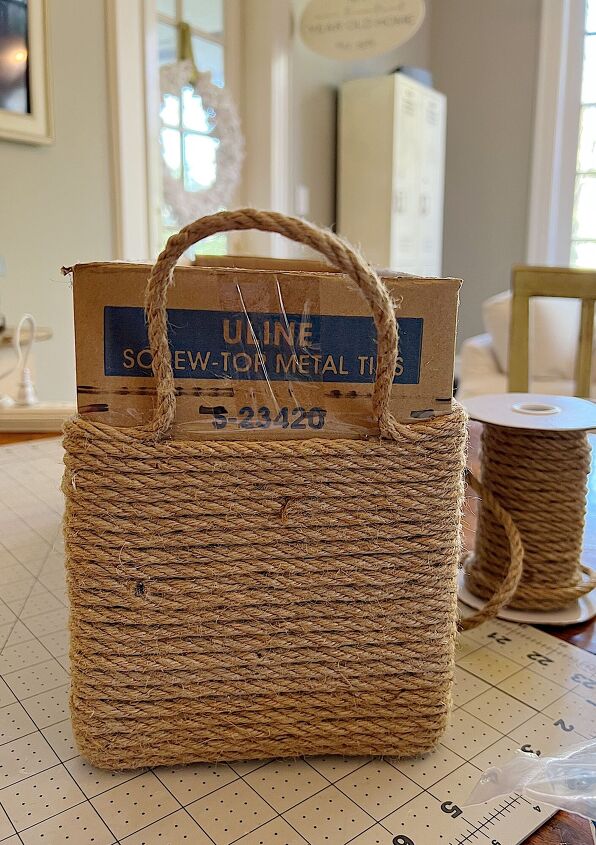
- one – Start by choosing the box size you are going to build the basket around.
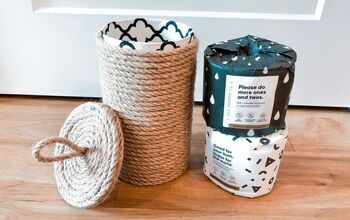
- two – Wrap the box in cellophane
- three – Determine how tall you want the basket to be and cut the cellophane accordingly.
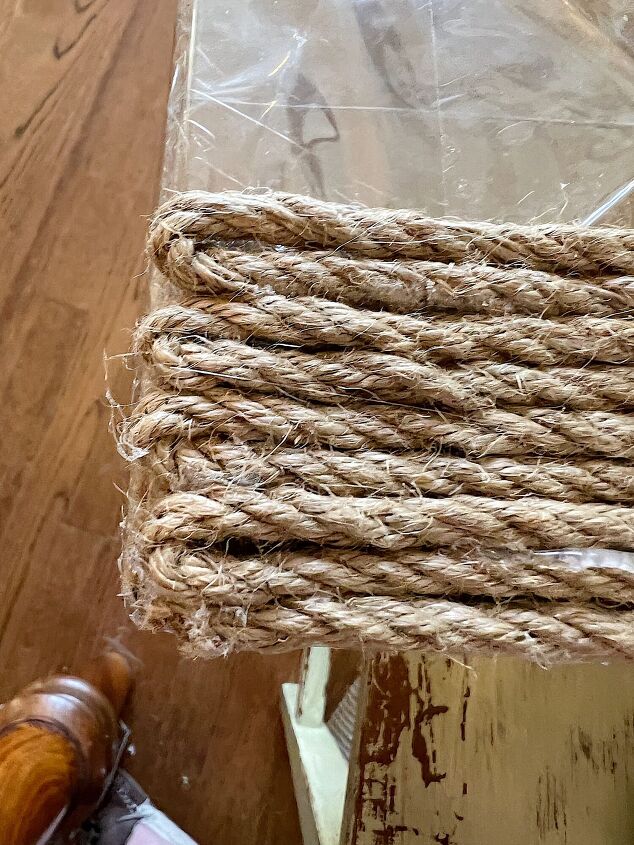
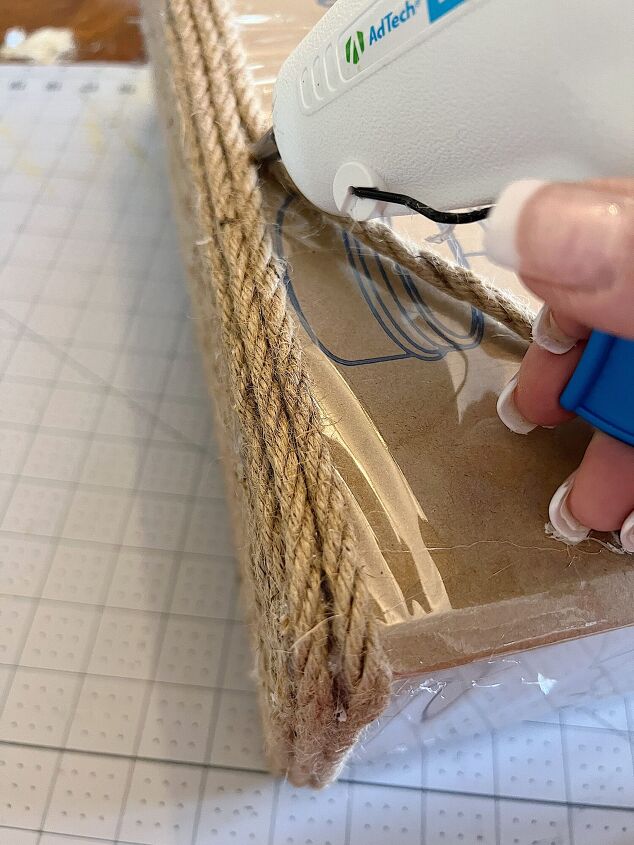
- four – Begin with the bottom of the box. Using the dual temp glue gun, lay down a strip of glue on the cellophane along the long side of the bottom of the box. Beginning with the end of the jute rope, lay the rope on top of the hot glue and hold in place until dried. Turn the rope (give it a little twist to keep the rope in tact) and lay another strip of hot glue along the previous row and then press the new row of rope into the hot glue. Hold until dry. The rope will cover the bottom of the box from bottom to top in a back and forth pattern, turning at the edges. The rope will be a continuous piece of rope. No cutting.
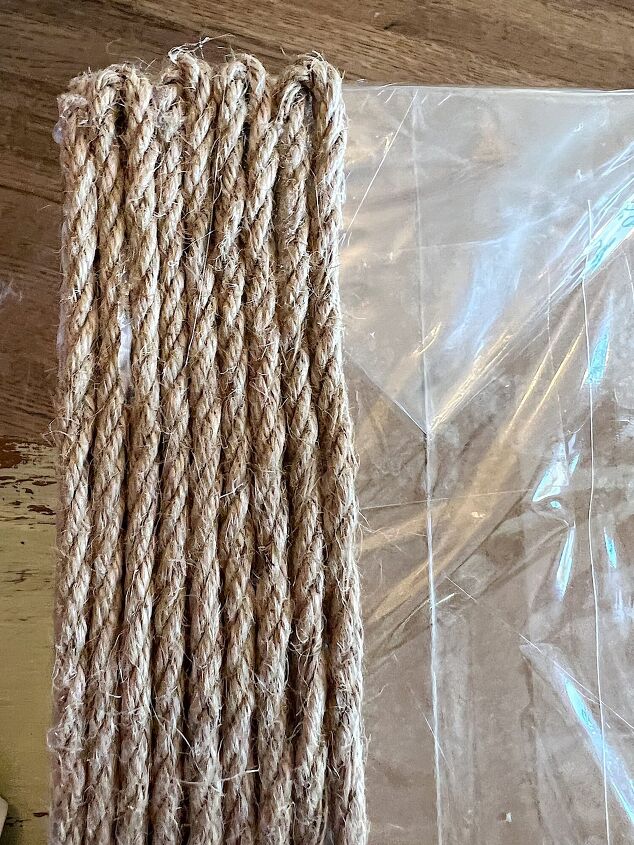
- five – This is what the bottom of the basket should look like.
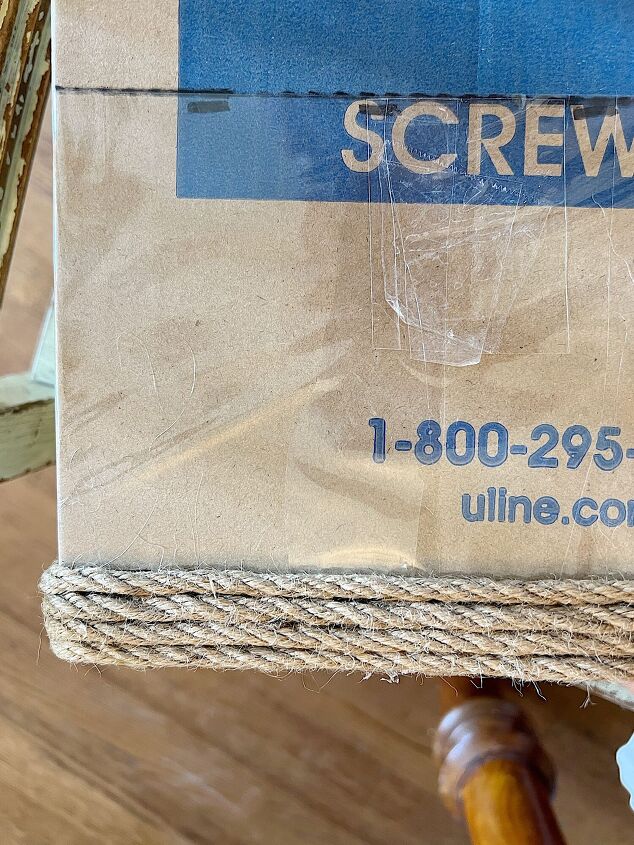
- six – Once you have glued the wound rope to cover the bottom of the box, begin laying the hot glue on the sides of the box, wrapping the rope around the outside of the box in a continuous loop. Again, no cutting.
- seven – Keep adding more hot glue and jute rope.
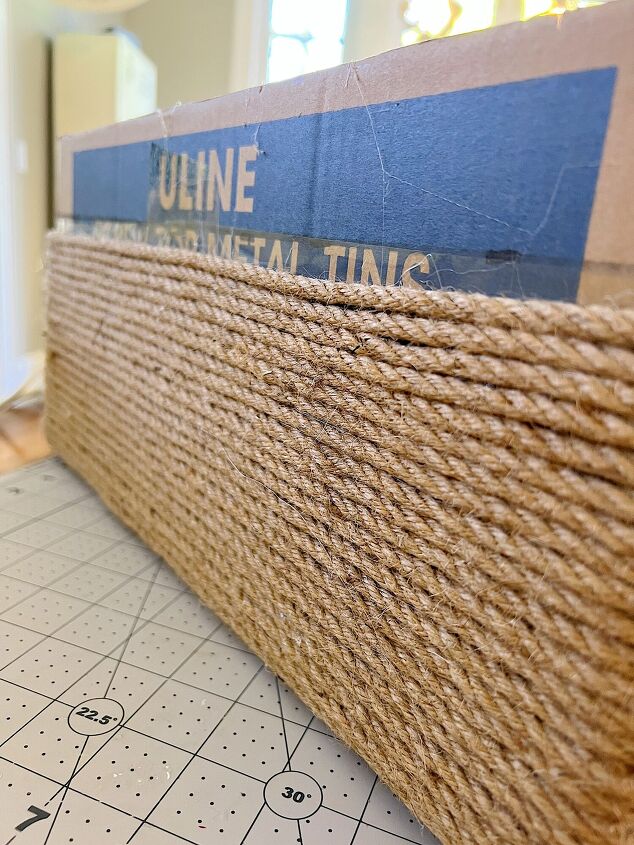
- eight – Wrap the box in rope to the desired height.
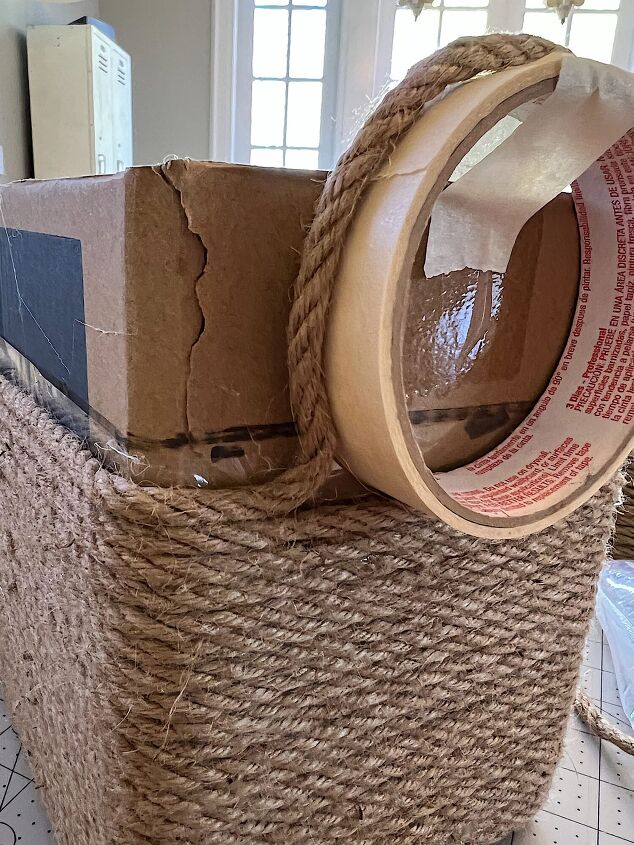
- nine – Once the box is covered with rope on the bottom and around the outside of the box to the desired height, t is time to add the handles. Hot glue the rope around the outside of the box one last time. On the short edges of the box, use the roll of masking tape to create a handle by having the rope go up and over the masking tape roll (do not glue it to the roll).
- ten – Once you have the last row of rope in place and two handles, cut the rope and glue down the end so that it does not unravel. Trim any extra cellophane above the last line of jute rope.
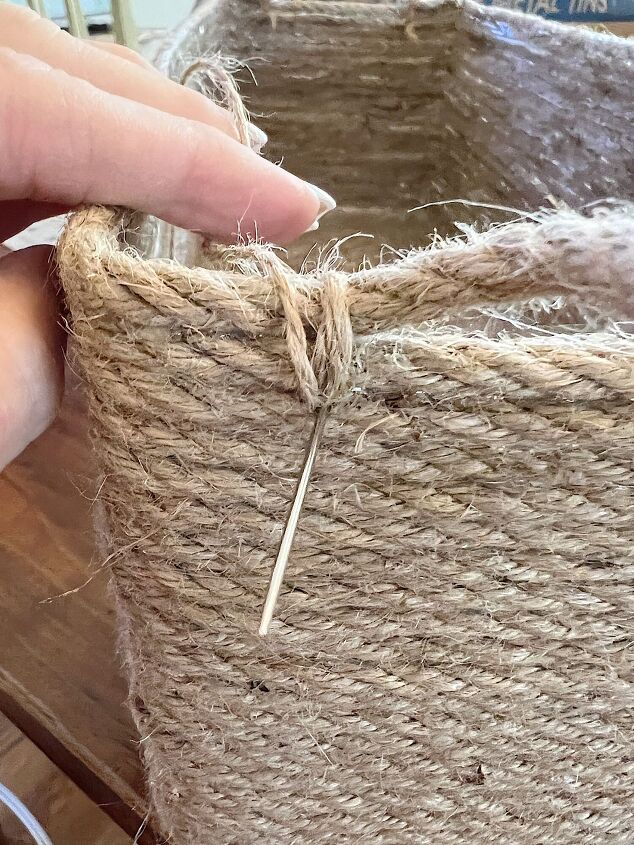
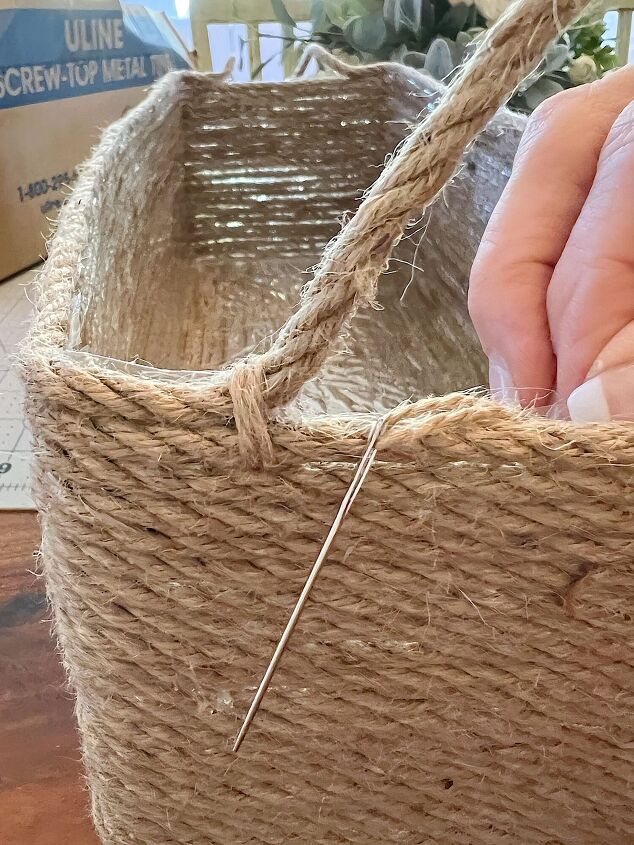
- eleven – Thread the thin craft/wrapping twice on wide eye needle. At each handle intersection take a minimum of three stitches to help secure the handles.
- twelve – You can see how the stitches will secure the handles.
Be sure and head to my Instagram this afternoon to watch the video as to how I made this basket!
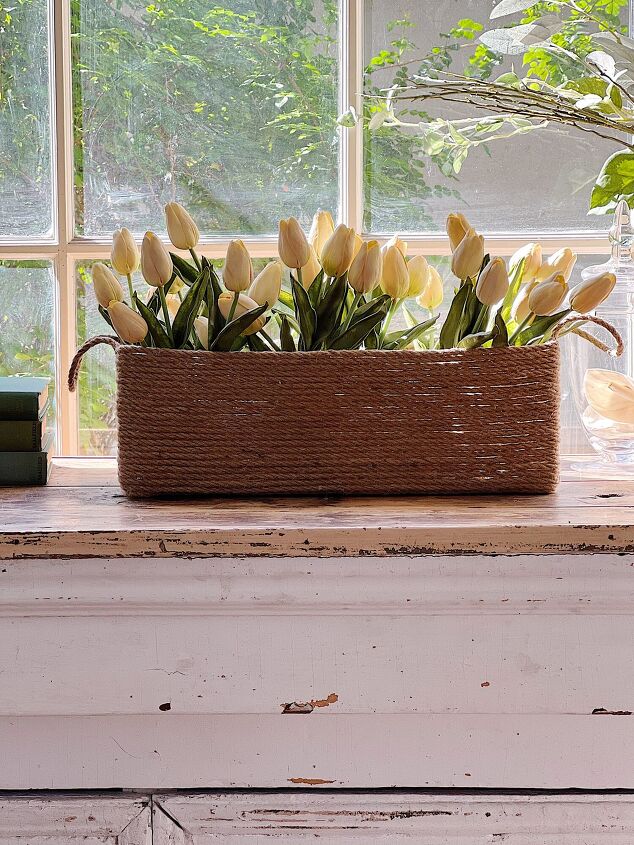
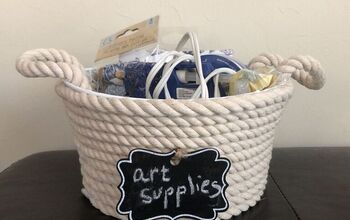
Here’s a close-up of the basket. I absolutely love how it came out.
If you are enjoying my blog, you can sign up to receive my blog updates here. .
I love having the chance to talk with all of you about all of the things that I love.
I am now sharing a few Amazon Live broadcasts every week and I hope you will tap on the links to see what’s new.
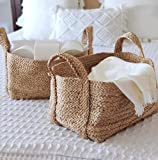
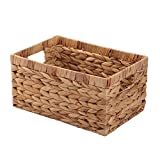
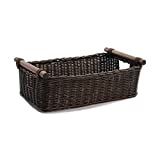
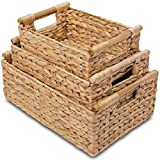
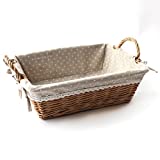
In case you do not want to make your own, below are some baskets I think you might like!
Pin the image below to your boards on Pinterest (just click the Pin button in the top left corner). You can also follow along with me on Pinterest!
For more real-time updates, follow me on Instagram @My100YearOldHome

ABOUT LESLIE
Welcome to My 100 Year Old Home. I started my blog so I could share my passion for entertaining, décor, cooking, and crafts. You will find all this and more right here. Read more…

Comments
Join the conversation
-
Unable to click on all your projects cause they aren't highlighted.


Frequently asked questions
Have a question about this project?