


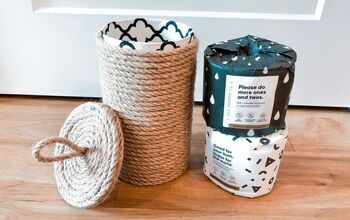
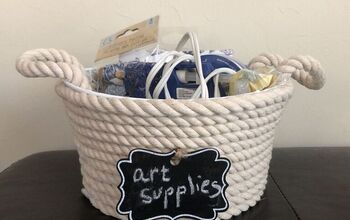
DIY Decorative Rope Eco Basket

by
Troom Troom
In this tutorial you will learn how to decorate a basket using a simple rope. This DIY eco decoration will become a necessary accessory in your interior!
{
"id": "3795009",
"alt": "",
"title": "",
"video_link": "https://www.youtube.com/embed/Z6wk9G_3yg0",
"youtube_video_id": "Z6wk9G_3yg0"
}
{
"width": 634,
"height": 357,
"showRelated": true
}
We need:
- jute and cotton cords of different sizes;
- plastic wastebasket;
- hot glue gun.
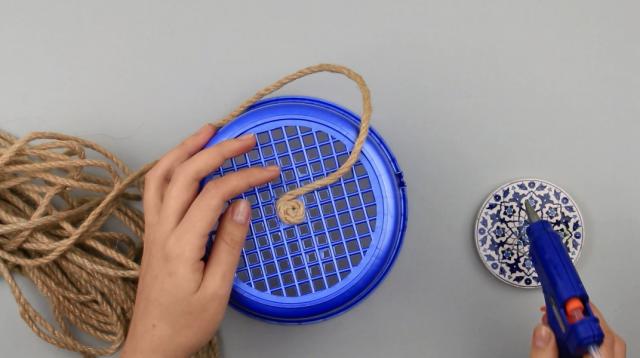
Start with the bottom. Keep in mind securing the rope end with a stopper. We have used a tape.
Coil a small “snail” adding hot glue to the jute cord.
Attach it to the center of the basket bottom. Use a glue gun. Press over.
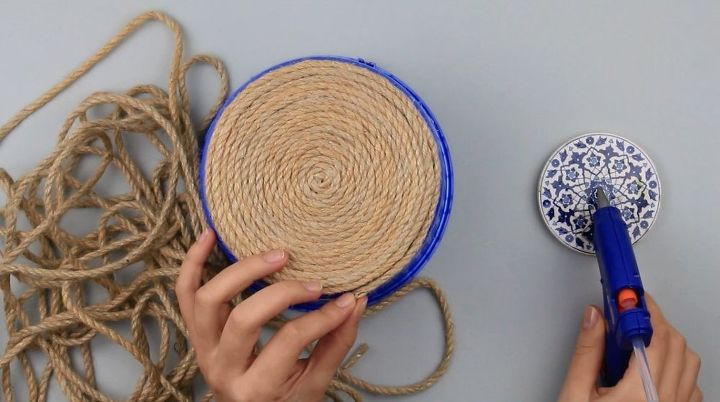
Cover a small bottom area with the hot glue and place a tight cord coil. Make the “snail” bigger by adding tight rope coils.
Cut out the cord when the bottom decoration is complete. Glue the end.

Add the cord of another size.
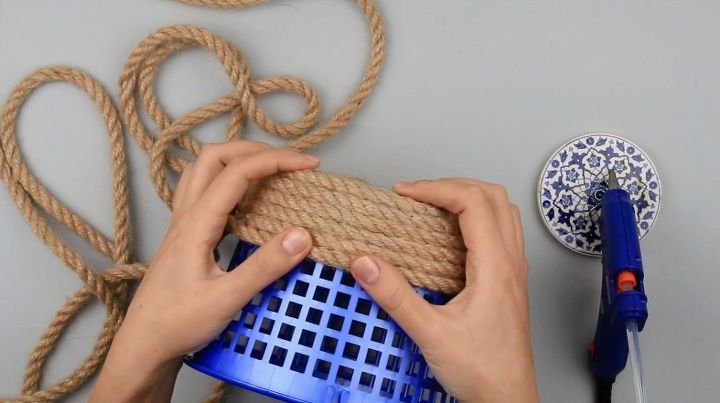
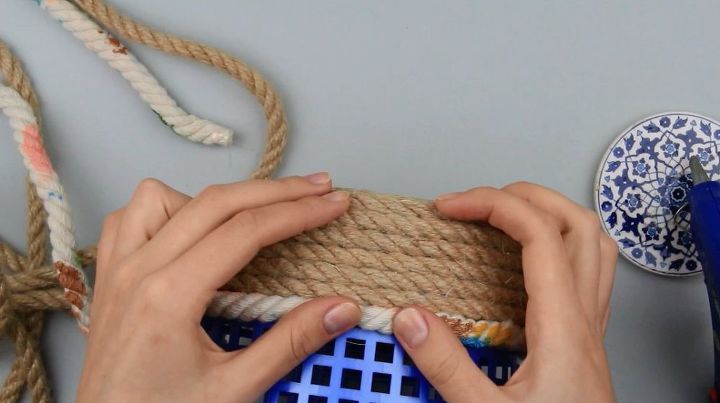
Make walls in the same way. Keep in mind sticking the rope coils with the hot glue.
You can add several layers of painted cotton rope.
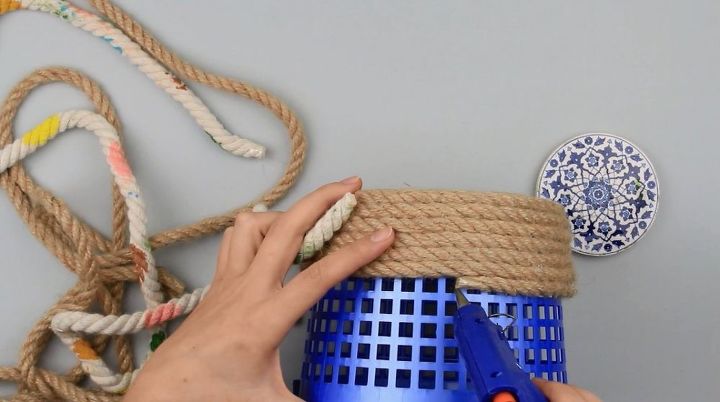
Cut the end of the jute cord. Secure with the tape.
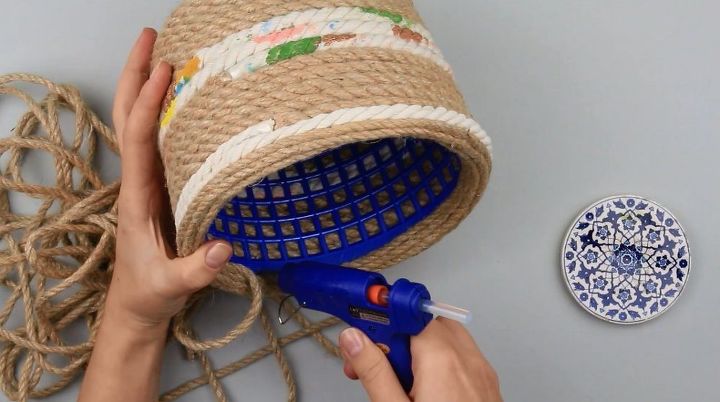
Join the ends of the ropes using the hot glue.
Bright juicy colors will add a bit of spring mood.
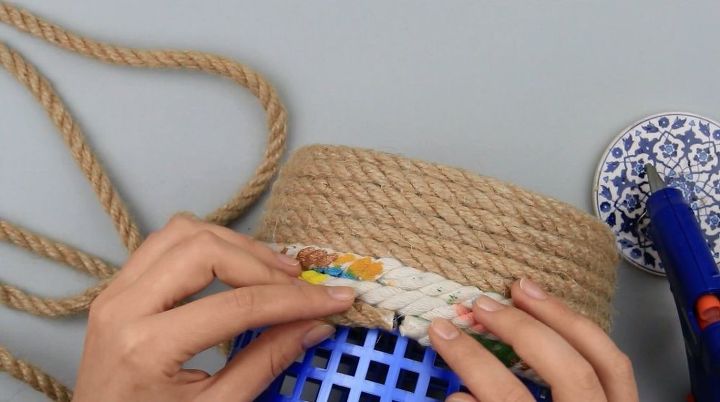
Change for the jute rope again.
Add a few coils of the cotton rope near the wall end.
Take a thin jute cord to decorate the basket edge.
Add a few layers inside the basket to make it look neat.
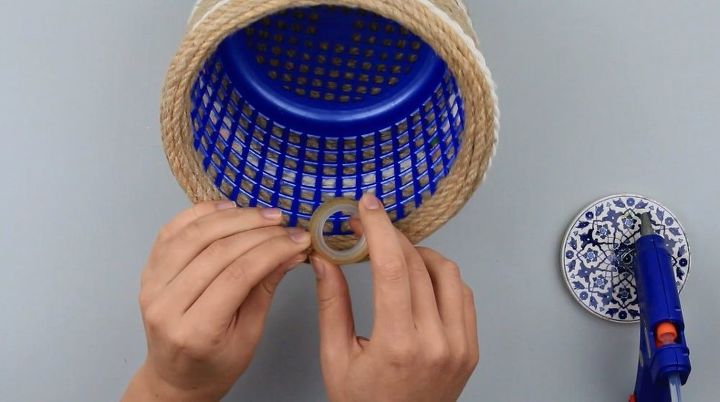
Secure the cord end with a stopper.
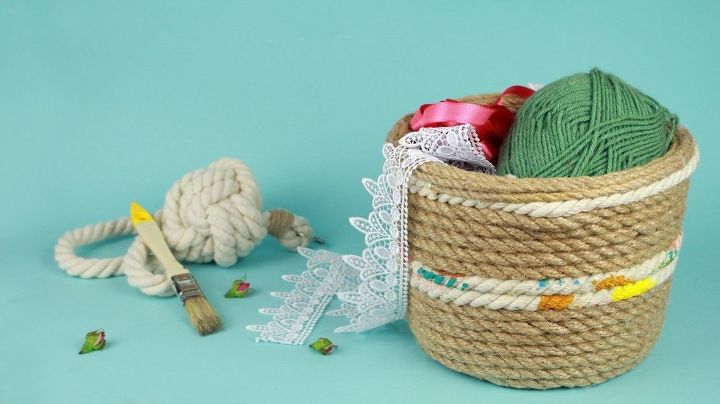
The stylish rope decorative basket will become a necessary accessory in your interior. You can use it as an ornamental flowerpot or a fruit vase, or for keeping handmade materials.
If you're like this project, check out our youtube channel: https://www.youtube.com/troomtroom OR our super cool website: http://troomtroom.com
Thanks so much for reading/watching!!!
Comments
Join the conversation
2 of 12 comments
-
Beautiful!
-
Super cute!


Frequently asked questions
Have a question about this project?
You lost me way back in your instructions. Beautiful though.