


Upgrade Your Light Fixtures Without Breaking the Bank

I recently gave my front stoop a makeover and something I wanted to do was update the light fixtures by the front door. I have a lot of home projects planned and didn’t want to spend a lot of money on exterior light fixtures. So I decided to take them down and paint them to give them a fresh, new look!
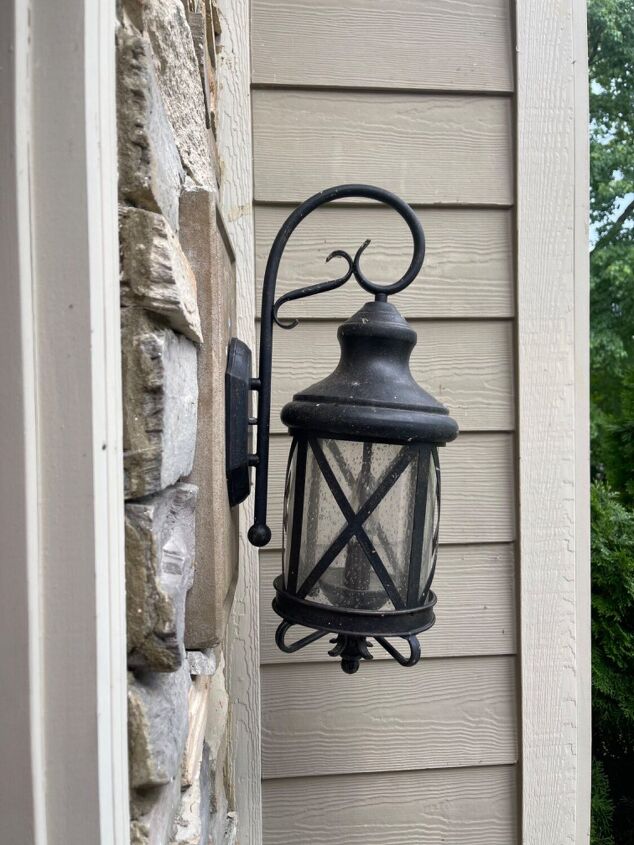
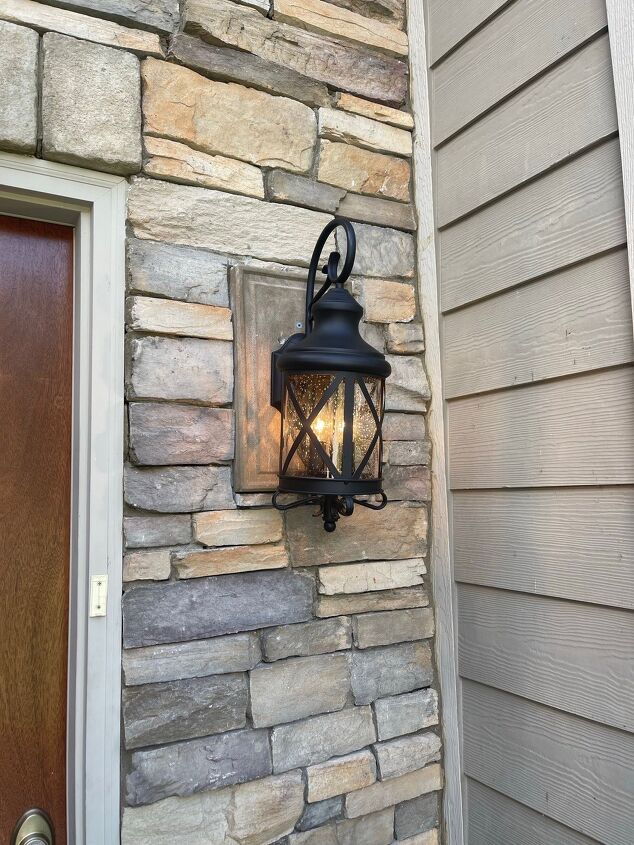
My current light fixtures were mostly black with a bronze touch to them. I decided to spray paint them matte black to match the new handle set I got for the front door.
Before removing the fixture from the wall, be sure to shut off the electricity to that area. Then you’ll unscrew the tips from the wires, uncoil them, and then I taped over the exposed wires in case it rained while I had the lights down. You can take a photo of what the wires look like before you disconnect them, but it’s pretty easy to put them back together because they’re color coordinated.
After taking down the fixtures, I removed the glass cylinders and washed them with soap and water. Then I removed the light bulbs and there were a lot of bug bodies in the sockets! Make sure you clean those out. I then cleaned the metal part of the fixture really well. You’ll want to make sure you get all the dust and debris off before you paint them.
After I cleaned the fixtures and let them dry, I used painters tape to tape off any areas that I didn’t want to paint. That would be the light bulb sockets, the wires, and any other area you don’t want paint to get to. Now it was finally time to paint. You’ll want to paint outside or in a well-ventilated area. I did it in my garage with the door opened.
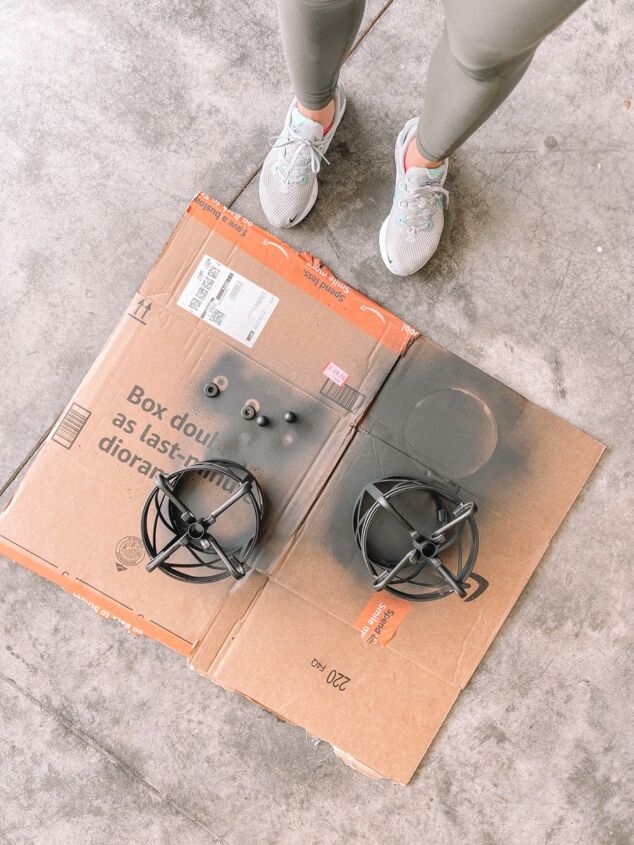
Place a drop cloth or a piece of cardboard under the fixtures. You’ll want to spray all the pieces, including the screws and anything that will show on the outside.
The first coat will dry pretty quickly, and the hotter it is outside, the faster it will dry. Tip: you can use a hair dryer to expedite the drying process.
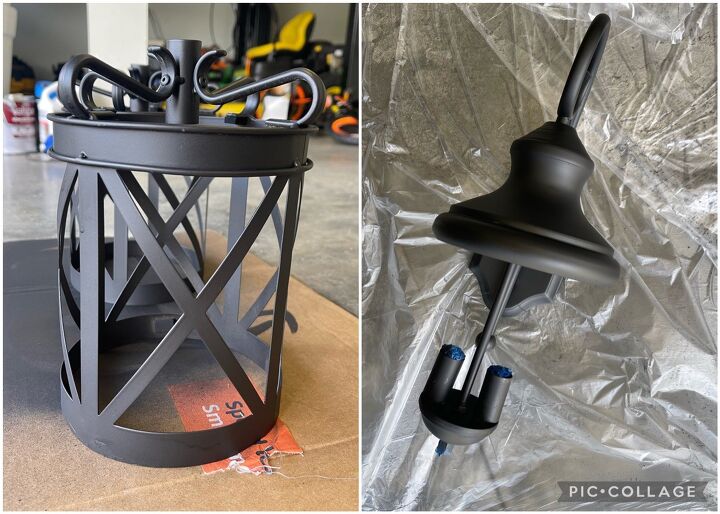
You’ll likely need at least two coats, but it will depend on the color you start with and the paint color you choose. I needed just two full coats and then I had to do some touch ups where some spots had been missed.
Let your fixtures dry completely before removing the tape, putting them back together, and screwing in some bulbs. Then you’ll reconnect the wires and attach them back to the wall.
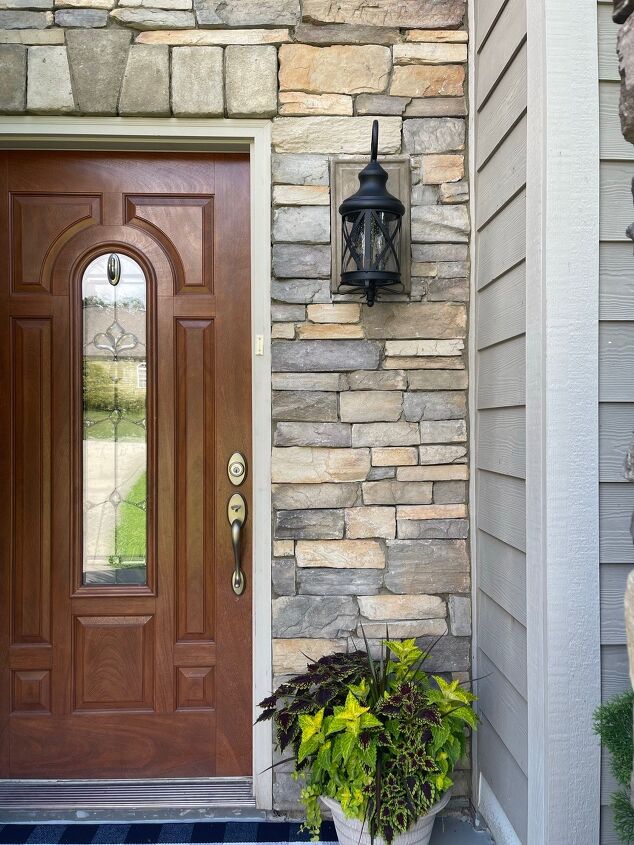
All that’s left to do is turn the electricity back on to that area and admire your gorgeous new upgraded light fixtures!
Resources for this project:


Comments
Join the conversation
-
I updated my bathroom fixtures by taking them down and spray painting them with oil rubbed bronze
they look great
-
I'm always surprised by how much nicer things look after fresh paint, whether the color is changed or not.


Frequently asked questions
Have a question about this project?
How did you remove the glass? Thank you