Super Easy Hollywood Light Fixture Upgrade for Under $5!

by
OnBlissStreet
(IC: blogger)
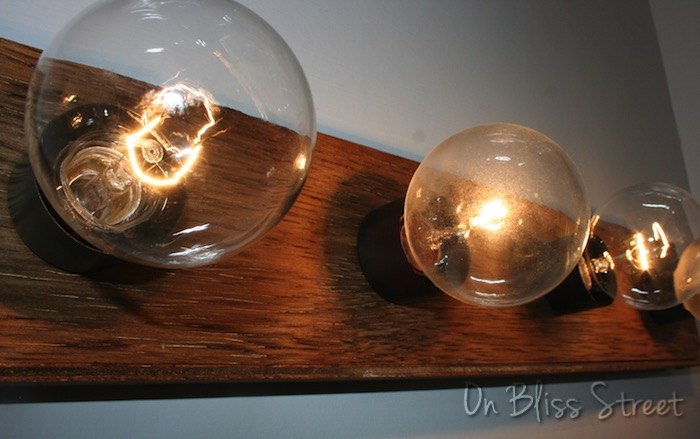
Do you have a not so pretty Hollywood vanity light fixture that you think your going to have to replace? Well, let me show you a simple way to upgrade it until your ready to spend the moolah to buy a new one! This fix is under $5 and takes about an hour total of your time!
My light fixture was a really bright yellow brass and it even had a weird green spot where the previous owners kids stuck a sticker or something. It had to go! I cut pieces of Lauan plywood to the same size of the front, the sides and the bottom. The sides and bottom pieces were just a bit bigger to cover the edges of the front piece.
Using construction adhesive, I glued the pieces directly to the brass.
Clamped them and let them dry overnight.
The next day, I used a saw drill bit to cut the holes from the inside.
Then I gave it a nice coat of stain- Provincial by MInwax. Before you stain, wipe it down with water to get the wood ready to accept the stain- especially with this kind of cheap wood.
I spray painted the brass fittings where the bulb fits. These fit inside the holes that I drilled.
There you have it! An upgraded version of a builder-grade light fixture that I can tolerate! To see more budget friendly tips, tricks, and tutorials visit my blog! http://OnBlissStreet.com
Enjoyed the project?

Want more details about this and other DIY projects? Check out my blog post!
Published May 18th, 2015 9:34 AM
Comments
Join the conversation
2 of 13 comments






Frequently asked questions
Have a question about this project?
Any suggestions for different bulbs or shades or? I really dont like mine (same kind as yours) and dont want to spend too much changing it up. Thank you!