


Potting Bench Rustic "Backsplash"

Almost 2 years ago my husband & I made a Potting Bench from an old picnic table that was headed for the trash. The wood was rough looking but was still solid. The bench has a "well loved" rustic look to it and it's exactly what I wanted. I love it and have gotten so much use out of it.
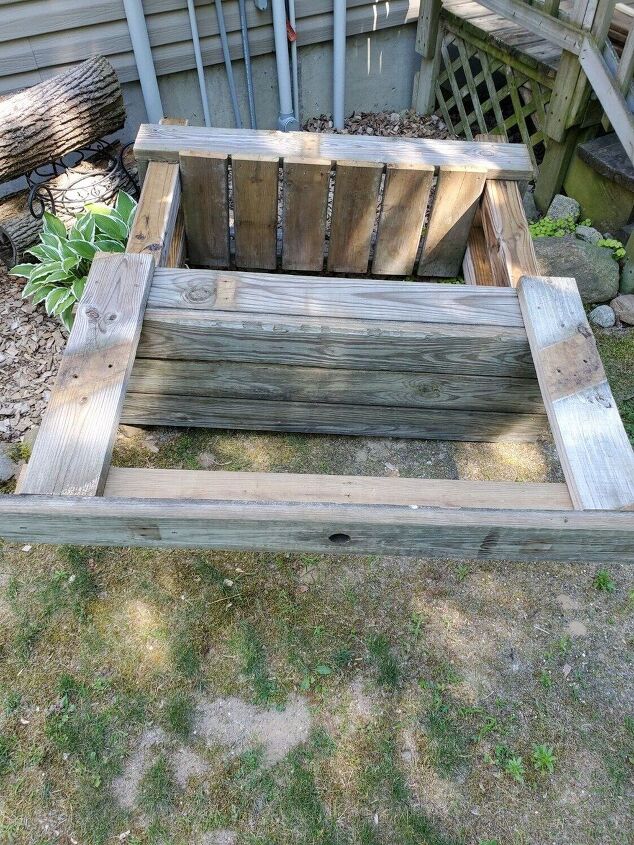
This year I decided to move it because my Hosta plants are getting bigger and the potting bench needed to find a new home. So, I moved it further down in the flower bed.
The new spot was perfect for the bench but not ideal for me. I hated looking at the electrical boxes that are on the side of the house.
I can't eliminate the boxes but I can make it look a little more appealing and that is when I decided to create a "backsplash" for my potting bench.
NOTE- This project was free for me to build. If you have the tools on hand the only thing you may need to purchase is the wood. Prices vary depending on size.
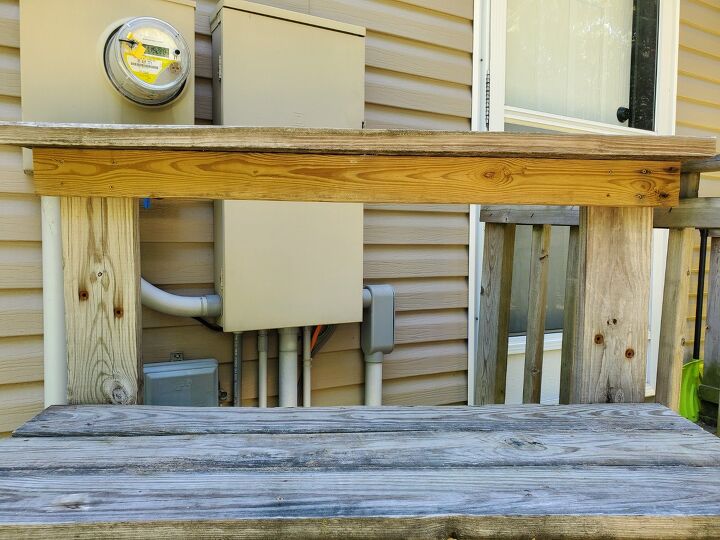
The bench in its new spot. Now you can see why I wanted to create the backsplash.
While you'll still be able to see the boxes above the bench, I needed to do something about the middle. Plus, this will make it so nothing falls off the back of the bench now that it isn't flat against the house but more on an angle (so we can access the box if needed).
Material List
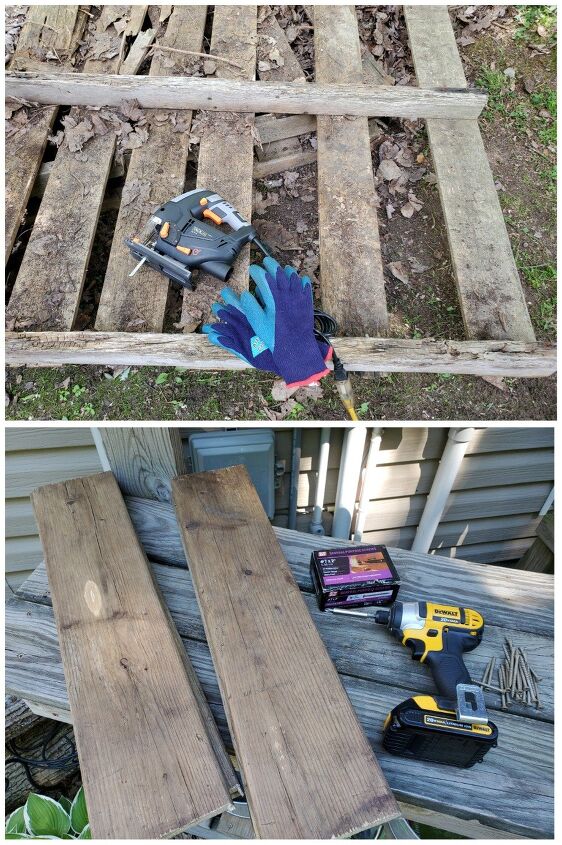
- Old Pallet wood
- Jig Saw
- Protective gear
- Screws
- Drill
- Wood spacers
To continue the rustic feel of the potting bench, I will be making my "backsplash" out of old pallet boards.
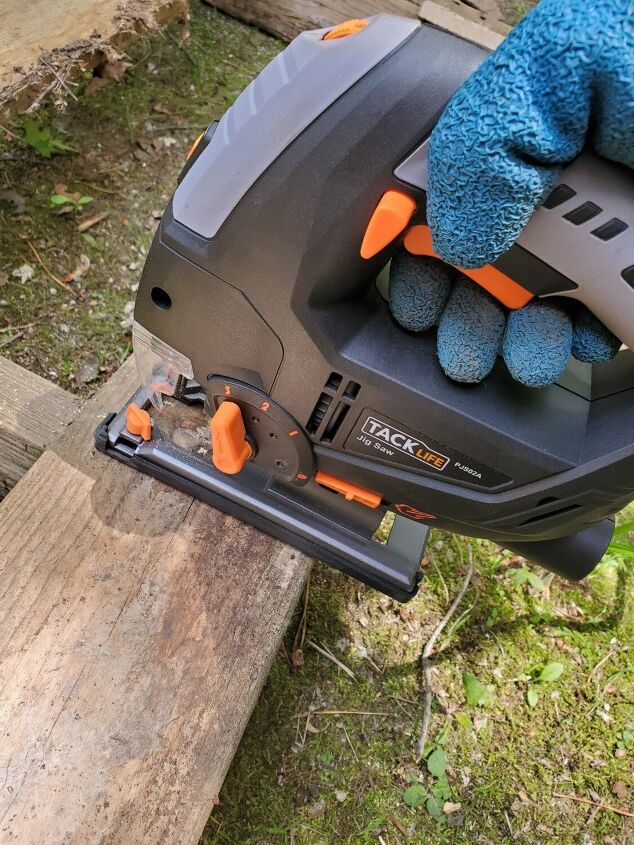
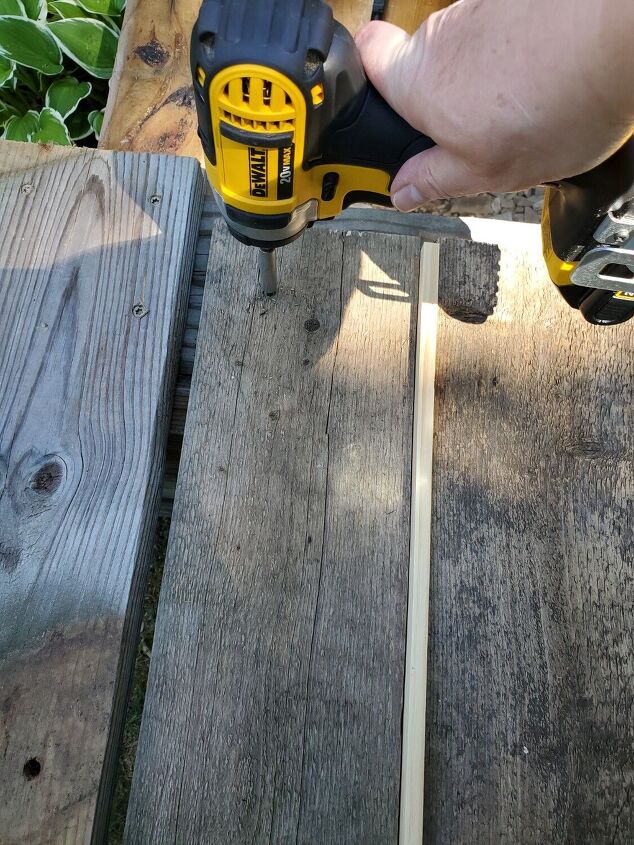
I used a jig saw to cut through the boards on the pallet.
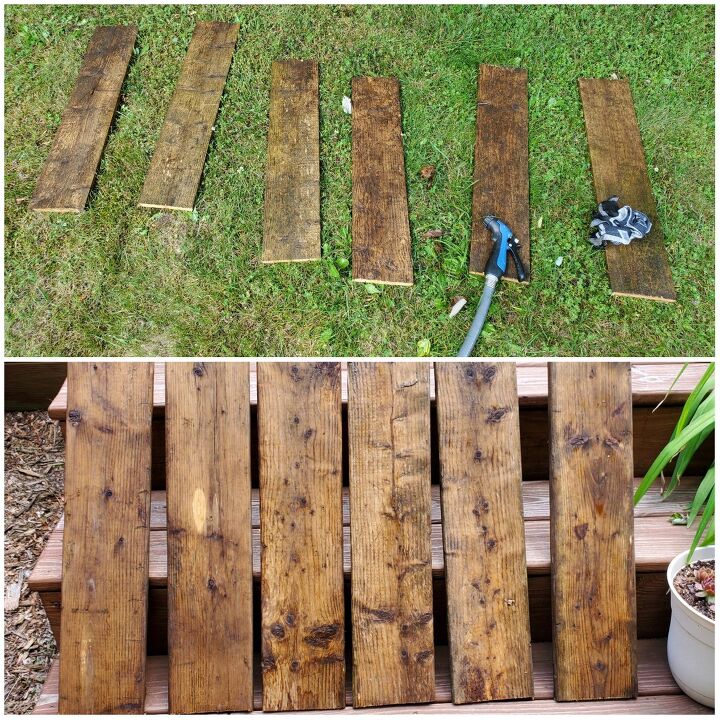
The pallet I used had been buried for years under a lot of fallen leaves. So after the boards were cut, I washed and set them in the sun to dry.
I laid the potting bench down on its front. This way the back area where I want to add the "backsplash" is easily accessible.

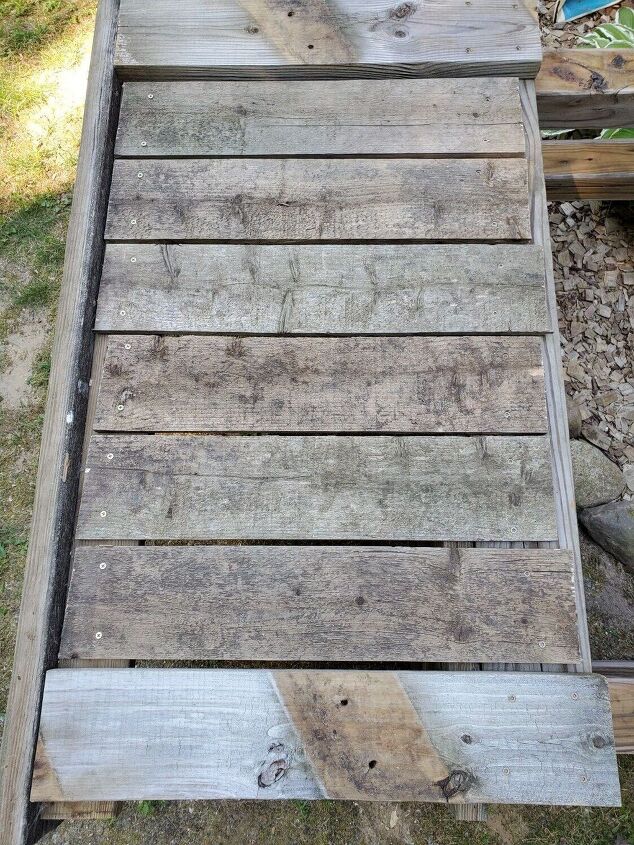
As you can see all of the boards are not cut evenly. I didn't worry about that when cutting them off the large pallet because I knew the back side would not be seen.
I laid out all 6 of the boards on the back of the potting bench to make sure they fit the space.
I used a piece of wood as a spacer to help space the boards out as equal as you can using old wood.
I used an impact drill to screw the boards into place.
I added 2 screws to the top & bottom of each board. Since this wood is old and it is not straight and little twisted, I added 4 screws per board to help straighten them out. I wouldn't suggest using any less than 4 screws if using old pallet wood.
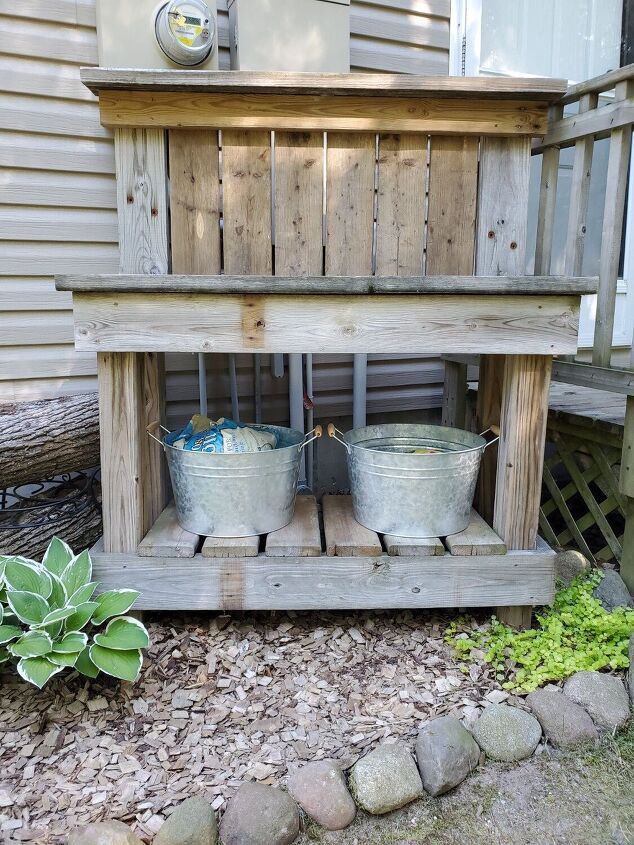
Here it is!
I love how it turned out and only wish I would have done this sooner!
I may even add some to the bottom shelf area. For now the galvanized buckets are a great addition and place to store my gardening tools and extra soil.


Frequently asked questions
Have a question about this project?