


Up-cycling & Repurposing: Nightstand Becomes Planter Box Stand

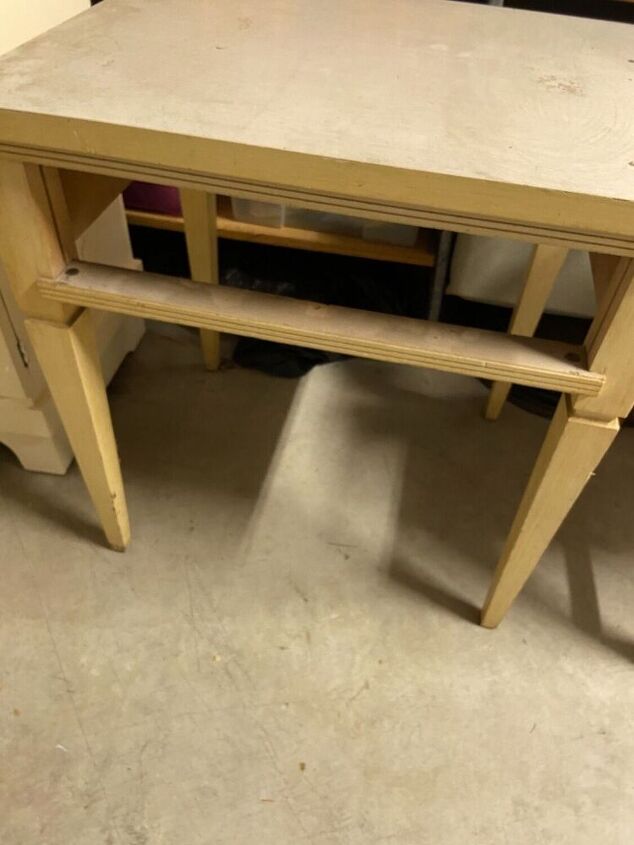
This 1970’s nightstand had a broken drawer and a damaged Formica top. The man who put it out on the curb was delighted to have me take it to make “ something” out of it and keep it out of the landfill.
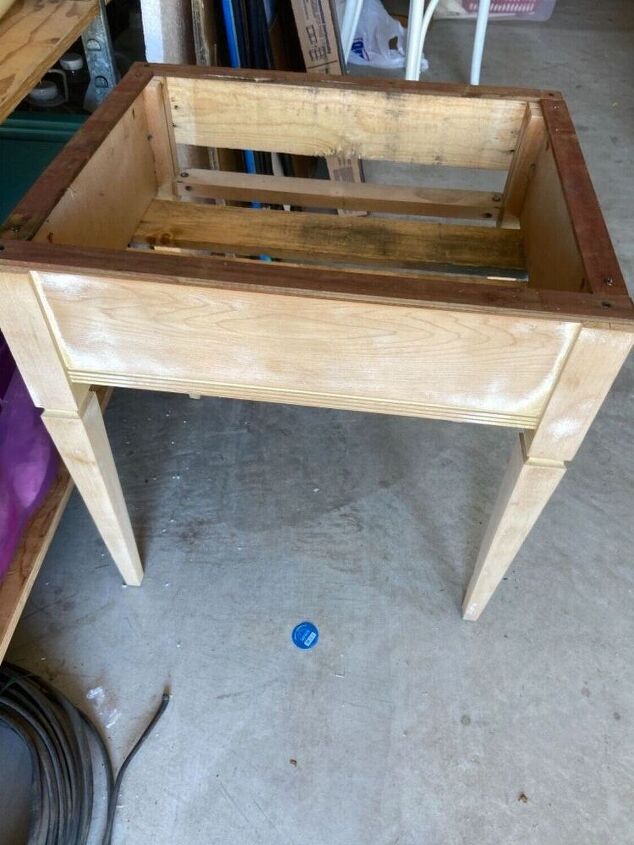
After getting her home, I went to work taking off the top and started to envision what it would become. My plan was to sand it all the way down and use pallet wood to make a new top and use it as an indoor rustic plant stand. While I was in the process of making it, my cousin came over and asked what I was doing. I told her my plan and she said she could use a plant stand. However, she wanted a plant stand to set a pot into rather then have a pot sit on top. No problem, I’d just nail the pallet wood on bottom to create a box on a stand.
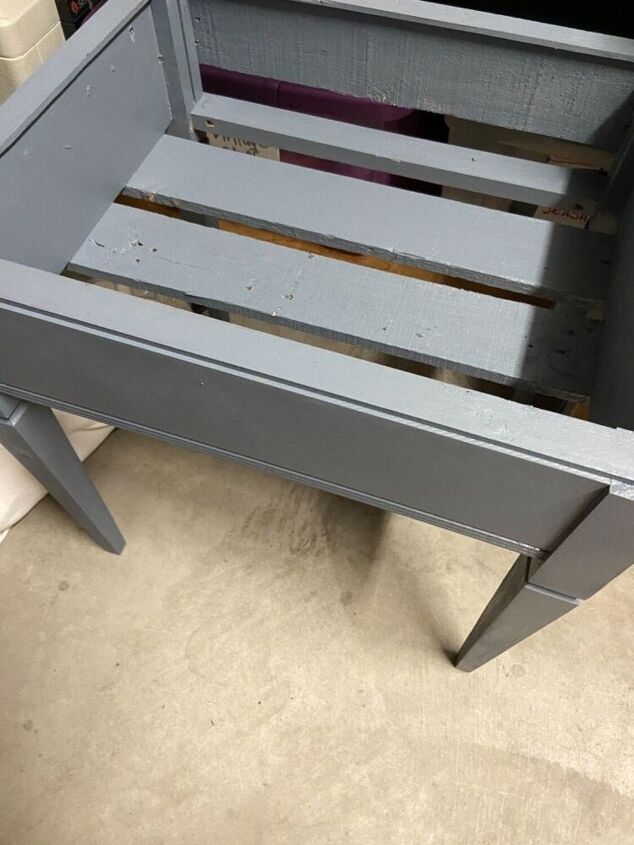
I was liking it just the way it was at this stage. Kinda 1970’s meets farmhouse. Although this works for me, it was being made for my cousin. Being how her decor is not quite as eclectic as mine, I kept going. Time to grab some of my Oops paint. I thought it was a dark gray, but it looks more like a blue gray. Oh well, the stand was going to have more stuff done to it anyway.
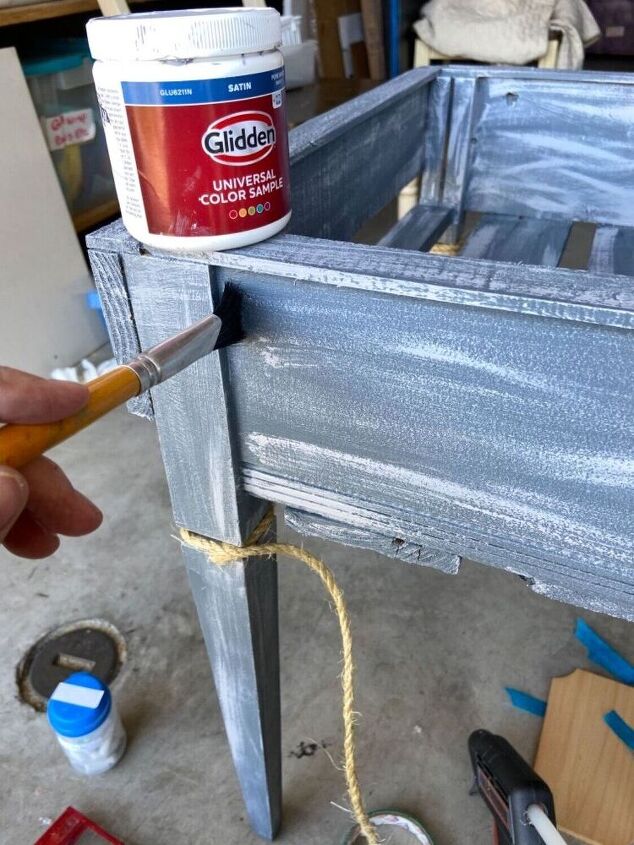
The paint job gave it a whole new look. Still not done, but easily could have left it as it was. Next step is to whitewash it with a lighter gray from my Oops paint stash.
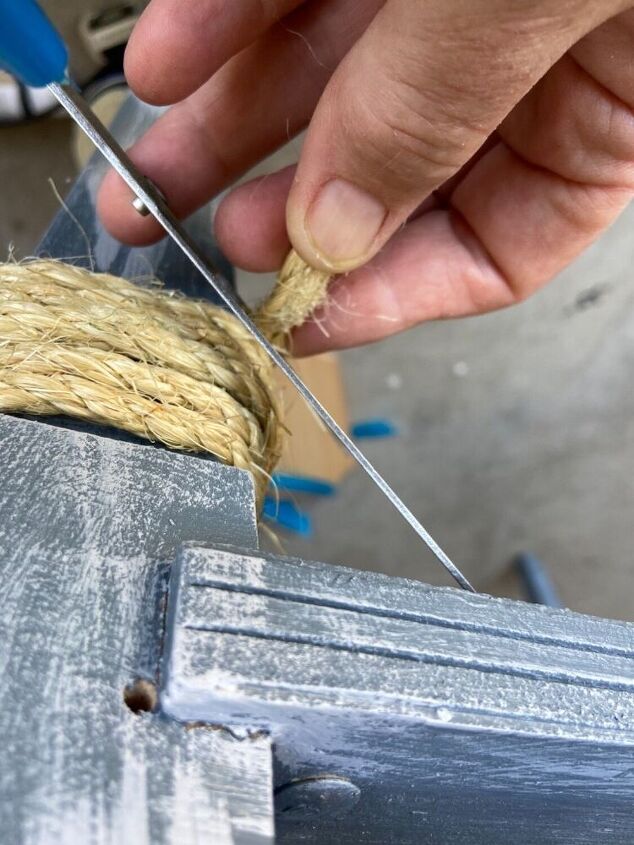
I used a dry brush to lightly add the lighter color to the blue/gray background. Now it was looking a bit nautical, so I decided to go with that and added some sisal rope around the 70’s table legs to make the lines of the piece a bit more streamlined. Glue gun to the rescue. After cutting 4 pieces of equal length sisal rope, I got to work gluing it into place.
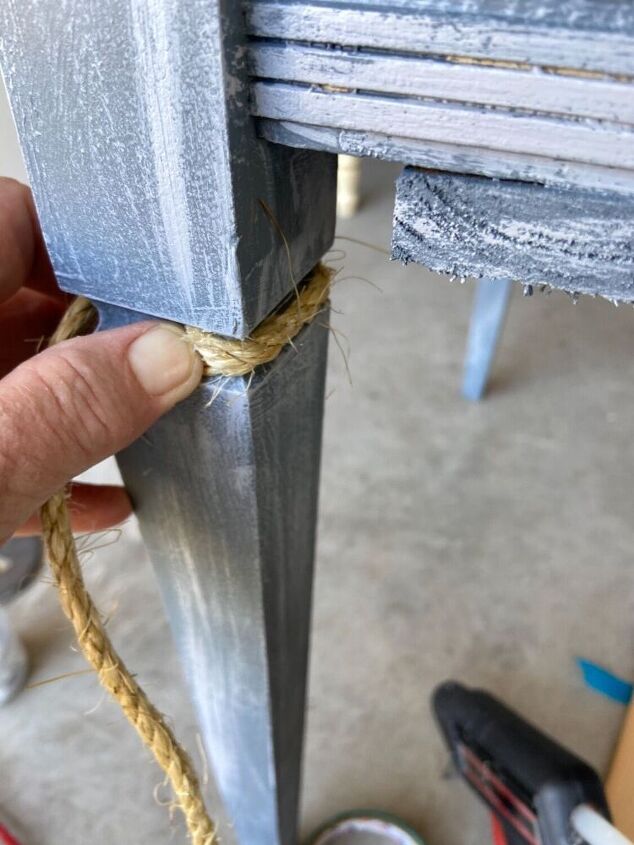
I wrapped all 4 legs with the rope and hot glued it into place.
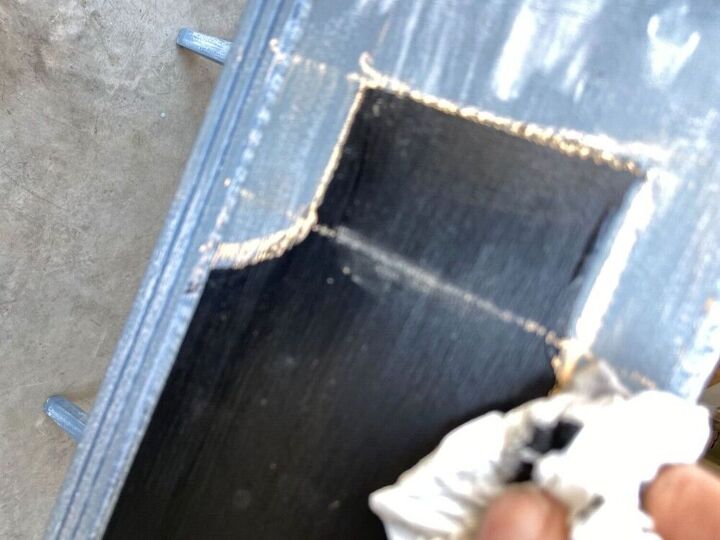
Now it was time to add the chalkboard front. It’s really just a painted plaque using chalkboard paint. Any shaped design here would be fine.

Once you decide on your “ chalkboard” design, outline it with chalk. Then grab some Chalkboard paint and fill in your lines. Once chalkboard paint is dry, erase your chalkboard outline with water.
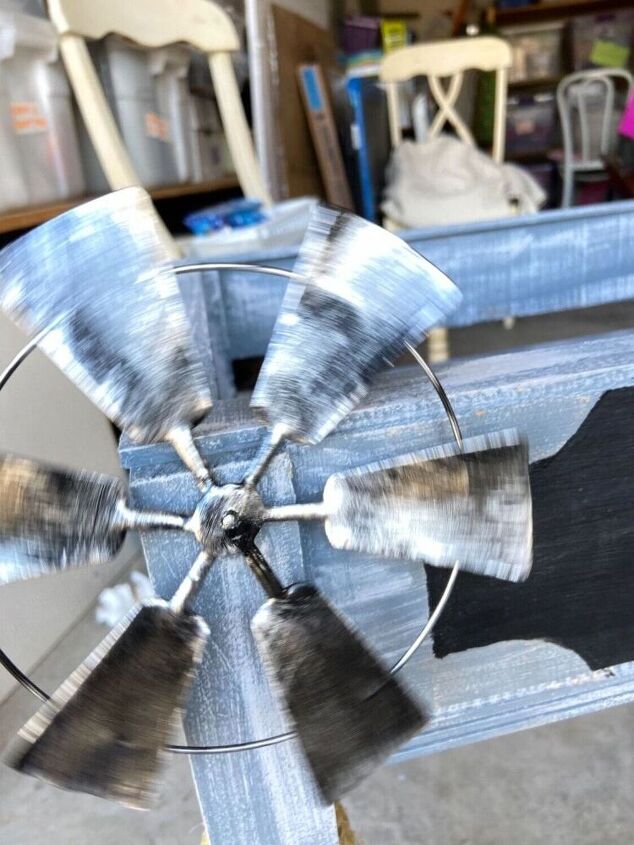
Here she is with her chalkboard front and sisal wrapped legs. Time for the details. I wanted to add a windmill to the front, so I grabbed my diagonal cutters and cut apart a windmill that was attached to a garden stake I’d bought from Dollar Tree. I then used a cup hook to twist into where I wanted the windmill to go. ( I didn’t feel like digging out my drill to make a hole)

After screwing in cup hook, I unscrewed it and removed it. I located a nail that I could use that would allow the windmill to still spin. I then hammered the nail in about 3/4 of the way so the windmill had a post allowing it to spin.
Just needing the message written on the chalkboard and the plant to sit inside the planter box.
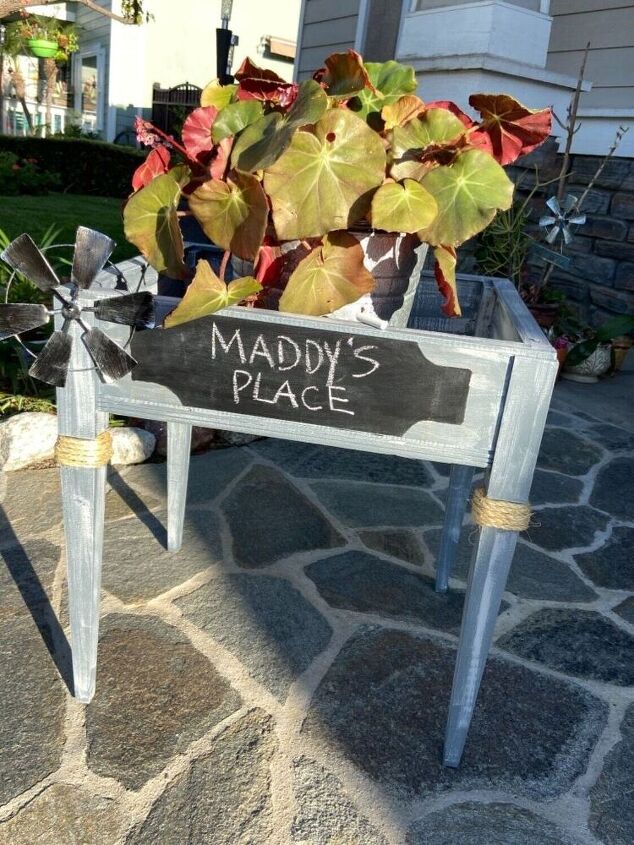
I hope you enjoyed seeing the sad little nightstand I rescued from going into the landfill turn into a fun planter box. The chalkboard front allows you to change your message or greeting as often as you wish. Variation: You could staple landscape fabric inside the box if you wanted to actually plant flowers inside the box instead of using a potted plant. If I was going to keep this, that’s what I’d do.
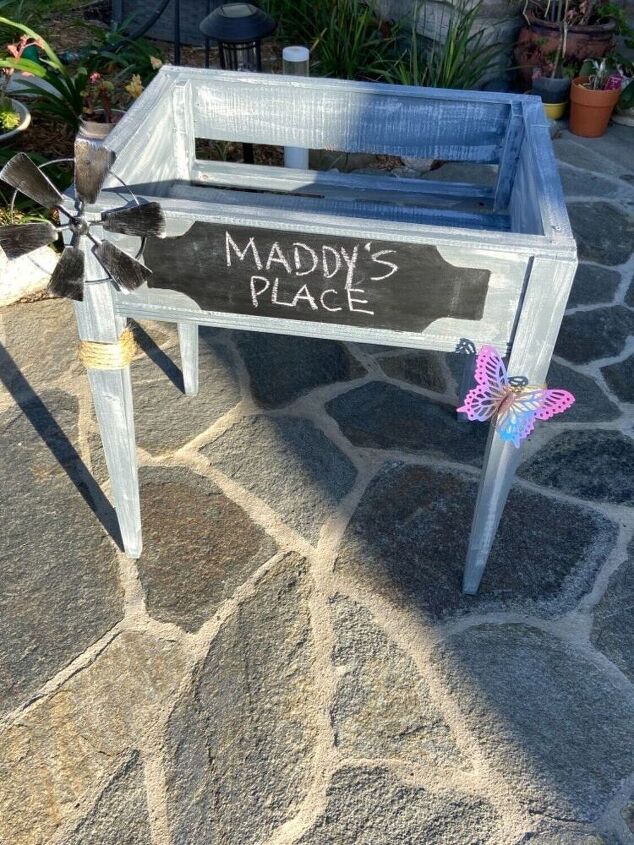
I love how this turned out. So different then my original vision, but it became a functional plant stand/ holder.


Frequently asked questions
Have a question about this project?