


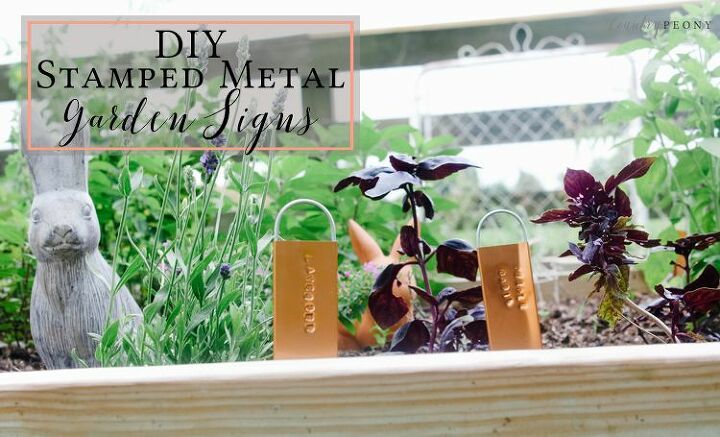
DIY Stamped Metal Garden Signs
Elevate your garden signs with a metal stamping kit and a copper sign. It is like adding a little jewelry to your garden!
Gardening has always been in my life. Whether it was reluctantly picking weeds and vegetables with my four siblings on Saturday mornings, or watching my mother tend to her beautiful herb garden. I knew I wanted a modest herb garden to pick from and enjoy when I had the chance. So now that I have one I really enjoy the teaching lessons it provides for me and my children as we patiently watch something we plant and nurture grow. I also really love the simple time of reflection as I water and weed it.
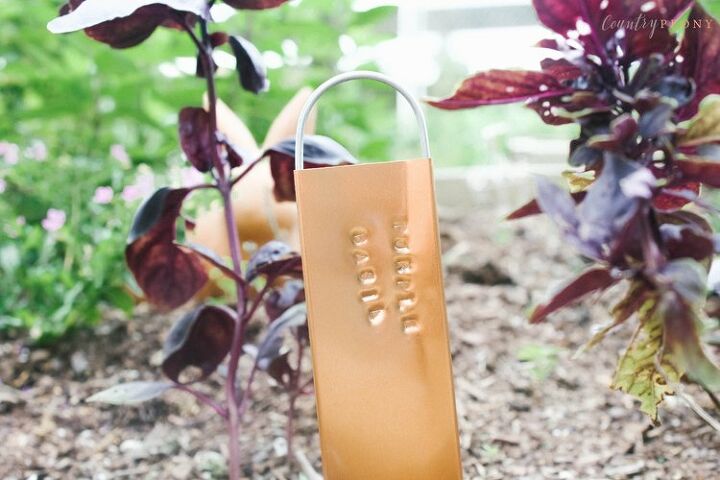
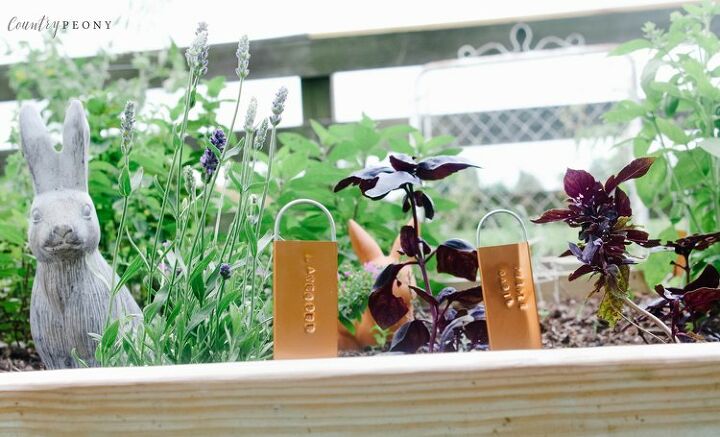
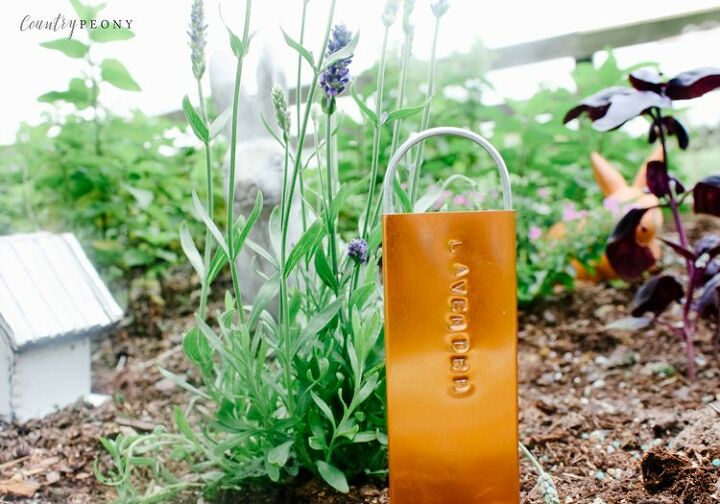
Even though my garden is modest it provides me with a lot of joy, and I love to keep it pretty. So when I spotted these copper garden signs at the Target dollar spot I knew I needed to use them for my garden. I even splurged and finally bought the ImpressArt Metal Stamping Kit (featured in my 2018 Christmas Gift Guide for Crafters) and used it for the first time with this project.
After a little practice with the metal stamping kit, this project was really fun and I think it elevates the look of my garden very nicely (almost like adding jewelry to it).
Follow below for the very simple tutorial to make your own.
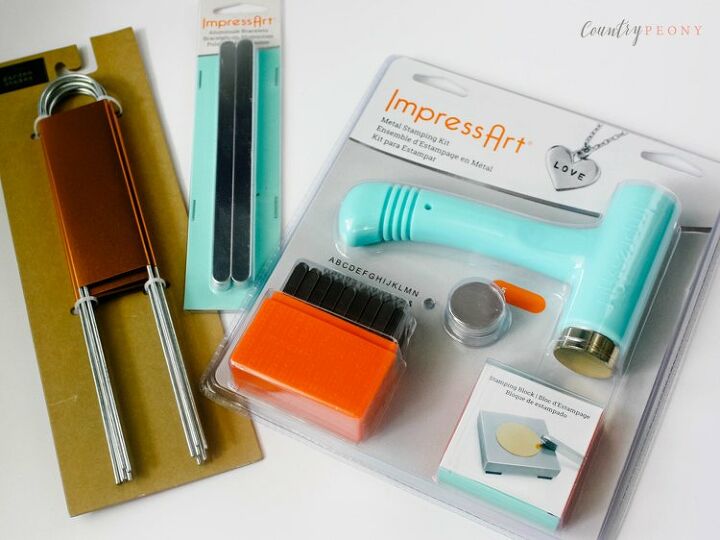
To make your own stamped metal garden signs, you will need:
-Metal Stamping Kit. (affiliate) I used the ImpressArt Metal Stamping Kit, and I was very happy with it.
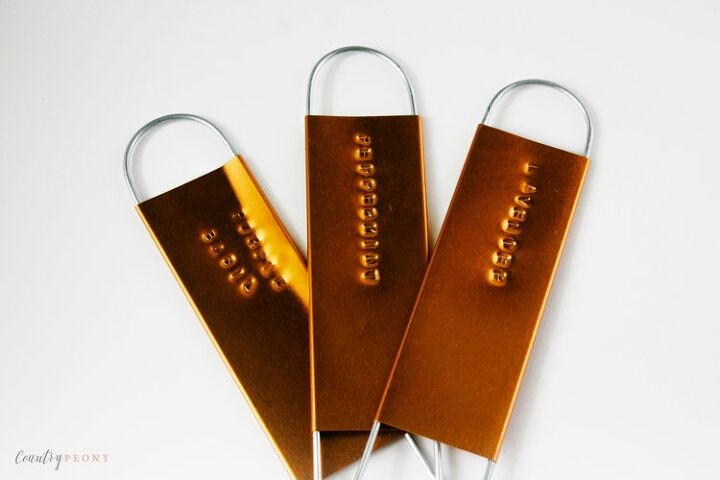
-(affiliate) Copper Plant Labels
-I also featured the ImpressArt Bracelet Stamping Blanks, because you can use any long soft metal instead.
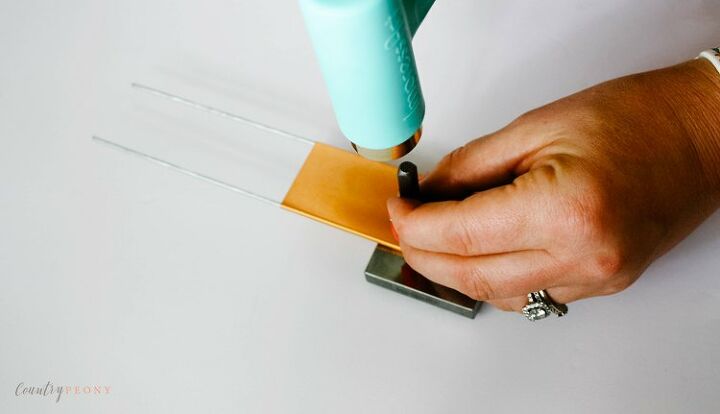
Step 1: Find a strong/sturdy work surface (outdoors is a great option as this project can get loud with the hammer). Then determine the placement of the lettering for the sign. You can use a ruler to ensure your letters are lined up properly or you can wing it as I did which gives it a more whimsical flair.
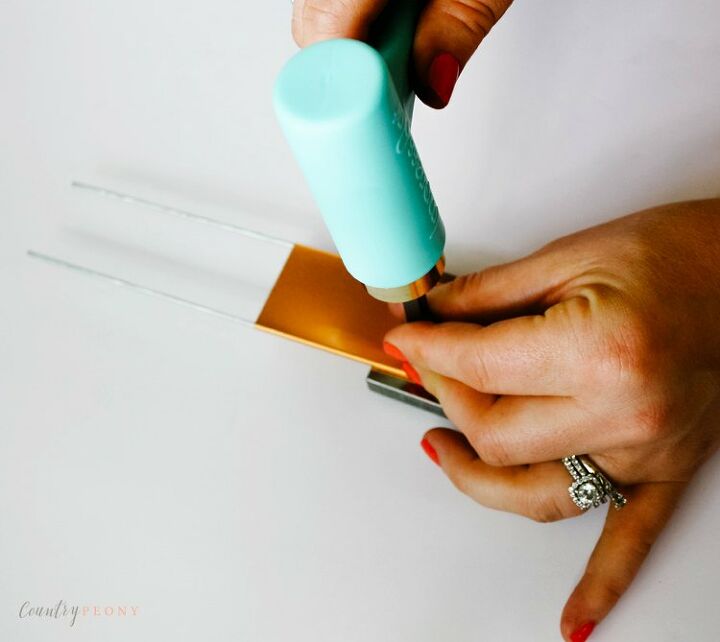
Step 2: Place the stamping block on the sturdy work surface, then place the garden sign on top. With a very steady hand hold the letter stamp with one hand, and hammer the letters into the metal with the other hand. Dependent on the softness of the metal you may need to apply more pressure to the hammer.
*Especially if this is your first time playing with stamped metal it may be helpful to have a test run with one of the pieces so you know how hard or soft to hammer the letters.
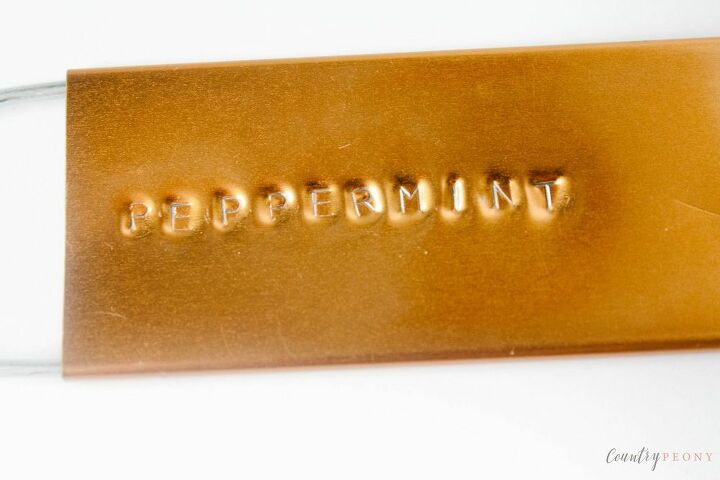
I hammered each letter about 20 times until I received the look I was after.
A quick note that these stamps were intended for use in jewelry so they were a little small, but I really like how it turned out!
Step 3: Enjoy your finished product!
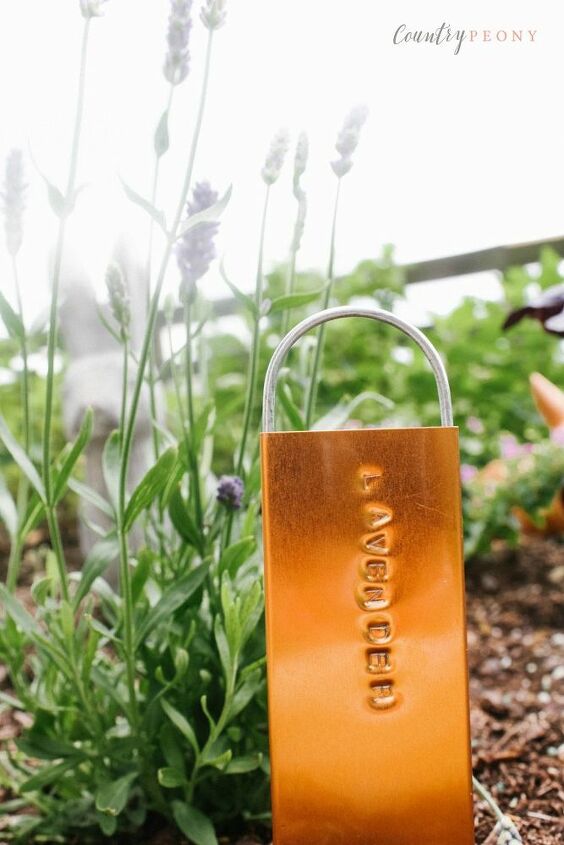
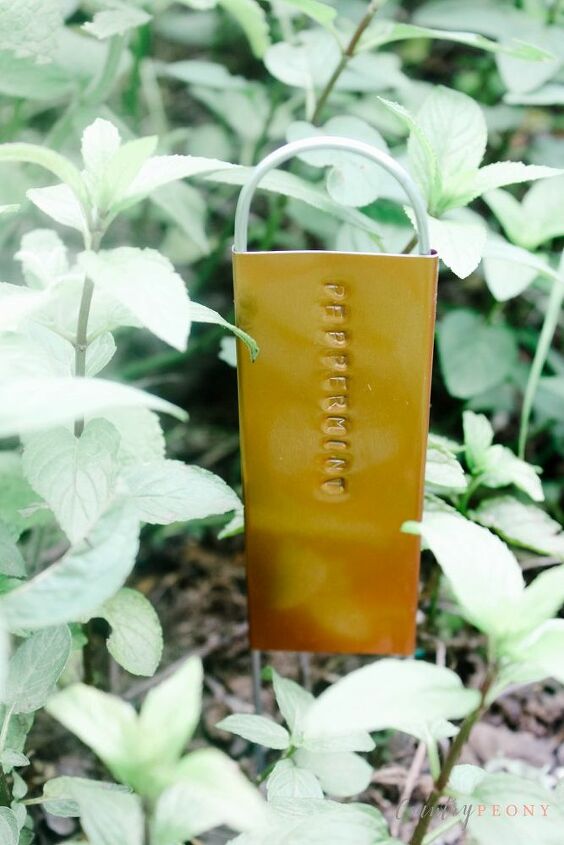
I am so happy that I was able to make my first stamped metal craft. This project was so fun and I really like how cute they look in my garden.
I hope you enjoy personalizing your own garden!


Frequently asked questions
Have a question about this project?