


Glass Nugget Address Sign

by
Sandra Allen
10 Materials
$25
30 Hours
Medium
This sign was labor intensive but sooooo worth it. Using glass nuggets, sign wood and numbers, it came together nicely.
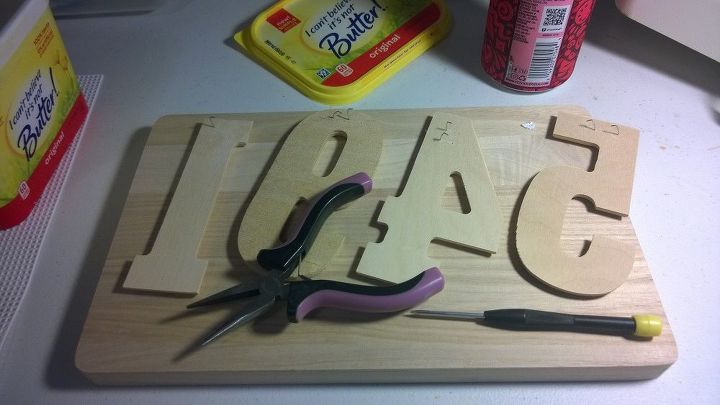
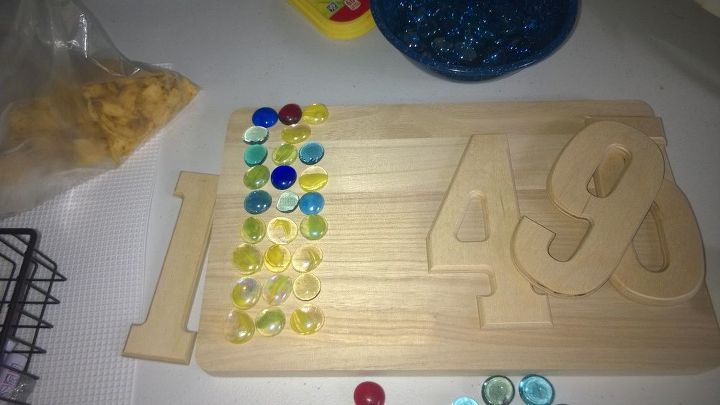
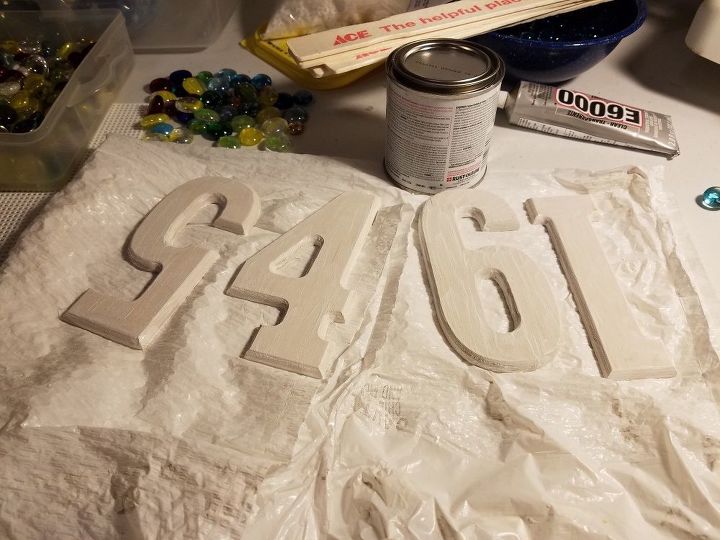
I went to Craft Warehouse and found the size board I needed, then the letters that would fit.
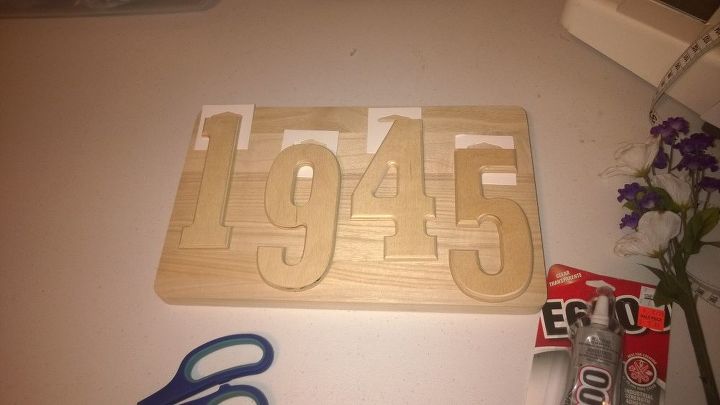
I checked at the store to make sure, but this is to show you how they can be staggered.
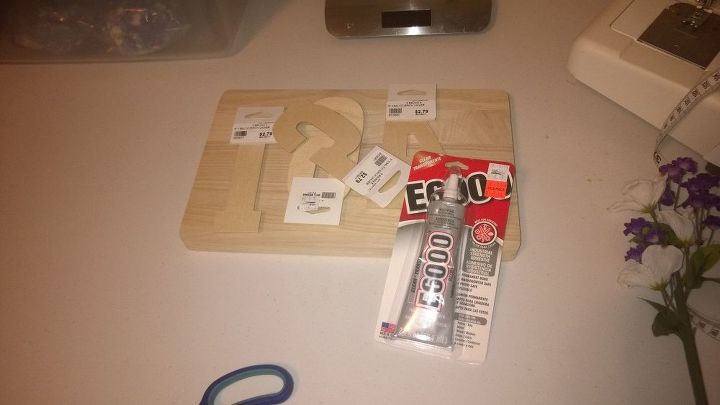
I chose to use E-6000 glue as it's an all purpose glue for interior and exterior work.
Planning the nuggets was a collaboration between her and I so i sent her a shot of all my ideas.
My first was to mix and match the gems. That didn't live long.
Then, I thought of covering the board with gems and gluing the white numbers on them. That didn't fly either.
Keep in mind this went on her house and I was happy to make it just like she wanted.
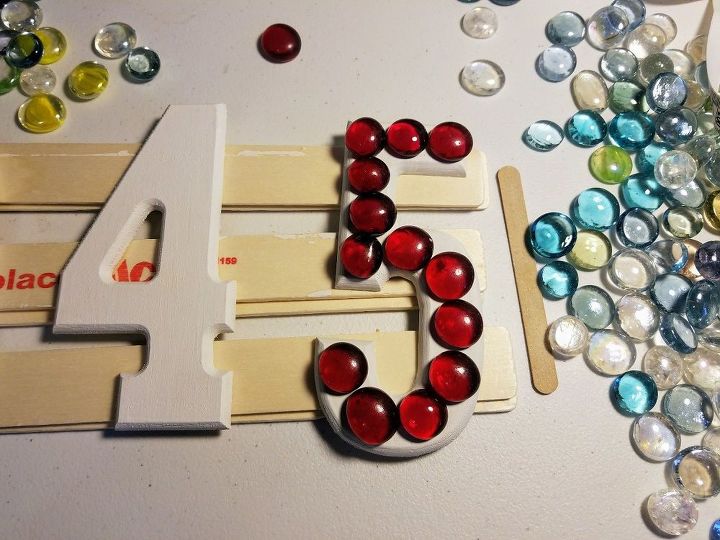
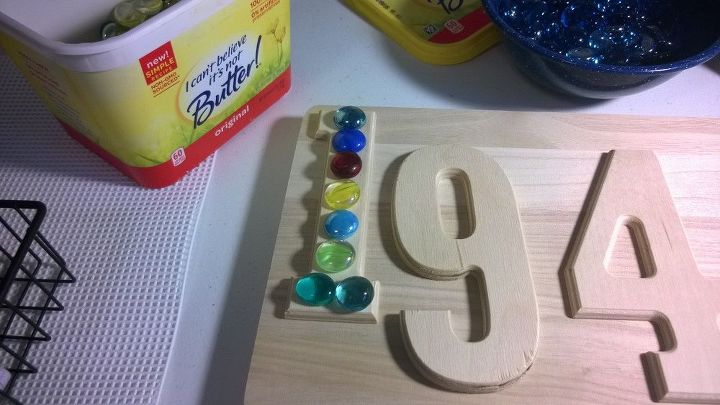
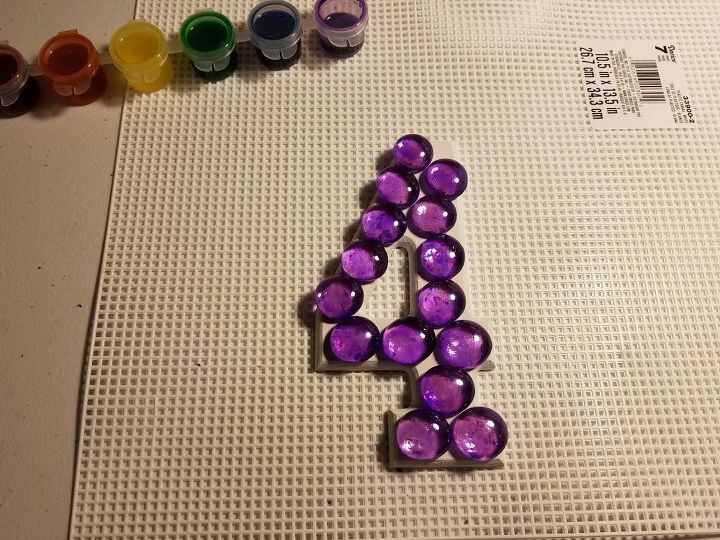
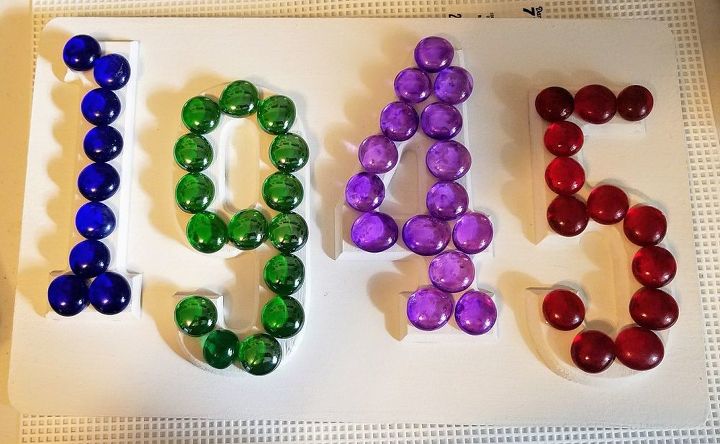
Third time was a charm. Each number would have it's own color.
We thought about aqua and yellow, but they didn't seem to show up as good when I shone a flashlight on them.
This was a test to make sure they could be seen by emergency folks and pizza deliverers. Both very important!!
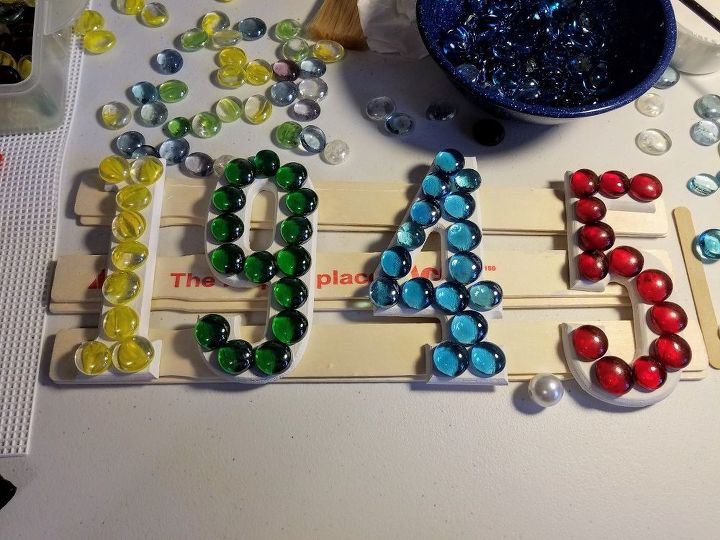
So we went with blue, green, red and ?? Hmmmmm she wanted purple but it's very hard to find them. So we improvised. Now it was time to paint.
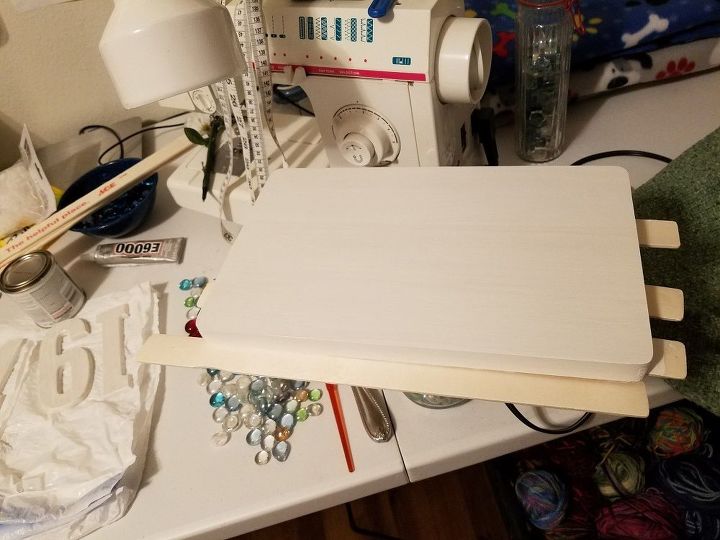
Using primer and paint in one, I put two coats on the board and the numbers and let them set overnight.
I primed but didn't paint the back.
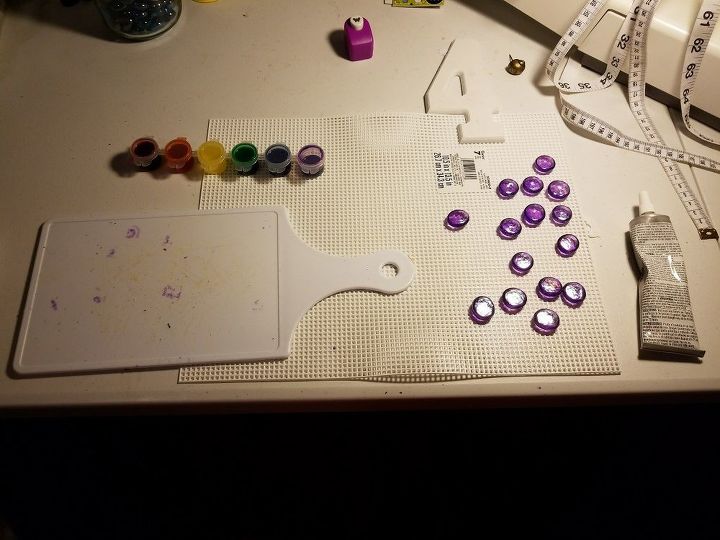
Because we could not find purple gems, we decided to buy some glass paint and make our own. After four coats of paint, each drying for 4 hours, they were all ready to glue on.
NOTE: I can tell you that you don't want to do too much glue. A 'split pea' size is about the perfect size of "dollop" since it's going to flatten out and spread the glue when pressed. You don't want ooze.
Also if you have worked with nuggets, you know they come in some pretty odd shapes and some are tiny, oval, even too big for your project. So if you ever did this, place your nuggets on the work before you paint or glue them.
Trust me on this.
After being placed perfectly on the board, I glued and then weighed them down with a couple of binder full of pages and then equally heavy jars of more nuggets.
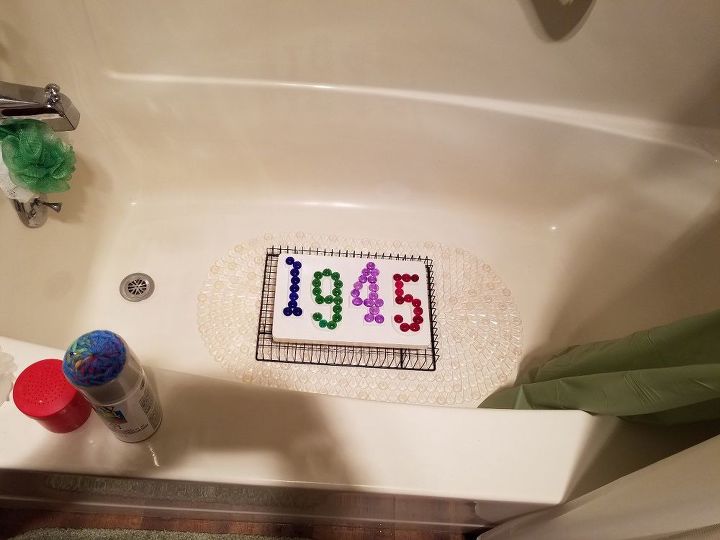
Then it was time to spray with shellac, and that took 24 hours to dry.
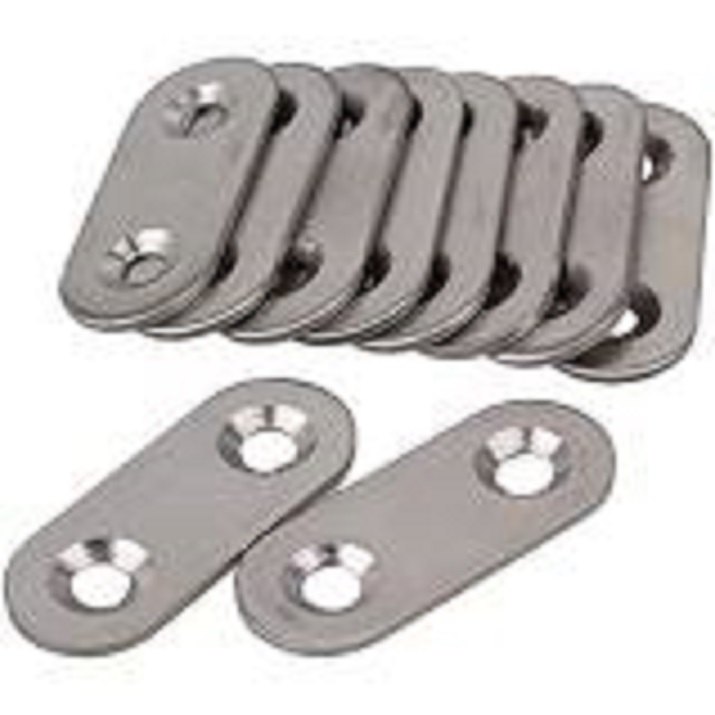
We got some two holed braces with screws and put one in the back of the sign, then leaving one to screw into the siding.
Then all that was left was hanging it up and enjoying the fruits of our labor!!
N-JOY!!
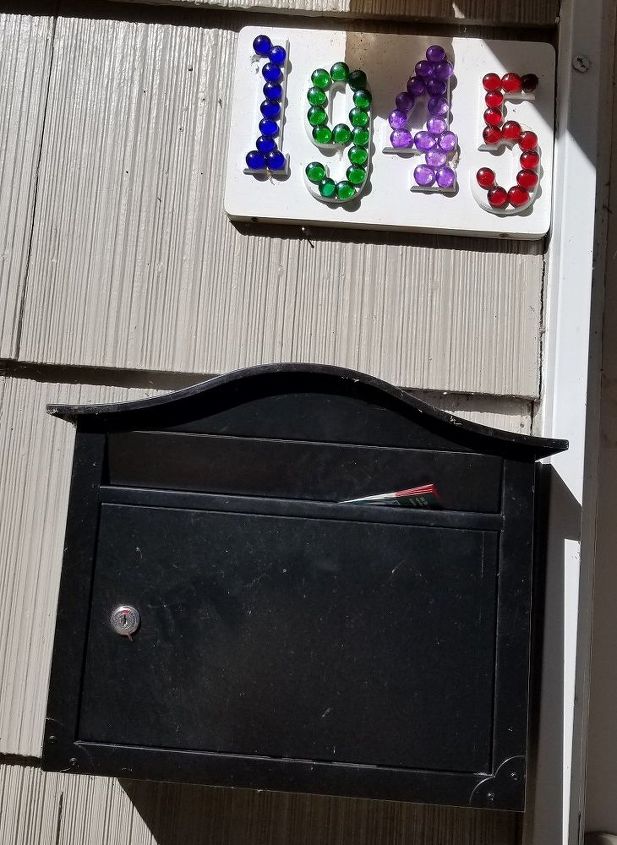
Some folks requested a finished shot. Here it is.
Resources for this project:
See all materials


Any price and availability information displayed on [relevant Amazon Site(s), as applicable] at the time of purchase will apply to the purchase of this product.
Hometalk may collect a small share of sales from the links on this page.More info
Comments
Join the conversation
5 of 14 comments
-
Thanks so much!
-
I think this is a great idea and thinking about doing myself. Thank you for sharing.


Frequently asked questions
Have a question about this project?
Where on back of sign did you put the brace, Left, Right, Center, top, bottom? A picture of the back of the sign would have been helpful. And a picture of where second one went. Plus, did you slide the hole of the brace over the screw? Was the screw partially screwed in or screwed in all the way? I find you DIYs leave out crucial steps or information. If you are willing to share, then please share ALL steps and information.
Can you add a finale photo, showing this sign in place on your home?
Thanks for sharing. I love this idea.
can the glass gems be glued to the board without the wood numbers ?