


Happy Camper Pumpkin

There are so many great projects you can create with dollar store pumpkins. So stock up for lots of create fun this Fall.
Supplies:
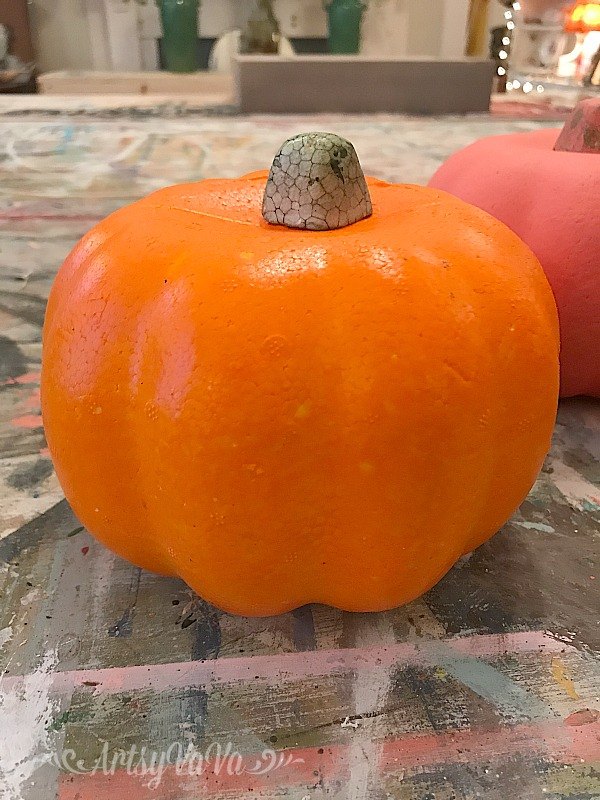
Styrofoam Pumpkin
Paint
Paintbrushes
Painters Tape
Pencil
Small Faux Flowers
Hot Glue
Round Wood Slices
Popsicle Stick
Toothpicks
Bakers Twine
Patterned Paper Tape
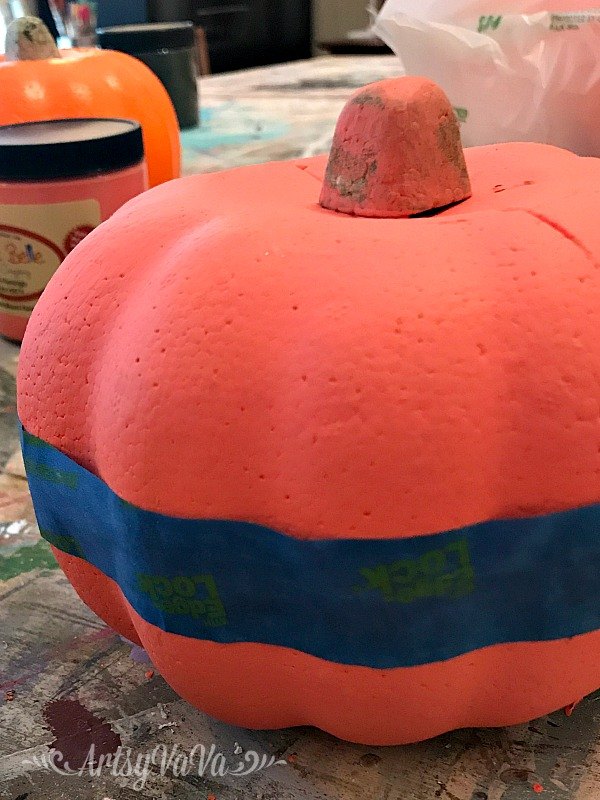
I painted the entire pumpkin with the color, Flamingo, from the Dixie Belle Paint Company. Once the paint was dry, I added painters tape around the middle of the pumpkin.
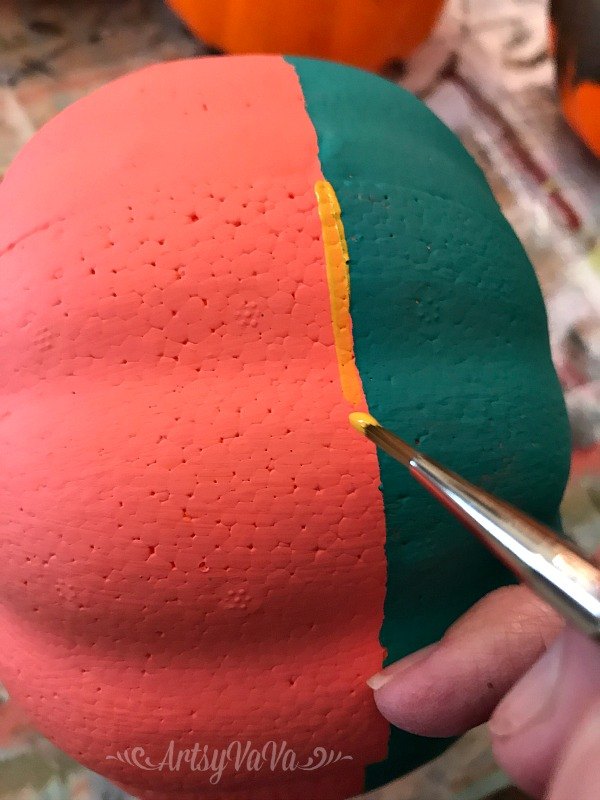
I painted the color, Mermaid Tail, below the tape. Once I removed the tape, I painted a yellow stripe of the color, Colonel Mustard, between the other 2 colors
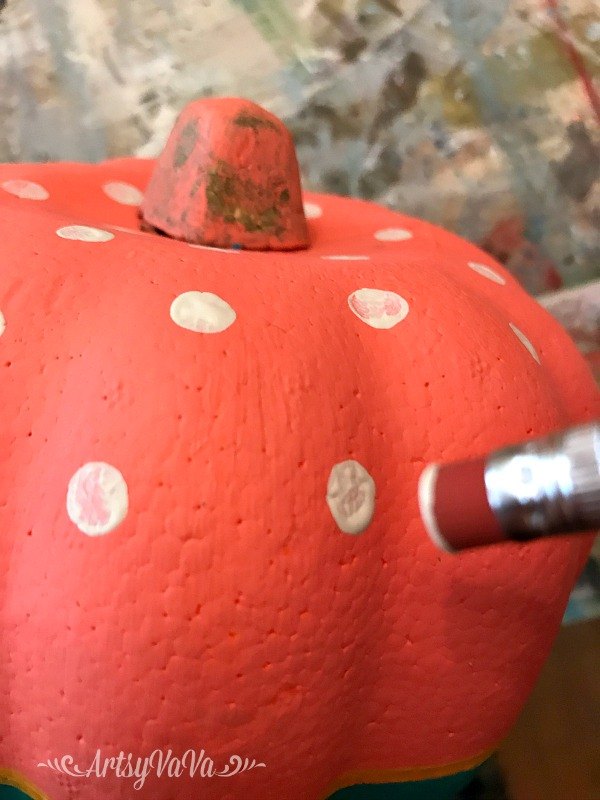
I used a pencil eraser to add white dots to the Flamingo.

I painted a door and a window using the color, Driftwood.
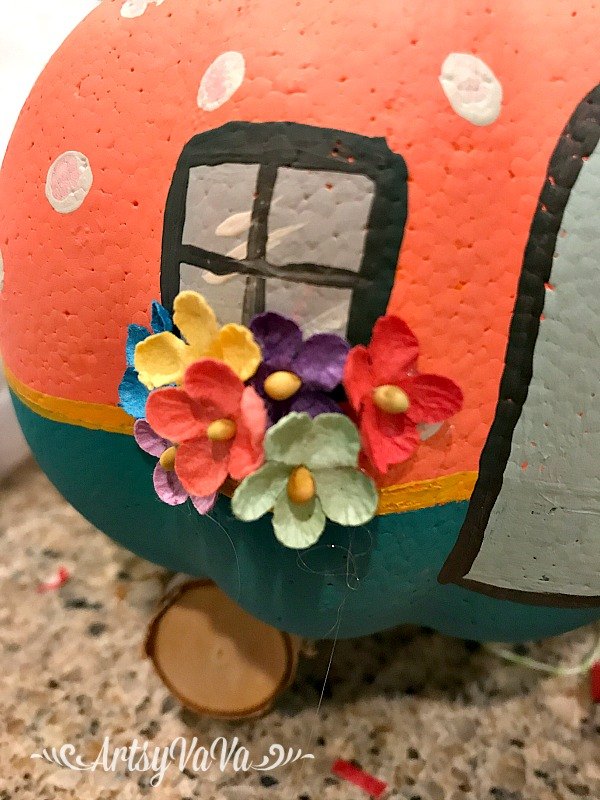
I outlined the door & window with the color, Midnight Sky, then glued small faux flowers under the window.
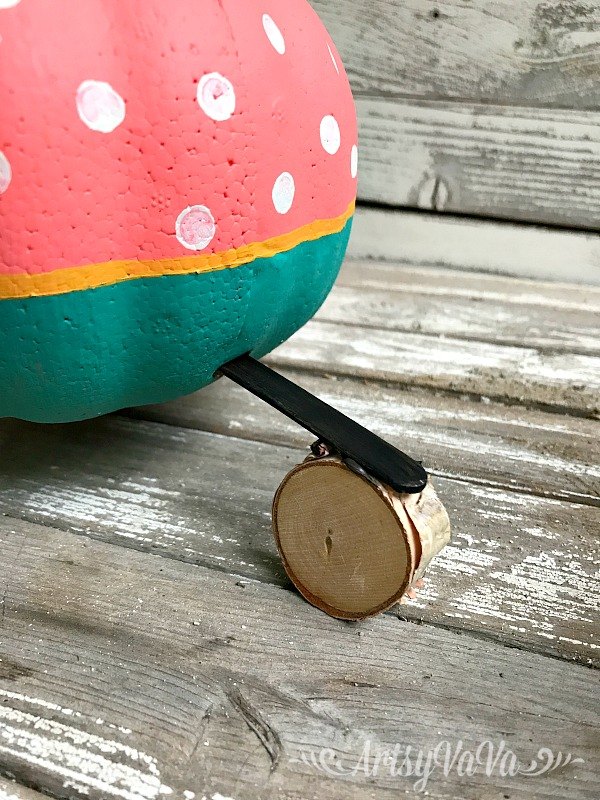
I painted a popsicle stick with Midnight Sky, inserted it into the front of the pumpkin, then glued it onto a wood round to create a wheel. I also added 2 wood rounds at the back of the pumpkin to form rear wheels.
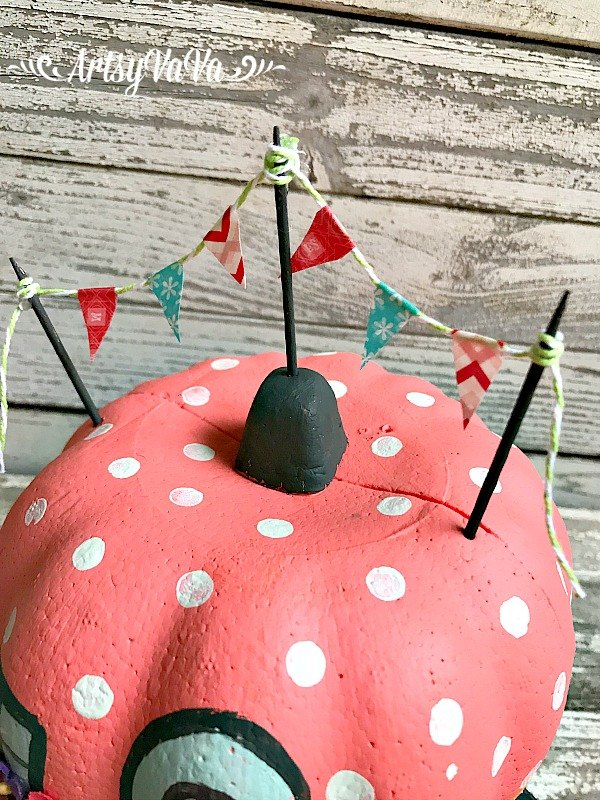
I painted 3 toothpicks, inserted them into the top of the pumpkin, then draped bakers twine between each one. I made pennants by folding patterned paper tape over the twine then cutting it into triangles.
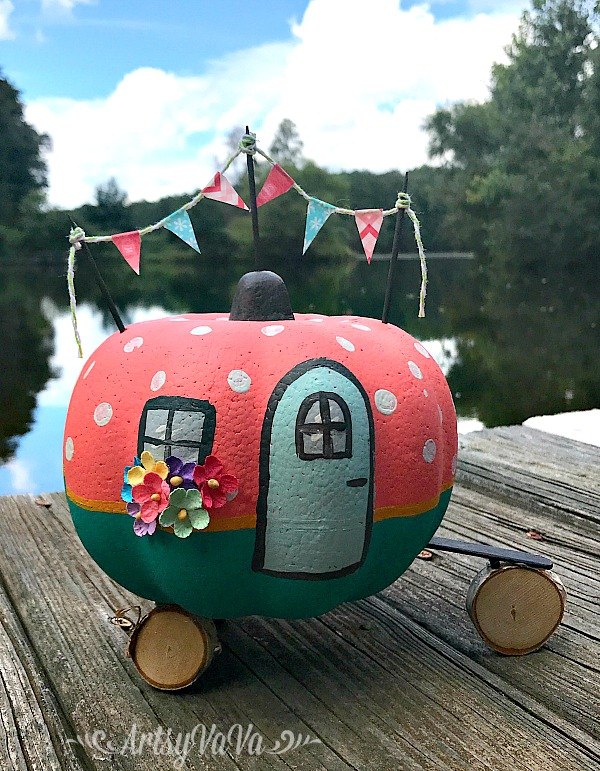
This pumpkin project is sure to make you a happy camper! And, what a fun project to do with the kids this Fall.


Frequently asked questions
Have a question about this project?