


How to Make a Bird Table DIY + Free Plans
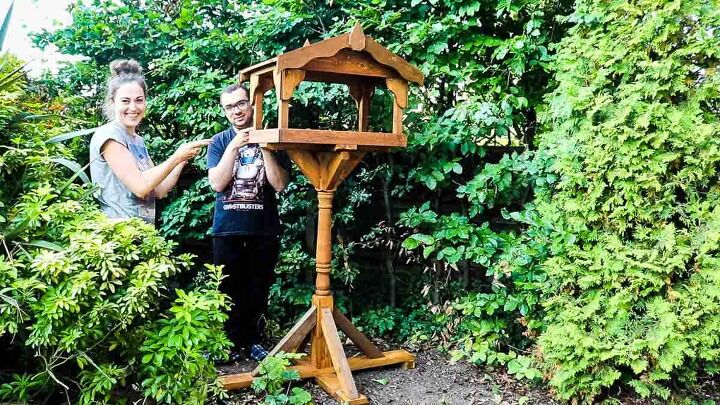
Here's how to make a bird table for your garden. It's larger than average, solid and great for using scrap wood and offcuts. You can also download some free plans and follow my full YouTube video to guide you along!
You can . Then follow my step by step video on how I built it
If you're inundated with offcuts, there's absolutely no need to buy a bird table! Instead, put the money towards a handful of screws, etc and .
However, depending on the offcuts you find being different sizes, I recommend treating my bird table plans as a guide.
Then go and follow my step by step video on how I built it from scratch for my cousin. It's large as it's for a shared household.
As an Amazon Associate, I earn from qualifying purchases made through the following links:
- Offcuts
- Newel post
- Wood screws
- Hand saw *Gifted
- Aquashield wood treatmentin brown by NAB Colours (can't find link)
- Nu Tool band saw (can't find link)
- Ear defenders
- Goggles *Gifted
- Wood glue
- Combi drill
- Clamps
- Nail gun withy air compressor (or hammer and nails)
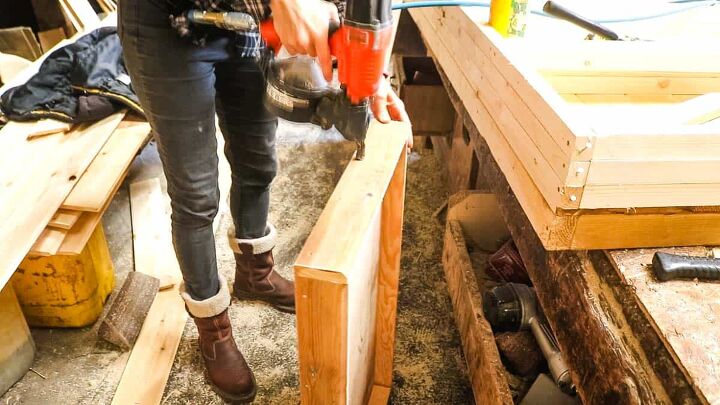
First, I found a rectangular piece of exterior birch plywood, which I glued and nail gunned some ripped skirting board to all the way around.
The lip all the way around is to prevent food from running off. However, you may want to cut notches out for water to run off - but we'll add drainage holes later.
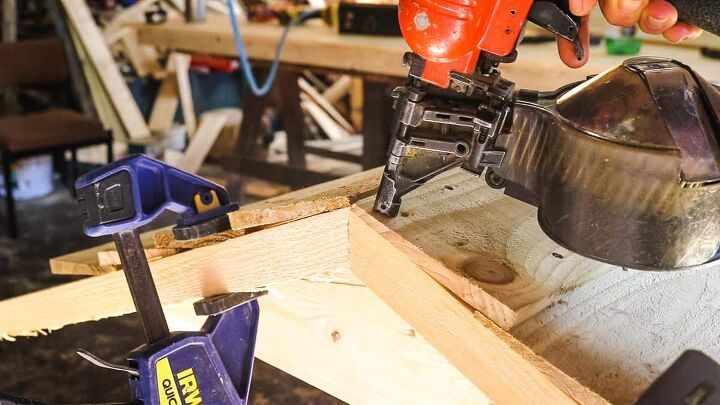
Once I had a bird table tray, so to speak, it was time to work on some corner supports that will hold a roof on top.
I used more offcuts of ripped down structural timber and held one in each corner.
Then I could predrill and screw them in, and also do the same from the bottom. So each post had 3 screws in.

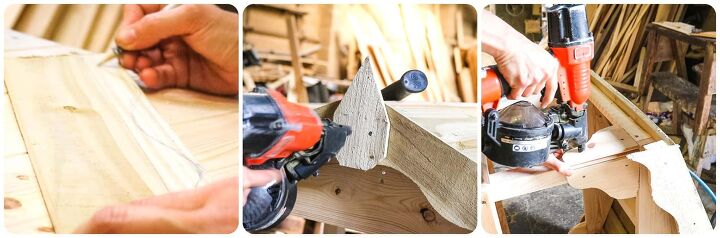
Next, I needed to draw two matching apex shapes on some offcuts.
First, I marked the height on the outside edge, then a centre point before using a straight edge to meet my marks. I'm doing this for the widest side of the bird table.
However, note that later, I ended up making it taller for the rain to run off better by screwing the excesses on in reverse.
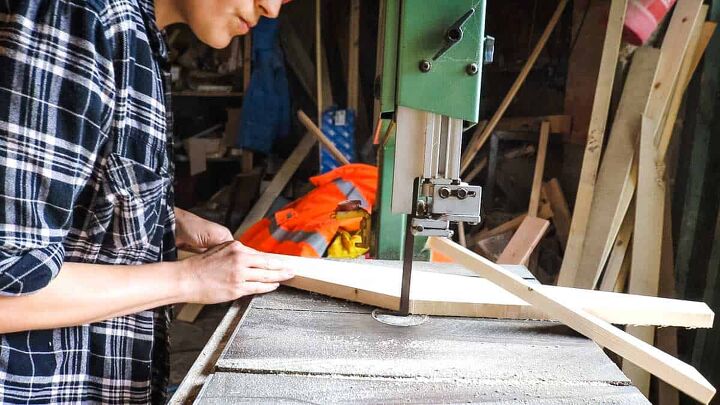
Although I'm using a band saw to cut my pitched roof shape, this tool isn't essential. Alternatively, you could use a:
- hand saw while it's clamped to a work bench or
- a jigsaw (also clamped)
They don't need to be bang on exactly to the millimetre. Just roughly the same shape.
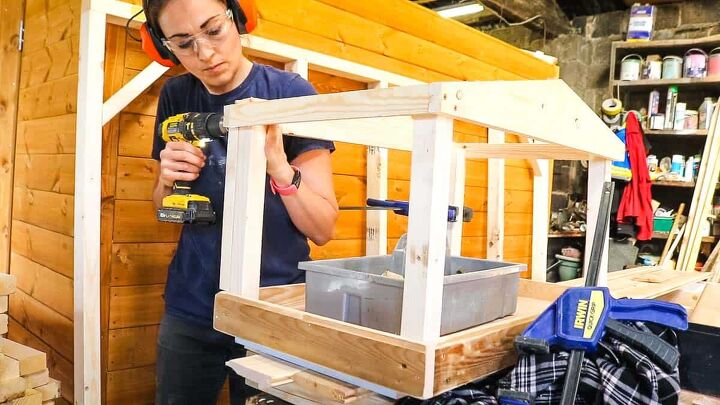
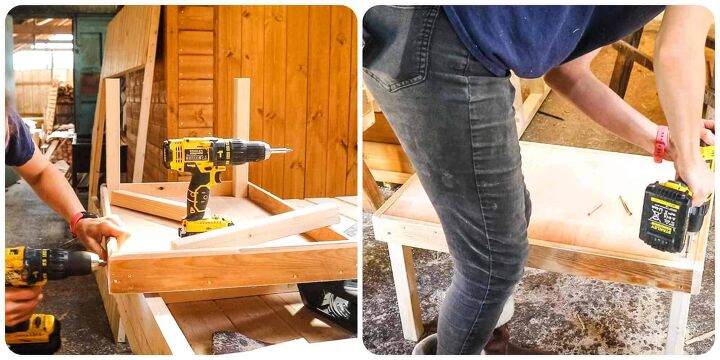
Once you have two matching apex pieces, it's time to screw on the side pieces.
Then, prop it up while you drill and screw it to the corner posts.
You can prop it up with clamps or on offcuts temporarily and clamped. Or get someone to hold it while you attach it.
Oh look! The apex is now magically taller. Well, don't let it confuse you. I don't design my plans beforehand, so sometimes I need to make alterations.
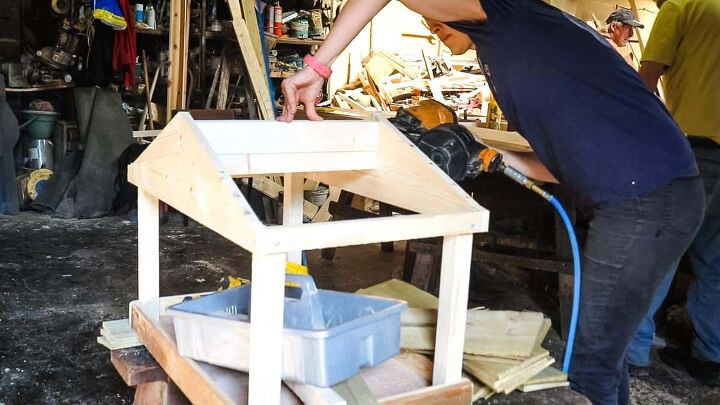
I initally placed lap panels on the top, which looked a bit too flat. So, I ended up nailing and screwing more offcuts on top. *My free plans feature the taller modification.
Then, I needed to cut and nail some CLS between the pitched roof for more rigidity. AND, another place to nail my roof to.
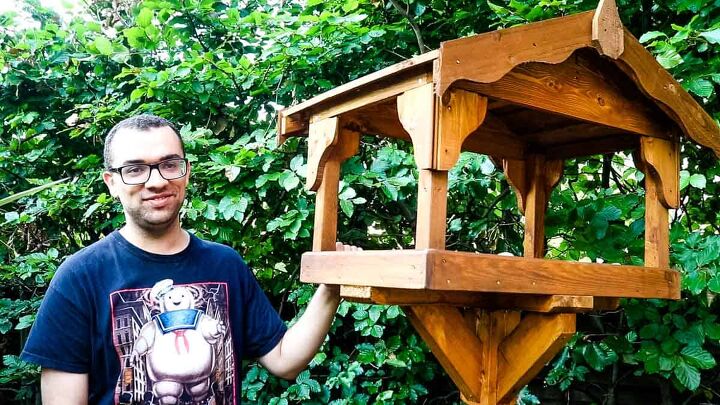
Some more offcuts that I used were these small lap panels. Apparently, they'd been down my Dad's woodyard for years and no one had found them useful.
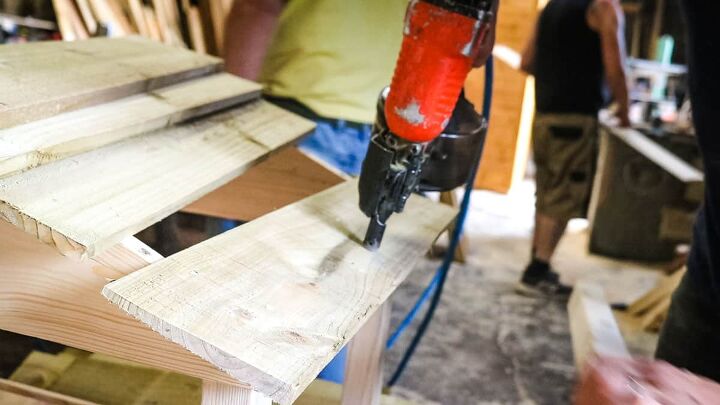
They were relieved when I found them to be exactly the right size for a generous overhang on the roof. I evenly placed them on top while the thickest edge faced down.
However, I had to be careful as the apex wood was quite thin - to prevent mis-nailing anywhere.
Next, I need to add a series of roof trims because I'll be nailing some detail to it shortly.
This started with cutting a mitre, again with offcuts, so I could clamp and nail to the lap panel.
Then, I found some quadrant beading, which I nailed top centre before hand-sawing to make it level.
Now that I have somewhere to nail trim to, I:
- Freestyled a curve on more mitred lap panels, which I nailed to the roof
- Cut and nailed two shapes to cover the mitre joins
- Used tongue and groove offcuts and drew and band saw corner gusset, then copied and repeated 7 more times
Note, if you don't have a band saw, you may be able to use a jigsaw.
Then treated the entire table and left to dry while I worked the bird table post.
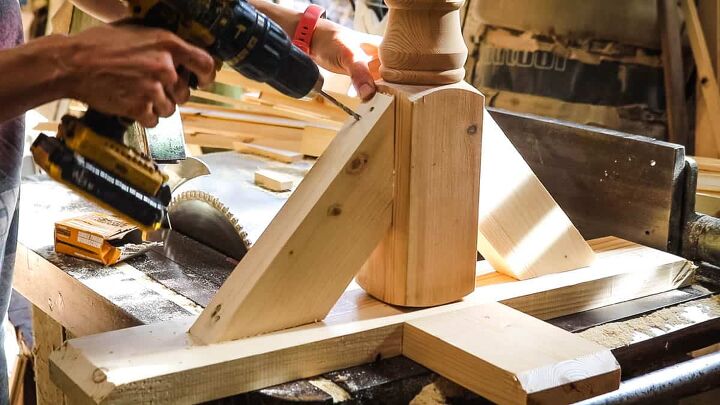
As this is a large bird table, I needed to make sure it was sturdy. Particularly for a communal garden.
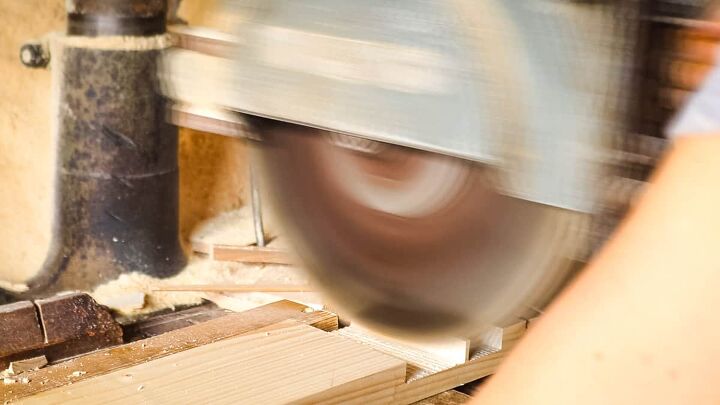
So I found more chunky wood, which I worked out centre of two pieces and half way down to cut a notch. I recommend watching my Dad pro tip half lap join measuring technique here.
Then I made a series of notches with a cross-cut saw, set to the right depth. Otherwise, you could use a circular saw.
Once both pieces were notched out exactly halfway down.
I could then glue and screw them together.
These pieces were also chamfered underneath for detail.
Originally, I was just going to mount my bird table on a 3" wide post. But instead, my Dad appeared with a much more elegant newel post.
However, it was a bit too tall, so I ended up clamping and hand sawing to approximately 1.2m tall. Then:
- marked mitres
- cut
- glued
- temporarily nailed to fix in place while I could then
- take my time to predrill and screw them on for extra support
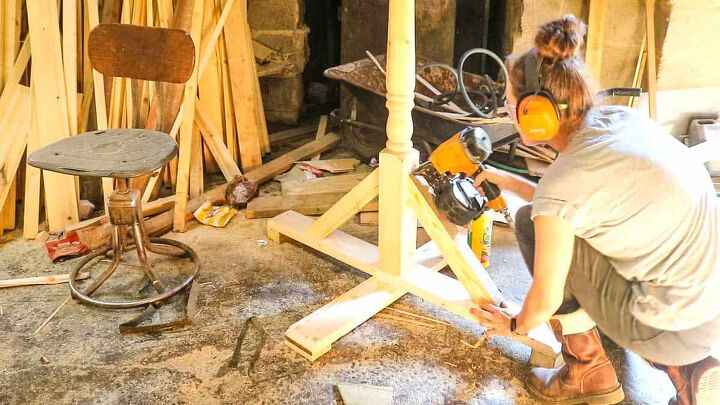
One thing my Dad taught me years ago is that the feet shouldn't be too small. Otherwise, you'll need to add a weight, or spike to it to prevent it from falling over.
For this, instead of another half lap, I just criss crossed two larger pieces and glued and screwed.
To get it off the ground, I also glued and screwed some feet to make up the difference. Then more supports and make sure there were enough screws throughout.

After staining the post too with an environmentally friendly preservative, I ensured it was dry before taking it to my cousin's house.
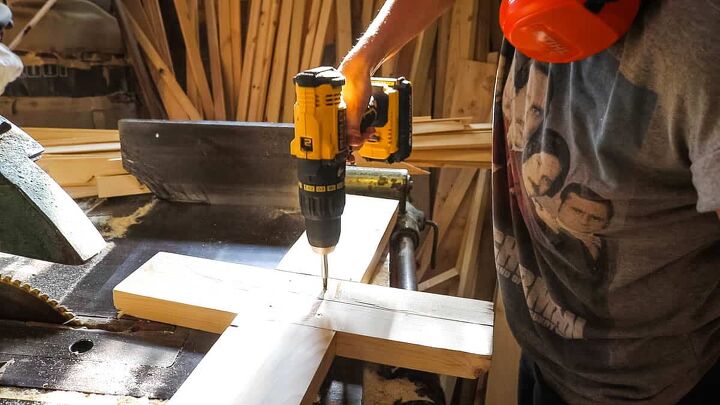
I place it on top, made sure it was level with the table and predrilled some holes for him to add the final screws.
Above, his carer his helping him put pressure on the combi-drill as he was nervous and he did really well!

Finally, we filled the bird table with a selection of food to choose from:
- fat balls
- peanuts
- bird seed
You could also make a DIY suet log feeder and dangle it from the table, or screw it to the posts.
However, I am not a bird expert. Therefore, please feel free to read some in-depth tips on when to feed garden birds via the RSPB website.
-
Offcuts -
Newel post -
Nails -
Screws -
Wood stain -
Wood glue
-
Hand saw -
Band saw or jigsaw -
Ear defenders -
Goggles -
Combi drill -
Clamps -
Nail gun or hammer
- Cut the wood as per my .
- Glue and nail (or screw) a lip around the table's birch plywood
- Drill, glue and screw 4 corner posts
- Screw the two apex pieces to the side pieces and prop up and screw to the top of the corner posts
- Nail a structural piece top centre of the roof
- Overhang and nail the lap panel roof
- Nail a top centre piece and cut to match the roof1
- Mitre, clamp and nail mitred trims under the lap panel overhang
- Cut scrolled and mitred lap panel and nail on the lap panel's new trim
- Now cut and nail two mitre join covers
- Drill drainage holes in the base, close to the trim
- Cut curvy corner gussets using tongue and groove offcuts (or similar) and nail to the corner posts
- Cut a half way notch dead centre of the two post supports for a half lap join and glue and screw together
- Cut the newel post to your desired height and glue and screw directly underneath.
- Using large feet, glue and screw in a criss cross and add feet.
- Screw to the other end of the post
- Cut mitred supports, glue, nail, then drill and screw them on.
- Ensure everything is stained and left to dry before screwing the bird table top to the post and position in your garden.


Frequently asked questions
Have a question about this project?