


Paint Buffalo Plaid
Learn how to use this fun stencil to paint buffalo plaid and update anything with this popular look. I was able to create a one of a kind planter in a few easy steps.
Follow along to see how!
Search around and I bet you can find something to update.
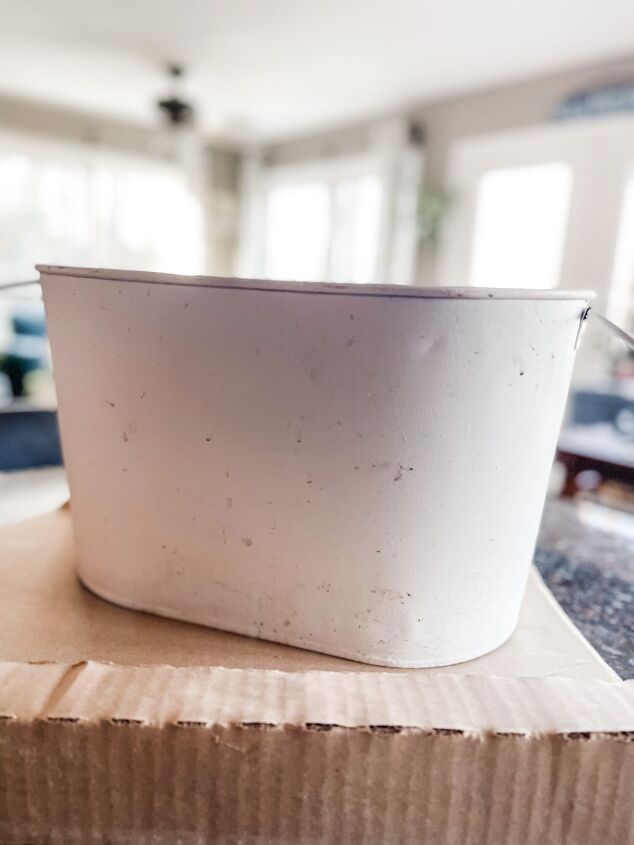
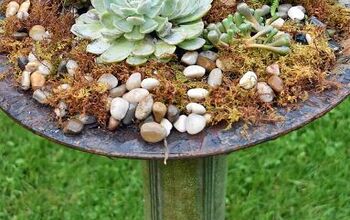
I purchased this planter from the thrift store for $3.49. There were two of them and I scooped them both up. The size is great and I knew they could be used a variety of ways.
This was a quick and easy DIY. I wanted to give the gift of a Poinsettia but I am not a big fan of the foil they come wrapped in. Then I remembered I had this planter and decided to give it a facelift. I’d update it and place the flower inside.
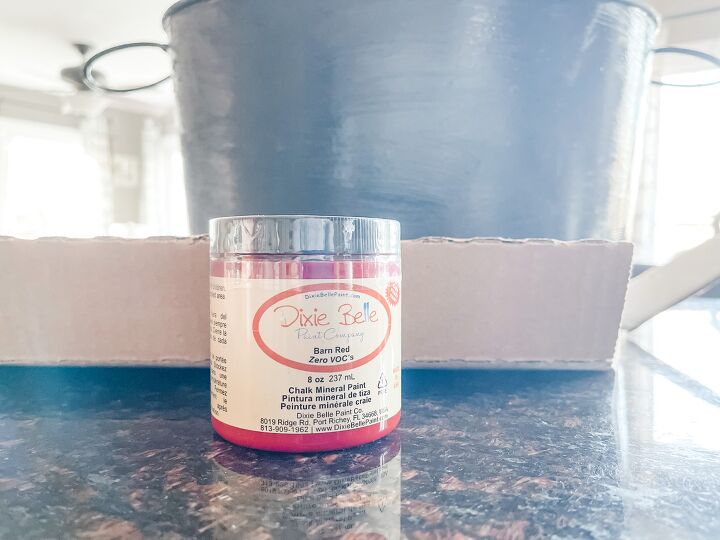
Step OneThe first step was to paint the entire outside and inside of the planter with a dark color. I used Anchor by Dixie Belle mixed with a little Saltwater. This gave me a lighter more greyish color instead of black.

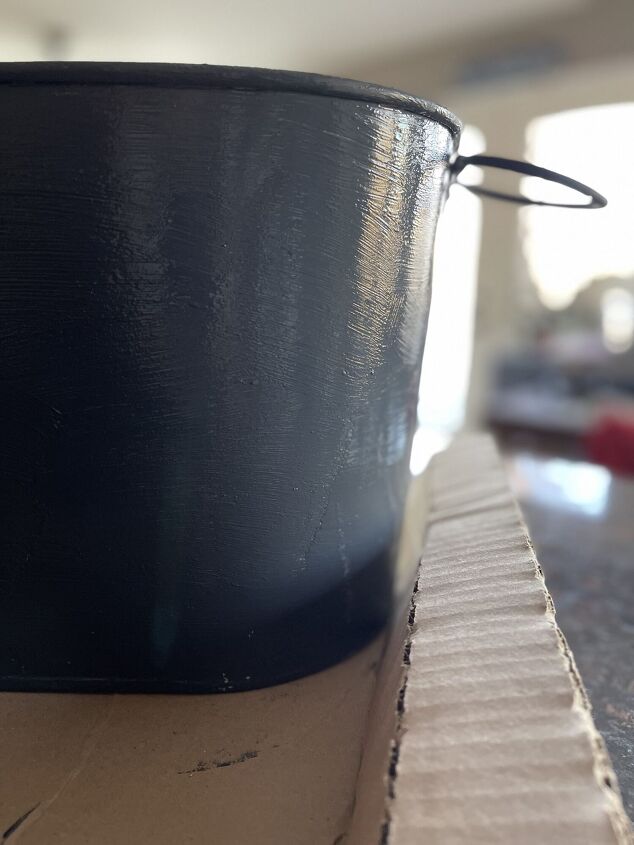
I had this beautiful red that I had ordered but not used, so I decided that red and black (dark grey) would look great.
Step Two
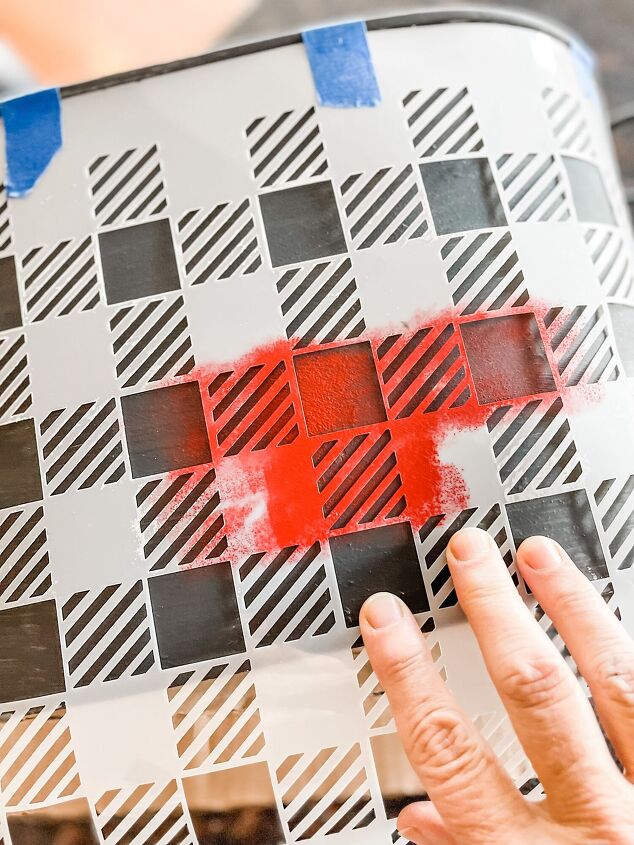
Next I attached the stencil to the front of the planter using painters tape. My office/craft room is a hot mess, and I couldn’t find my stencil brush. Must be hidden in the midst of wrapping paper and gifts. Believe it or not, I decided to use a makeup sponge. Nothing like being resourceful! Well, I tried a sponge curler first and that was a flop.
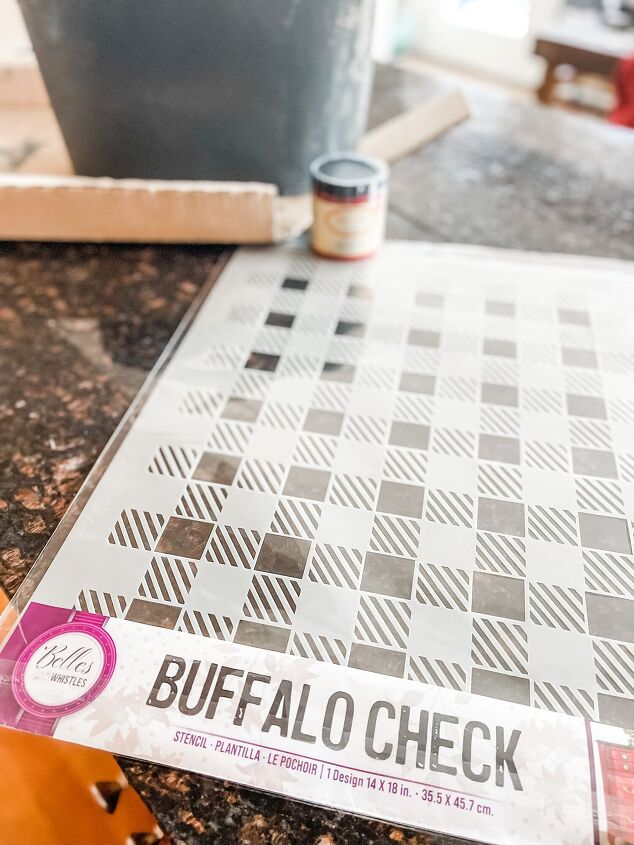
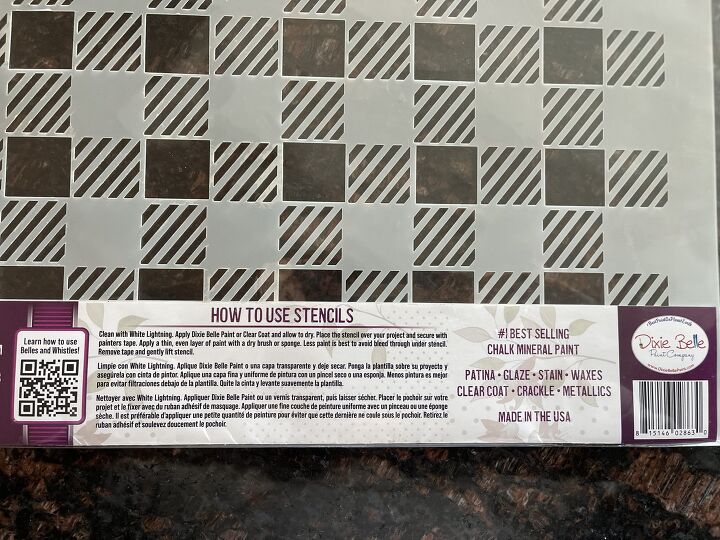
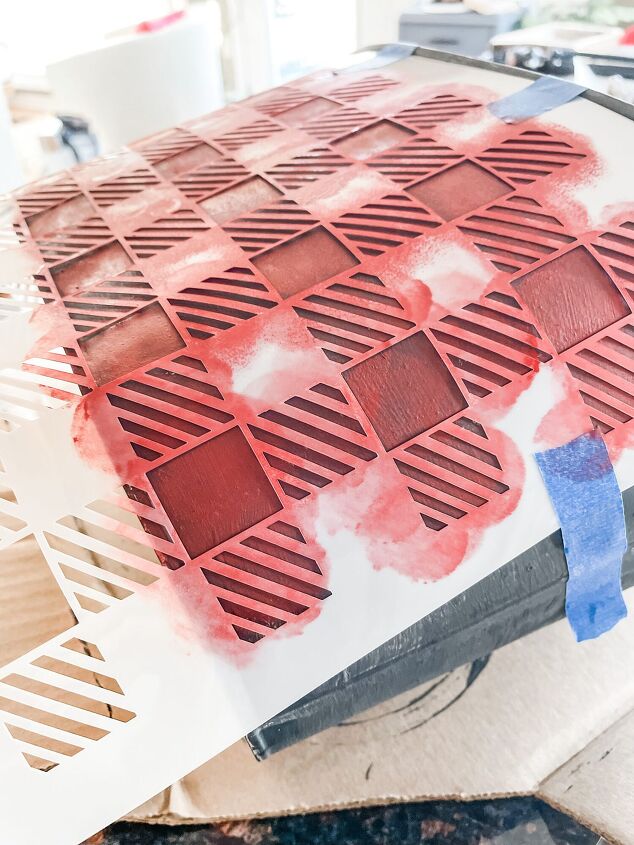
THE STENCIL IS LARGE AND DURABLE
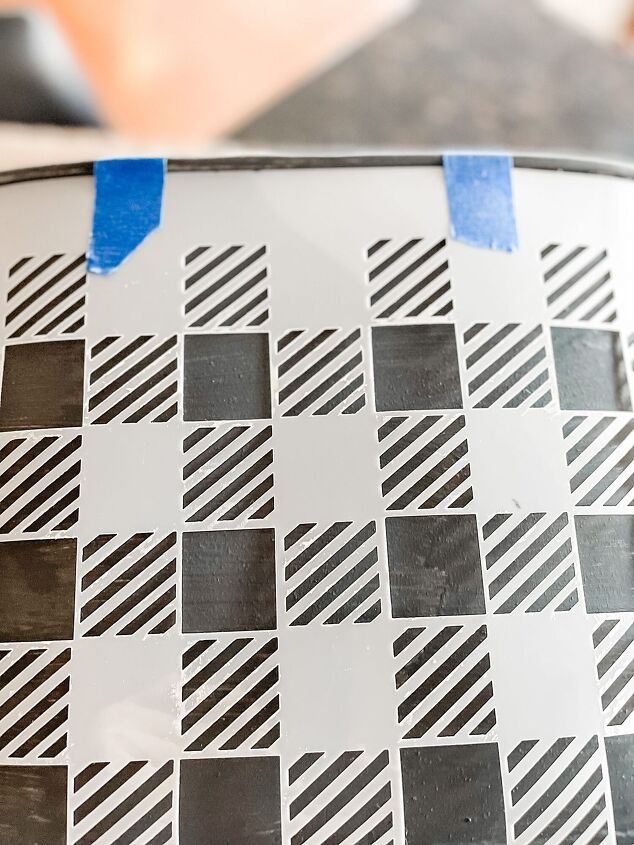
Step Three
It worked perfectly. So I dipped it into the red paint and then tapped on a paper towel. After I was done, I let it dry. Next I turned it around and did the same thing on the other side.
Step Four
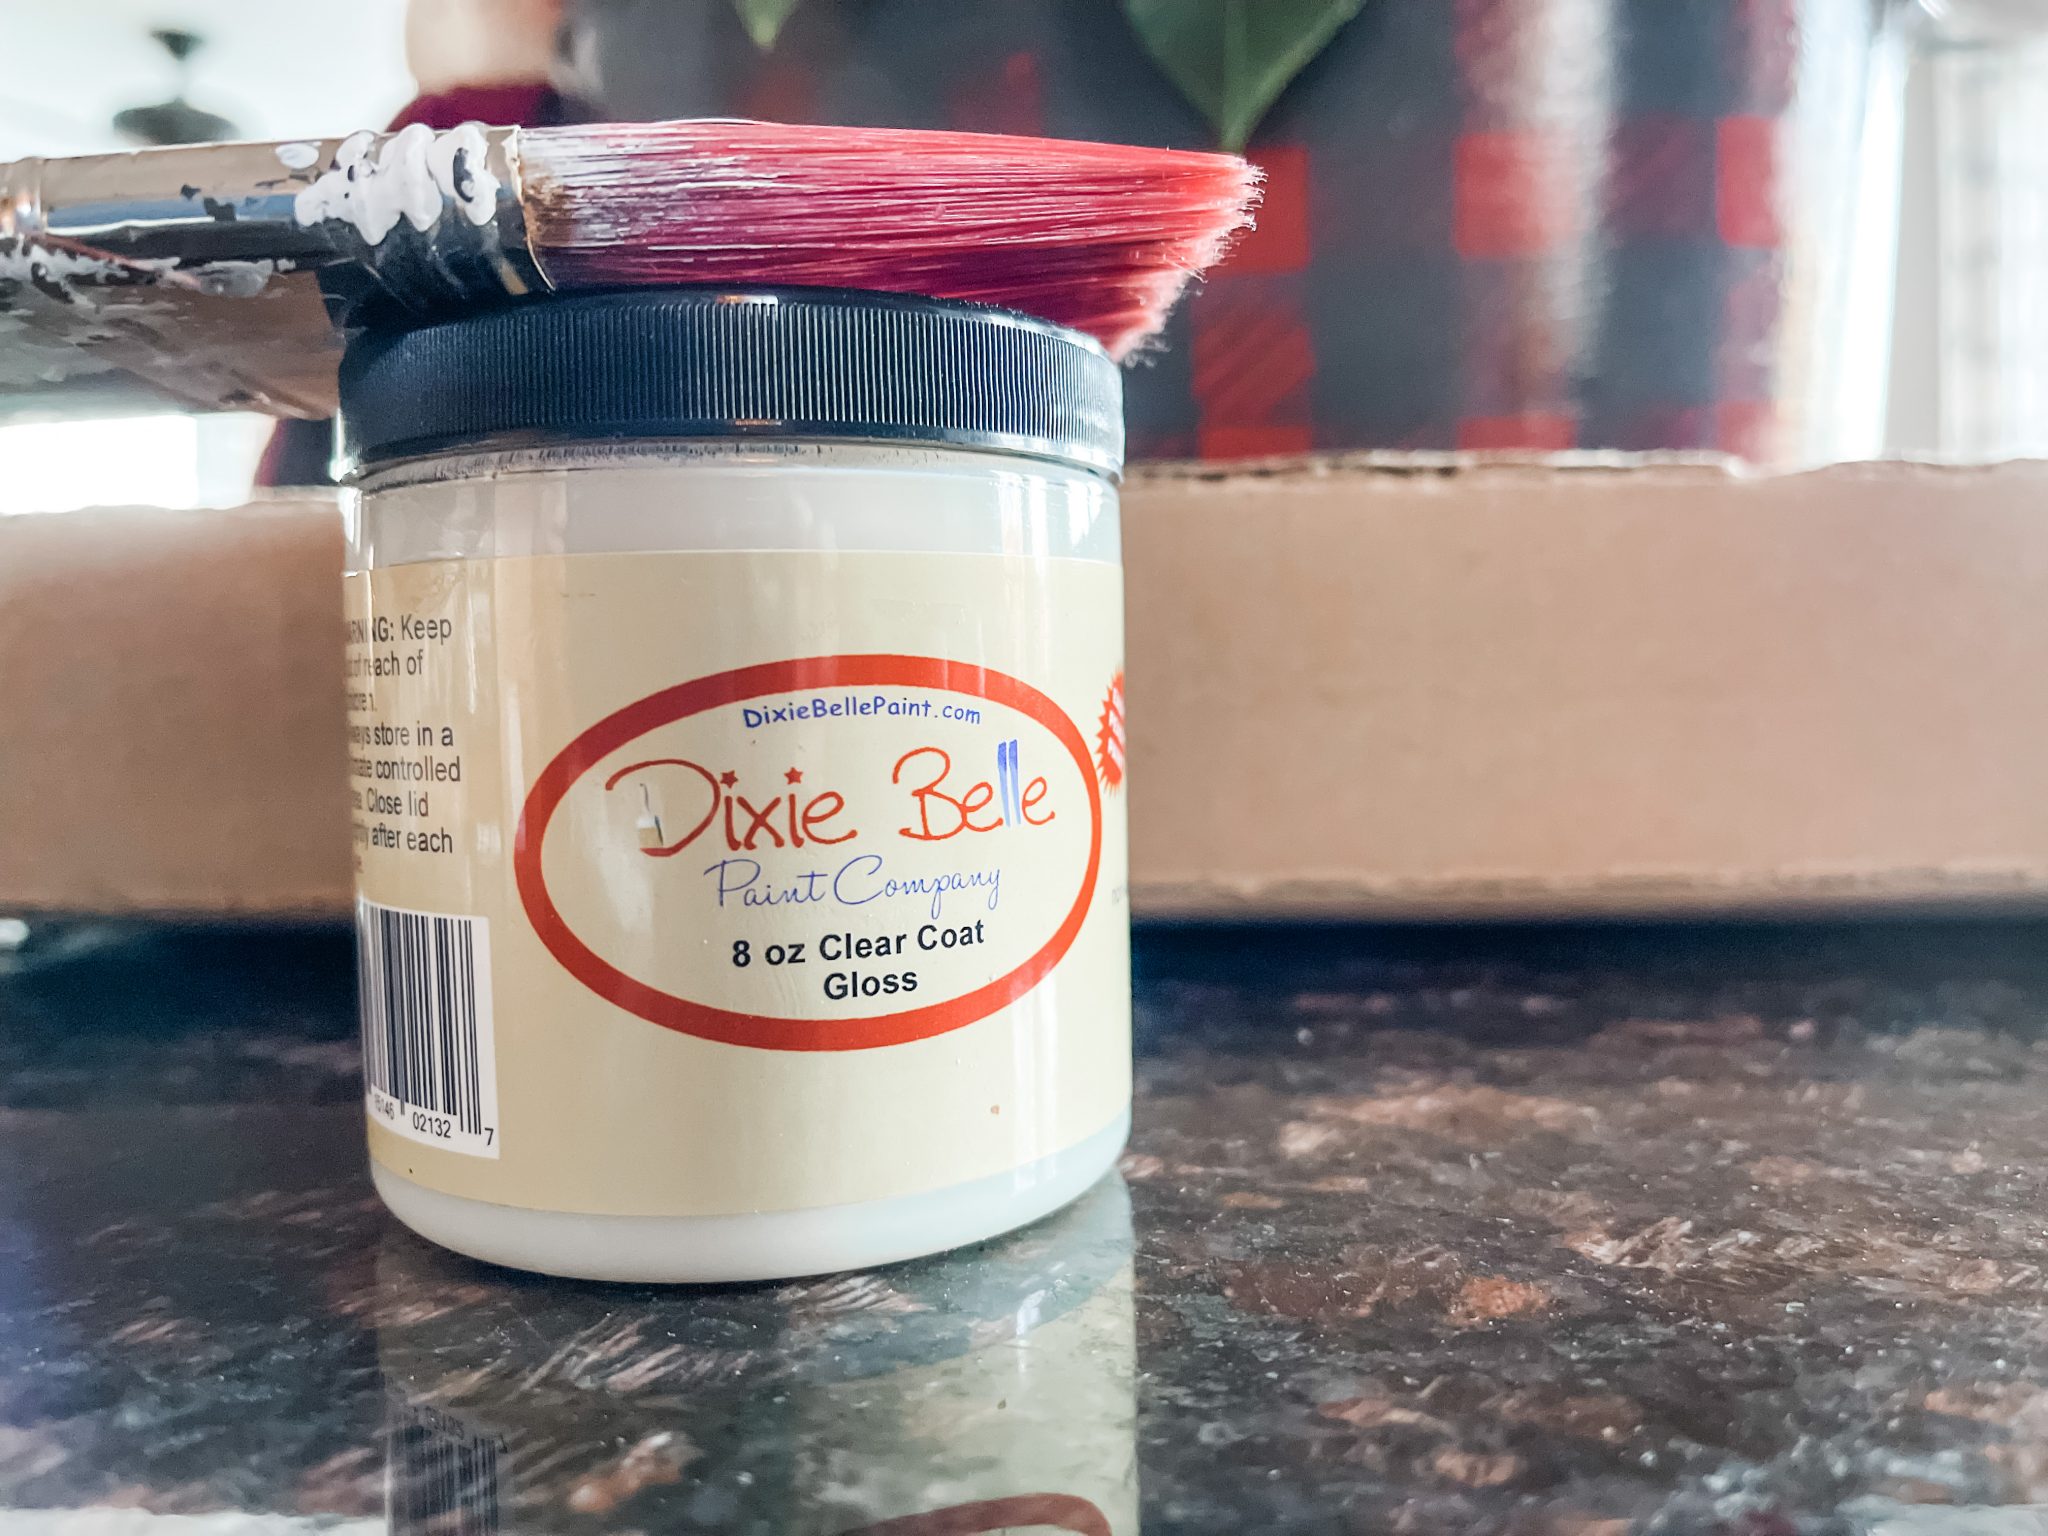
For the final product, I decided I wanted a shine to it. So I finished it off with 2 coats of Clear Coat in Gloss. Let it dry between coats.
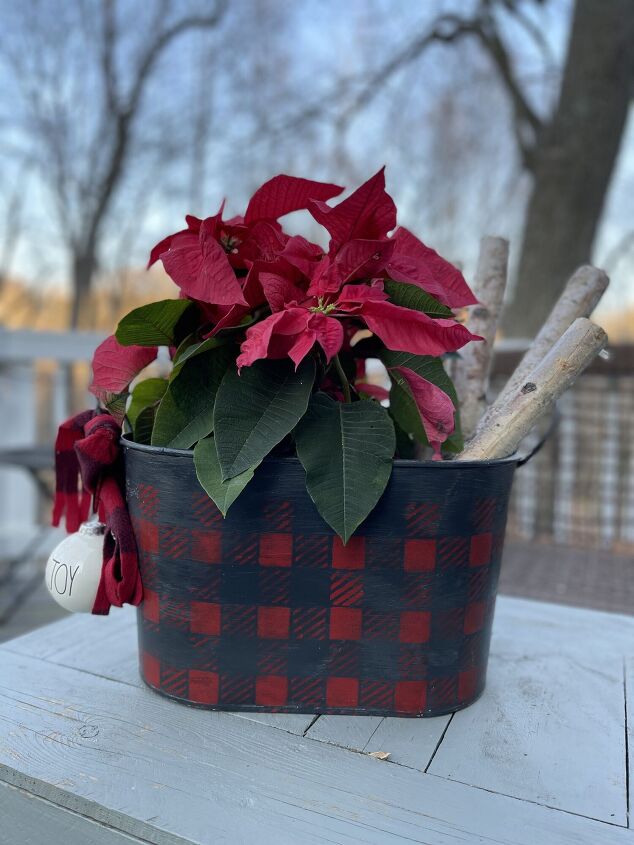
Don’t you agree it came out great? It makes you want to paint buffalo plaid on more stuff no?
 THE FINAL TOUCH
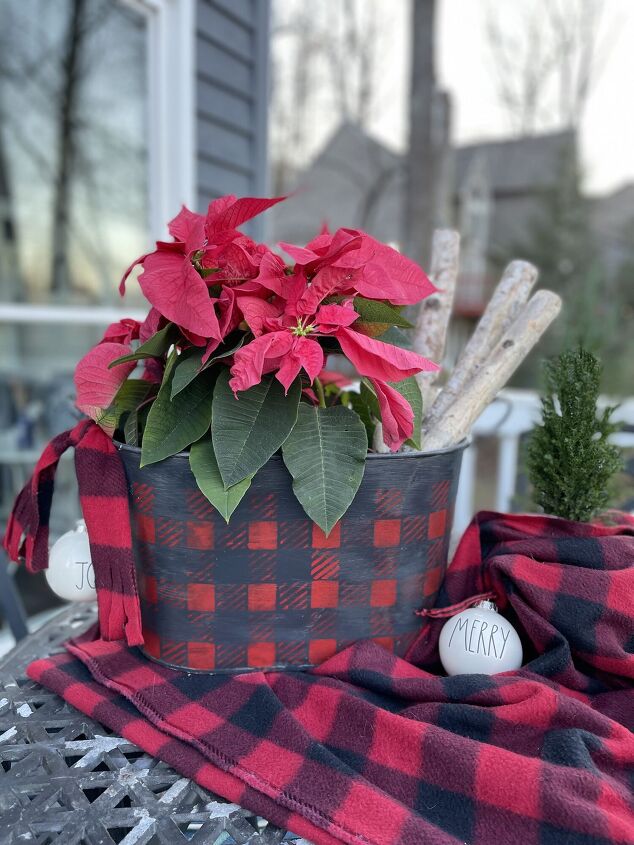
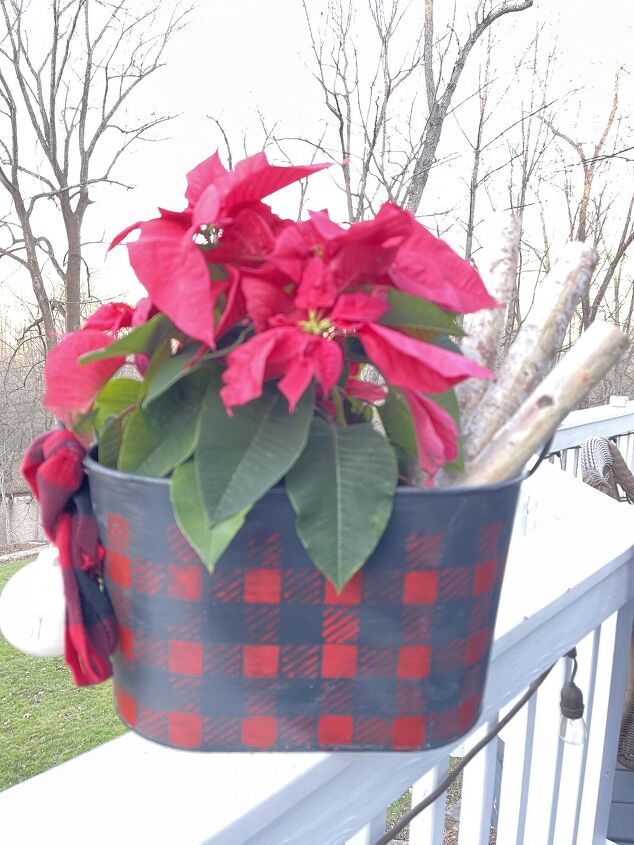
I tucked in a few birch logs and then tied a scrap of buffalo plaid fleece to the handle. Next I added a “JOY” Christmas ball to the handle, it was necessary as the string on it was the same colors.
Below are links to the items used in this post for your convenience
Supplies

DIXIE BELLE PAINT – ANCHOR
DIXIE BELLE PAINT – SALTWATER
DIXIE BELLE – BUFFALO PLAID STENCIL
CLEAR COAT – GLOSS
Sometimes it pays to look around the house for something you could repurpose before you head out and buy something new.
As you could see it was already different when I started. That is because I had painted it an off white and had a vinyl pumpkin I had made in my Cricut on the front. That is how it looked all fall with some tall grasses inside.
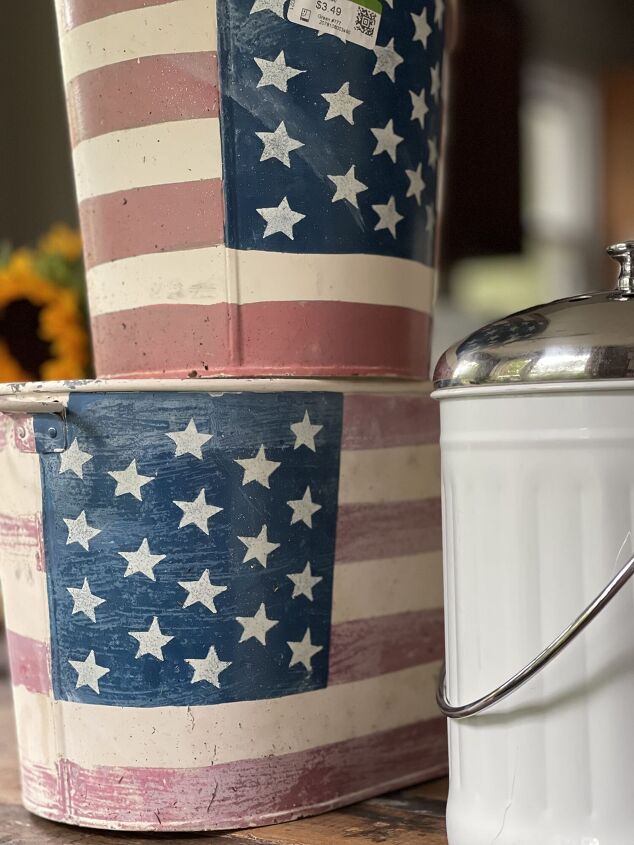
Another idea would be to update a galvanized bucket or sap bucket with this stencil. They would make great bases for a Holiday Porch Planter.
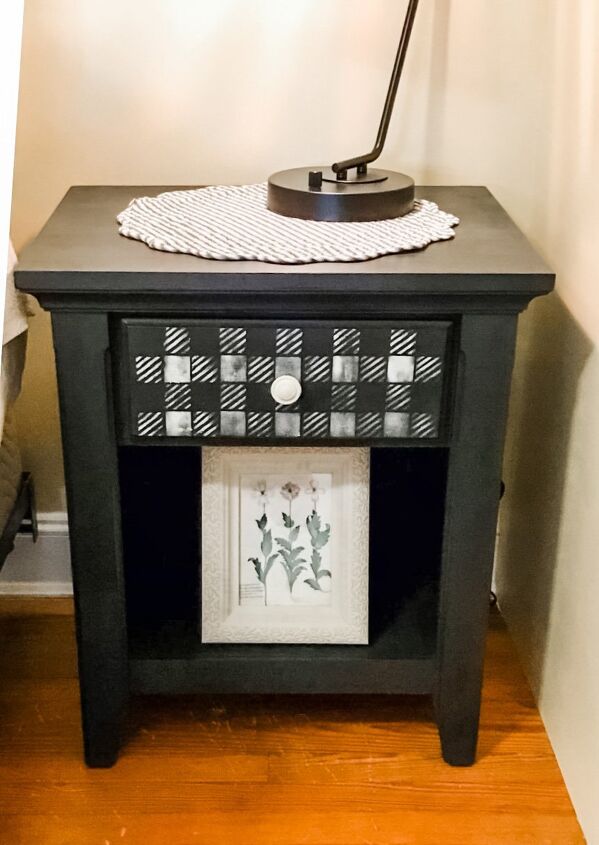
A friend painted her bedroom furniture in Anchor and then using Buttercream and the Buffalo Plaid stencil, added details to her nightstands. How cute is this?
Merriest of Christmases to you. I pray you stay safe and healthy this holiday.
May you feel the peace of this joyous season.
XO, Regina
This post contains affiliate links. I receive a small commission if you order from a link provided. This is at not additional cost to you. Thank you for supporting my small business – Saved From Salvage.

Comments
Join the conversation
-
So pretty! Do you have a tutorial on the flag patterned planters?
-
I do not but thanks for the suggestion! I'll add it to my calendar :)


Frequently asked questions
Have a question about this project?