


6 Quick Fix-Facelift Ideas for Builder Grade Bathrooms ALL Under $120

by
Jacque
2 Materials
$120
4 Days
Medium
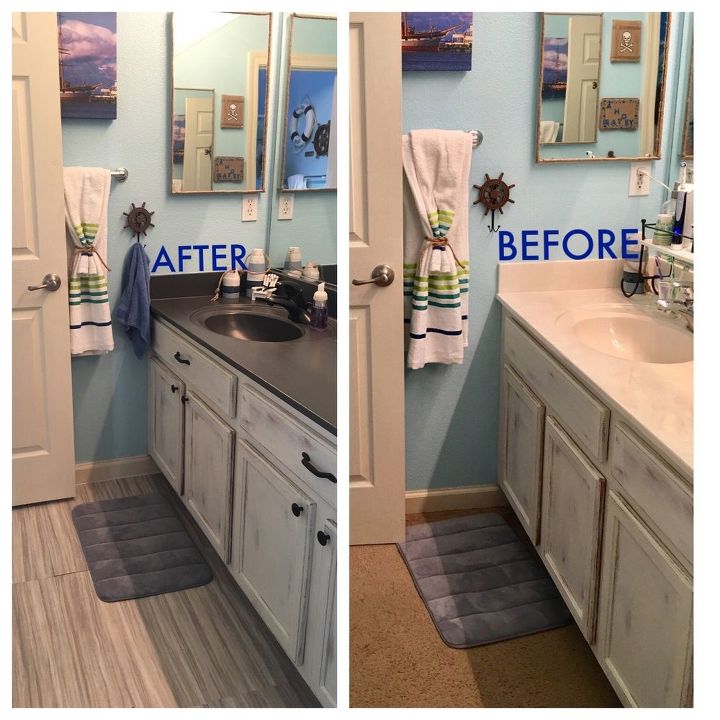
I'd like to share some bathroom face-lift projects we tackled a few months ago. EACH can be done in 6-12 hours, some less some more (if paint is involved) but nothing over a day. When I know I can finish a project in a day (or so) I am definitely quicker to start/try it. Our '06 builders grade bathroom was plain old ugly and odd! They put carpet in the vanity area & a one piece "acrylic" counter with single sunken sink (should be two) plus oak dbl cabinets.
We would rather go on vacation than fund a full remodel, so a face-lift was all we could do on our modest income. Everything we did was under $120 total...and that was spent mainly on flooring & paint. ( I wasn't planning to post. I had painted the cabinets before I took my BEFORE Photo.)

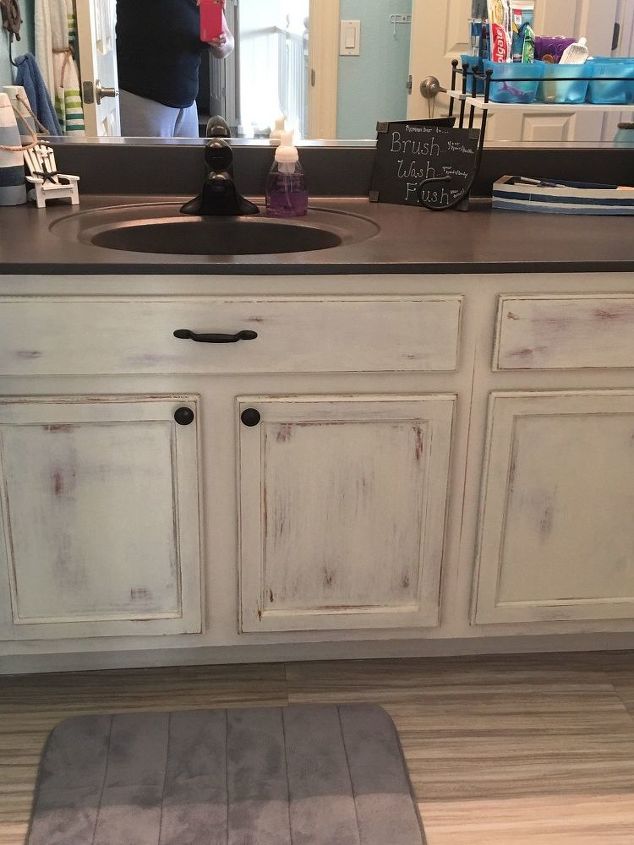
1-Paint Sink & Counter
We used Rustoleum counter-top paint. (See below) Cost $15-20. Before we painted we sanded the smooth surface and we removed the faucet. Painting took the longest since it was a dark grey on a white surface. we used 4 coats and thought we ruined it by not waiting long enough in between coats. We ended up with a neat distressed look & feel. I really like it! I have no clue how to duplicate sorry!
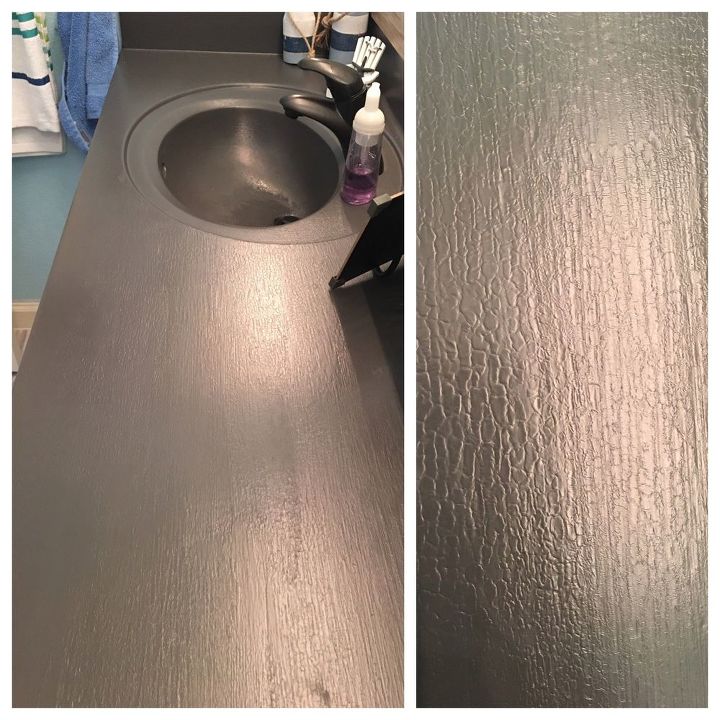
Distressed on accident!
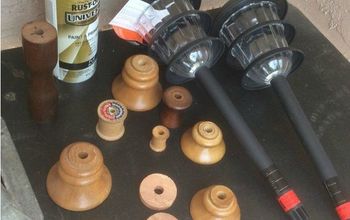
2-Spray Paint Faucet & Fixtures
I had some fixtures from an old kitchen remodel but they were brushed nickel. Nothing a little Rustoleum "oil rubbed bronze" spray paint can't help me with! It's only $7! I didn't want to buy a new faucet either so it was spray painted too. It's easiest to spray outside to get every nook & cranny, then reinstall. If you can't, just tape off and use brown paper bags all around to make sure no off spray gets anywhere.
3-Paint Cabinets
I used chalk paint on the cabinets. I removed all door/drawers, wiped clean with Windex all surface cleaner and painted. I used Plaid "Plaster", I had this leftover from another project. As the doors dried I painted the body of cabinets. I used a thin coat of paint so it was easy to distress with 240 Grit in spots. I used 80 grit in others to get a real used nautical rustic wood look. Rehung doors/drawers and distressed more to my liking.
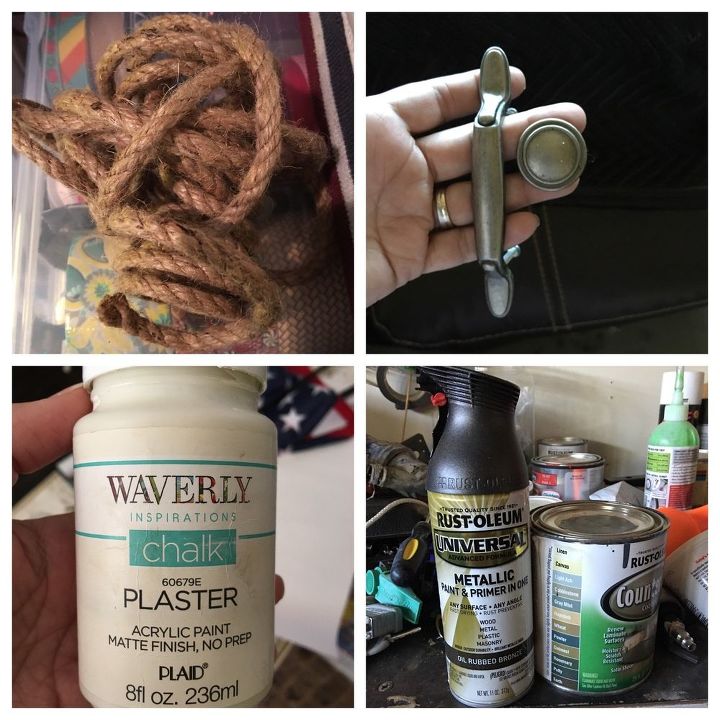
Materials used
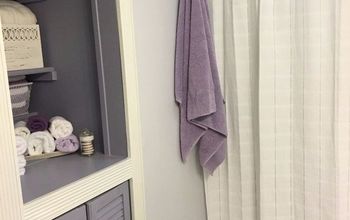
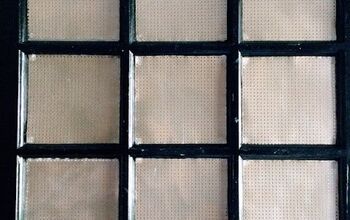
4 Mirrors-Make borders
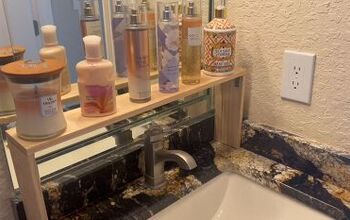
There are medicine cabinets on each side and a huge 5x3ish mirror. I put a burlap rope border around med cabs with a hot glue gun and painted a wood 2x4 border for large mirror. My husband installed it after we connected all 4 sides with wooden pegs to ensure it stays in place. I apologize again for such little detail.
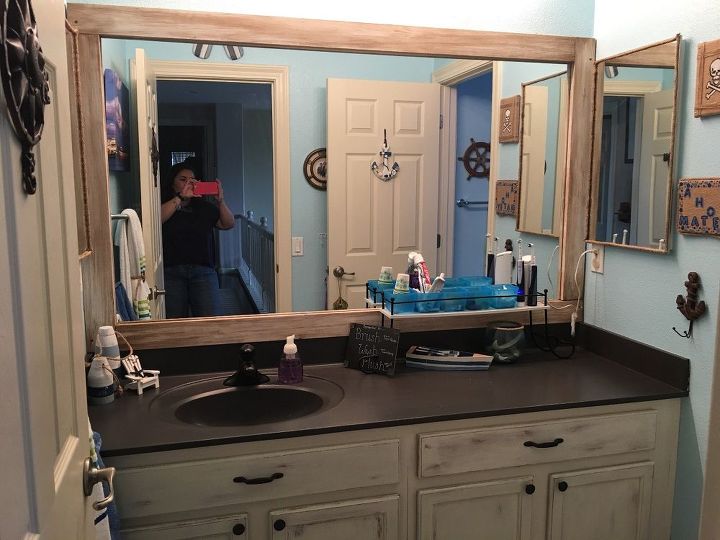
After-mirror boarder
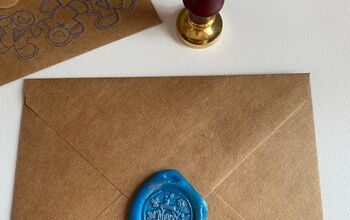
5-Arts & Crafts
it's fun to make your own nautical items. I did a cpl fun Stencils paintings on burlap since it is my kid's bathroom. I used the pirate skull and another themed piece. Costs nothing but it sure is fun.
6-Flooring
I could not wait to rip out that old gross carpet! This can take awhile to get all the nails out of subfloo. We got 12x24 Traffic Master self adhesive vinyl tile. It went down quick and were easy to cut around the edges. What a HUGE improvement they make!! This is about .99 cents a sq ft. and the bulk of budget.
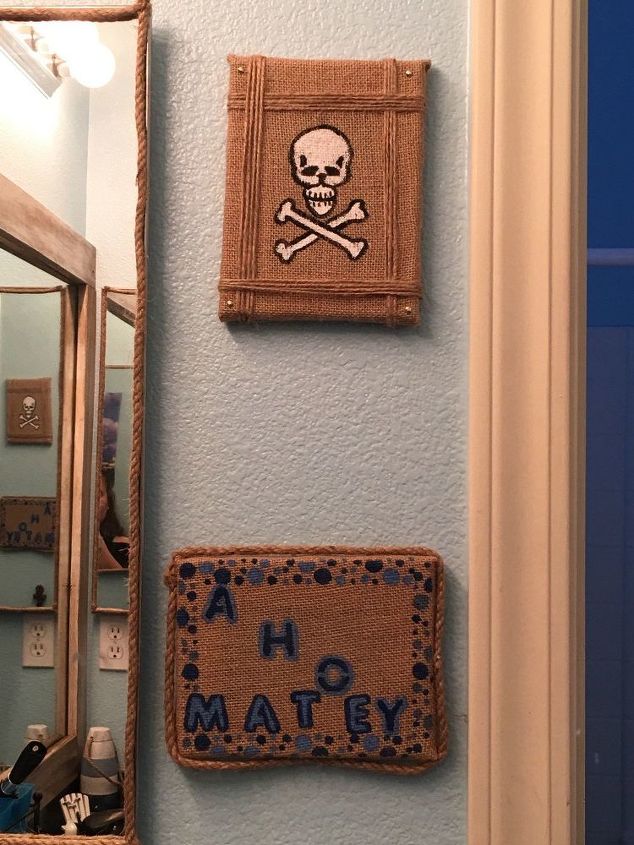
Arts & Crafts
Completed bathroom
Comments
Join the conversation
2 of 10 comments
-
Very nice
-
i have almost the same vanity in my upstairs hall bath. I love how this turned out!


Frequently asked questions
Have a question about this project?
My bathroom sinks have crack lines. Is it paintable or should I just replace?
How well does the countertop paint hold up?
Looks great! What about the longevity issue. With various things being put both in the basin and on the counter!!! Id worry about that.