


Concrete Garden Lights
This post was transcribed by a member of the Hometalk editorial team from the original HometalkTV episode.
Make a beautiful lantern for your garden or porch with some concrete. You will love how pretty this is. You can see more of my crazy creations here
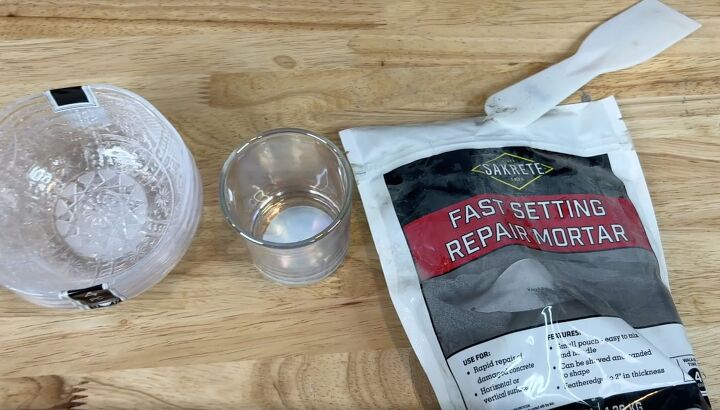
To start this project, you'll need some dollar stir bowls, a dollar store candle holder, and some fast-setting repair mortar.

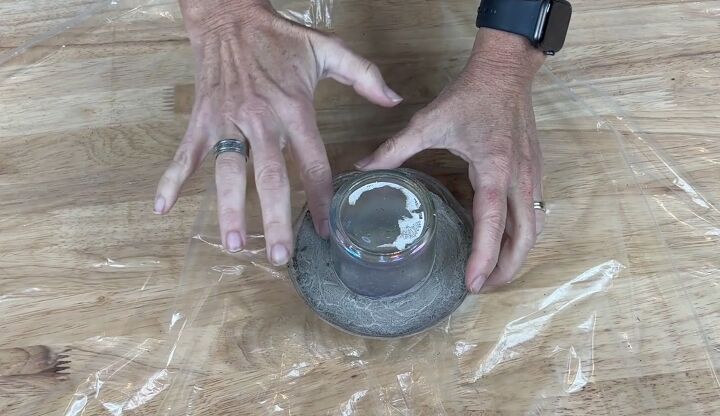
The first thing I'm going to do is protect my surface and then I'm going touse some cooking spray and I'm going to give the inside of the bowl a good coating.
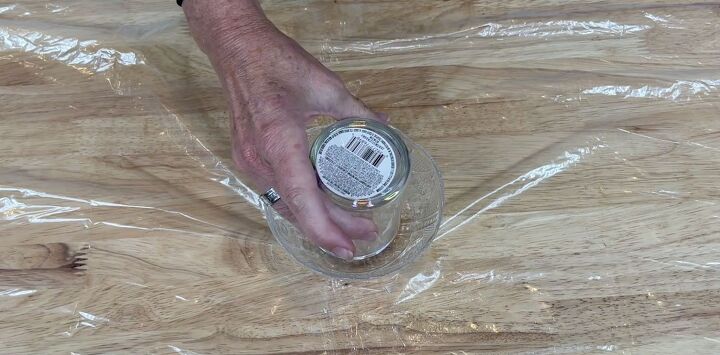
Next, I'm going to take my dollar store candle holder and place it upside down into the bowl, making sure that it's nice and flat.
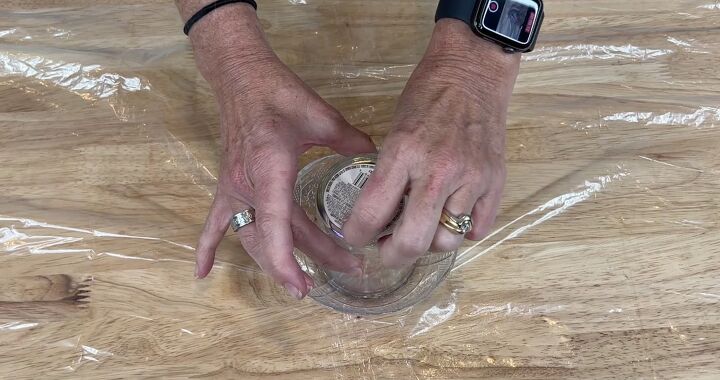
Then I'm going to go ahead and remove the tag on the candle holder.
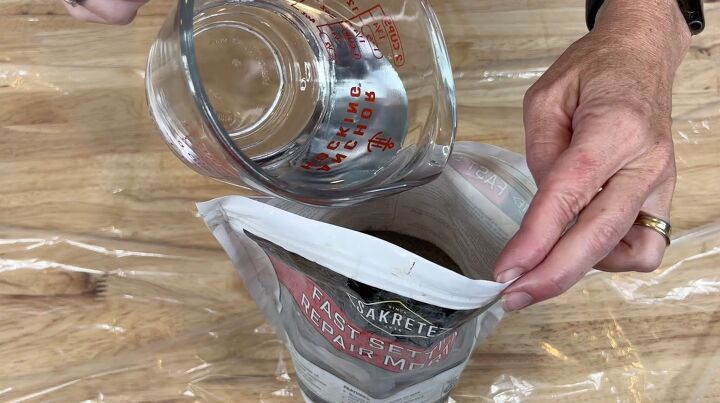
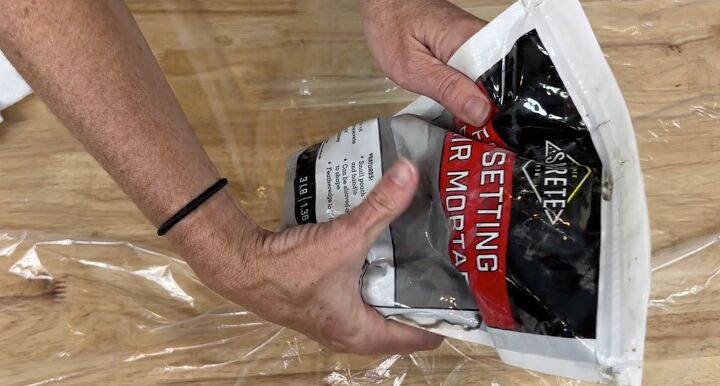
I'm going to be using the fast-setting repair mortar for this project and I am going to take some water and pour it into the bag carefully.
I'm going to seal the bag up and give it a little squeeze to get all of the air out and start kneading the bag.
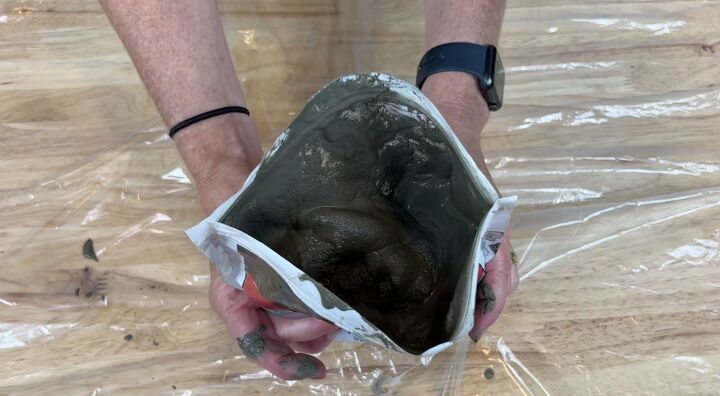
Once I think it is all mixed, I am going to open the bag and take a look. I want to make sure that everything inside there is mixed really well. If something doesn't look right, I'm going to need to give it another stir. You can also use a paint stick or stir stick to mix it as well.
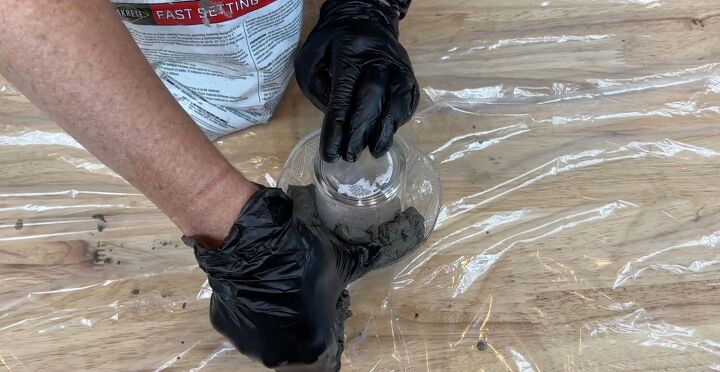
With the mortar mixed, I want to start filling the bowl around the candle holder. Make sure there are no air pockets or bubbles. I also want to make sure not going to gounderneath the candle holder. Now, if it's at all too thick, you can always add some more water.
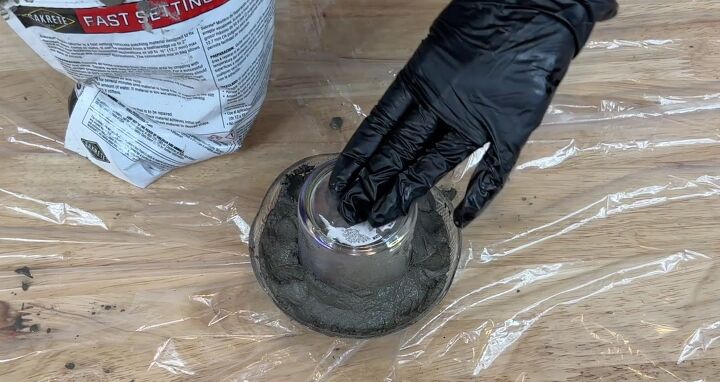
Once you kind of get it in there where you want it to be, you're going to give the bowl a tap and you're going to try to get that a nice smooth surface on top. Hold onto your candle holder.
Now that it's hardened, you can see it's changed color.
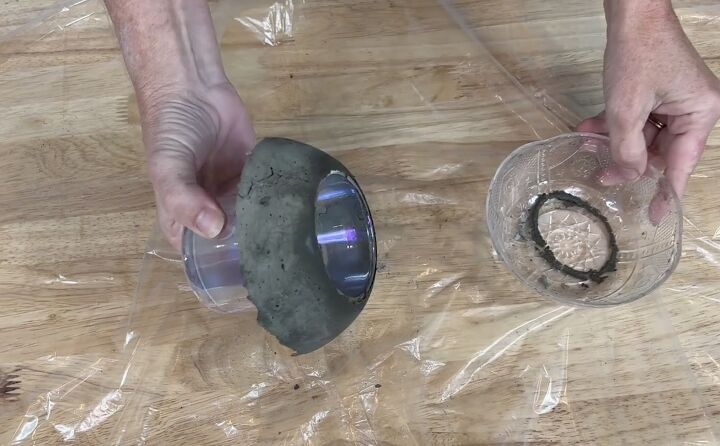
Next, I’m going to remove it from the bowl. You'll notice it's a little damp on the bottom; that's going to need to cure over time and dry, so don't worry about that.
While it's still a little wet, you can take a little sanding paper and clean this little edge up if you like.
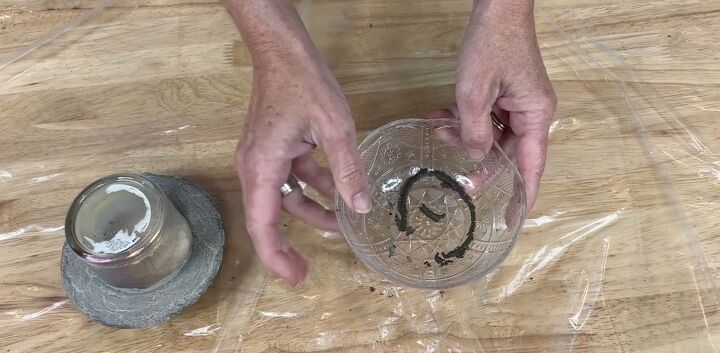
Now it’s time to clean out the bowl and get it ready to make the other side.
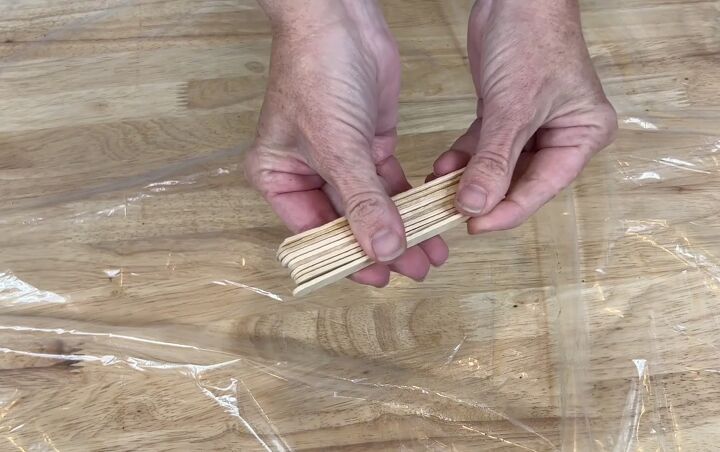
I want to create a gap between the two sides so I am going to use 10 craft sticks to do that.
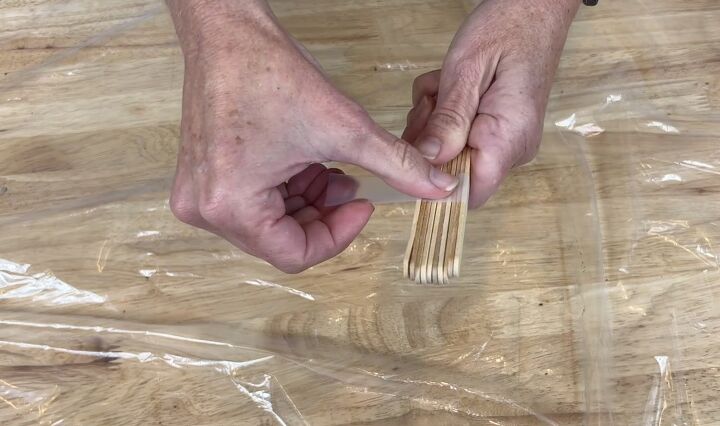
Now I'm just going to take a piece of tape and I'm going to tape these all together because I need them to be stable.
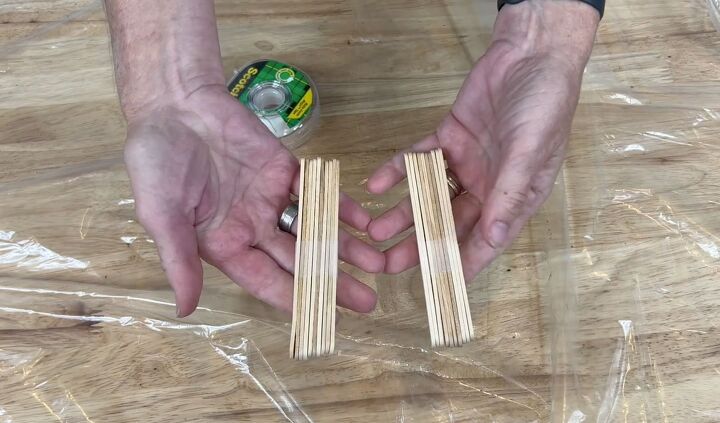
I'm going to do that twice so that I'll have two sets.
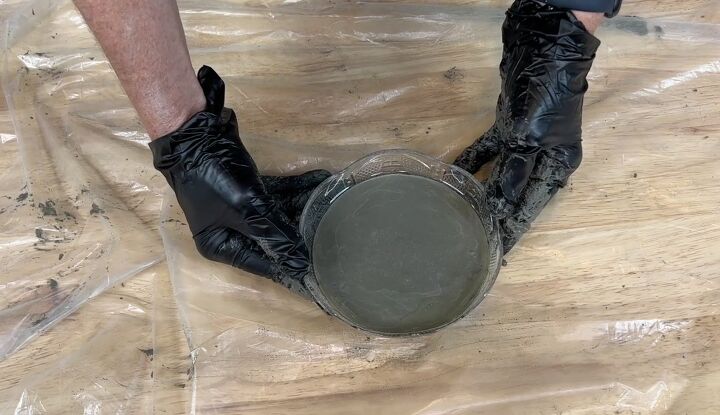
Now I'm going to grab the bowl and fill it with the mortar again making sure to tap it down so there are no air pockets.
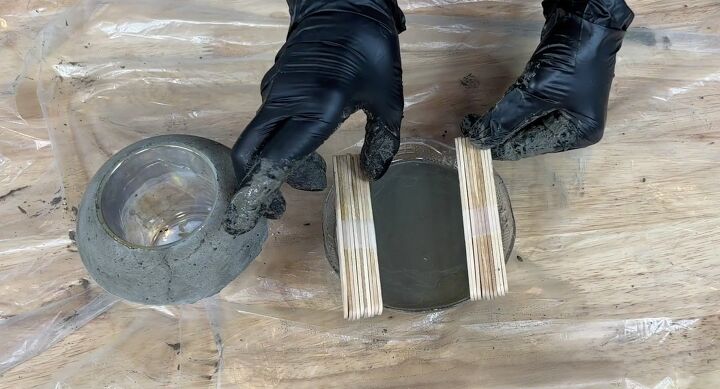
Then, I am going to lay my two bundles of craft sticks on either side of the bowl so that my first piece doesn’t sink right to the bottom.
Once those are in place, I am going to slip the other side of the candle holder into the concrete.
I will let it sit now until it dries again.
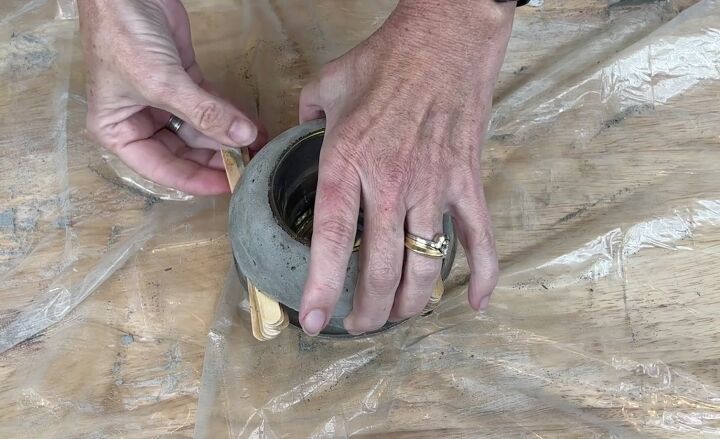
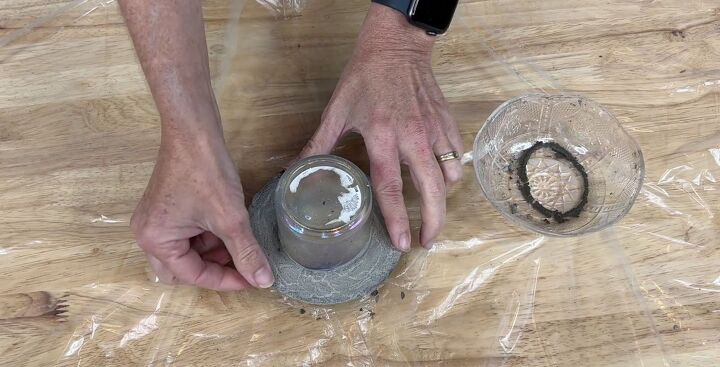
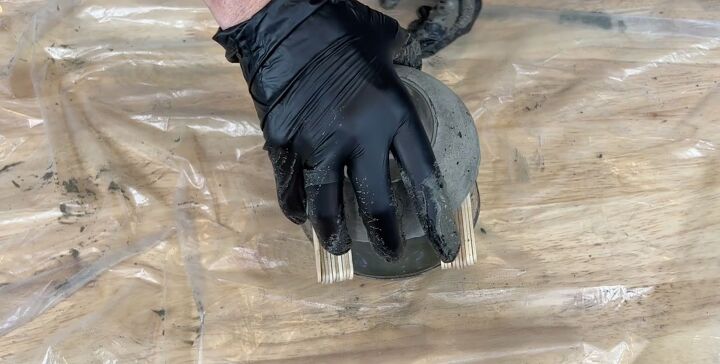
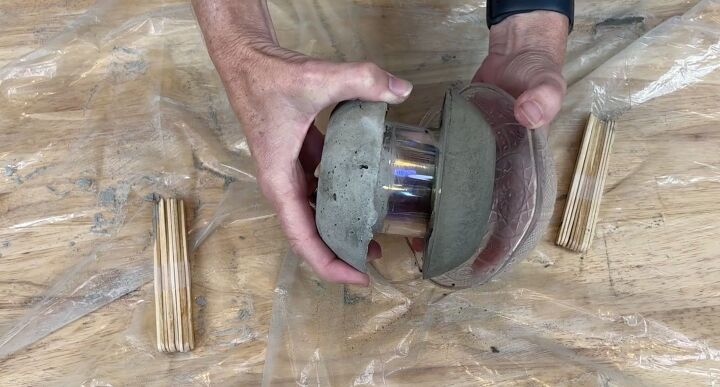
Now that it's had time to set, carefully remove the craft sticks, and twist the top half to remove it from the bowl.
I'm going to wait for this to dry completely before we move on to the next step.
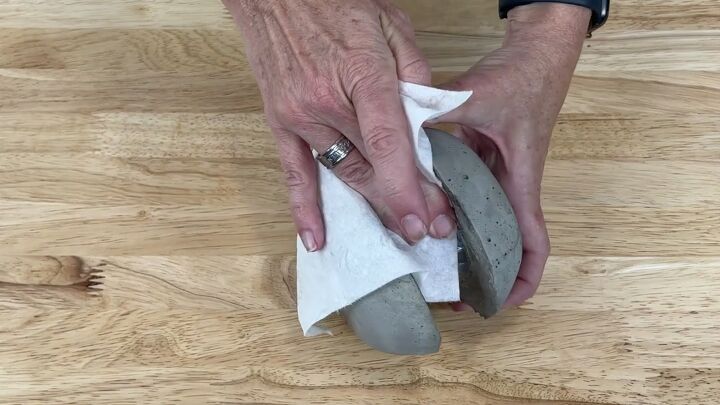
Now that the whole piece is dry, I'm going to go ahead and I'm going to get a baby wipe to clean off the glass. You can use an old rag or a paper towel, whatever you want.
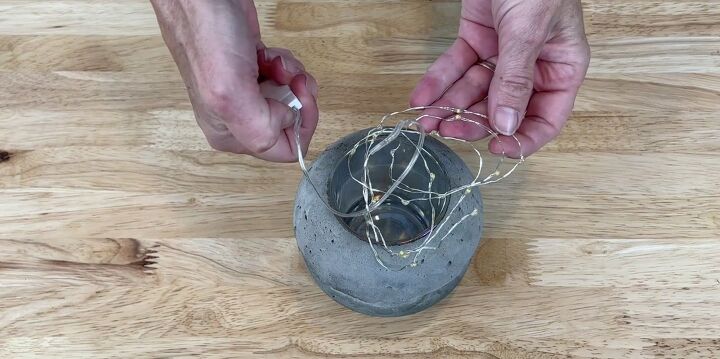
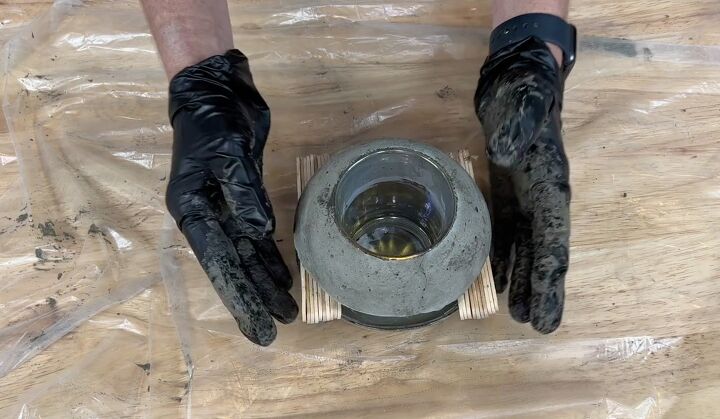
Finally, I want to add some led lights to the candle holder. You want to fill the holder with the lights and leave the control piece at the top where the opening is.
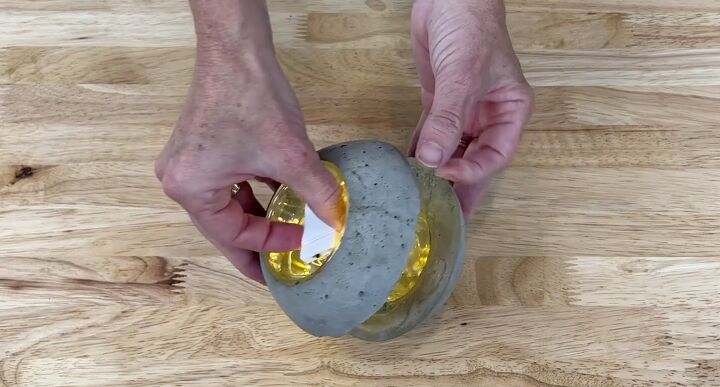
Then you simply turn it on and you can see here what this looks like inside.
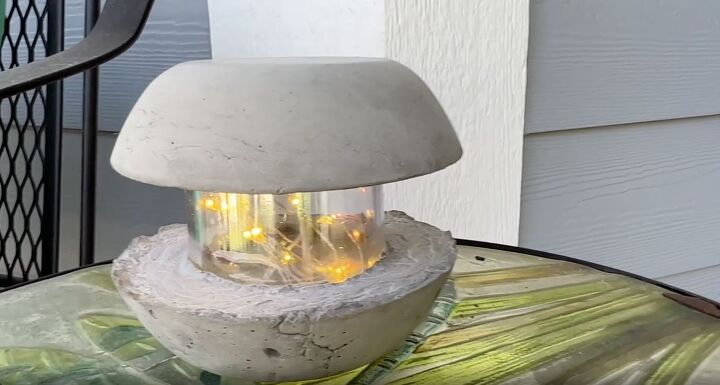
How cool is this lamp? I am going to keep it on my front porch. You could put theseon your walkway, up to your front door, or on a railing. You could use these inside your home as a lamp or out. We're choosing to put it on our front porch so that we have this nice warm glow every evening when we sit outside. I hope this inspires you to create some concrete lights of your own.
I would love to have you stop by my blog Chas' Crazy Creations for the full tutorial as well as sign up for my latest creations, posts, recipes, exclusives, and more...
I would love for you to subscribe to my YouTube channel to see more of my crazy creations - https://www.youtube.com/c/chascrazycreations
Resources for this project:
See all materials


Comments
Join the conversation
-
Pretty and clever.


Frequently asked questions
Have a question about this project?