


DIY Stone Walkway
I am a bare feet in the summer, slippers in the winter kind of a girl. The last thing I want to do when I am taking our crazy dog out is get my feet or my cozy slippers wet or muddy. Well, no more we FINALLY have a stone farmhouse walkway all around our farmhouse!
Ever since we bought our home I have been dreaming of having a stone walkway or path that would go all around our house & it is finally done!
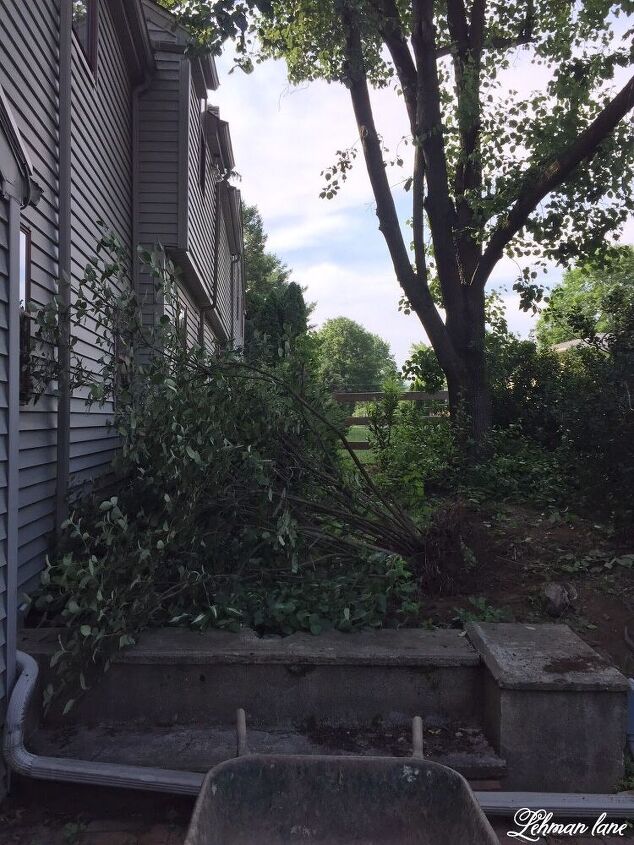
We were fortunate to have a few paths started for us but the back was just never done.
While we appreciated the privacy the of the shrubs but they had become overgrown & made it impossible to walk along the back of our home.
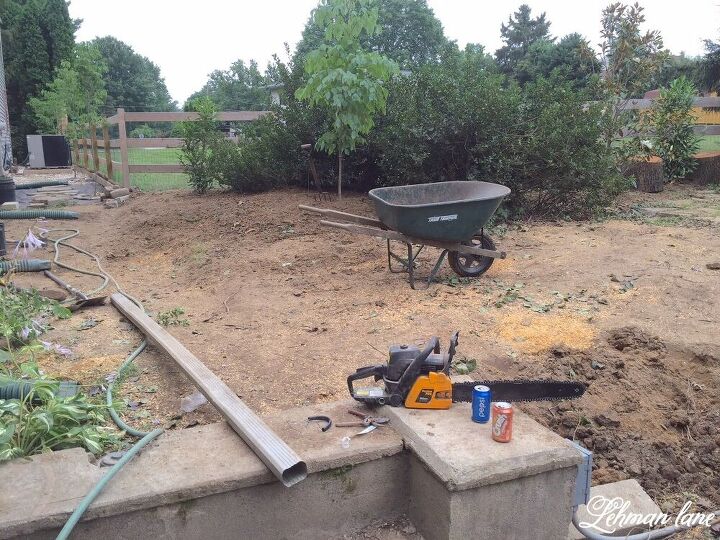
We took down what bushes we could & paid a tree company to take down a pear tree that was planted way to close to our home.
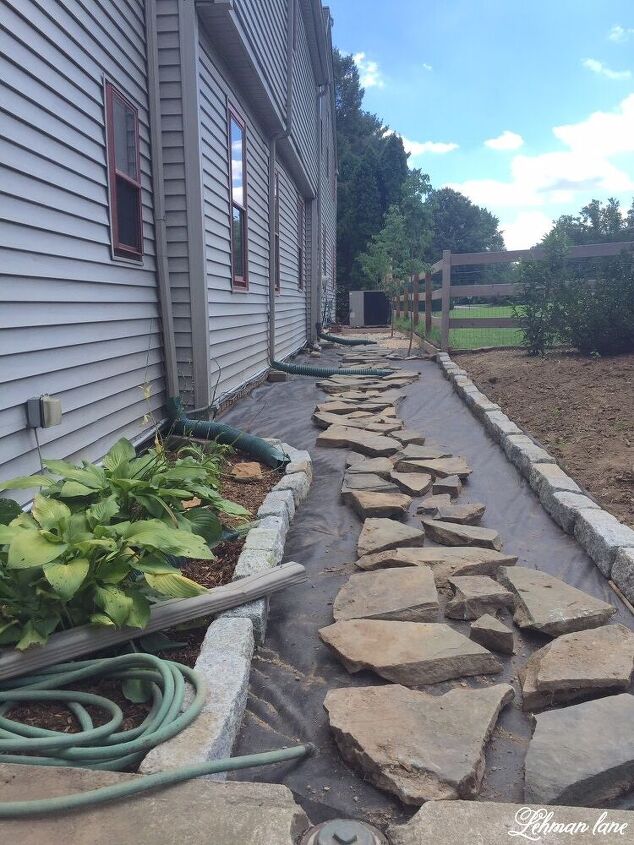
After everything was leveled & weeded we laid down landscaping fabric & secured the fabric with pins.
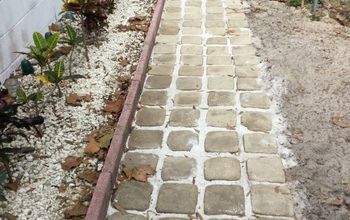
We had some extra Belgian block around the yard that we were able to re-use for the edging.
If you are laying edging just make sure it is laid on top of the fabric & wrap the fabric up behind it.
This will help keep dirt & weeds out of your path.
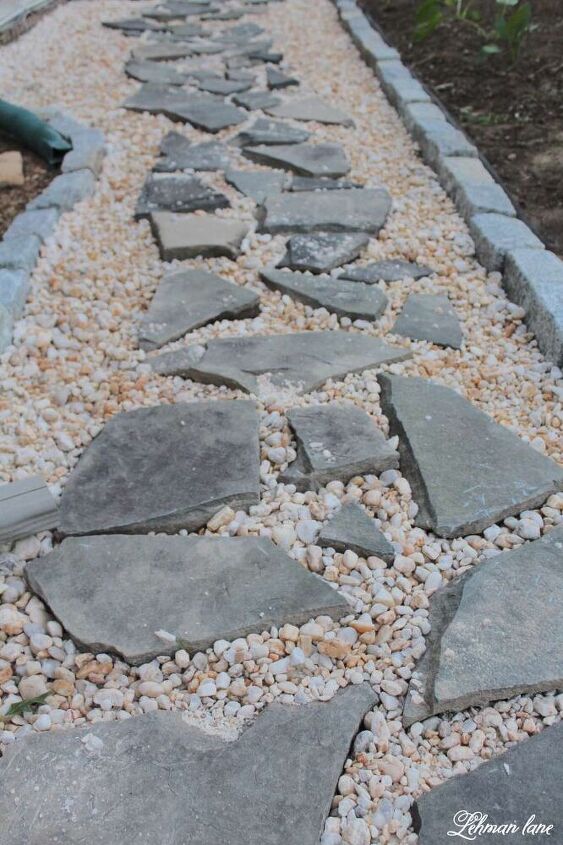
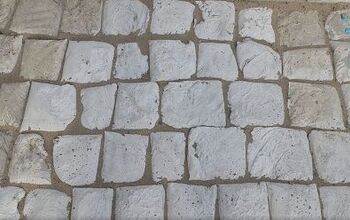
We filled the gaps in with some Quikrete River Pebbles that we purchased in bags from Lowes.
We even left a little room for a small garden.
I filled it with hostas & sky pencil hollies now but I hope to add herbs & a clematis vine next year. We also added a line of dogwoods along the back of our farmhouse & flagstone steps into our back door. I hope this inspires you to create a DIY stone walkway around your home. To see more of the flagstone walkways around our farmhouse, be sure to check out link below to take you to my blog for more information.
Resources for this project:
See all materials


Comments
Join the conversation
-
The flattest and cheapest walkway stones are scrap pieces from stone countertop manufacturers. Some sellers fear people getting hurt on their property and will refuse. But others will be happy to get rid of their expensive trash - the scraps - for free by allowing you to take them. Just take sturdy gloves to protect your hands!
After leveling the path or patio, I also put down weedblock and a flat layer of stonedust. Then I lay the stone pieces, either irregular or straight-cut, stone pieces upside down. The polished side looks beautiful but is as slippery and dangerous as wet glass when it rains.
Then I spread stonedust between the patchwork pieces. If you are lucky, the landscaping people will let you pay for one cubic yard of stonedust (about $35) and then pick it up a few 5-gallon buckets at a time. One cubic yard contains 35 or 40 five-gallon buckets, depending on their type of calculation. It is MUCH cheaper than buying bagged stonedust!
-
Very pretty but it looks difficult to walk on, I think I would have placed larger stones than what you have down the center then use the rest to line the sides..but..that’s just me. You definitely worked hard on it so great job.


Frequently asked questions
Have a question about this project?
Curious about your downspouts- did you run them through the rocks and out the edging OR bury them before extending? Cant quite tell in the post pic
Question about the green tube on the down spout… I think another person asked the same question but I do not see an answer. Does your green tube go under the walkway to drain on the right side of the walkway or does it simply end as shown on the left side? We have a terrible drainage issue on the side I’d like the walkway.