


Video Tutorial on Stain Painting PART ONE

2 Materials
$100
5 Days
Advanced
**** UPDATE***** PART TWO of the video series has now been posted. You can see it here: http://www.hometalk.com/diy/paint/furniture/video-tutorial-of-stain-shading-painting-technique-part-two-15363899 So many of you had asked for a video on my stain painting technique. I am starting a new table and decided to try doing a video. HOWEVER, I'm not so great with my go pro camera yet, so I'm going to have to do it in clips. Part ONE is at the bottom of this post. This PART ONE covers how to make the enlarged image and and how to transfer that to the furniture or whatever item you will be "painting" on. I can show you a few photos of the work in progress, though, while we wait for the rest of the parts to this video series. And by the way, since the detailing on the piece is so intricate, this is going to take me a WHILE, but I will add the next part of the video ( which is the stain shading) as soon as I can. Hopefully, my technical skills will improve. I'm going to apologize in advance for some of the audio parts that are annoying! ;) And also, I may have repeated myself a few times in the video... I had started over so many times that I forgot what I said in which clip. LOL

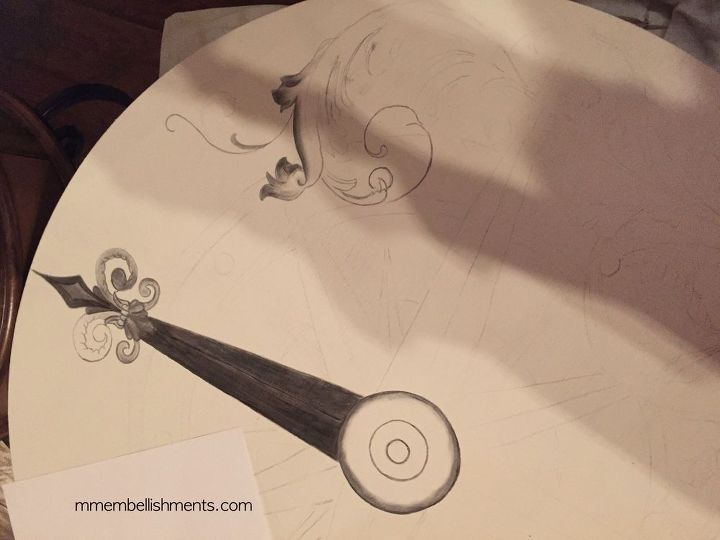
This picture is where I am so far...
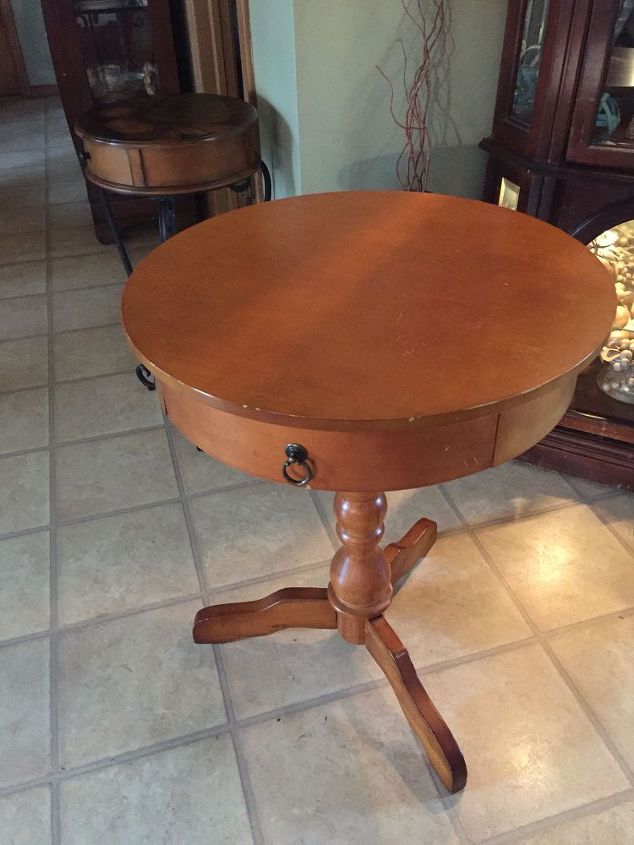
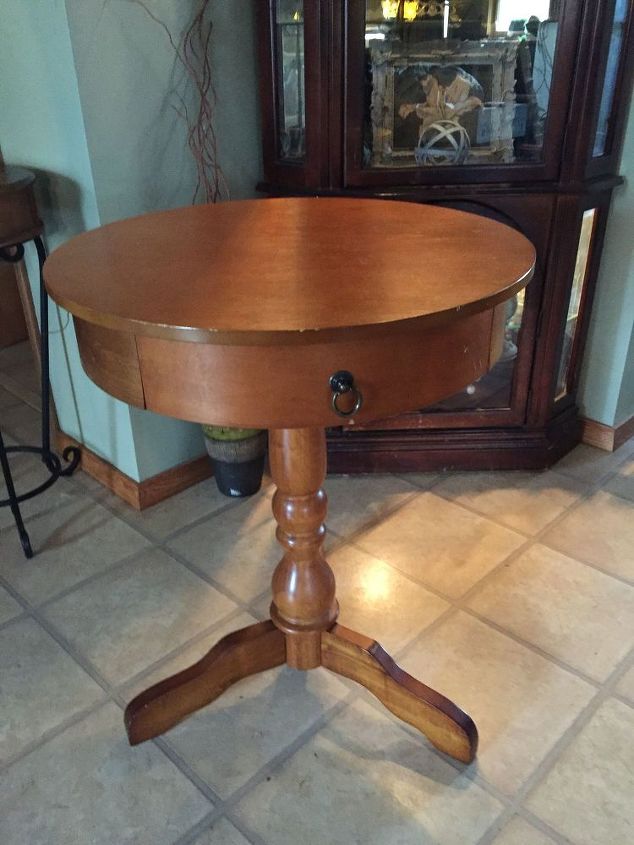
This is how she started out.
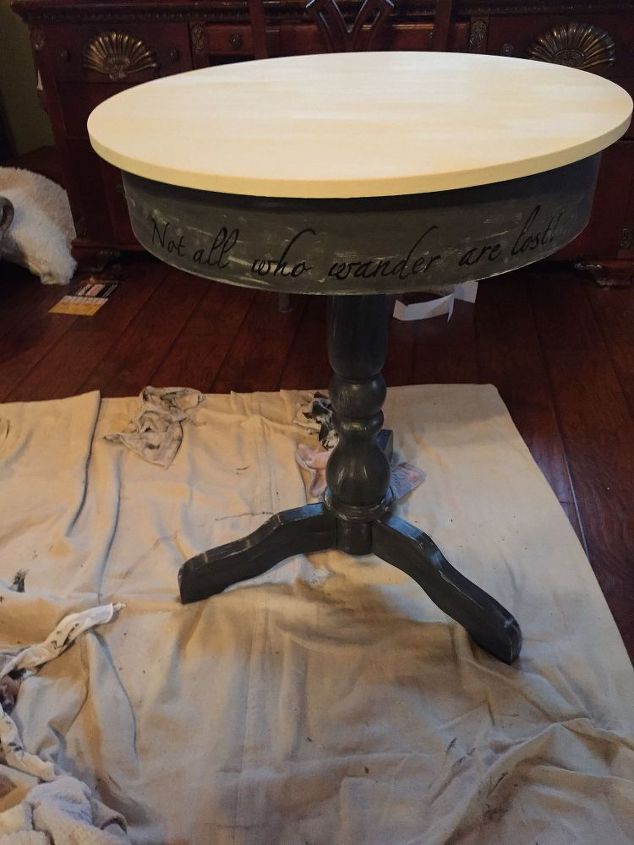
I did a grey chalk paint for the base, I did a little bit of distressing with ivory chalk paint and stain, a layer of wax and buffed it out to a super - smooth / velvety finish!!
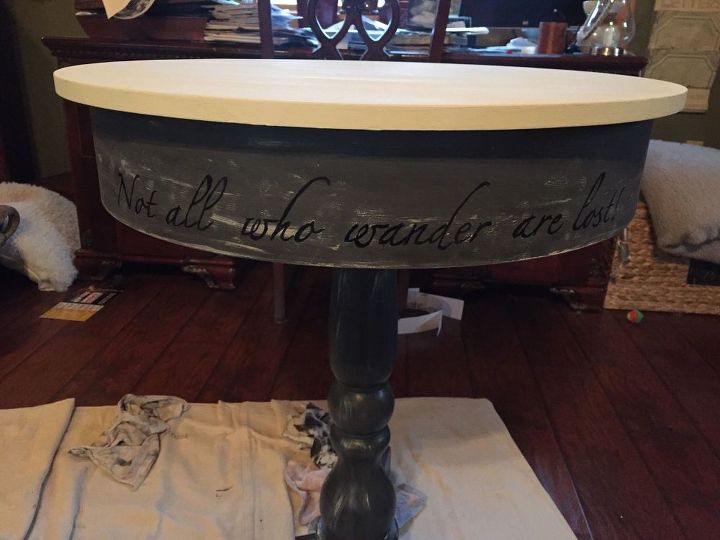
Since the design is a compass rose, I added the quote "Not all who wander are lost" to the back of the drum table. And I painted the top of the drum table with 3 coasts of Ivory chalk paint.
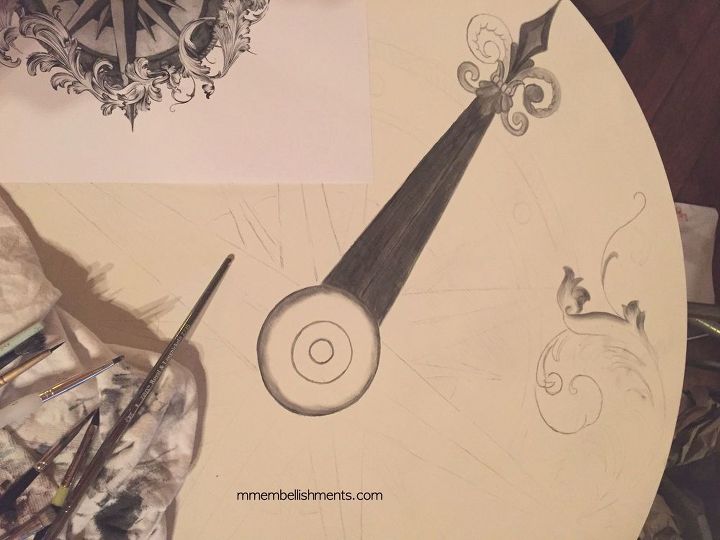
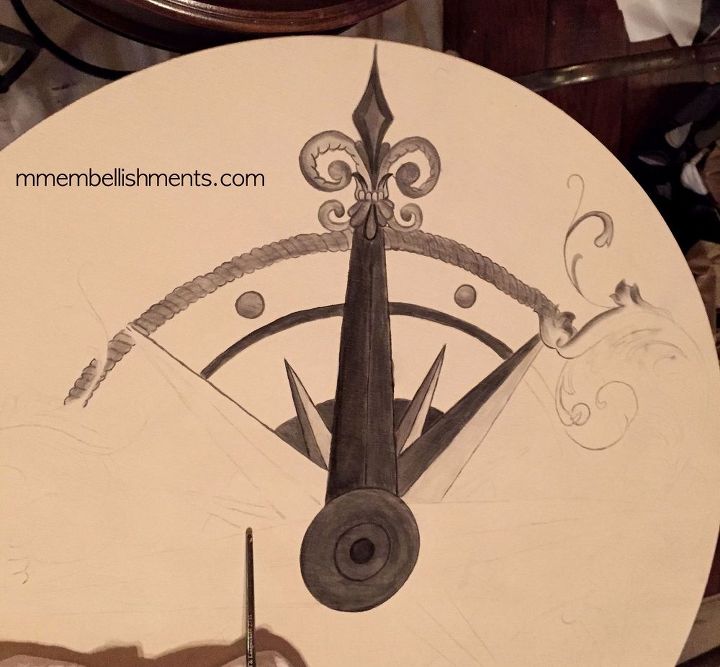
So this is where I am right now. The video is below. Again, my apologies in advance for my lack of technical skills! And stay tuned for Part TWO! Also, if you have a huge problem with buffering, let me know. I'll see if I can find a way to tweek the settings! ***UPDATE*** PART TWO of the video series has now been posted and can be seen here:
Comments
Join the conversation
5 of 24 comments
-
It's looking fantastic!
-
IT LOOKS absoultely gorgeous..I am going to try something not quite so advanced first and then tackle this..I have a table that would be perfect for it..I hope your video works (I can understand as I am NOT techy or anything, but I can paint, and I am a pretty good artist..So I am going to keep watching.


Frequently asked questions
Have a question about this project?