


How To Paint An Ombre Wall
This ombre watercolor-like paint technique is actually really easy to do...much easier than painting regular stripes! No taping, paint bleeding under the tape or making sure everything is perfectly straight. And it provides a dramatic backdrop for your room.
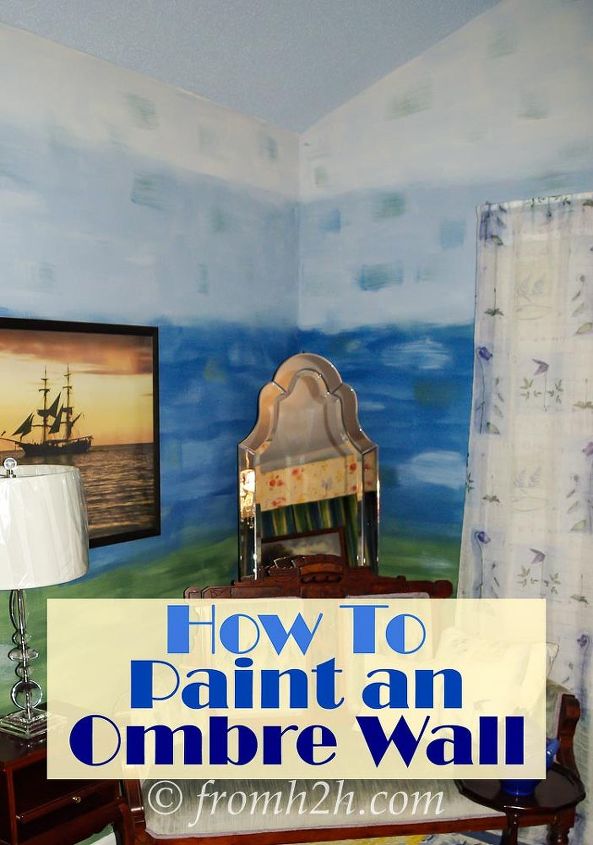
For anyone who isn't sure, ombre is the french term for "shaded" and usually means shades of the same color that go from dark to light. In this case, we chose to go with 2 dark colors (green and blue) on the bottom (since that was part of the color scheme for the room), and then go with shades of blue up the rest of the wall.
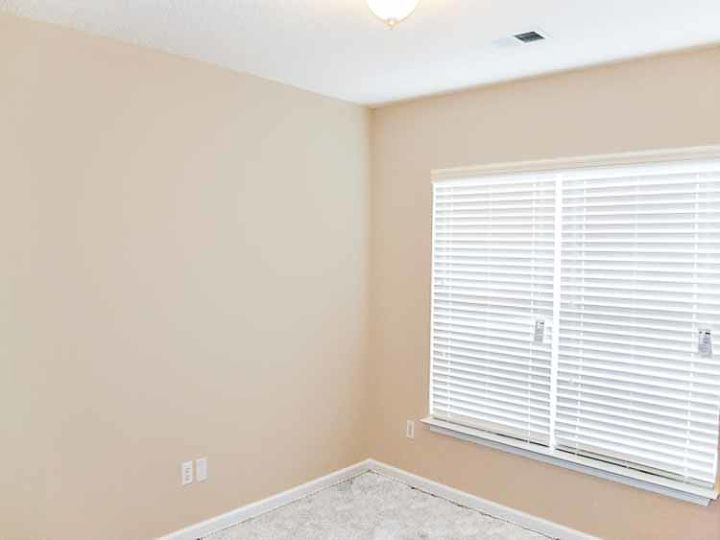
Start with a beige or pastel-colored base color (in our case, builder's beige...it came with the house).
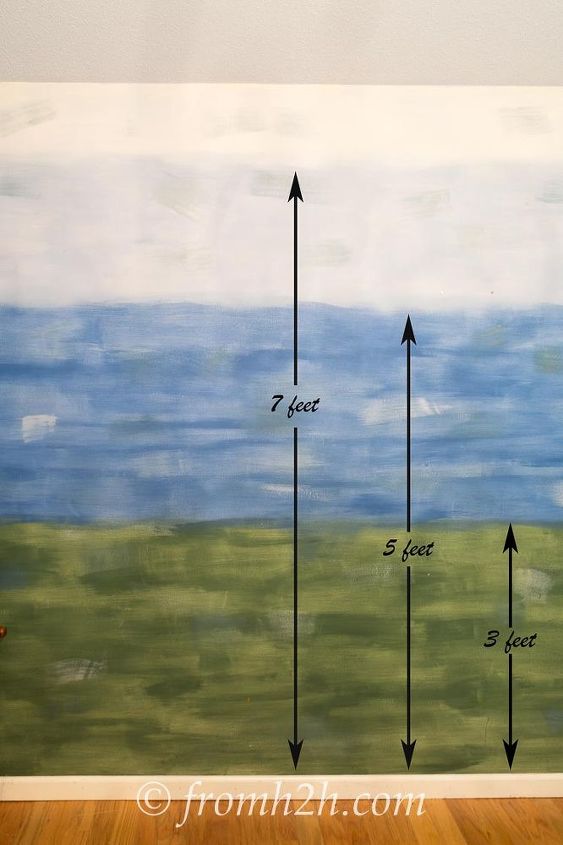
Then use a chalk line to snap horizontal lines at about the 3', 5' and 7' marks on the wall. These don't have to be exact measurements since they will only be used as guidelines for where to start the next color (but they should be level).
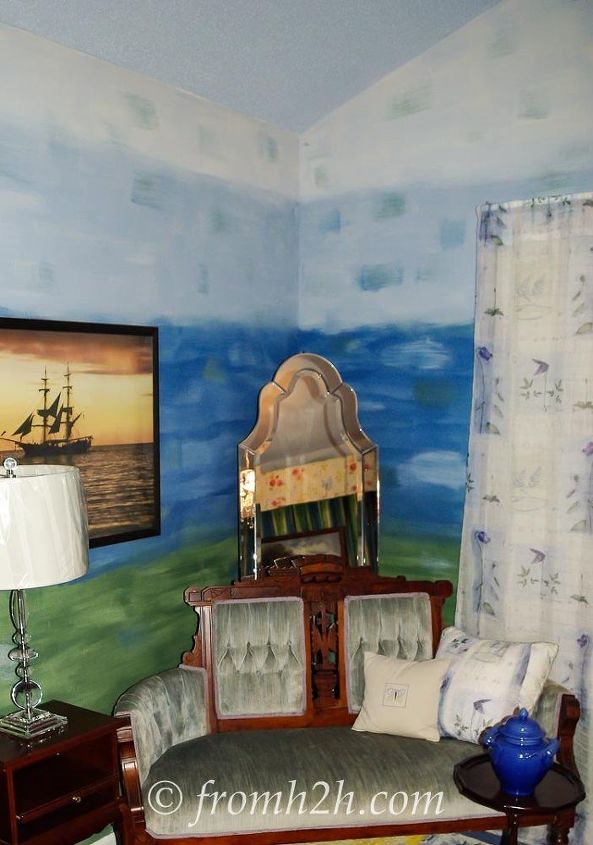
Add your furniture back and enjoy your room.

Want more details about this and other DIY projects? Check out my blog post!


Frequently asked questions
Have a question about this project?