


DIY Upholstered Storage Bench
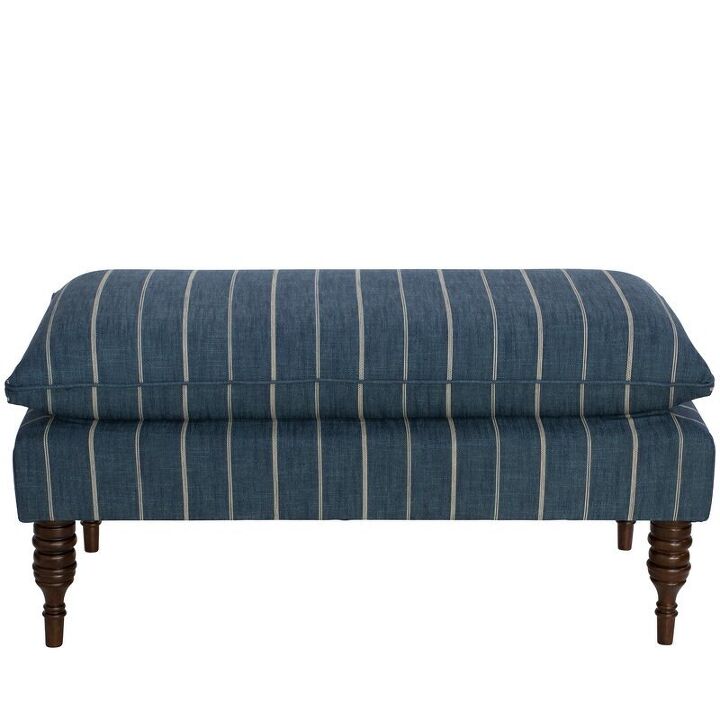
I pinned this nearly $500 designer bench to my bedroom board on Pinterest hoping I could thrift one or find one similar but much cheaper. After some thought I realized I could DIY a bench for a fraction of the cost, and after some thorough searching I even found the exact fabric as the inspiration bench! And another reason to love DIY, I was able to tailor the design to add more functionality to fit our needs. As if you need another reason to give DIY a shot.
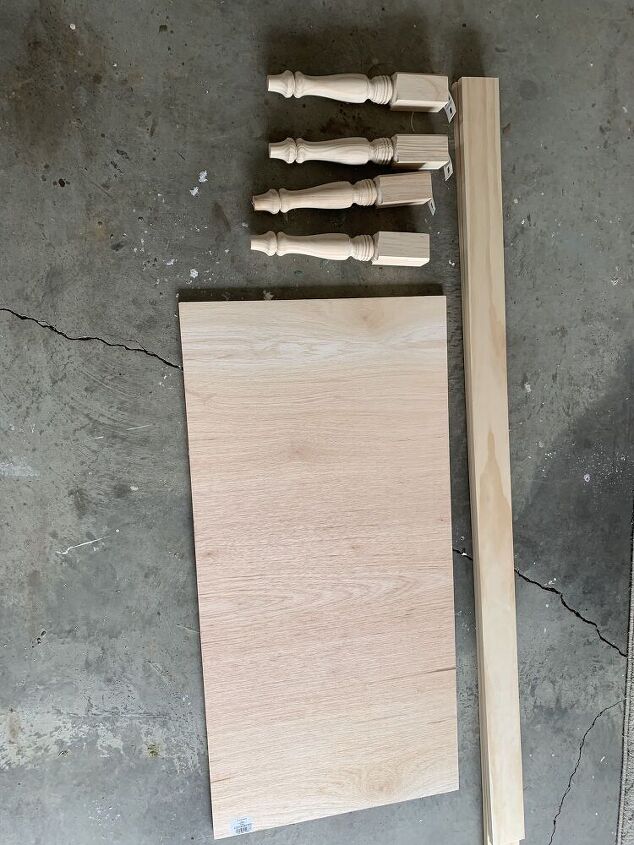
This project started with some 1×4 select pine boards and sande plywood. I opted for the precut 2’x4′ plywood piece to keep the cost down and make it more manageable to work with.
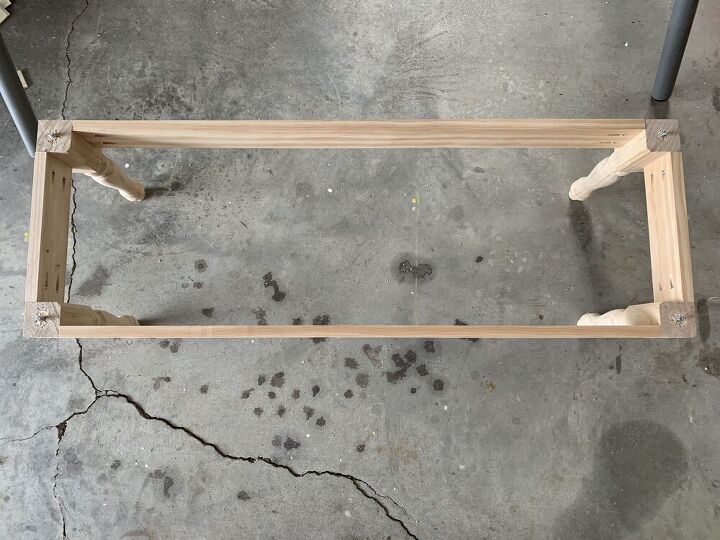
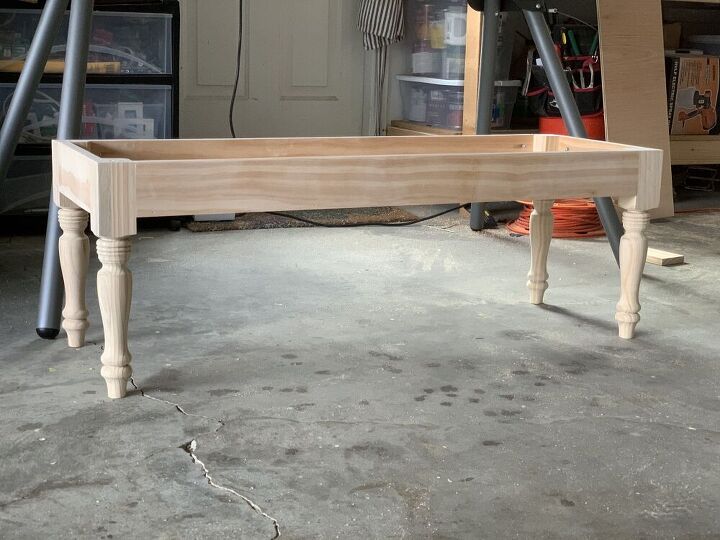
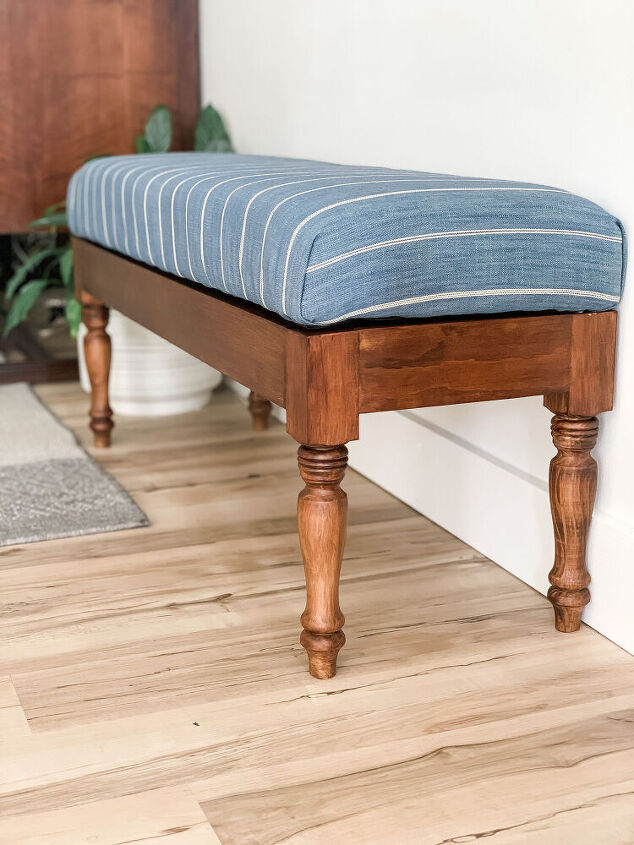
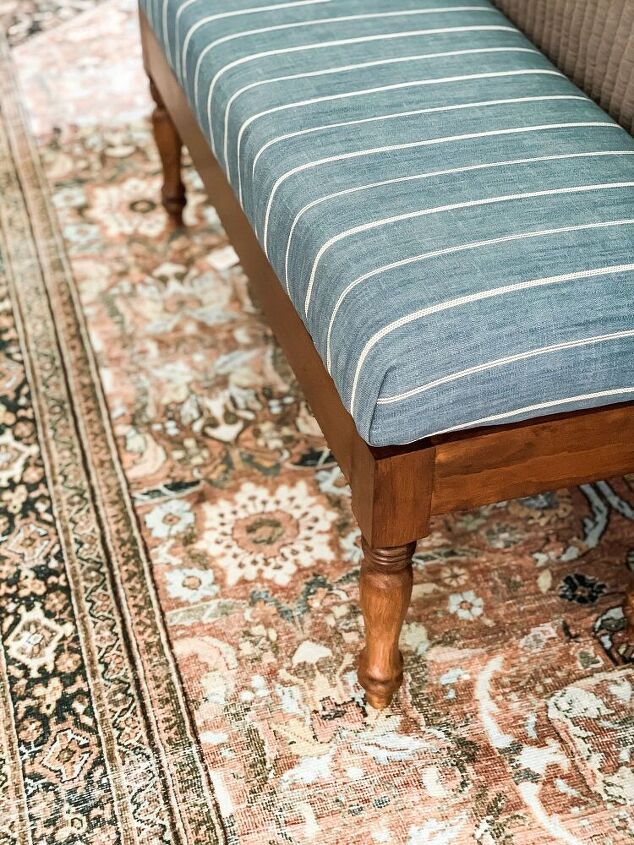
I purchased these pre-turned legs from Home Depot to achieve the more traditional look of the inspo bench.

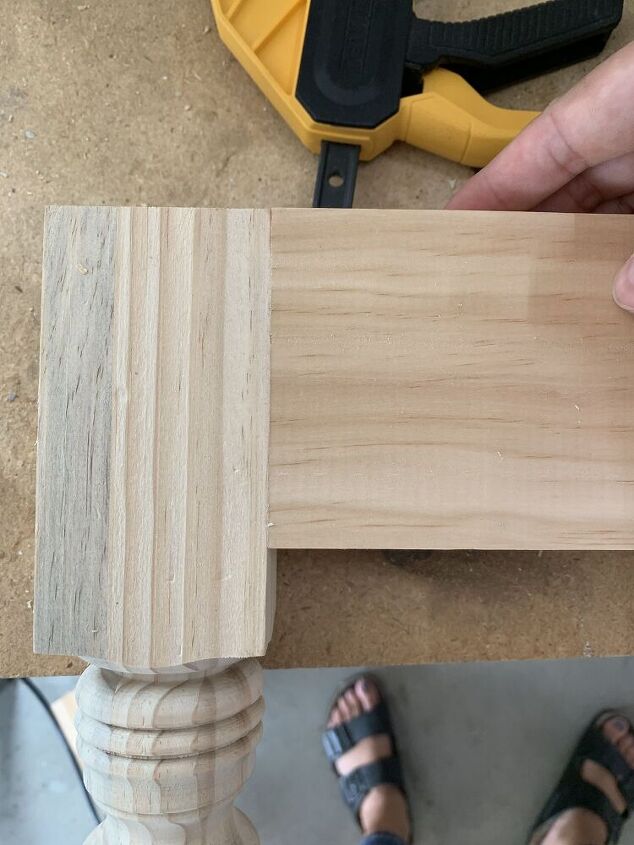
To attach the legs I chose to line them up flush with the 1×4 boards to create a clean, custom look, and keep the bench at a reasonable height so it would feel sturdy and well made.
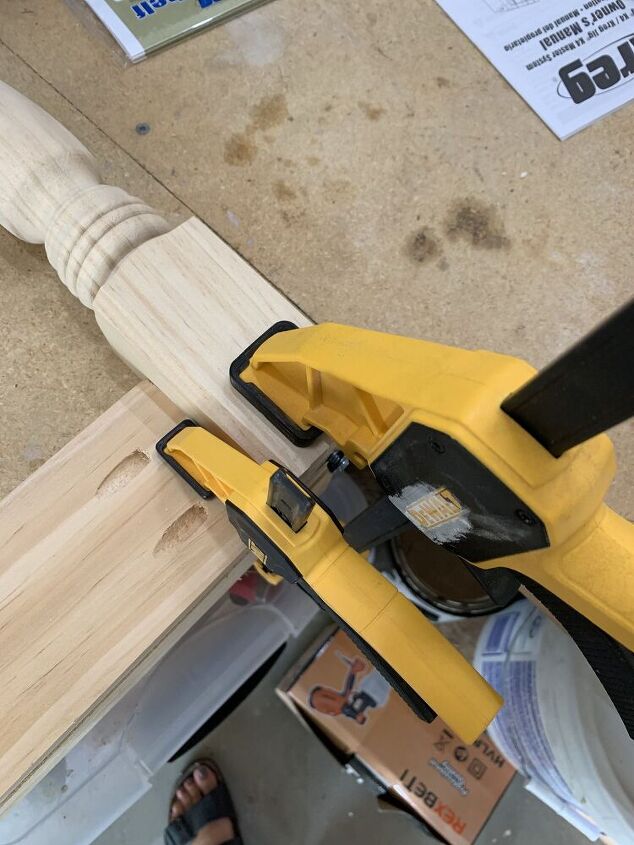
I used my Kreg Jig to create pocket holes to attach the boards to the legs, using clamps as I screwed them in to keep everything flush.
Once assembled I removed the leg screws, then flipped it over and traced the outline for the bottom onto the sande plywood piece.
Once assembled I removed the leg screws, then flipped it over and traced the outline for the bottom onto the sande plywood piece.
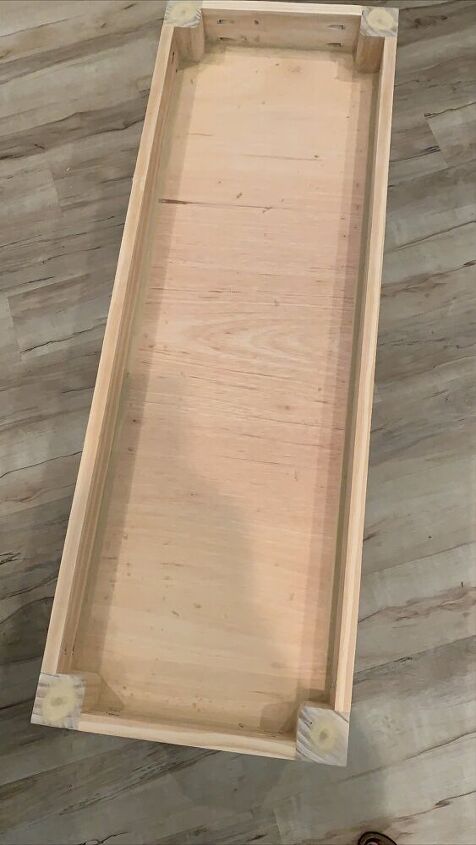
Then I used my jigsaw to cut out the bottom. You could also take measurements to create the template. I attached the bottom to the 1x4s using a nail gun and 1 1/4″ brad nails. To eliminate any gaps and give the bottom a nice clean finish, I used wood filler along all of the seams.
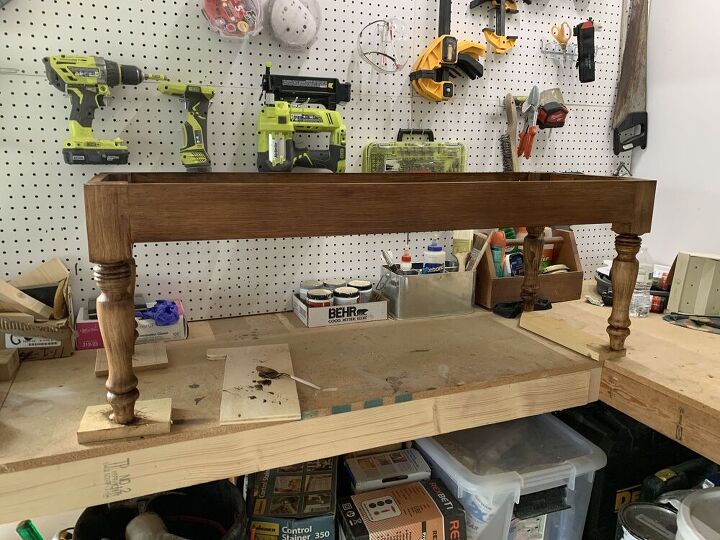
I used a new to me method of staining, combining my favorite English Chestnut stain with Polycrylic. This method helps to float the stain color, helping to hide variations in woods and any blotchiness. It results in a beautiful, rich, even colored finish that looks professional. It also shortens the process because it seals it as you are staining it. Pro tip here, this dries fast, which means you need to work quickly!
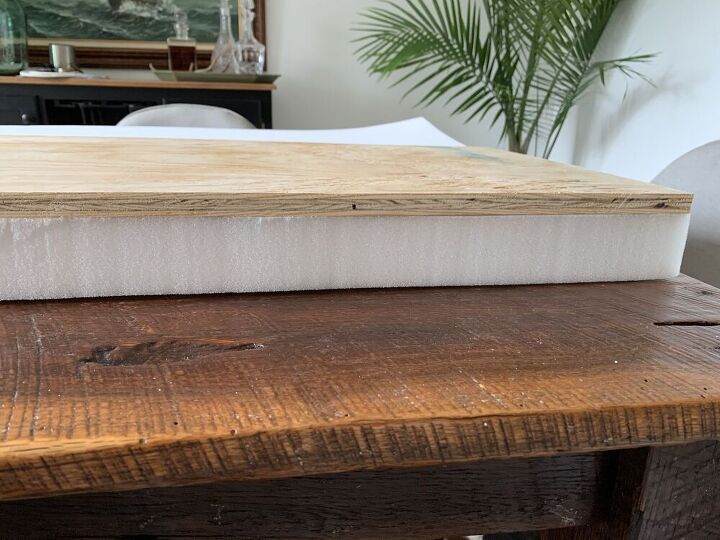
One the base was finished I began on the upholstered top. I used a piece of plywood (I had 3/4″ on hand, but 1/2″ would work as well), cut to the dimensions to fit the top of the bench, laid on to of poly foam to measure and cut the foam to size. I used a bread knife, an electric one would be the best!
I was only able to find 2″ foam at my local store, but I wanted a 4″ thick cushion so I double it up. A cheaper alternative would be to use camp pads you can purchase at places like Home Depot. I was on a time crunch so poly foam it was.
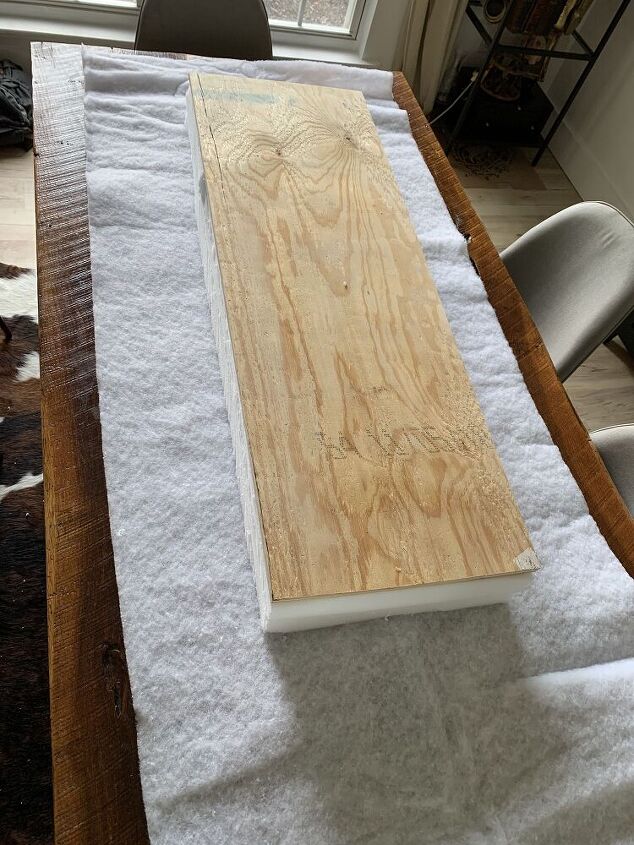
Once my foam was cut to size I laid it on top of the batting and used a staple gun to attach it to the plywood.
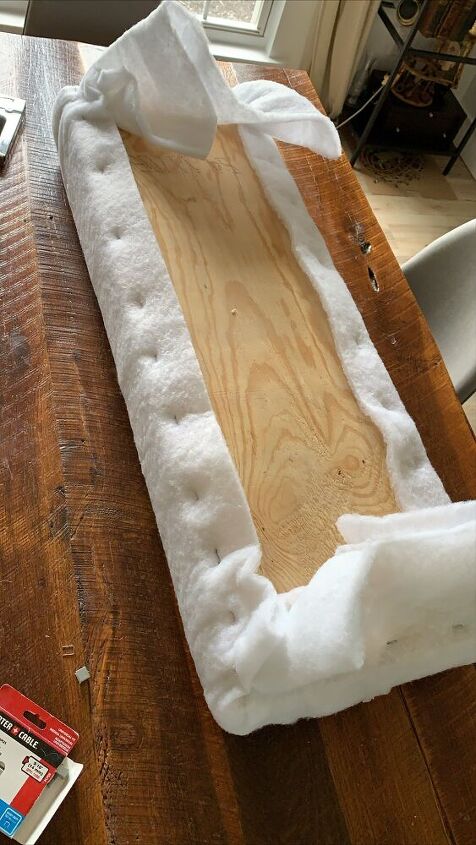
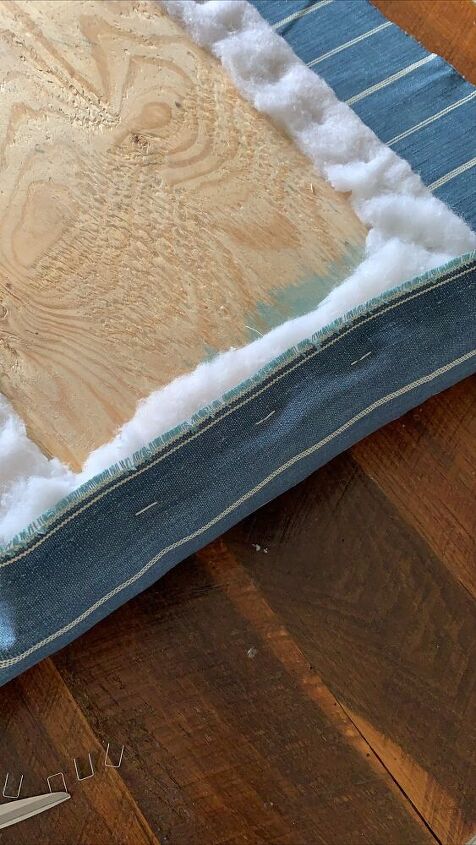
Then I trimmed off the excess, and repeated the process with the striped fabric.

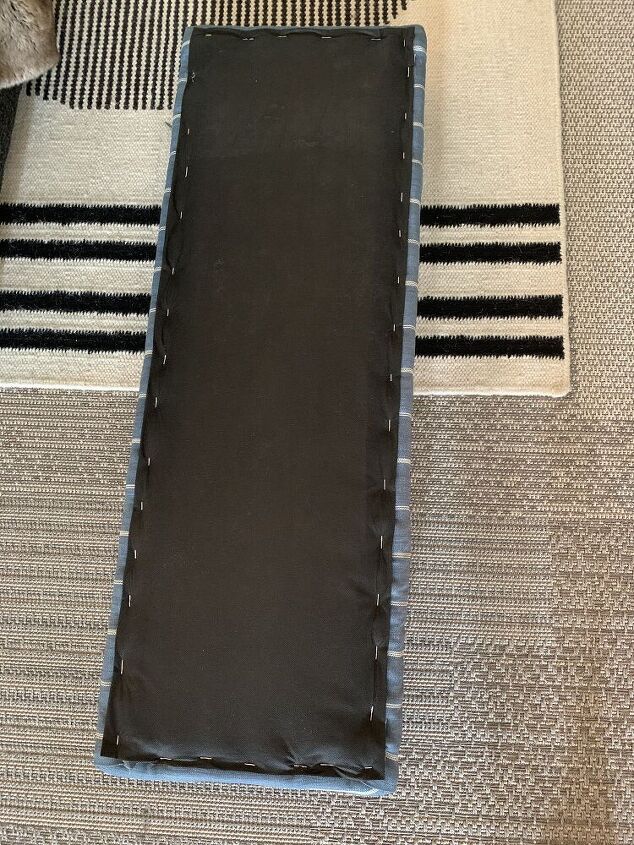
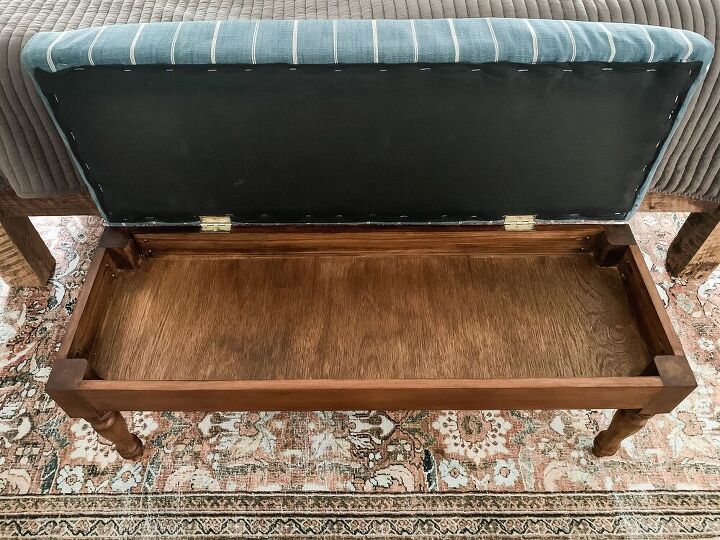
To finish the underside you can use dust cover fabric. I had black landscaping fabric that was similar so I used that instead.
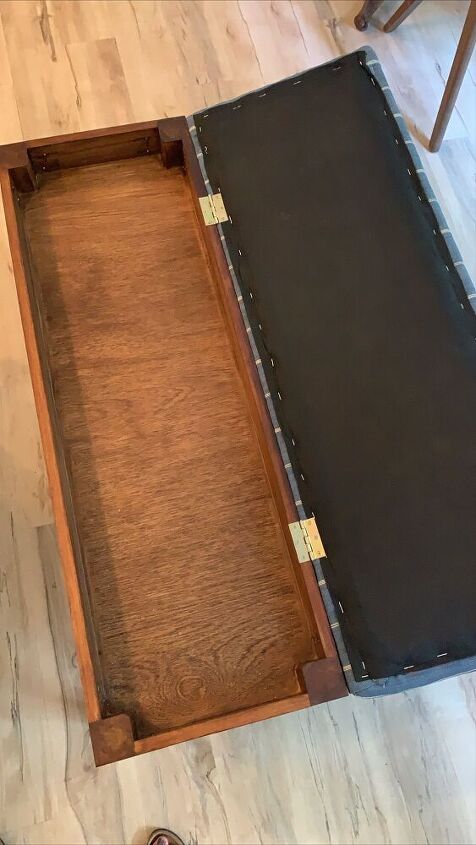
Next I attached 2 1/2″ hinges to the base and top. I set my hinges in 8″ from the side. My bench was roughly 44″ wide and 15″ deep.
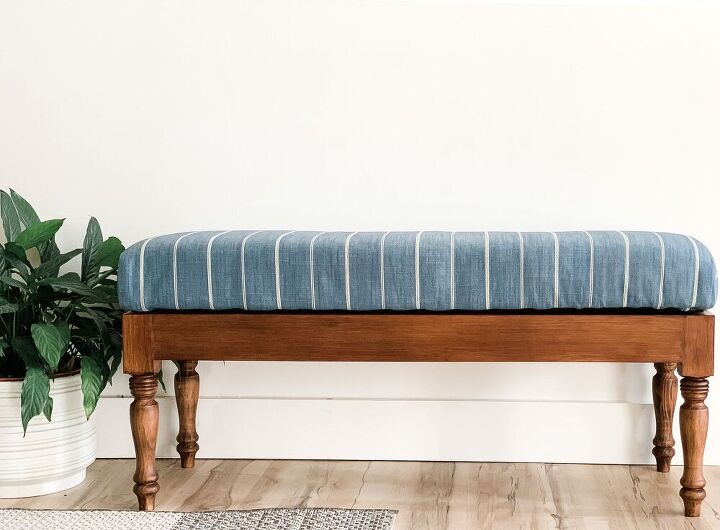
I think I actually like this version better than the original! The added wood warms up the design. And the storage element has been amazing in our bedroom.
In total I made this for around $100 which was a huge savings from the $500 inspiration bench. It could have been made even cheaper with different fabric and the camp pads instead of the craft store poly foam, but overall I couldn’t be happier with the finish bench!
For play-by-play steps on this project and more follow me at The Barn Collective on Instagram, and see my blog for more home DIY and lifestyle ideas!


Comments
Join the conversation
-
Bravo! Beautiful job!!🙌🙌🙌🙌♥️
-
I LOVE the rough-sawn table-top you are working on!! It's beautiful!!


Frequently asked questions
Have a question about this project?
Absolutely lovely job! Beautiful piece. My question is what are camp pads? Lol I really don’t know. Thanks