


How to Caulk Trim

2 Materials
$20
1 Hour
Easy
Have you ever wondered about How to Caulk Trim? Maybe you avoided this step because you didn't know how to do it. Or maybe you thought it was too hard.
It's so much easier than you think. I promise.
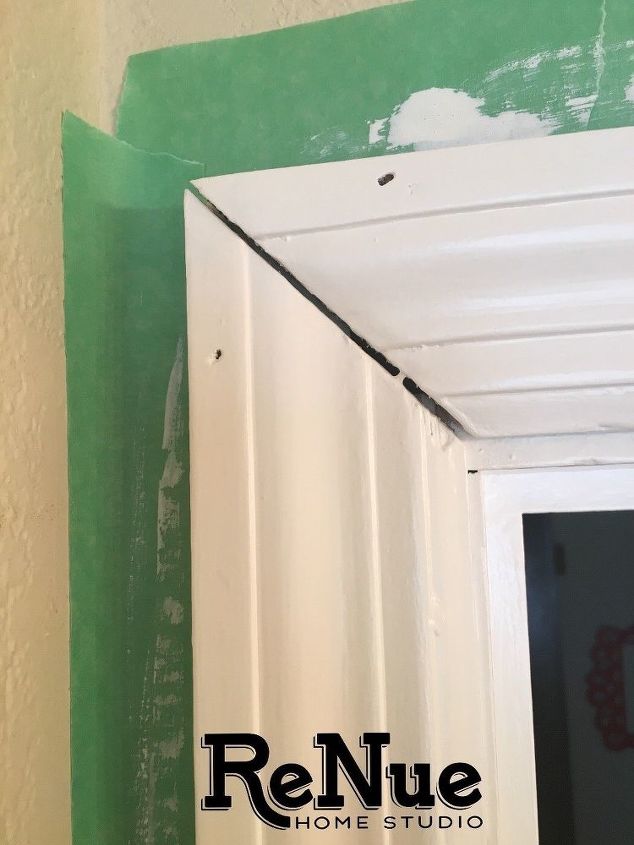
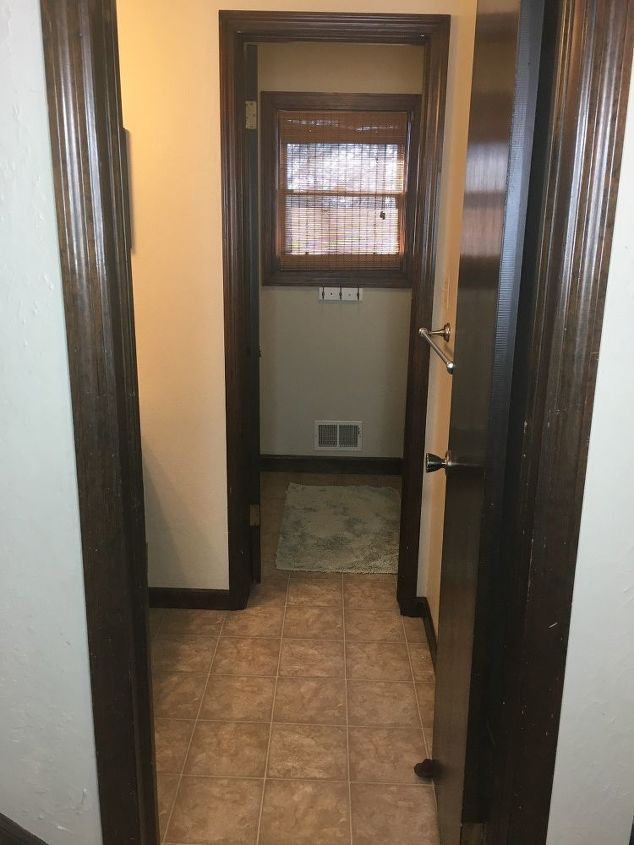
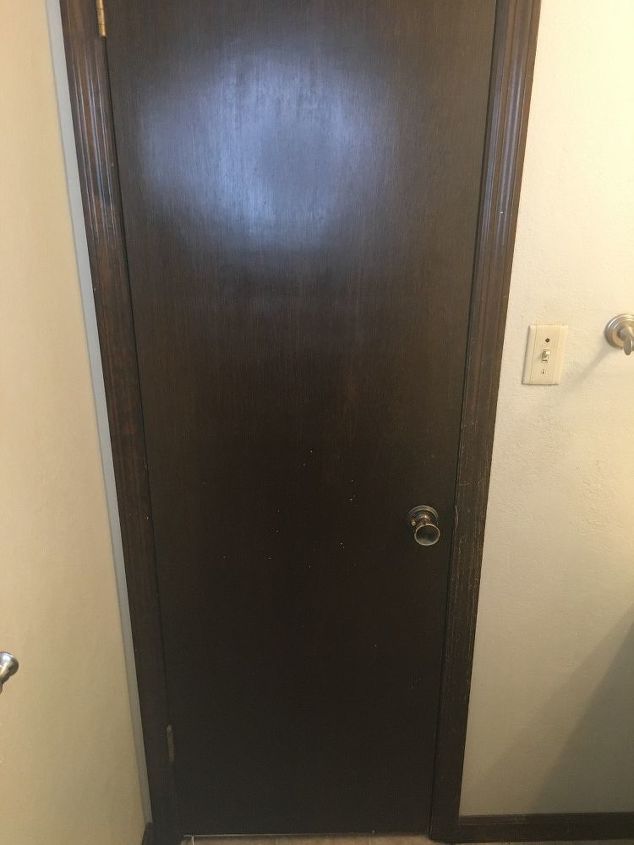
Many times the gaps between joints in your trim aren't noticeable because of the dark color of the wood. Once you paint it a lighter color, the contrast stands out. You do have the choice of leaving it, but caulking will make all the difference in the look of your project.
A couple of things to keep in mind.
1) Cut the tip of your caulk with a Utility Knife, but make sure you only take off a small part. You want a very small bead of caulk. You can always take off more later, but for now, less is more.
2) Cut the tip at a 45 degree angle. You want an angle to the tip.
3) Apply a small bead of in between the gaps.
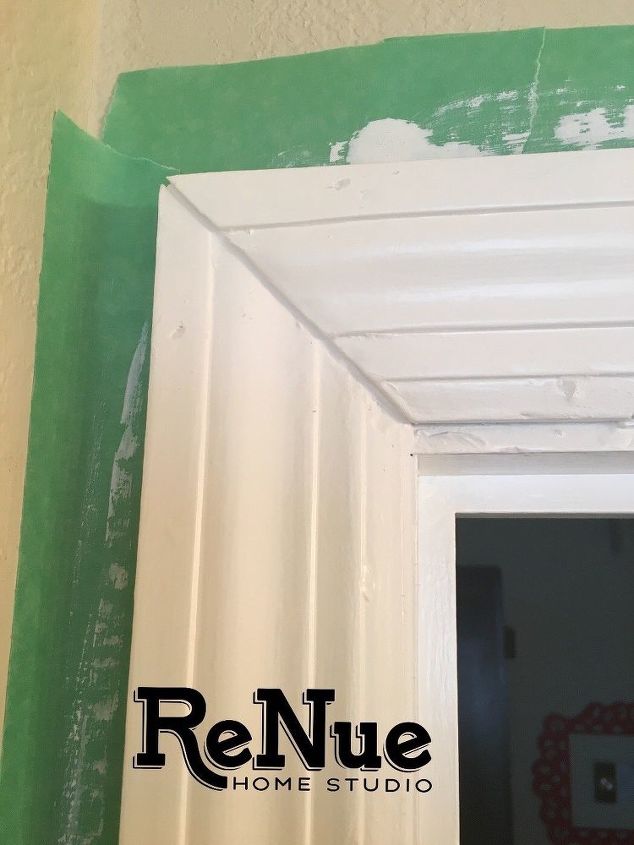
4) Smooth out with your finger or sponge.
5) Wipe off the excess with a Paper Towel.
{
"id": "4612196",
"alt": "",
"title": "",
"video_library_id": "7194",
"thumbnail": "https://cdn-fastly.hometalk.com/media/2018/01/21/4612196/how-to-caulk-trim.jpg"
}
{
"width": 634,
"height": 357,
"showRelated": true,
"noautoplay": ""
}
Here's a quick video showing you the complete process.


Frequently asked questions
Have a question about this project?