


My First Pallet Project – Upcycled Raised Garden Beds
Hello,
I am not usually prone to exaggeration, but calling this “my” first pallet project is quite misleading as I had a lot of help from the hubby. Still, I worked pretty hard on this project, and even though parts of it were a bit back-breaking, it was fun to learn how to use some new power tools, and I am happy with the results.
As I am not an experienced carpenter, I don’t intend to give any woodworking advice, but I hope my project may encourage you to work with pallets if you want to try it.
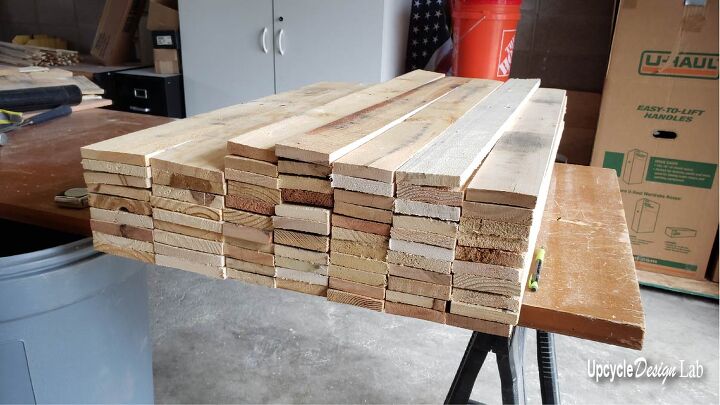
Step 1 – Collect Pallets
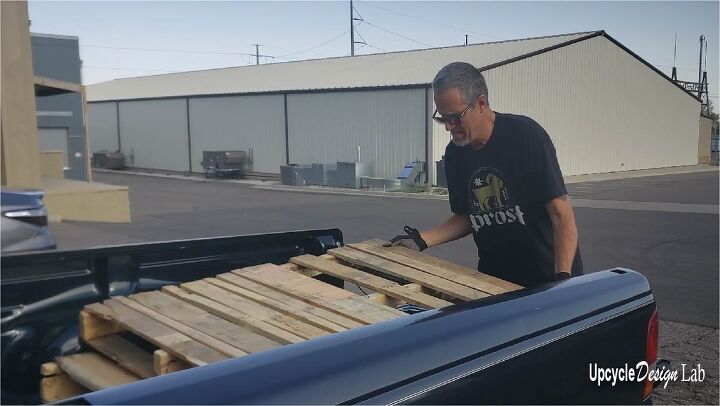
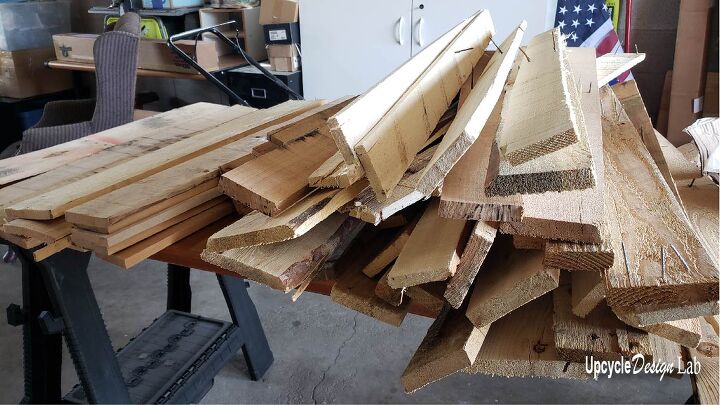
We found plenty of places with pallets just by driving around in our neighborhood. Some are stacked and ready for reuse, and others are available for free. We found that most places were happy to have us take the pallets off their hands. I believe we gathered about ten pallets, and we do have quite a bit of wood left over.
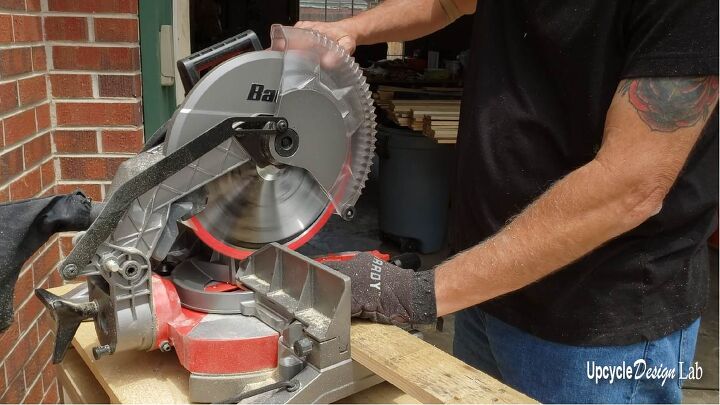
Step 2 – Breaking Down
My contribution to this step was to record it. I am guessing it was pretty hard work, but the hubby didn’t complain much. 🙂
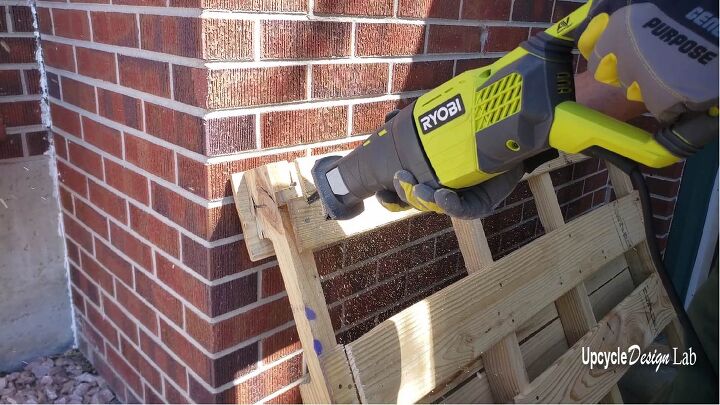
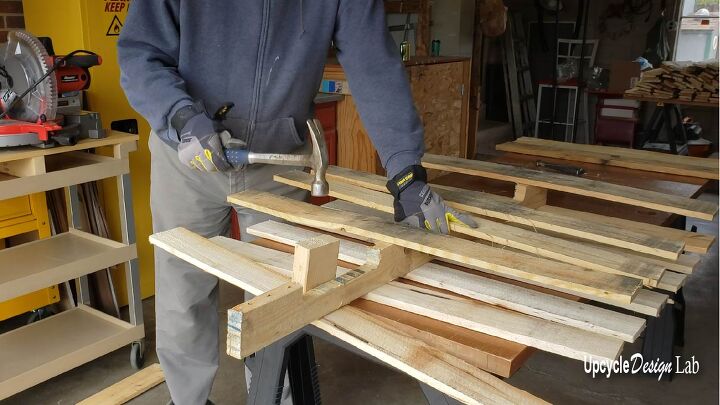
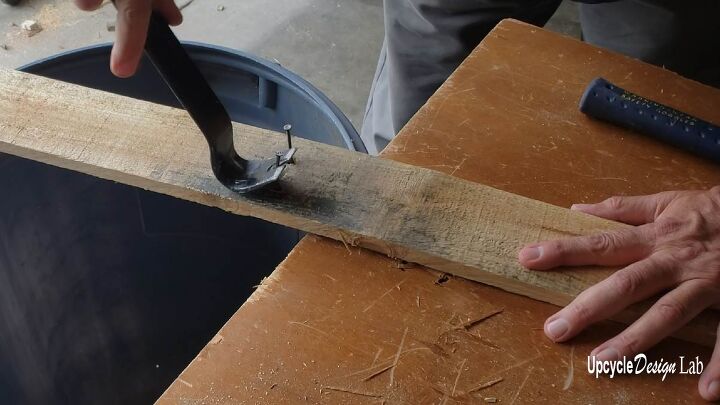
He used a saws-all to cut off the ends and a wood block and hammer to separate the pieces. There are other ways to separate pallets, including specific tools, but this way, there are a lot fewer nails to remove from the boards.
Step 3 – Design
I wanted to make deeper boxes, so I designed the boxes with one 4 and 1/2 inch layer and three layers of 3-inch pieces. Each garden bed box is 56 x 30 x 13 1/2 with eight two-by-four support pieces.
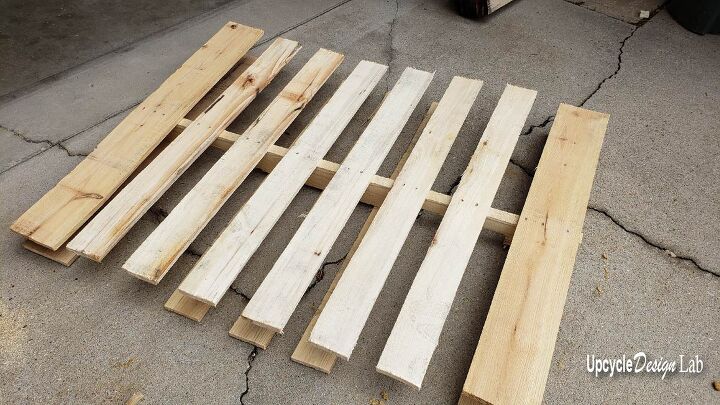
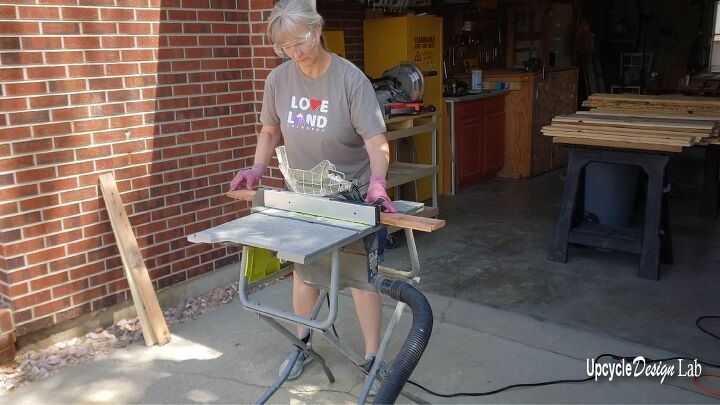
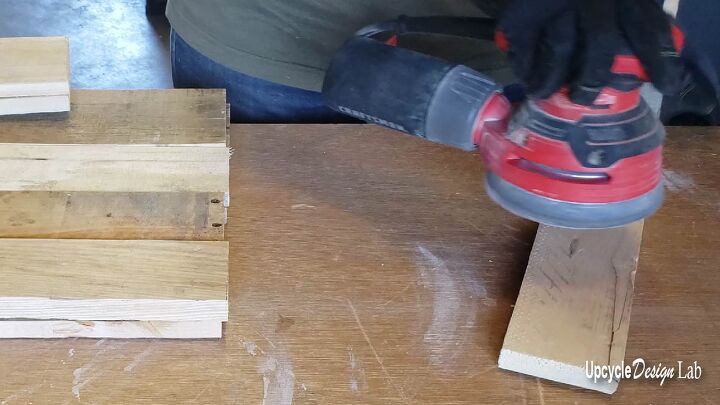
Step 4 – Cutting & Sanding
We used two types of saws for this step a table saw for stripping the pieces to a consistent width, and a chop saw to cut the pieces to l length. Each box required the following components.
- Six pieces at 3 x 30
- Six pieces at 3 x 36
- Six pieces at 3 x 18
- Two pieces at 4 1/2 x 30
- Two pieces at 4 1/2 x 36
- Two pieces at 4 1/2 x 18
- 8 two by fours to 13 1/2
Seeing all the pieces all trimmed and the cut was pretty satisfying.
Before assembling the boxes, I quickly sanded each piece with a rotary sander to knock down the roughest edges.
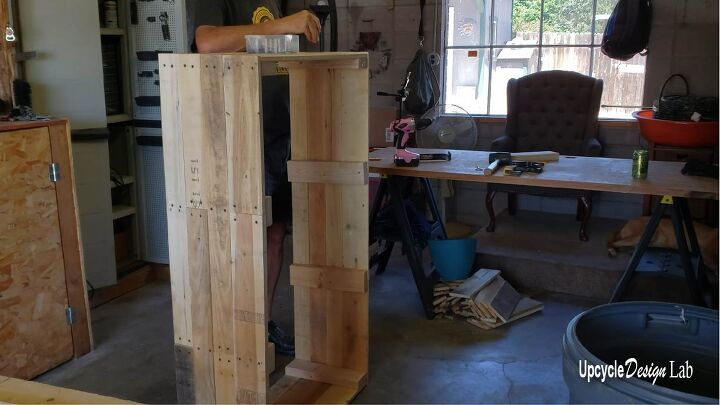
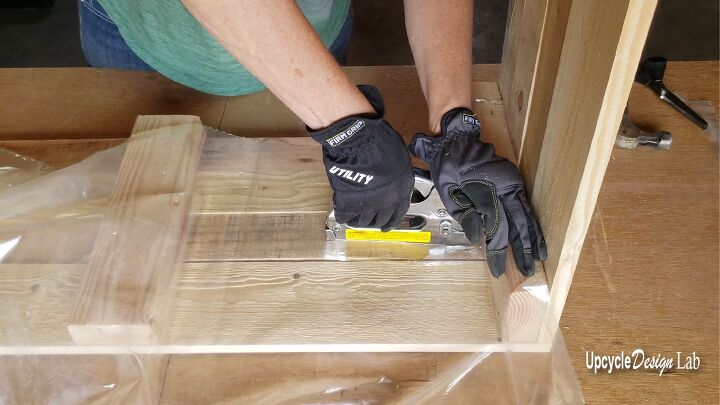
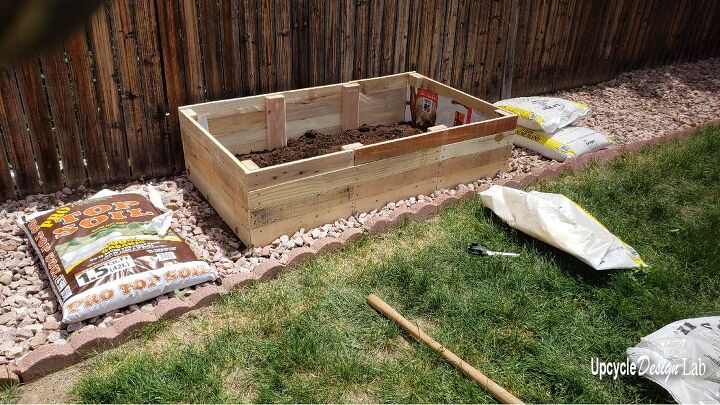
Step 5 – Assembly
We drilled small pilot holes to assemble the boxes and used 1 1/2″ wood screws to attach the boards with the two-by-four supports. Then we laid out the 36-inch and 18-inch boards in alternating patterns to stagger the seams.
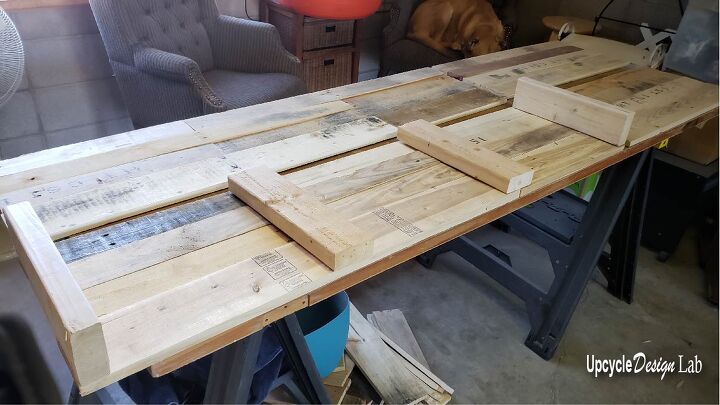
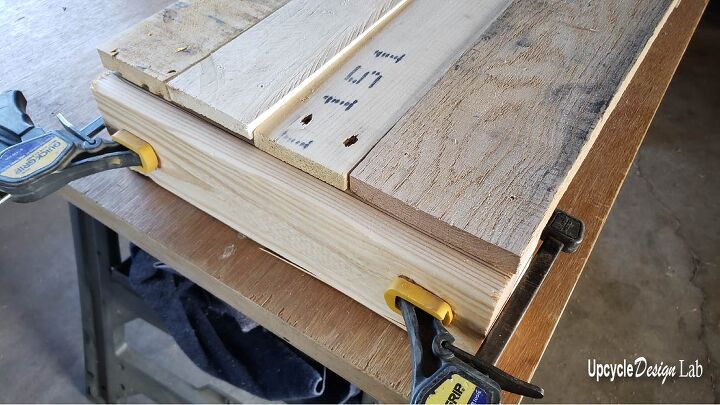
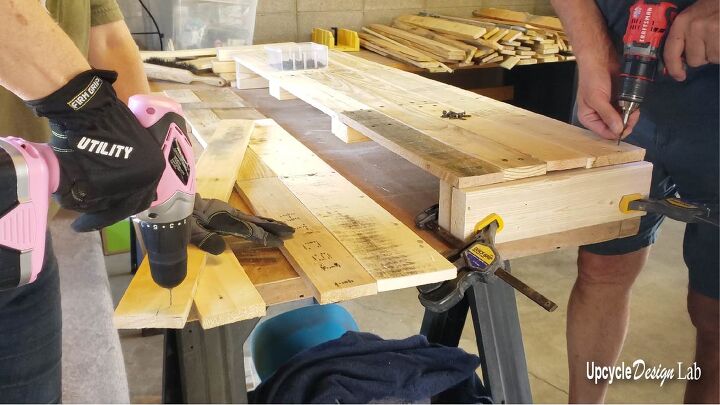
Once both sides of the box were assembled, we used the 30-inch boards to complete the assembly.
Step 6 – Linning
I used several different plastic items to line my boxes. We had an old shower curtain and some dog food bags, and we even used some of the bags that the fill dirt came in to line the inside of the planters. I cut pieces of plastic to cover each side and then used a staple gun to attach the lining.
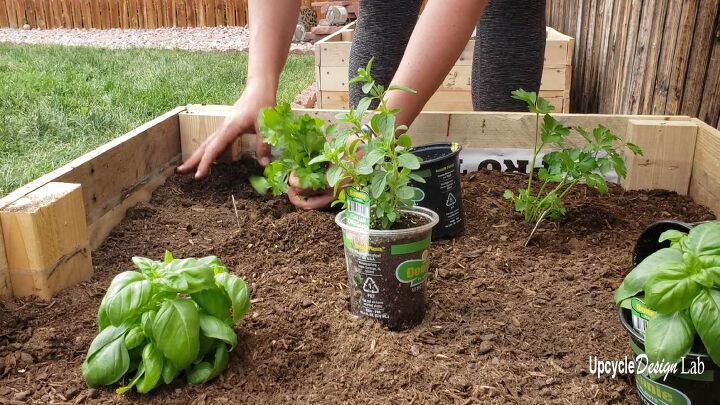
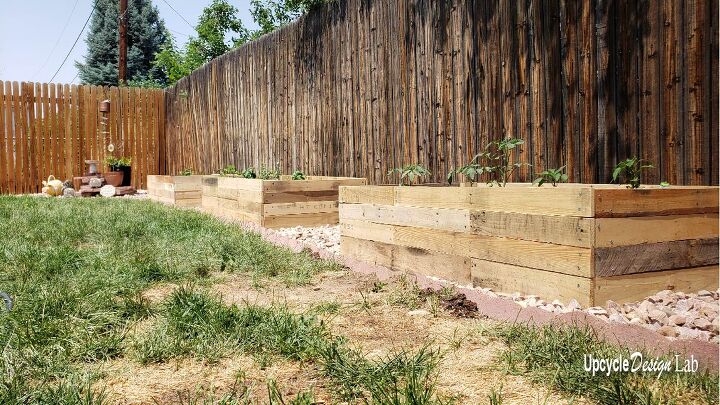
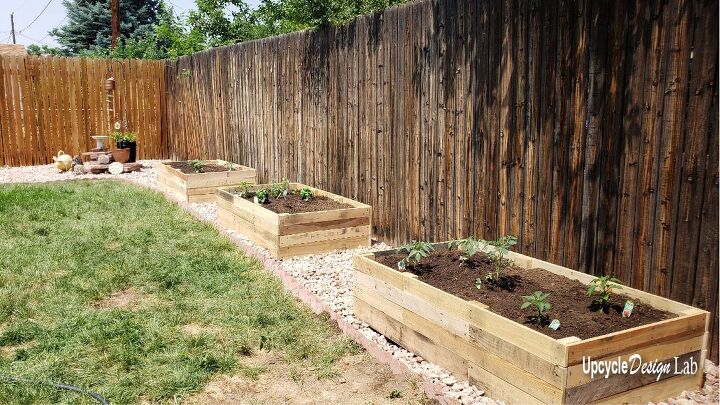
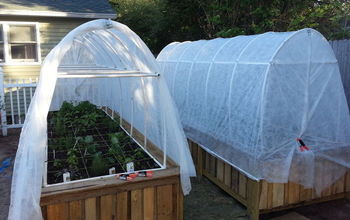
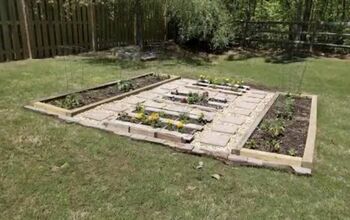
Step 7 – Place and Plant
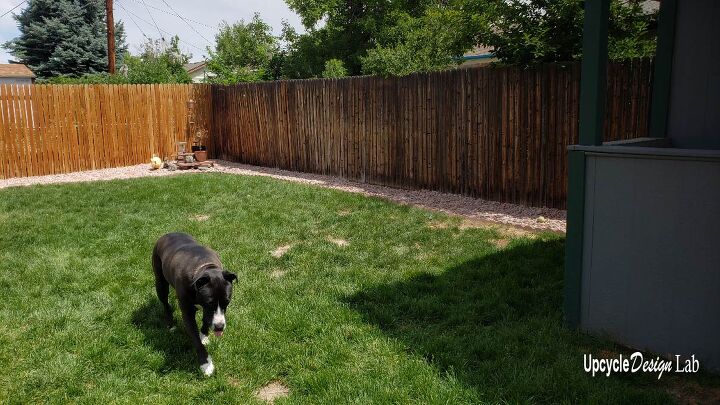
Here is the yard before. Please try to ignore our pitiful grass. 🙂
There was some back-breaking work filling the raised beds, but they are all planted now, and I am excited to have a little garden.
Thanks for checking out my post.
Happy Upcycling,
Cindy
Advertising Disclosure: Upcycle Design Lab may be compensated in exchange for featured placement of certain sponsored products and services or your clicking on links posted on this website.
Resources for this project:
See all materials


Comments
Join the conversation
-
Unfortunately pallets contain chemicals to preserve them & make them fire resistant. Therefore your plants will be absorbing these chemicals over their growing phase especially those near the sides. An expert on container gardening is where I learned about this. Urban Farm webinar.
-
Deb & Allison are correct. There are codes either branded or printed on the wood to say if safe or not. There are printable online charts that you can Google for the translation of these codes. I was also told that if no codes the pallets are safe.


Frequently asked questions
Have a question about this project?
What is the point of a raised bed if it isn't tall enough to keep rabbits away?