


No-Knit Boho Hair Styling Caddy

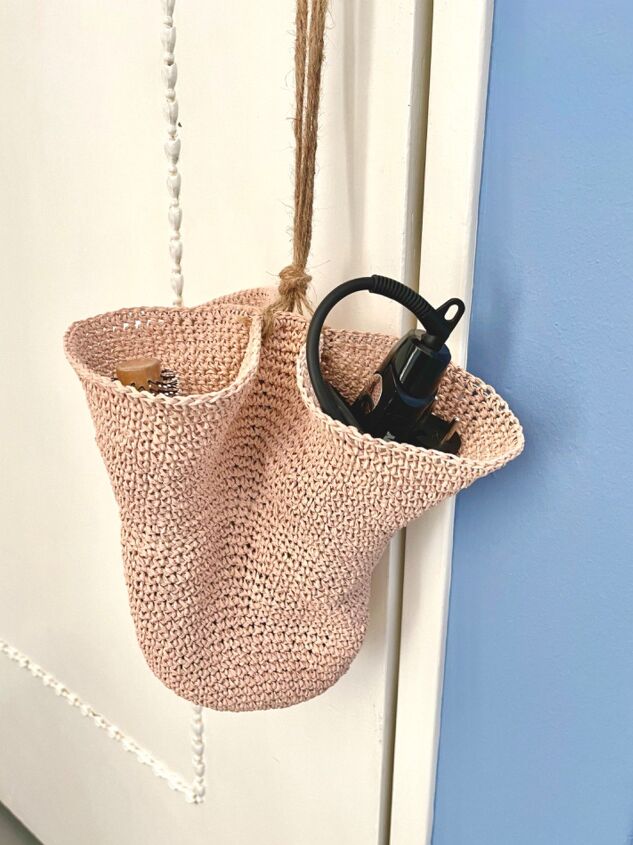
This Summery hanging basket is made from a bought hat. It’s perfect for brushes and straighteners and is a great gift for a teenager.
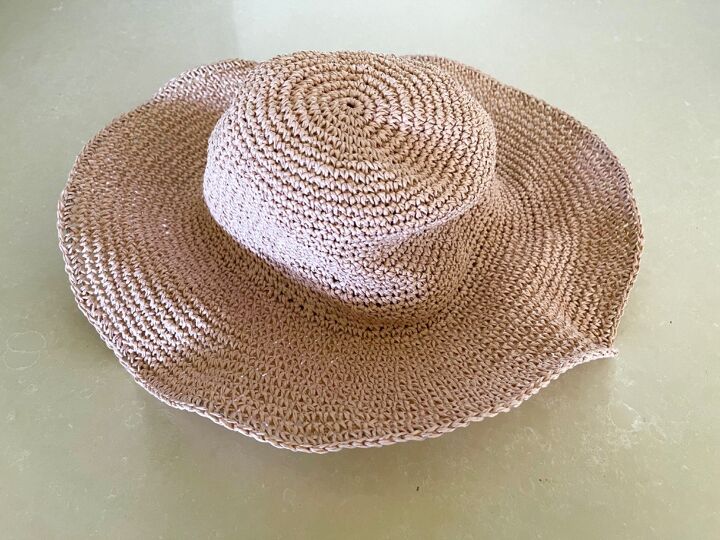
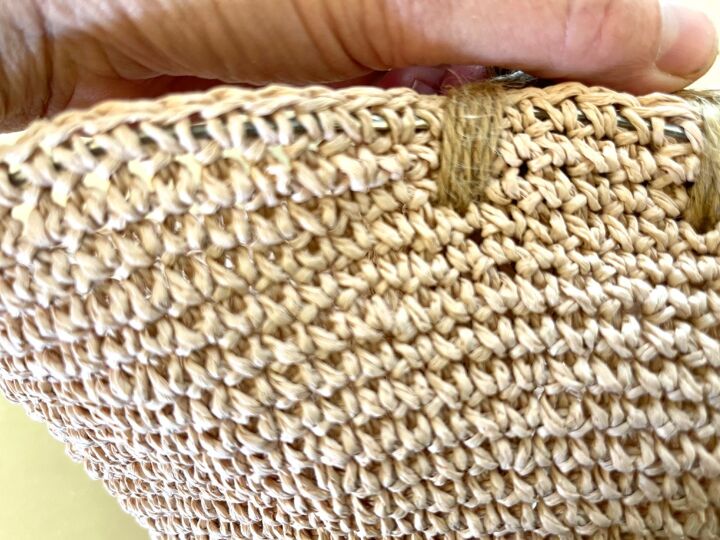
I found this cute, pink, loosely knitted hat. It works well for this project because the rim is reasonably wide (too wide and everything will fall out); loosely knitted (it is easy to shape and to sew through) and has a thin wire running along the rim (so it holds it's shape). Avoid hats that are super stiff or have overly big rims.
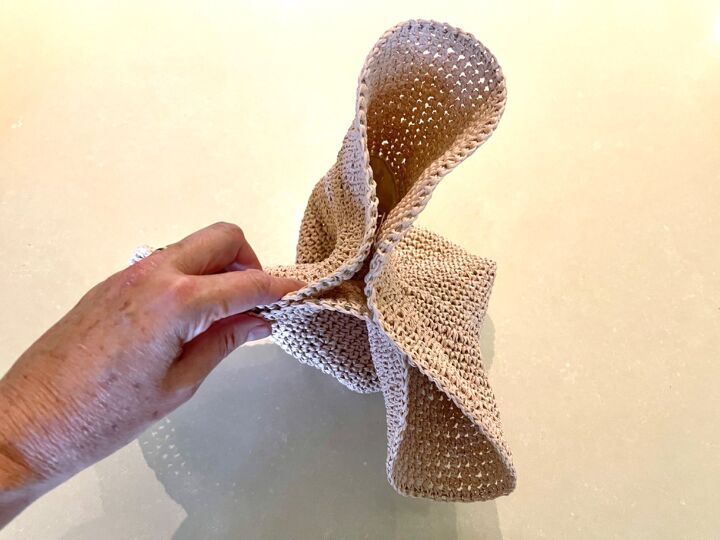
You should be able to pinch pockets in it. The size and number of pockets will depend on what you intend to store in it. You may have problems with huge,heavy hairdryers or diffusers but smaller ones, straigteners or curling irons should fit nicely. Test your design first by putting the hair paraphenalia in. The hairdryer's can be a bit bigger than the brush's. I made 3 pockets.
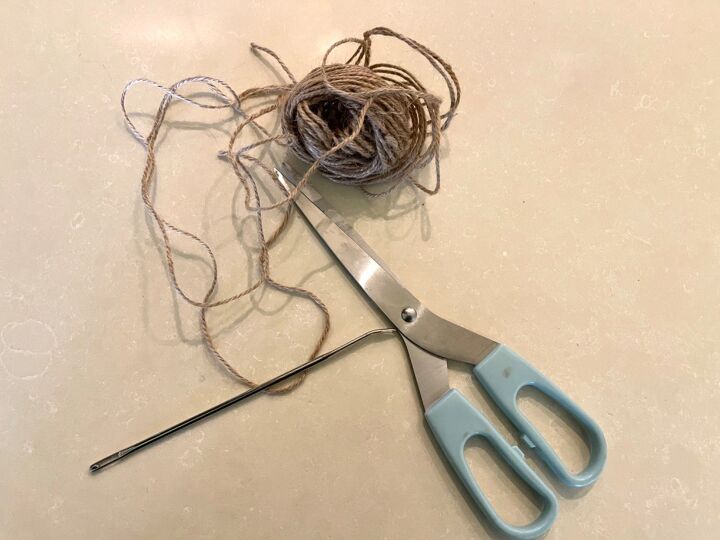
I opted for the simplest method possible to put everything together, meaning twine sewn with a huge needle.
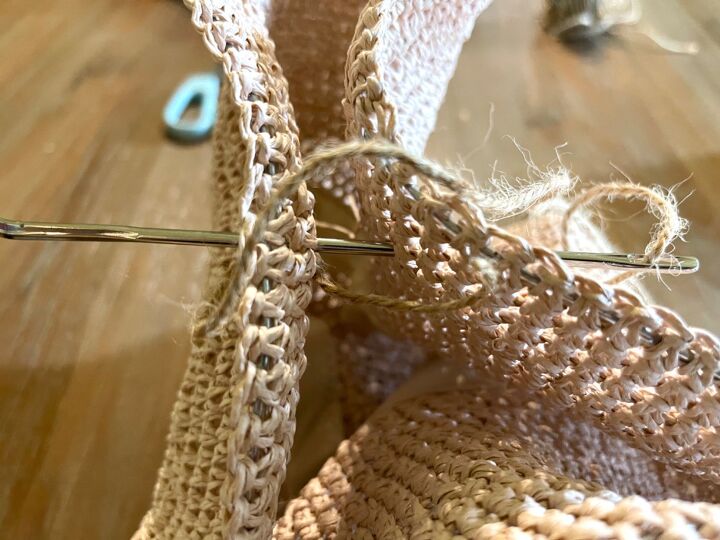
Starting on the first pinch, stitch the two sides of the first pocket together close to the centre where the three pockets meet. We're not talking fancy stitching here, simply make a double stitch on the inside (that doesn’t show on the outside) and then make a couple of big looped stitches, catching both sections of the hat rim together and looped over both edges, see below.
The stitches should be a thumb width wide and slightly spread out so that the tension is dispersed. End them off on the inside and cut the twine.
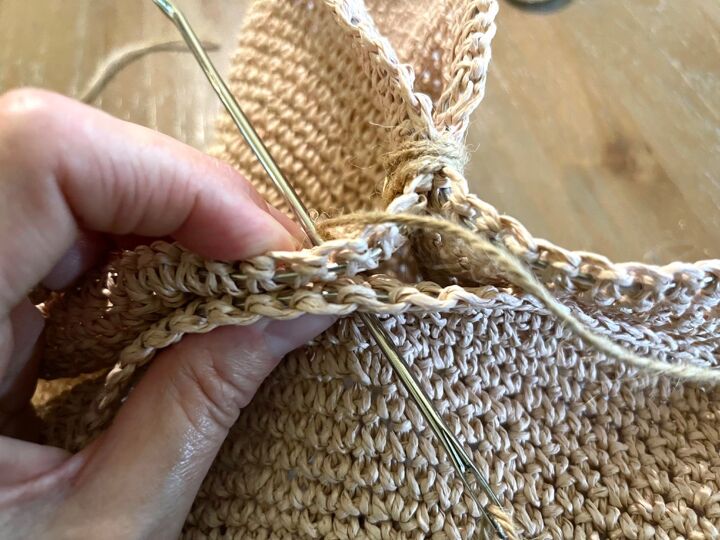
Continue to stitch the other two pockets in the same way. The three stitches will form a triangle.

Now we need some strings to hang the basket by. Macrame crafters could have field day with this but for the rest of us a long (120cm/4ft?) twine looped through each of the stitches will do the trick.
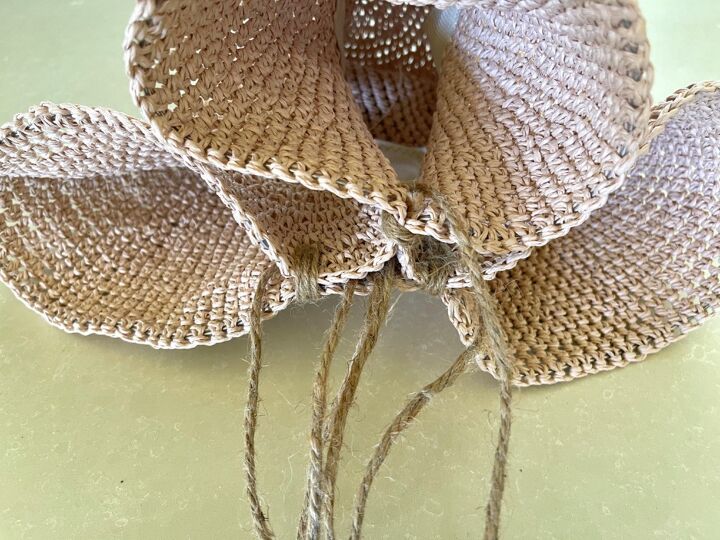
With all three done it should look something like this.
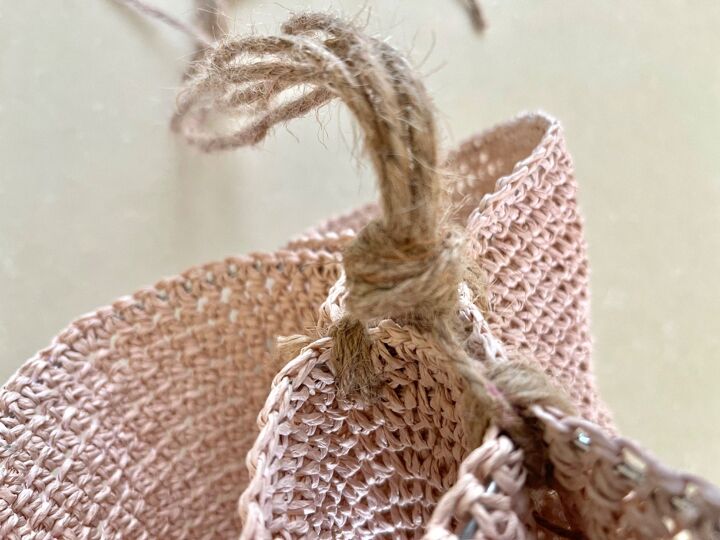
Now tie all 6 strings together in the middle close to the basket rim
where there is a gap.
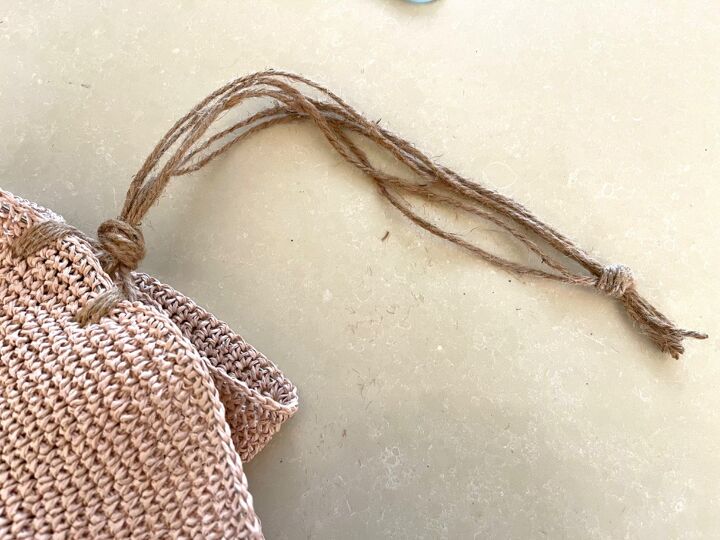
Lastly, decide how high your basket will need to hang and tie a knot at the end of the strings to keep them all together. Trim the ends.
As mentioned, you could also decorate your basket in many ways such as with macrame, embroidery, fake flowers, charms, tassels or beads.
You could also possibly add an additional basket underneath the first but you would have to be careful not to overload it and tear the top one. A row of them will also look nice.

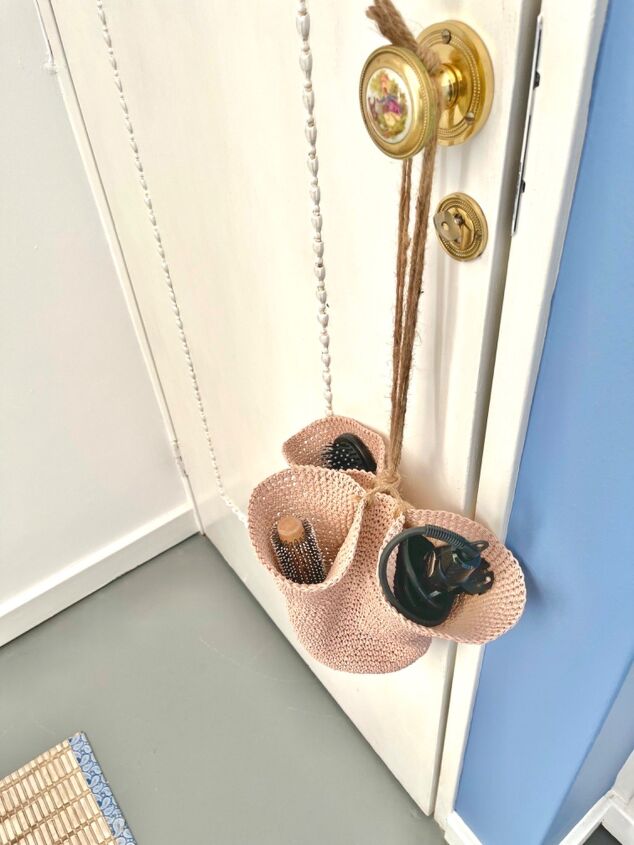
The basket is ready to hang over a door knob, hook or chair. Come to think, it could also be very handy in a college dorm set-up where you need to lug your stuff to a bathroom.


Comments
Join the conversation
-
I can see this clever holder being good for the beach also.
It is lightweight to carry, and yet allows air flow to dry items. Hang from the inside frame of the beach umbrella with a carabiner clip to help keep sand out of contents such as eyeglass cases, wallets, tissues, etc. 🏖️
-
If the hat was too big you could also make a center section to tighten up the outer ones. Very cute idea!


Frequently asked questions
Have a question about this project?