


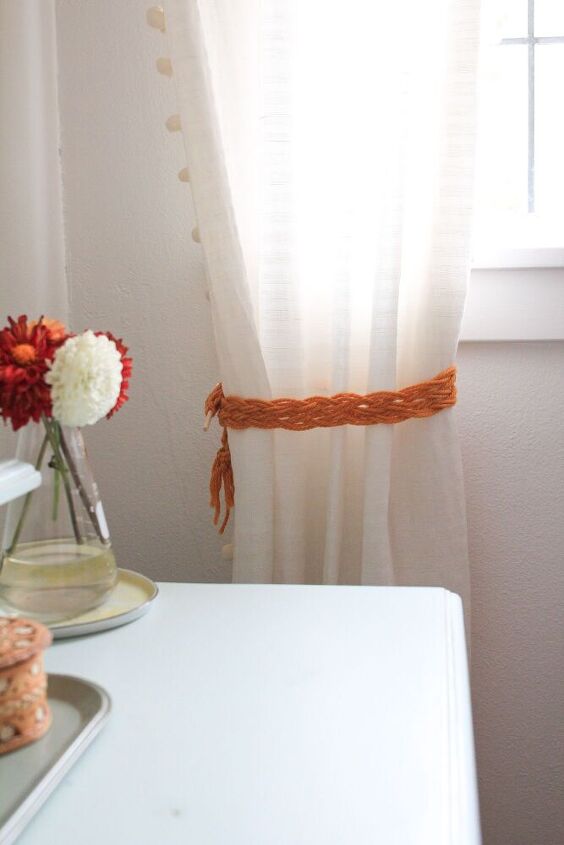
Macrame Curtain Tie Back
This project derived from looking through my craft drawer and spotting some goldenrod yellow yarn a friend had given me. Has that ever happened to you? I was pulling out supplies for a paint project, when I saw the yarn and thought the color was perfect for fall. Then I thought it would look great in macrame. My next thought was, it would look cool as a tie back in my room! I love when inspiration strikes this way.
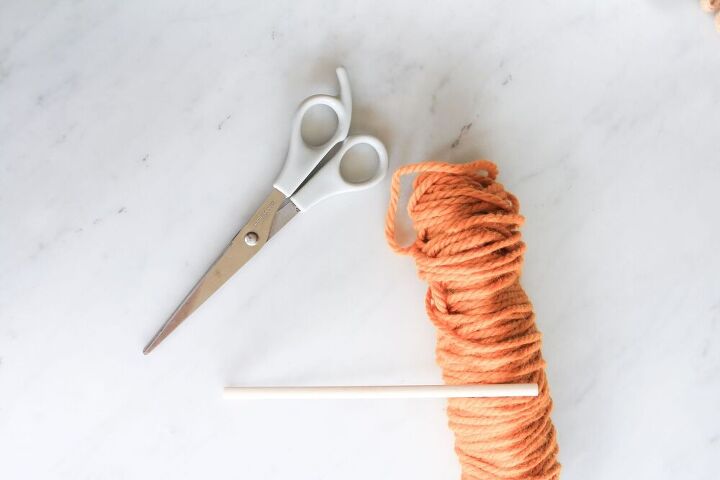
Assemble your materials
As I mentioned in my intro, I already had this yarn on hand. I also had dowels given to me by the same friend who gave me the yarn. I had never done macrame with yarn before, but figured it was worth a try.
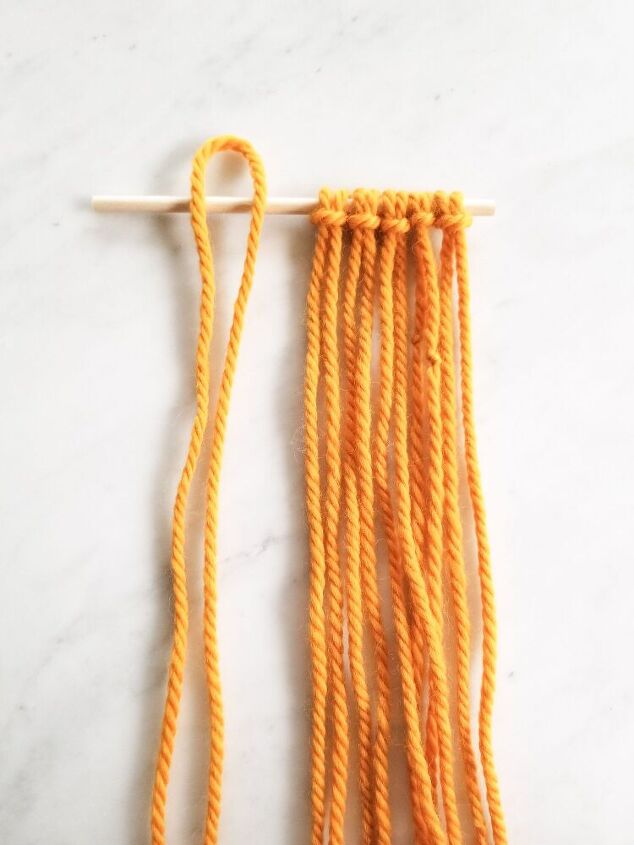
To start a knot, loop yarn and lay on top of dowel.
To the right in the photo, you can see completed knots. The yarn color looks different in this picture than in the materials; the true color is somewhere in between!

Fold loop over dowel to create a hole. Then pull yarn strands through the hole.
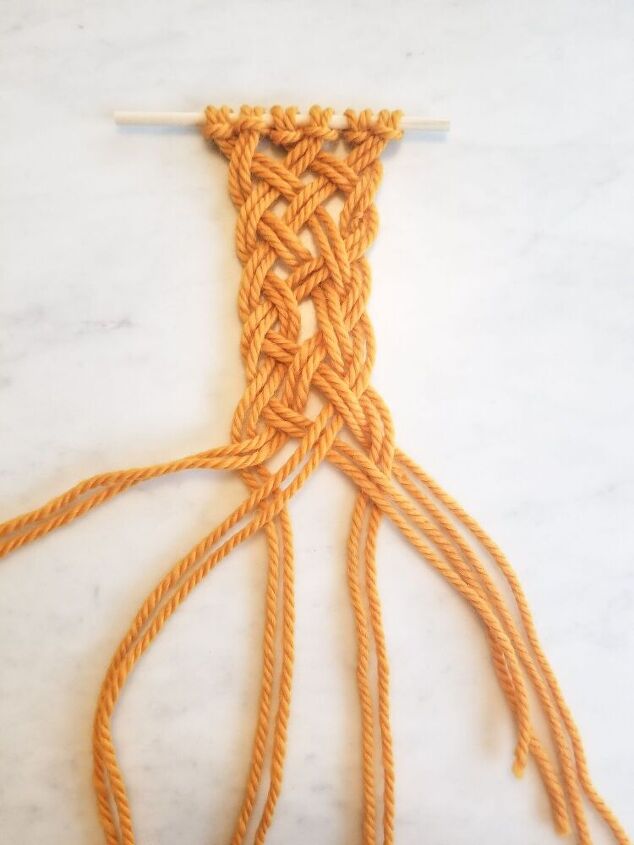
Repeat steps one and two until you have six knots.
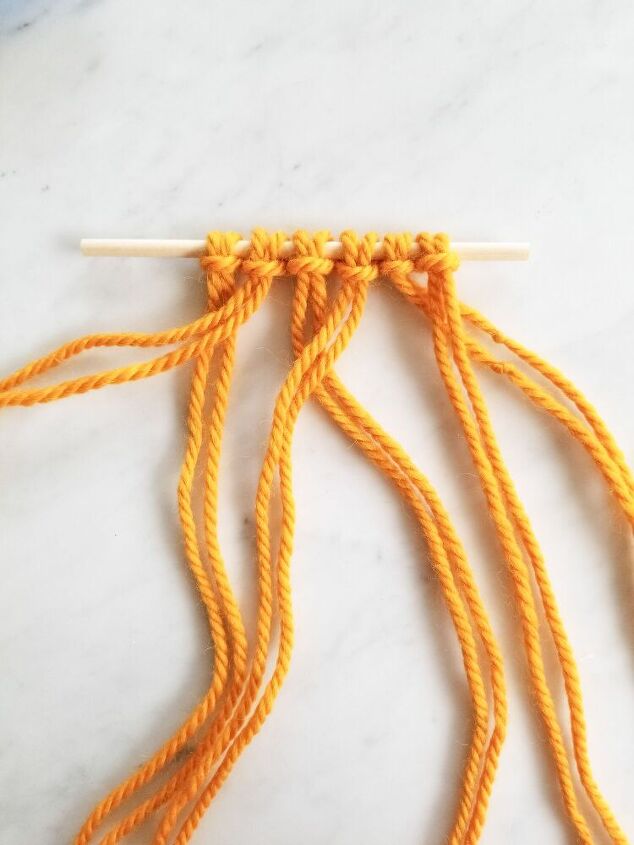
Starting from right to left, bring right strands over the adjacent left strand.
For this project I used a six strand braid, but rather than braid individual pieces of yarn I chose to treat each knot as one strand. I did this because yarn is more apt to tangle and I wanted a chunky look, almost like a cable knit sweater.
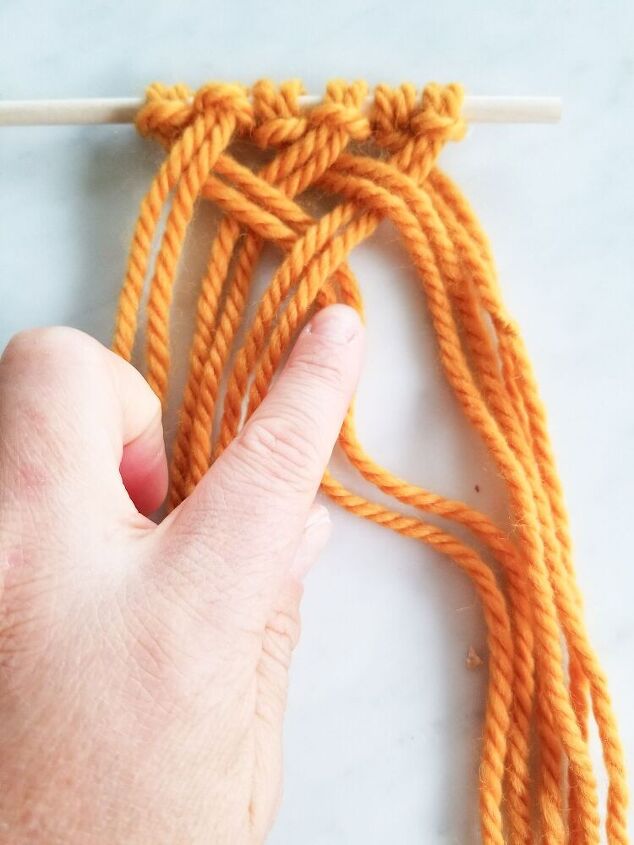
Return to the right side and bring the 2nd strand from right, under the strand to the left
Return to the left side and bring the second strand from the left over the strand immediately to its right. The take the middle strands and fold the right over the left.
Continue the braid pattern following directions in previous step.
You will repeat this pattern until the end of the yarn. Once you get a rhythm going, it is quite easy. One tricky part might be treating one knot as a single strand rather than individual strands. As I was doing this project, I kept in mind that when starting from the right side, you start by braiding over. When starting from the left side, you start by braiding under.
From the right side you will braid: over, under, over.
From the left side you will braid: under, over, under.
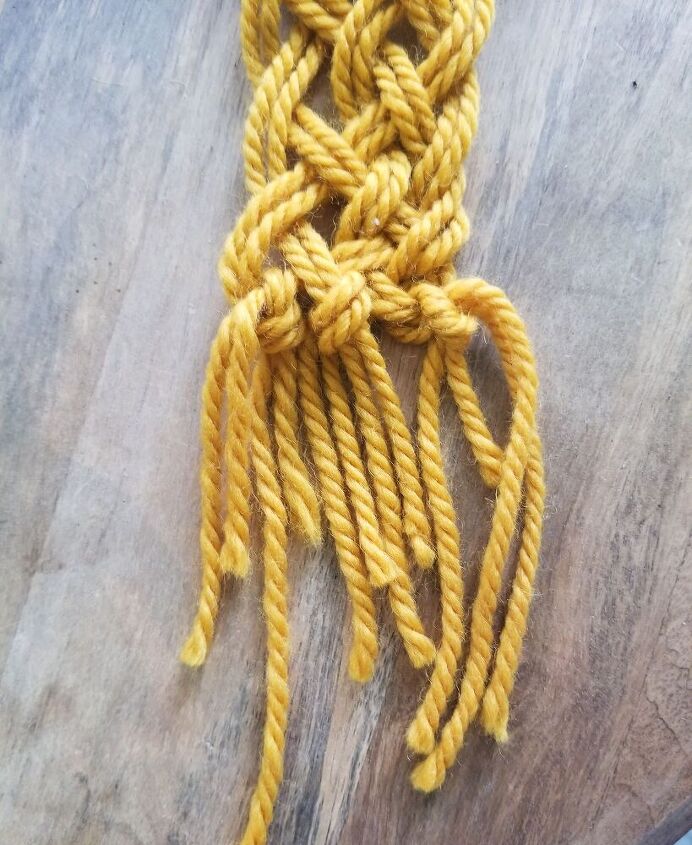
Knot ends
I don't have a specific trick for this. I just try to tie the loose ends as neatly as possible.
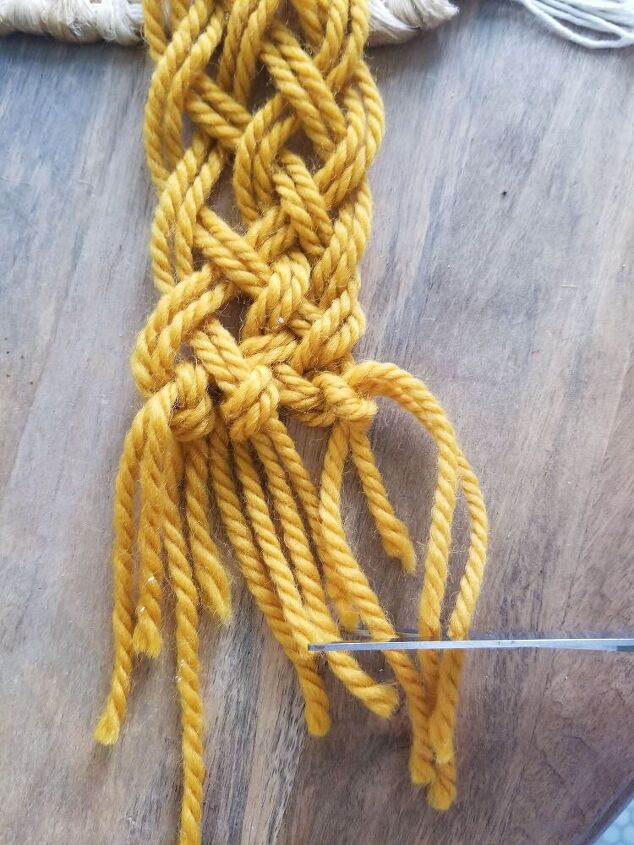
Cut loose ends to even lengths.
You can see from my photo that some of my ends are way shorter than others. I cut them to be mostly even. If you have a lot of length left, you may want to leave some intact for extra oomph.

Hope you enjoyed this tutorial! Let me know if you have ever tried macrame in the comments! Thanks for reading.
If you love old homes, vintage decor and gardening, follow me on Instagram and over on my blog! I'd love to "see" you more often.
Check out this cardboard transformation!
A Valentine craft that can be adapted for year-round decorations.


Frequently asked questions
Have a question about this project?