


Rag Pumpkin
4 Materials
4.5 Hours
Medium
Using the same technique as making a rag rug, I decided to try my hand at making a rag pumpkin. I recently found a very large piece of orange felt that I must have purchased long ago for some other project that was never realized. I had seen videos on Youtube for making rag rugs and wondered if I could apply the same technique to making a rag pumpkin for my Fall decorations. Project took about 4 1/2 hours to complete. What do you think?
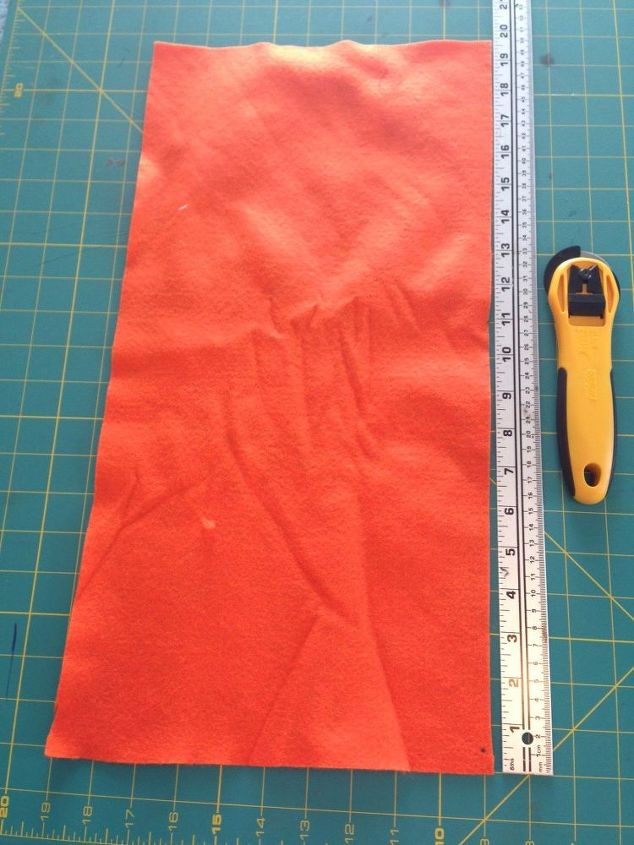
Orange felt fabric, ruler and rotary cutter
I first cut a piece of orange felt 10 inches by 20 inches. I think a smaller piece would make it difficult to sew the ends together due to the amount of fluff from the rag strips.
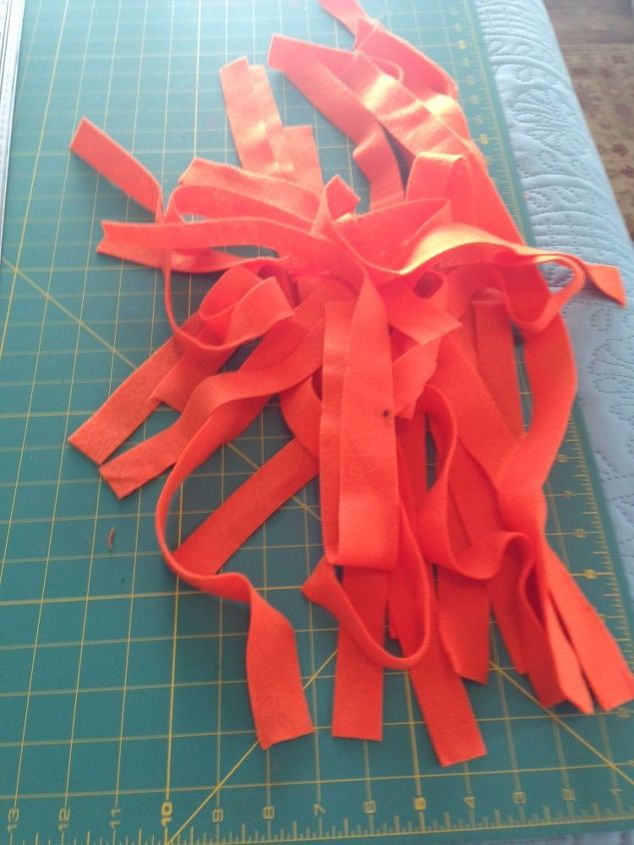
Lots of long 1 inch wide strips
Once I had the strips of felt cut, I then cut the strips into 3 inch long pieces. I wound up using about 300 strips altogether, but this may vary due to fabric type and if you change the length of the strips or the size of your base piece.
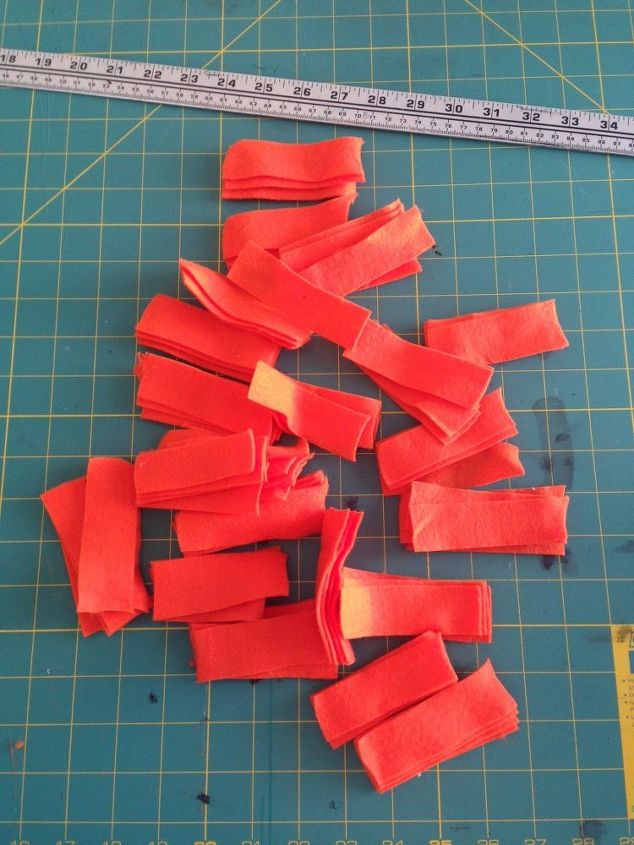
Cut strips 3 inches long
I then sewed the strips on to the long side of my 10" by 20" fabric. Be sure to leave about 1/2 inch on each side and top and bottom of your base piece for seam allowance. I positioned each strip side by side, sewed down the center of each strip and left about 1/4 to 1/2 inch in between rows of strips.
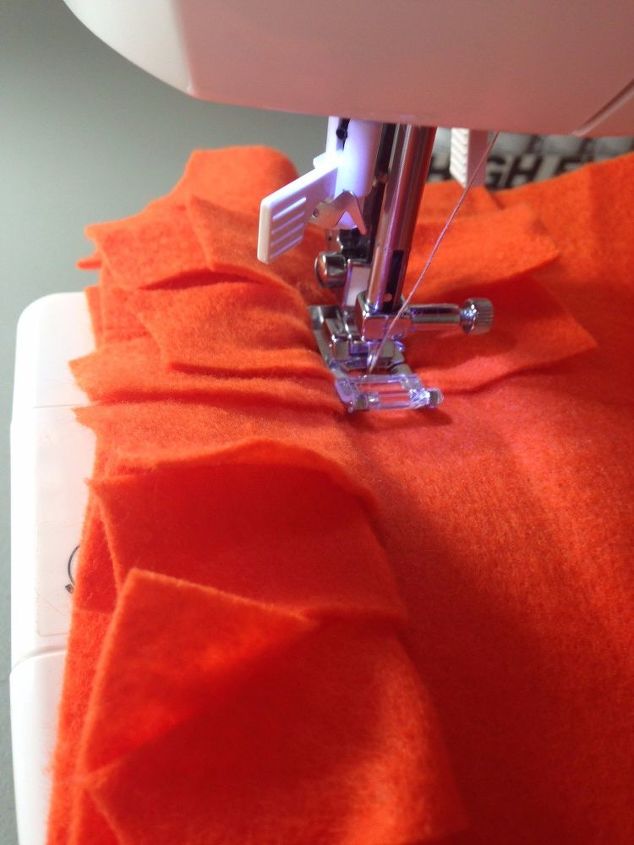
Sewing down the middle of each strip
This is what the first row of sewn strips looks like. I did scrunch up each strip for the first few rows, but I eventually felt that this was not entirely necessary since the felt fabric made for lots of fluff. When you begin to sew the next row, fold back the first row and leave about 1/4 to 1/2 inch space before sewing the next row and for each subsequent row, fold back the previous row leaving the same amount of space between rows.
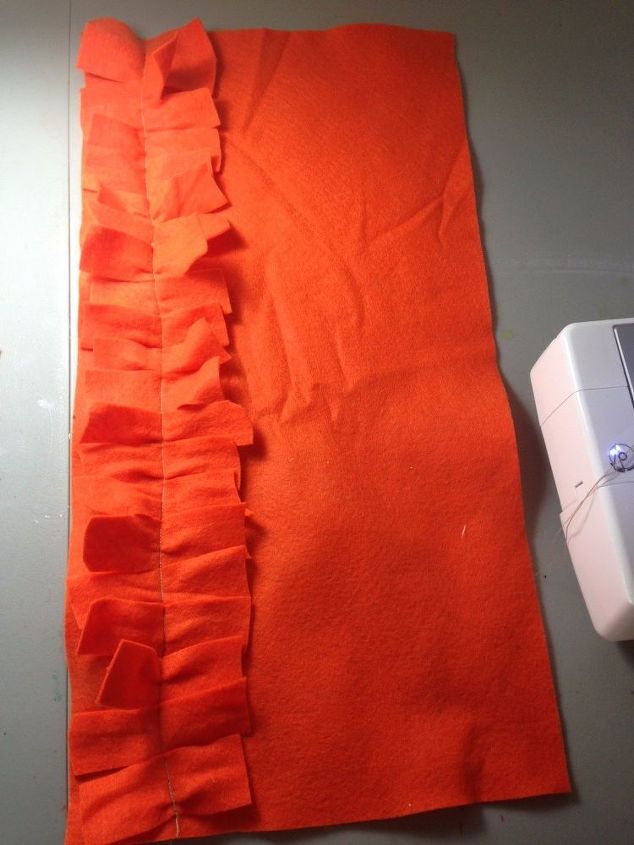
First row of strips completed.
This is the second row sewn about 1/2 away from the first row.

Sew right sides together of long side of base fabric. You can see I did not have much room to sew this seam, even after trying to leave 1/2 inch seam allowance but it did come together.

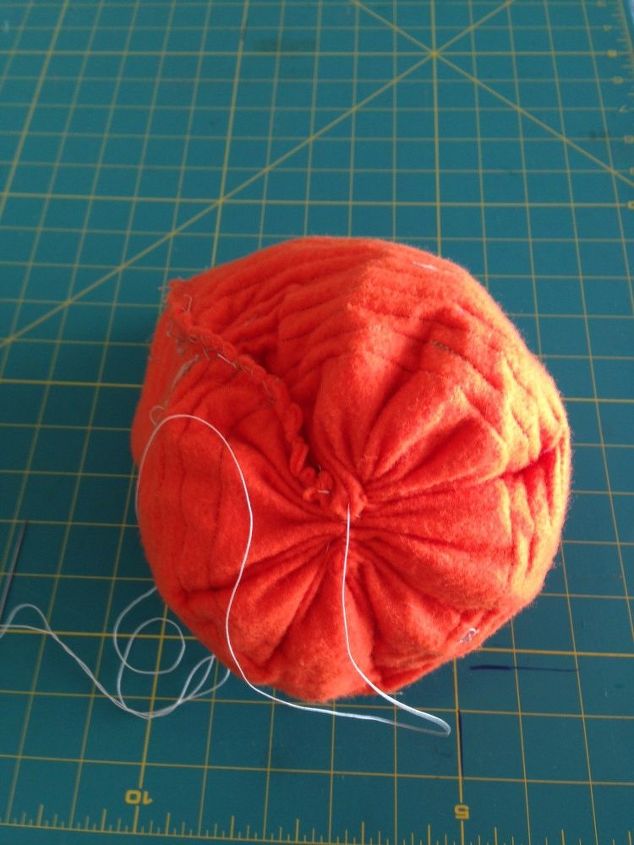
Still inside out, sew a running stitch about 1/2 inch around the bottom of the pumpkin and then pull the thread to draw the circle closed. Once the circle is closed, stitch by hand to make sure the hole is closed.
Turn pumpkin right side out. See how fluffy it is.
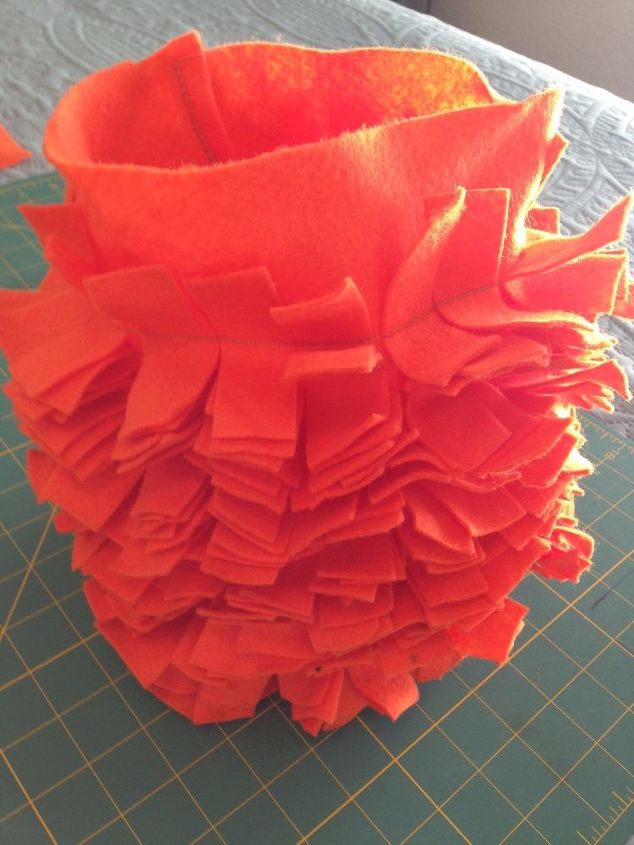
Now you are ready to stuff your pumpkin. Stuff it as much as you wish but be sure to leave enough room for another running stick around the top in order to draw the circle closed on the top as you did on the bottom. I left enough space in the top hole so that I could stick a stick inside to use as the stem of the pumpkin.

The final product with my stick in the top hole. I used a stick from the yard, soaked it in bleach and left it to dry thoroughly. Then I used a bit of antique gold rub and buff on the stick and I may add some raffia and/or a curly copper wire next to the stick. Hope you like it!

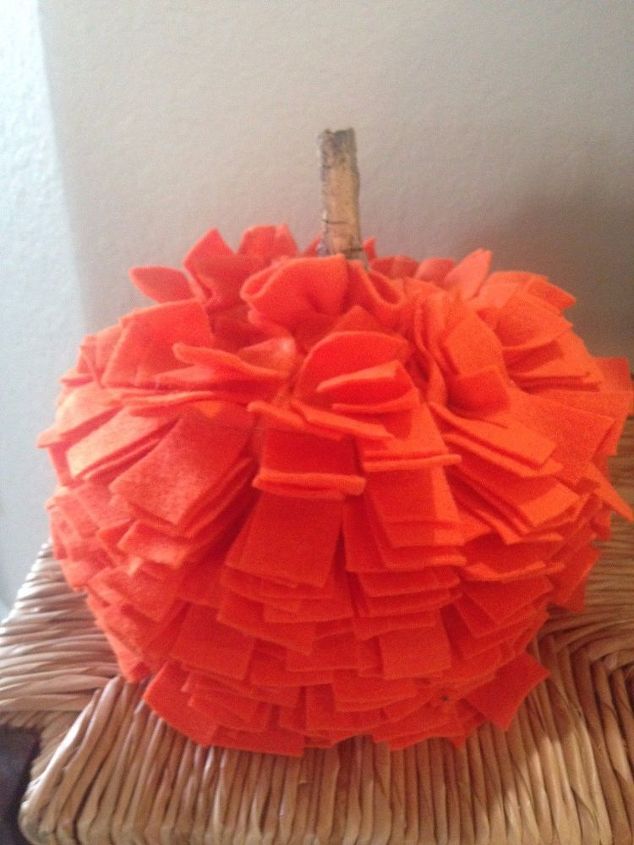
Finished Pumpkin
Comments
Join the conversation
3 of 5 comments
-
This is awesome! I love it!!!
-
So pretty; however, I could not take the time to cut the fabric strips for this. How many hours did it take?


Frequently asked questions
Have a question about this project?