


Easy DIY Pipe Bathroom Counter

by
Zest it Up
9 Materials
With the new year, Sam and I have been having fun with revamping our office space. As with almost everything we put our hands to, we couldn’t help but get down and dirty. Designing is always fun, but making those designs come to life with our own hands is even more amazing fun!
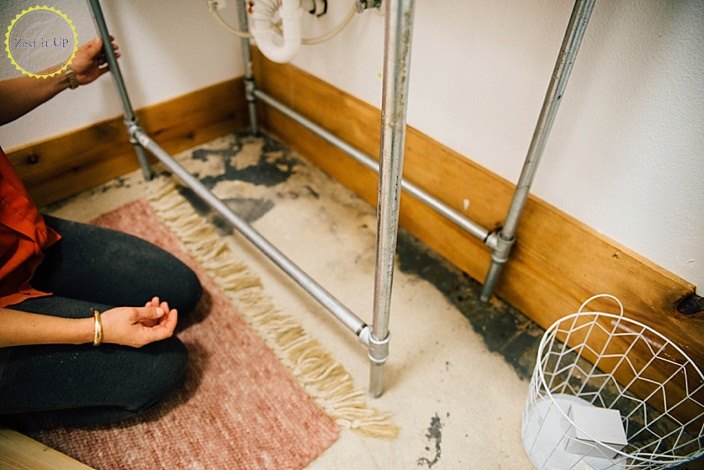
Our bathroom is a perfect example! After demoing a shower and chiseling out tile in order to resurface the industrial concrete floors, it was time to put in a sink. Since everything was concrete and white, we decided play with some new textures. Fortunately, I scored some seriously chunky pieces of hardwood flooring at Restore. If you are new to the blog, Restore is an amazing resource that we make use of more than a little frequently! It is basically a thrift store for The Habitat for Humanity. There are so many fun materials to hunt through and use to create. Combining that with a quick trip to Home Depot for some plumbing pipes, and we were set to start playing!
Photo Credit Anya McInroy
Original Blog Post

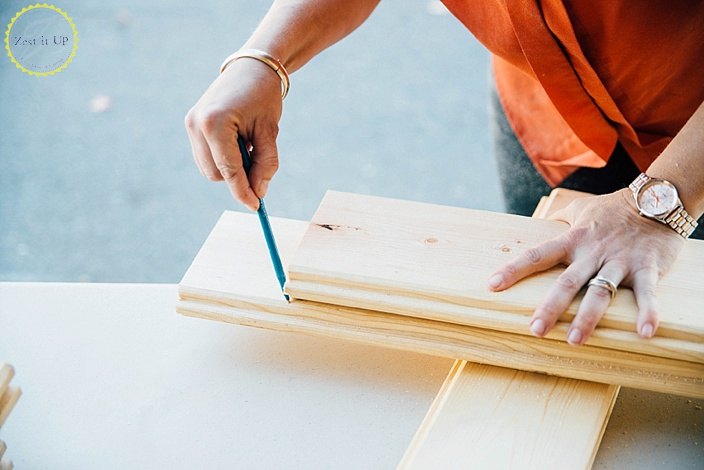
Here is where this DIY is not going to be bossy! Feel free to decide on how long of a countertop you want. I chose to really fill the space that we have, so I cut my sections of wood down to a little over 3 feet.

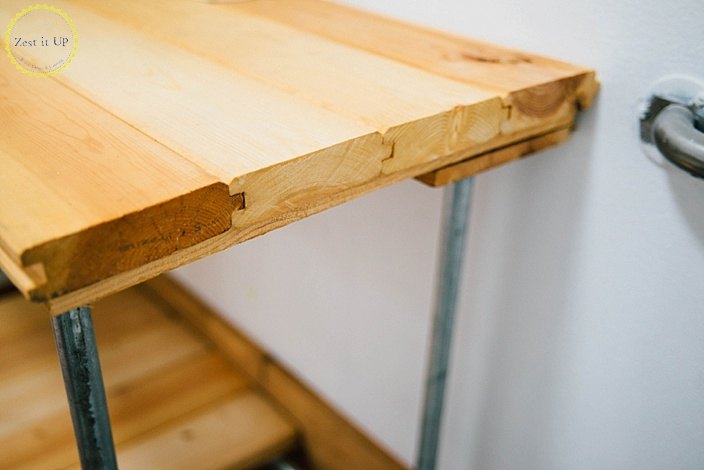
Using wood glue, I glued the flooring grooves together and then secured them by screwing a 1″X4″ to the bottom of them as a frame. Just cut the 1″X4″ to measure to the width of your four boards (about 15″).
It kinda feels like you are playing with Legos. Each piece fits together perfectly, but you have to slightly tweak things until everything is perfectly balanced.
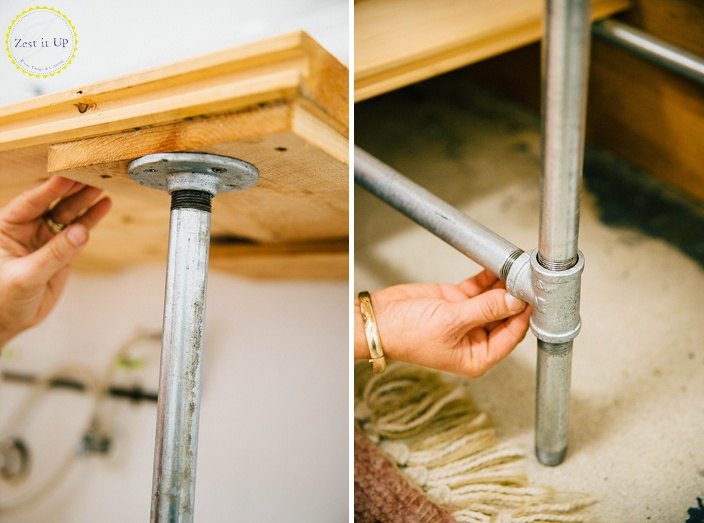
Once you are happy, flip it upside down and secure it to the bottom of your countertop with the flanges
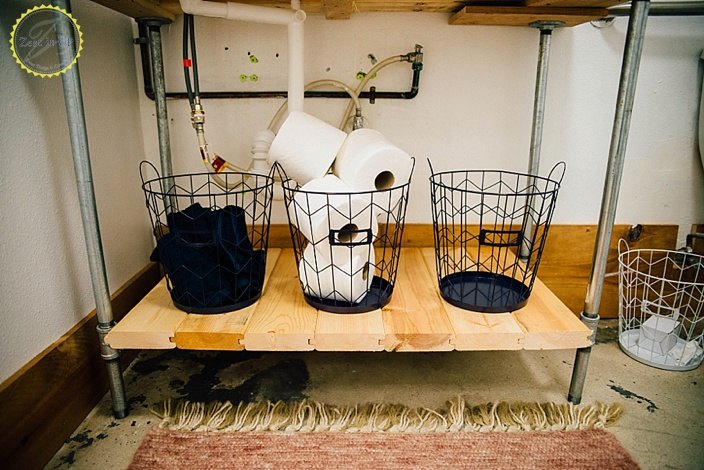
Using the remnants of my boards, I cut them down to make a bottom shelf for storage and visual balance of the piece.
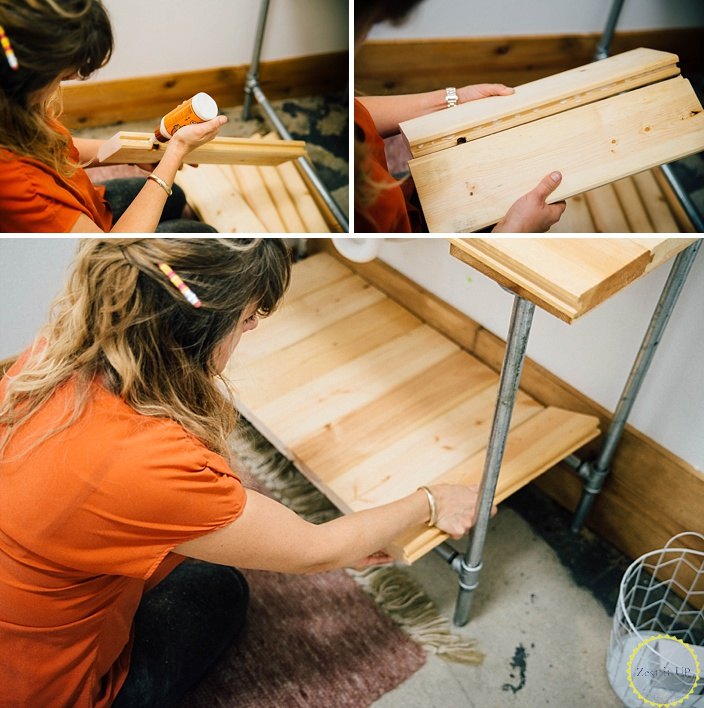
I kept it simple and just glued the pieces together with a support piece screwed in from beneath. Viola!

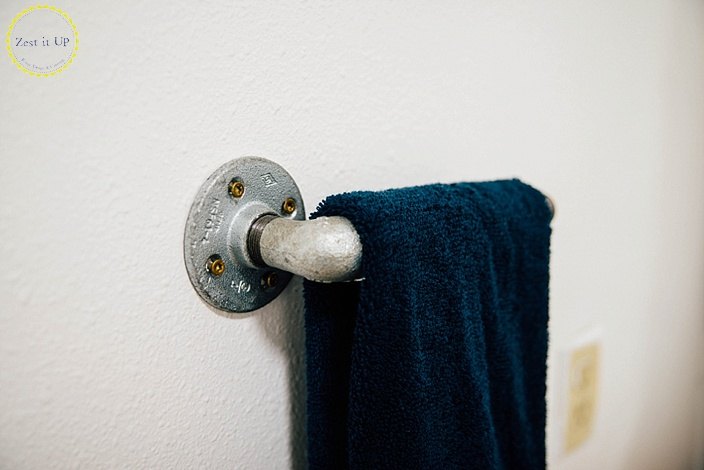
Simply had to repeat the fun with a quick little towel rack to match!
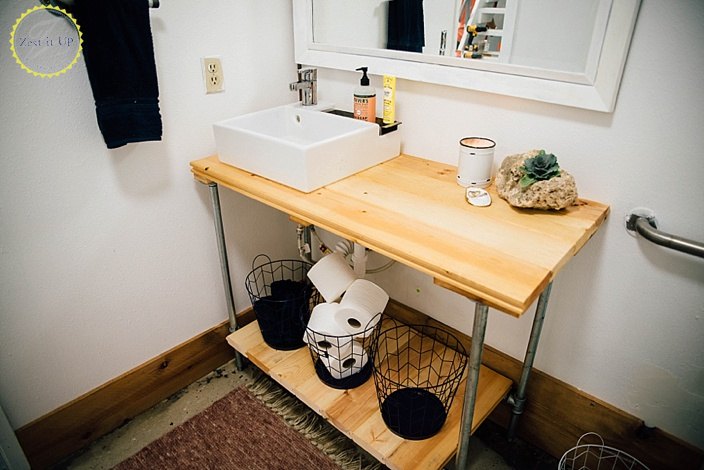
We are seriously loving having running water in the bathroom now! Beats having to run to the kitchen in order to wash our hands. LOL!
Want more details about this and other DIY projects? Check out my blog post!
Comments
Join the conversation
2 of 3 comments
-
VERY NICE! I love it! Has a great look. Good job!
-
Wow- I can see doing this for a kitchen island!


Frequently asked questions
Have a question about this project?
What was the cost for this project? Are there pipes available with a polished finish?