


Build a Minimalist Narrow Entryway Table for Your Home

I had been looking for the right entryway table for my narrow hallway, but hadn’t been able to find the perfect fit. I instead decided to make one myself. Using steel and stringy bark wood I created the perfect DIY entryway table for my space. I didn’t need it to provide any storage, and as a result it turned out quite simple and minimalist. The combination of wood and steel lends a modern feel and sets the tone for my home the minute a guest enters. Scroll down and I’ll walk you through how I did it.
Tools and Materials
- Lumber (I used stringy bark for my table)
- Biscuit joiners
- Biscuits
- Square steel bars
- Round steel bars
- Speed square
- Wood glue
- Clamp
- Table saw
- Circular saw
- Jointer
- Angle grinder
- Welding torch
- Welder’s gloves
- Metal file
- Screws
- Drill and impact driver
- Steel wool
- Sealant
- Small paint roller
- White spray paint
The first thing I did was join the wood. It’s important to do this to make sure that all of the edges are straight and won’t cause any gaps when I connect them to each other to form the table top.

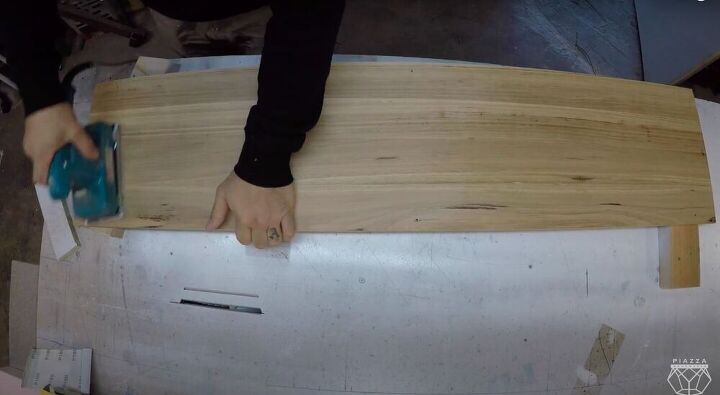
I used a speed square to mark where I wanted to connect the pieces of wood to each other to form the table top.

Then I cut holes using a biscuit joiner. Biscuits are a great way to get a seamless join between two pieces of wood.
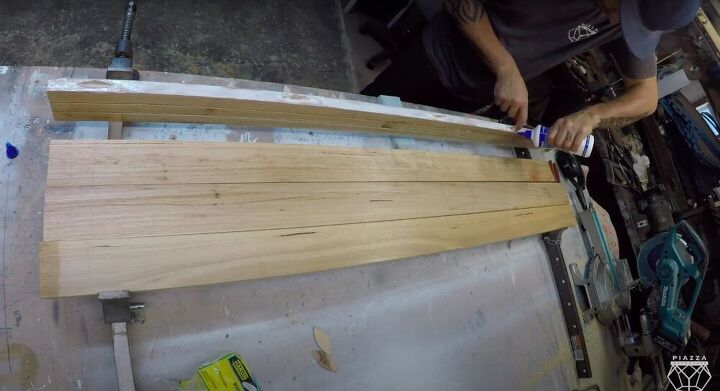
I added a line of wood glue along the side of each plank, making sure to get quite a bit in the hole I had made for the biscuit as well.
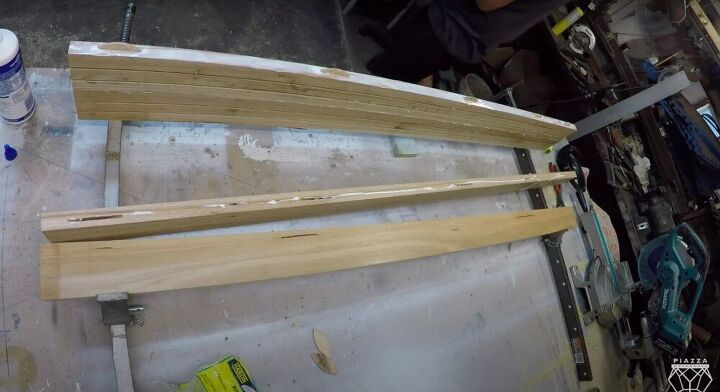
Then I inserted the biscuits and connected the planks.
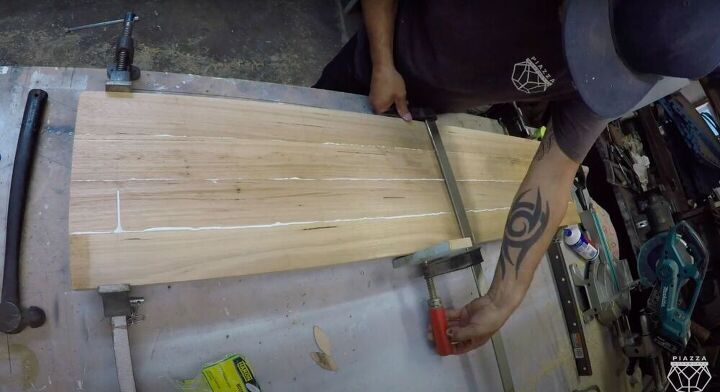
I clamped them together to dry, and wiped off any excess glue that had pooled on the table top.
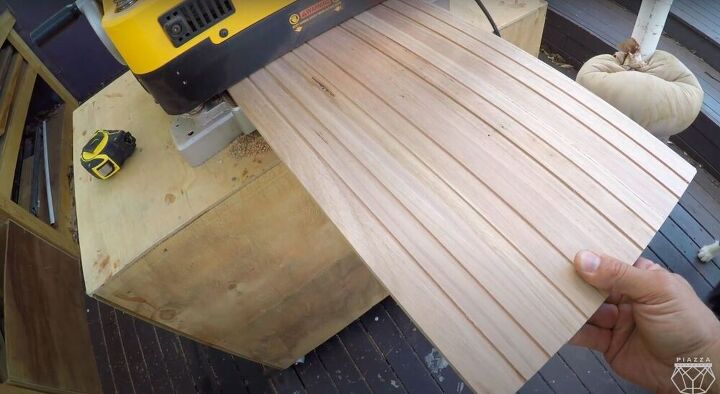
I ran the table top through the drum sander a few times. Remember: slow and steady is the way to go when it comes to using a drum sander. You can always sand more, but you can’t add back on to a piece that you sanded too much.
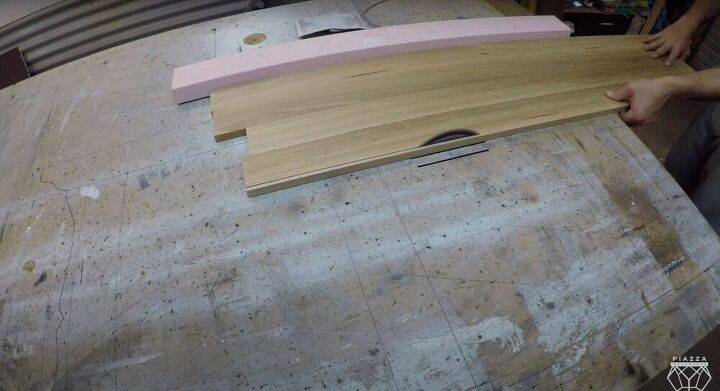
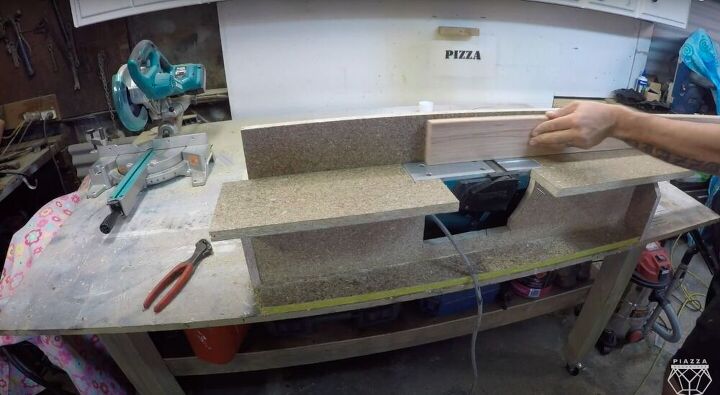
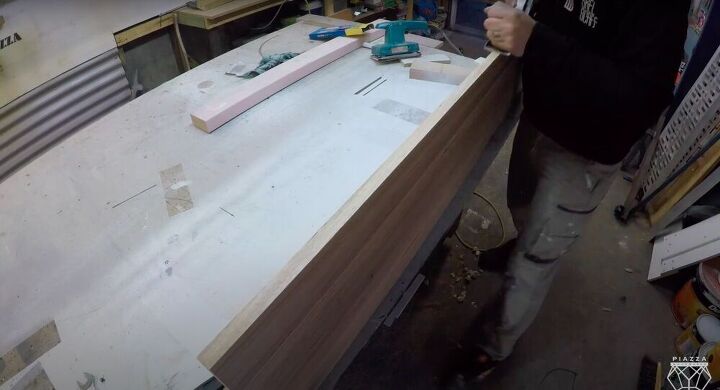
Using a table saw I cut the long sides of the table to the width that I wanted.
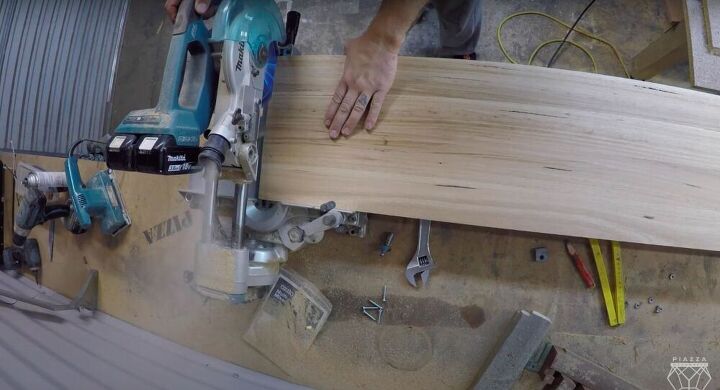
Then I used a circular saw to cut the shorter ends of the table.
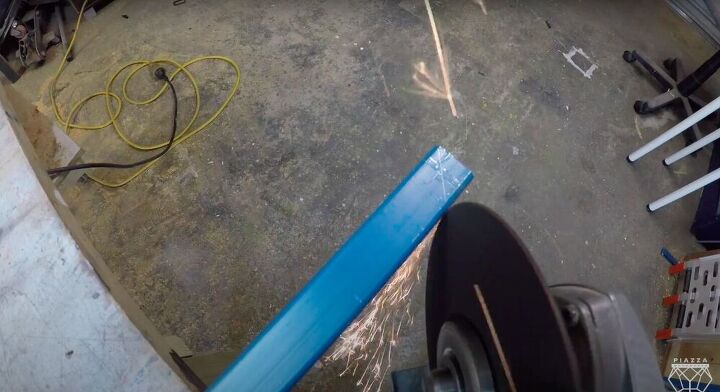
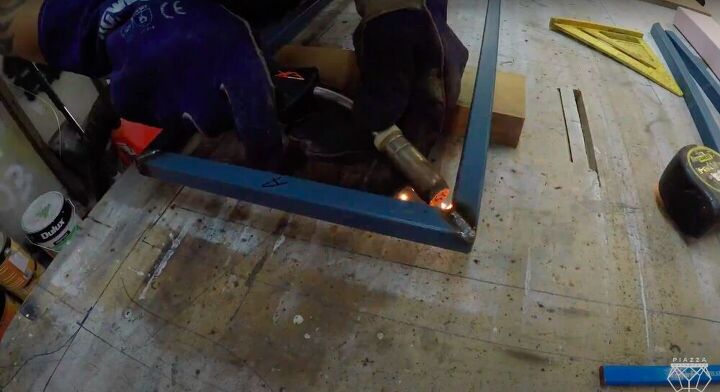
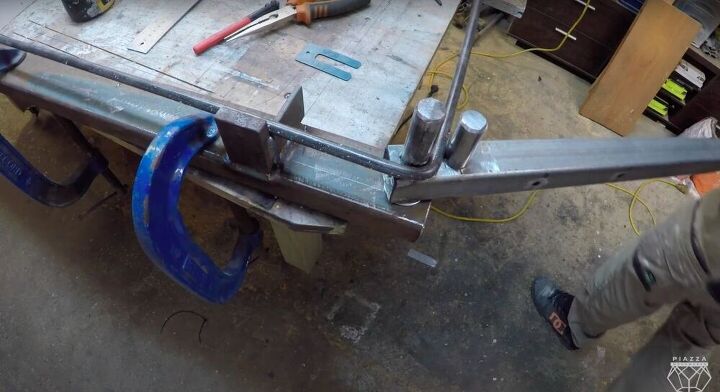
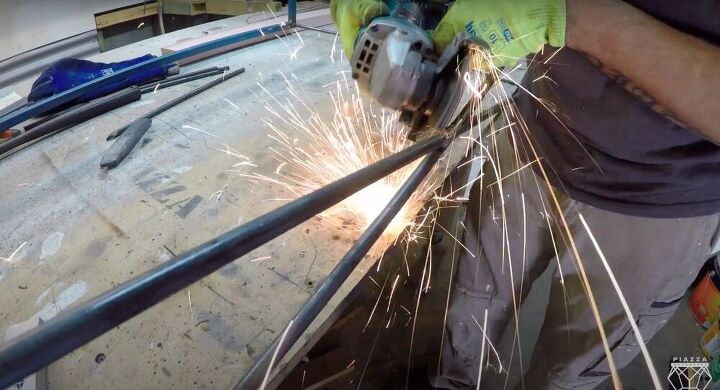
Because I wanted the table to stand on relatively thin legs, I needed to reinforce the table top. For this I used square steel bar. First I cut the end at a 45 degree angle with an angle grinder. As always, when working with metal make sure to use all of the proper protective gear.
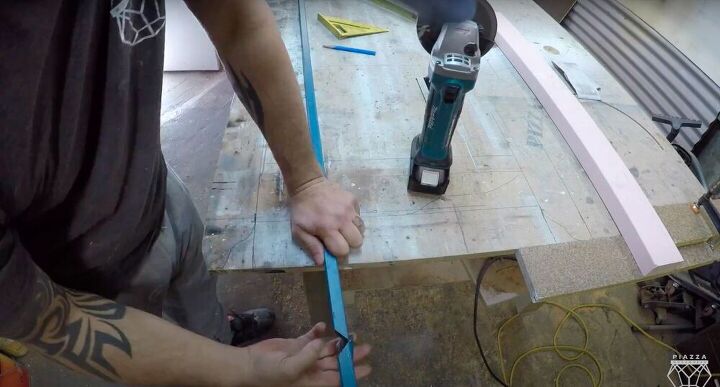
Now I’ll show you a neat trick to create a 90 degree angle in your bar. I made a cut in the bar at a 45 degree angle. Then I made another cut at the same angle in the opposite direction. With these two cuts made, I could easily fold the bar onto itself, creating the perfect 90 degree angle.
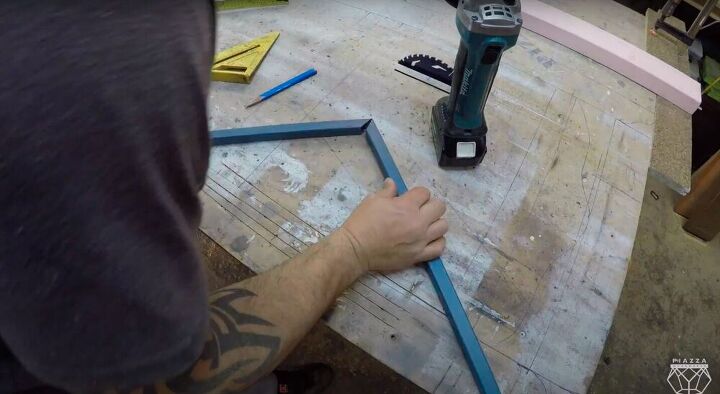
Then I cut a short end, once again with a 45 degree angle.
I created another piece identical to the first one and welded them together.
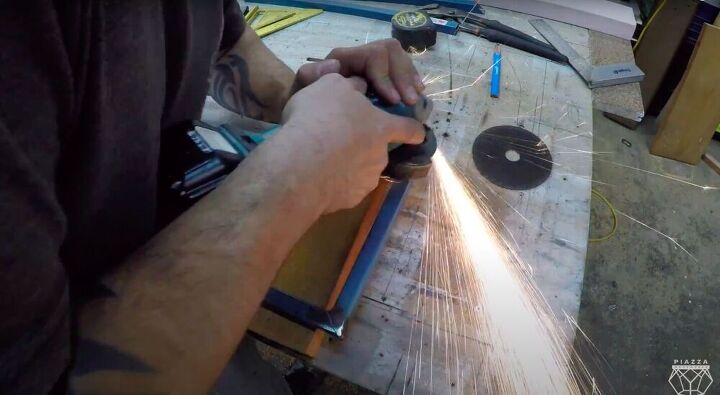
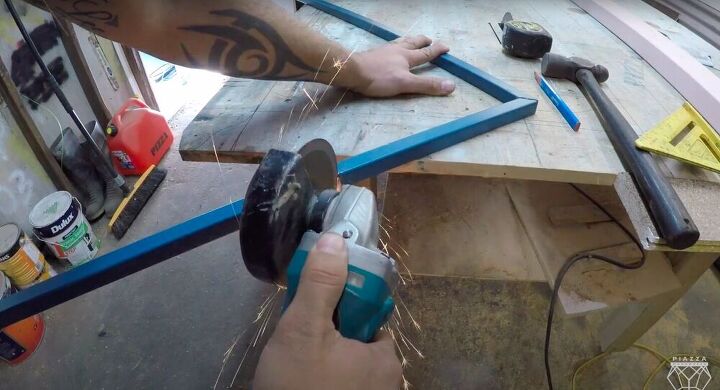
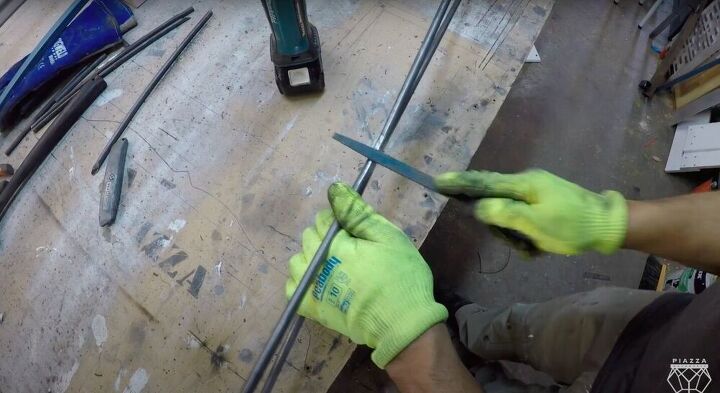
Using an angle grinder I smoothed over the joints where I had just welded the pieces together. Don’t worry about the color coming off while filing as I’ll be painting it in a few minutes anyways.
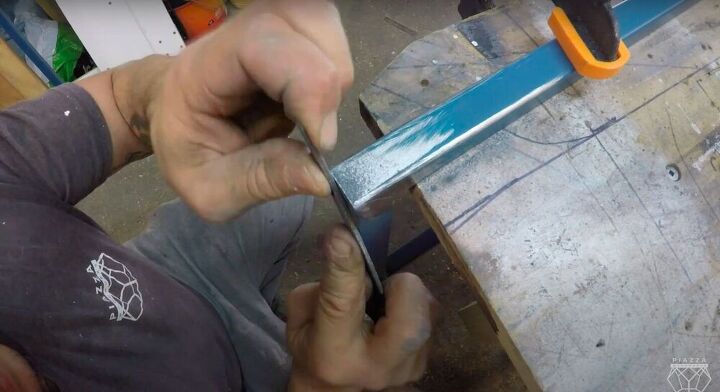
Then I filed them by hand to get a more precise corner on the square bar.
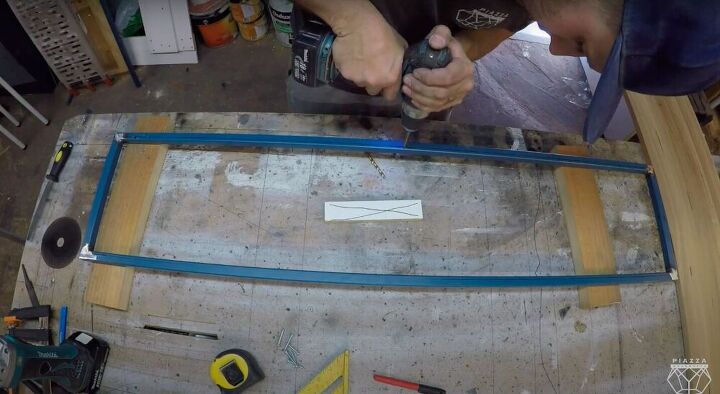
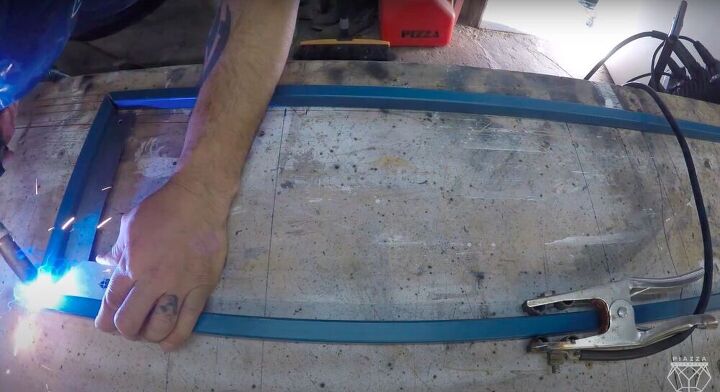
Finally I drilled holes that would later be used to connect the frame to the legs and to the table top.
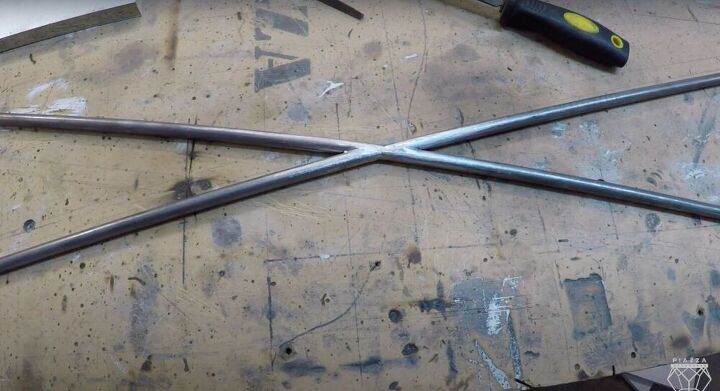
Using a metal bender I created a hard bend in my round steel bar. I created four identical pieces to create the table legs.
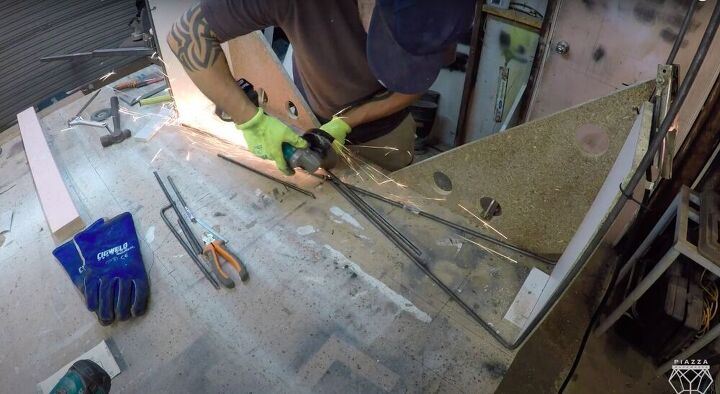
Then I welded the short ends of the bars together in an X.
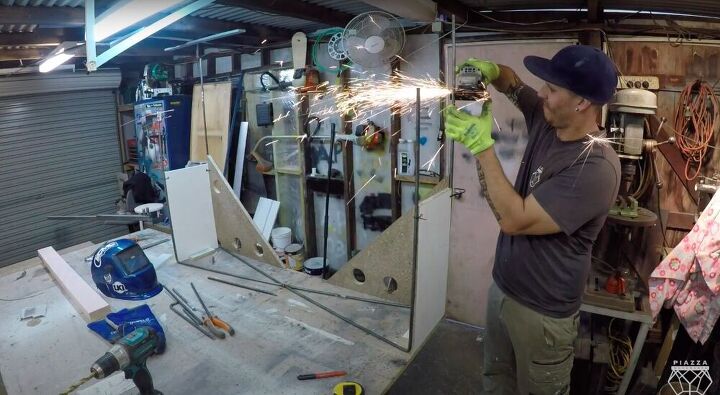
I cut the excess off the top of the bars and slipped the metal support I had made in step six onto them.
I welded them in place and filed where needed.
Using an angle grinder and a metal file I smoothed out the joint where the legs met at the bottom of the table. I wanted this part to be as smooth as possible so I spent quite a while making it look like it was all one piece to begin with.
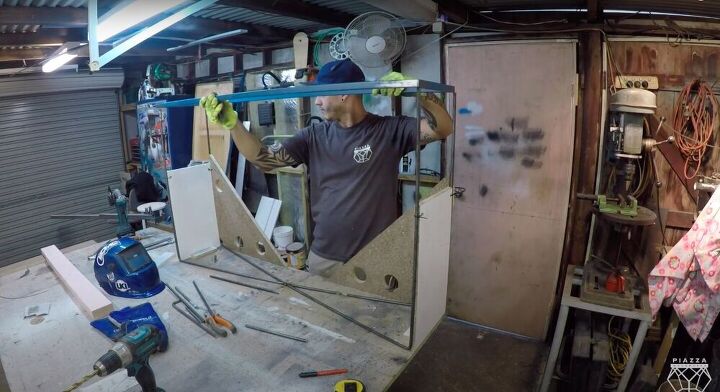
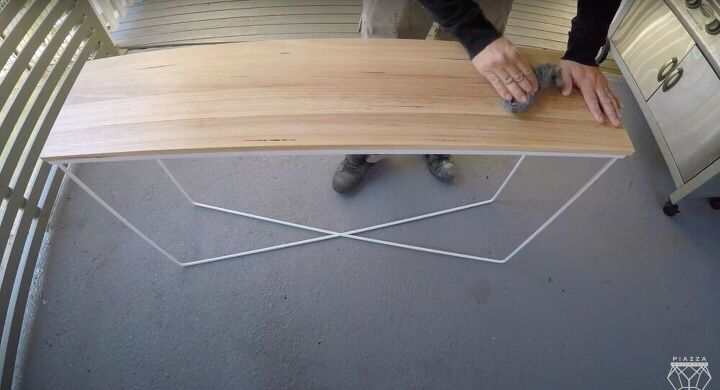
With everything welded and filed to my liking, I was ready to paint the legs. I used white spray paint and got a good coating all over the legs, including the frame at the top that would be connected to the wooden table top.
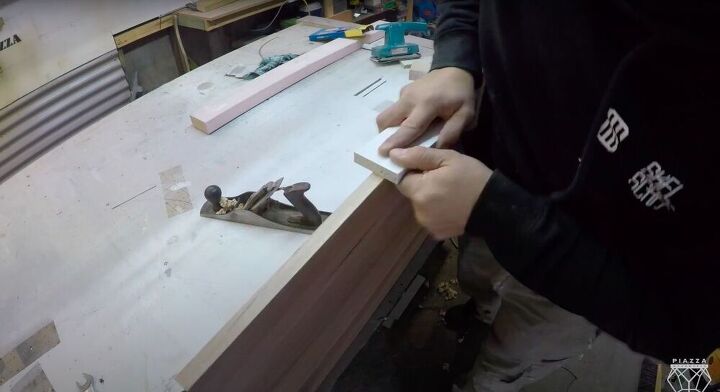
Now that the legs were done, I could go back to finish off the table top. I sanded the entire surface and made sure to get as smooth an edge as possible as well. I started with an electric sander, and then continued working with a handheld sander until I was happy with the final product.
I also planed the edges and gave them one last sand to make sure that they were as straight as possible.
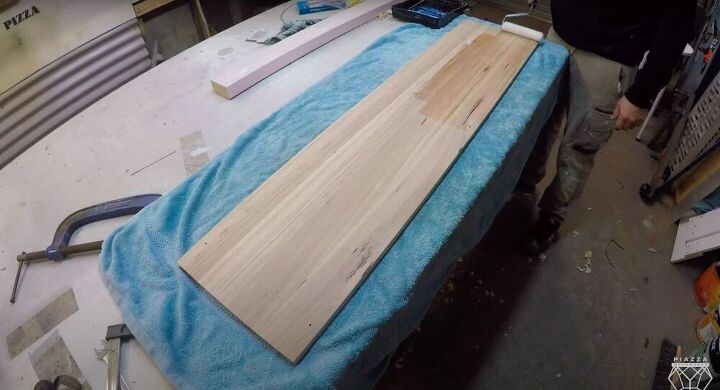
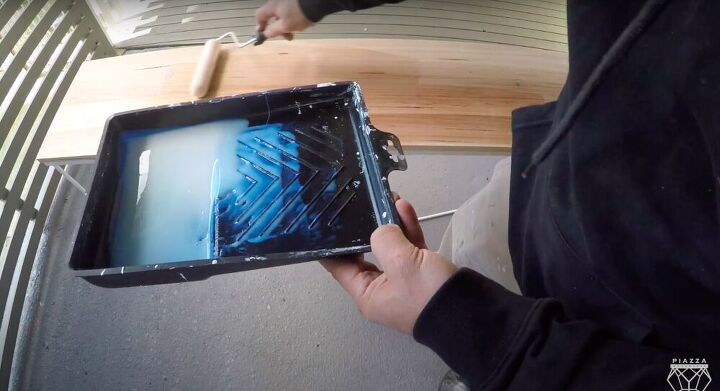
I loved the look of the stringy bark so I chose not to stain the table top and only to seal it. I got a nice, even coat of sealant by using a small roller brush. When using a roller brush, make sure to pick up as little product as possible, and to roll off any excess on the paint tray before started to roll it onto the table.
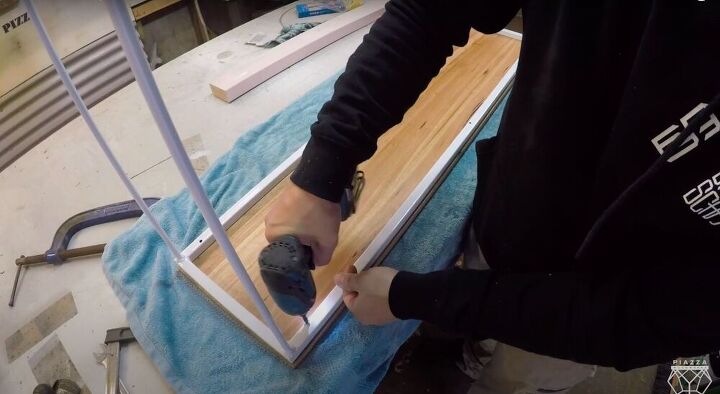
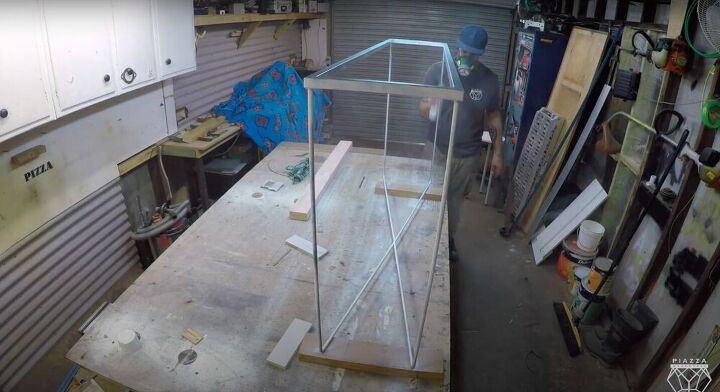
I flipped the table top on it’s back, laid the frame and legs on top of it, and screwed them together. I love how the white looks against the color of this wood.
With everything assembled, I gave the table top a light sanding using steel wool and then sealed it one last time. Really make sure to use as light a coat of sealant as possible, you want it to look like there’s nothing there.
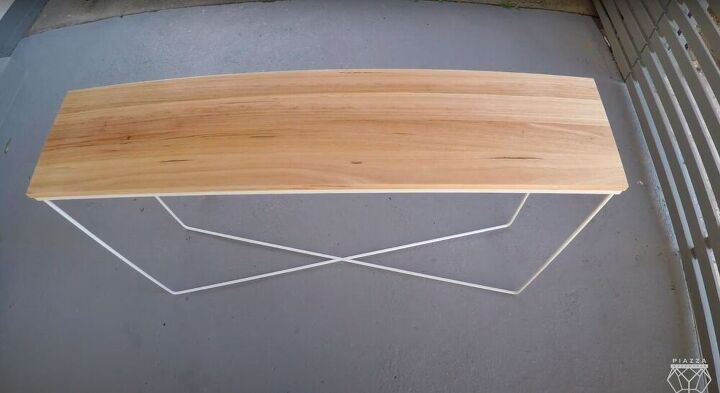
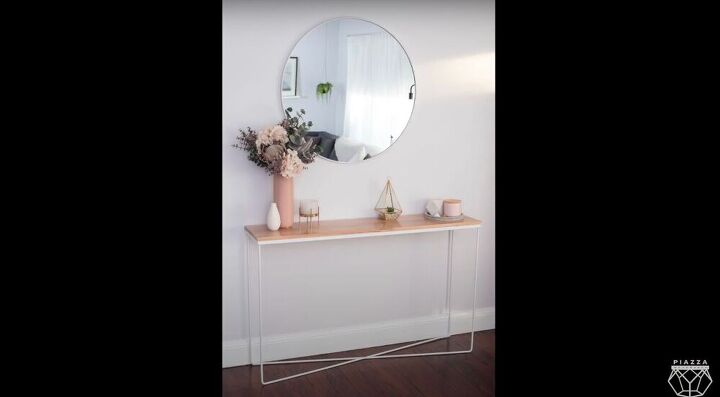
I love the simplicity of this hall table. It’s the perfect piece for a modern, minimalist home, and provides a beautiful backdrop for your knick knacks. Have you worked with mixed materials before? Let me know in the comments below!
Resources for this project:
See all materials


Comments
Join the conversation
-
I love it! Like the others I do not have tools, but if you want to make me one. LOL
Great job!
-
When I saw the results, I hoped that the construction would be simple and straight-forward. Straight-forward with the documented steps - absolutely. Simple - not if you don't have welding and pipe-bending tools. I challenge anyone to figure out an alternative that allows someone with simple tools toby a set of parts to assemble something similar and still sturdy.


Frequently asked questions
Have a question about this project?
That turned out really nice! But most of us just have the basics when it comes to power tools, like the circular saw and the drill. Do you know of any other ways/techniques one could use to get the same results or close to? Thanks!
What kind of sealant did you use?