


Fireplace Shiplap Facelift

This was such great transformation, and we aren't done yet! Don't forget to follow me to see the next DIY we do on this fireplace. We will be putting together a wood mantel that can just slip over the existing one!
In the mean time, I hope you get a better understanding on how you can recreate this for yourself. The supply list is long, but I promise it is a easier DIY then you think.
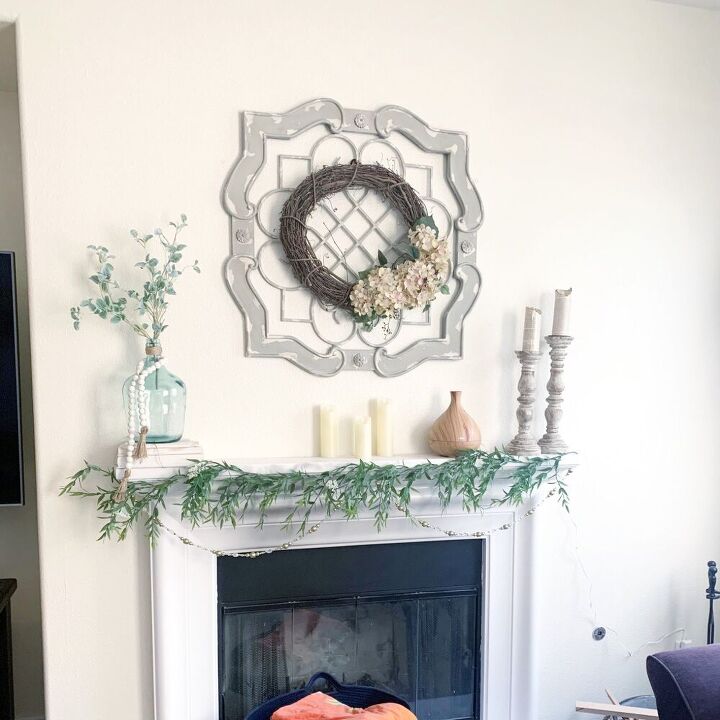
Our Mantel was lacking in something. After taking measurements we are ready to start.
Don't forget to take yours! Ours was 60 inches long, but we went with 62 inch boards since we will be adding a wood mantel later.
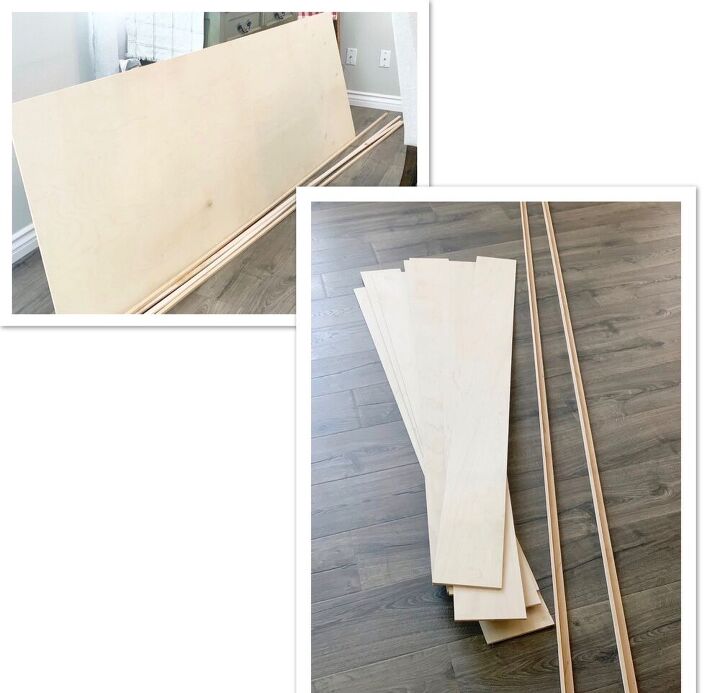
Plywood
NOTE: Before you leave the hardware store, If you do not have a table saw, they can make the cuts for you.
The width of my boards are 5 in. 7/8ths. As far as the lengths they vary from the project you are doing. Ours are 62 inches
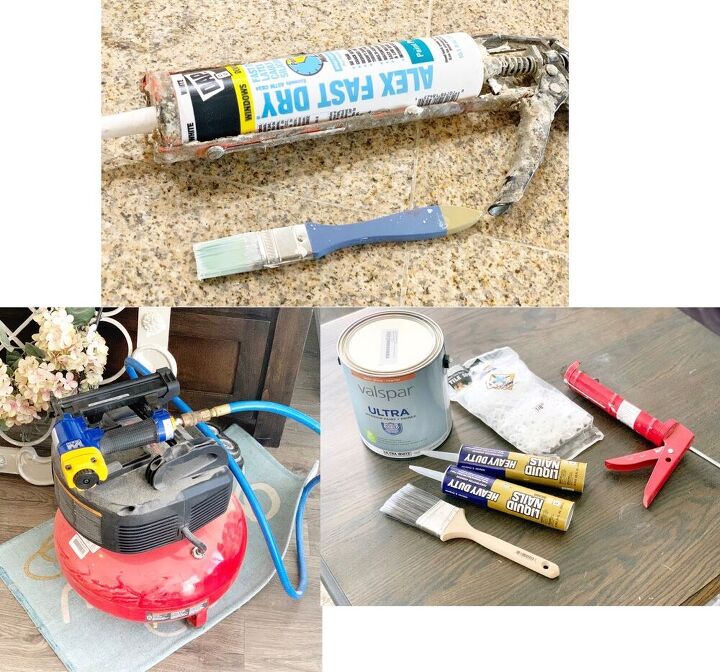
Liquid Nails (I needed 4 bottles for this job)
Tile Spacers (These can be substituted with Nickels if you would like to save some money.)
Paint (paint and primer in one.)
Caulking (1 bottle)
Paint brushes (2 sizes, a smaller one to get into the creases, and a larger one to paint the boards with)
Air Compresser
Nail Gun with 1inch Brad Nails
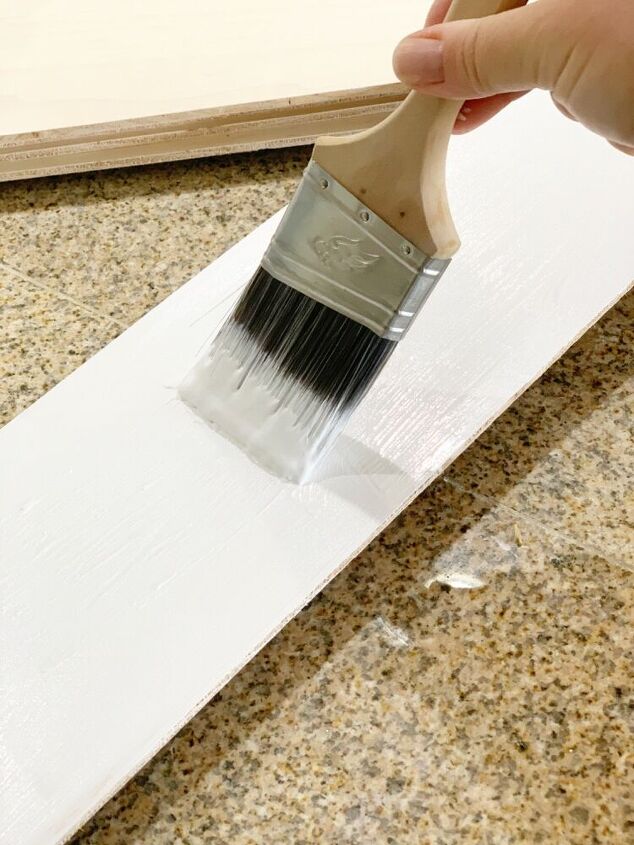
Paint the boards and the edges before starting
The boards will take 2 coats of paint. I used a paint and primer in one. I recommend using this as well. If not make sure you prime the boards with primer paint first then.
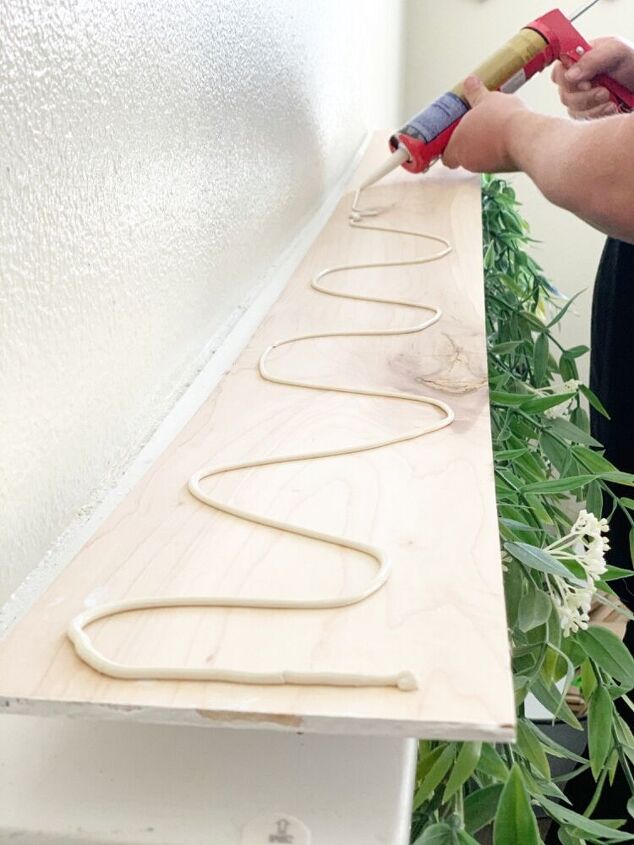
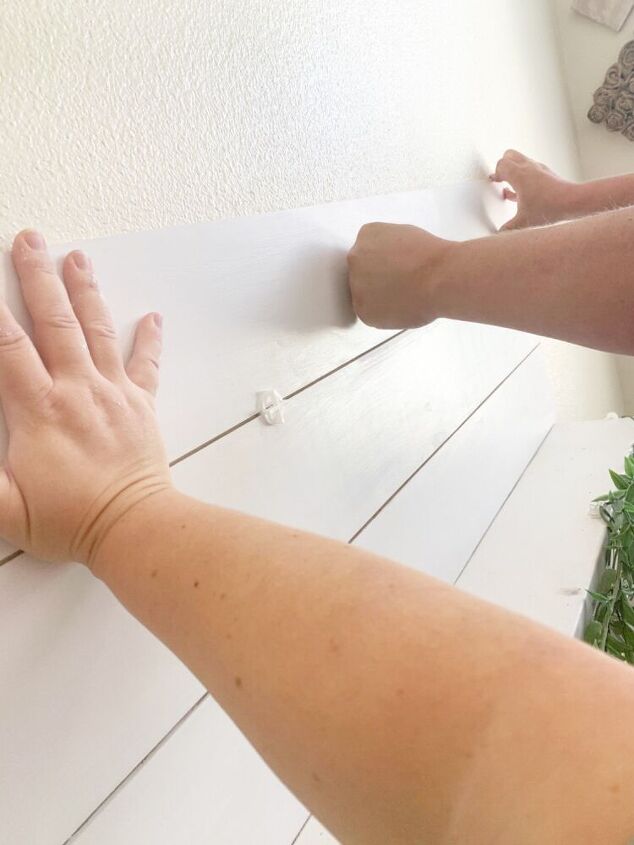
Now to start applying the planks. First apply the liquid nails to the back of the wood. Be generous.
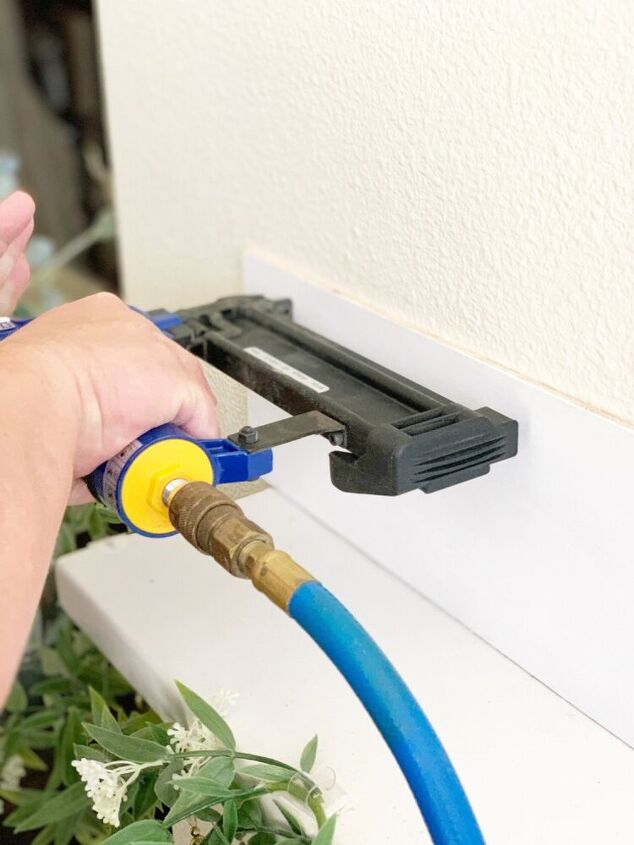
After placing it on the wall not place nails from the nail gun one each corners, and one in the top and bottom middle.
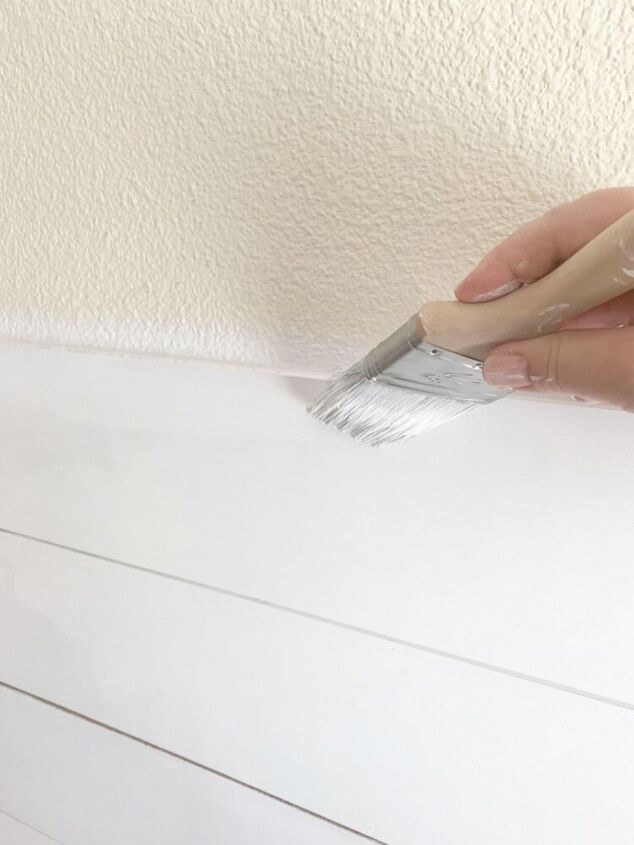
Before you start your next board paint the top / edge of the board. Do not skip this step, it will make your life easier in the end. I learned the hard way.
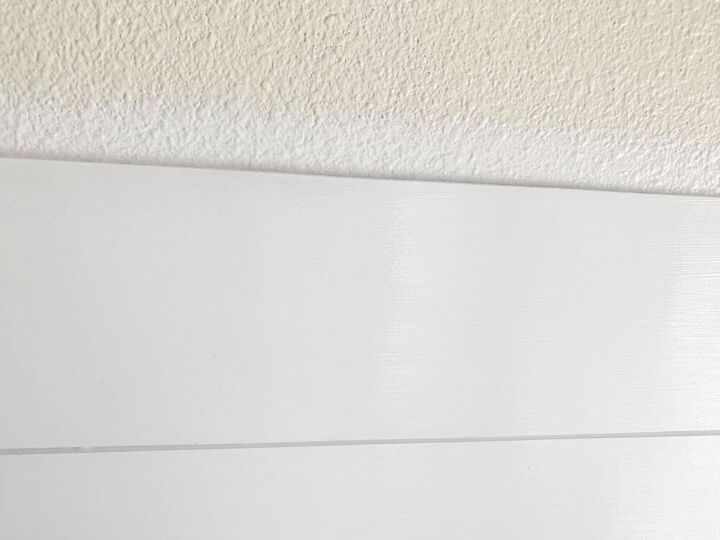
After you've painted the top it will look like this.
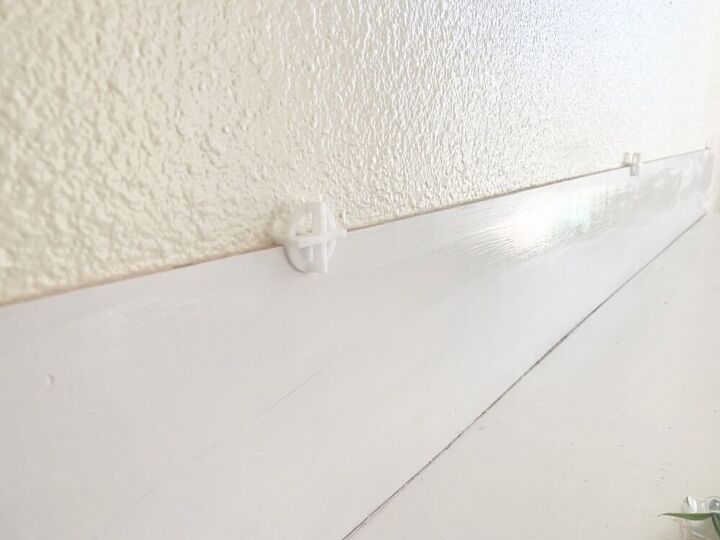
Now its time to put up the next board. This is where the tile spacers will come in. You can also use Nickels for this part to save some money.
Apply the next board and repeat the steps from the first.

After all the boards are up it is time to start caulking. Caulk the edge of where the board meets the mantel. You can use the caulking to also fill the nail holes. Just wipe off the extra off with a damp rag.
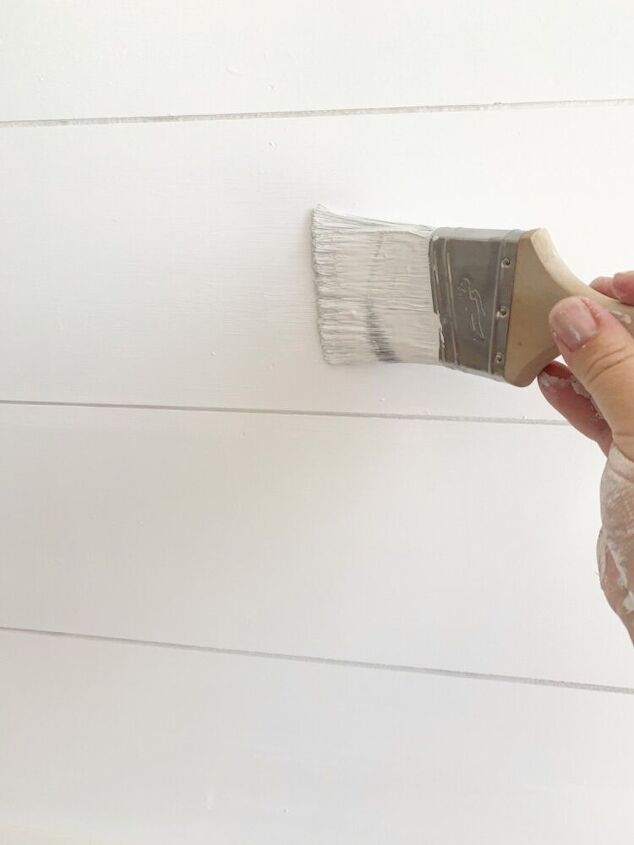
After the caulking is cleaned up and dry, its time for the 2nd coat of paint.
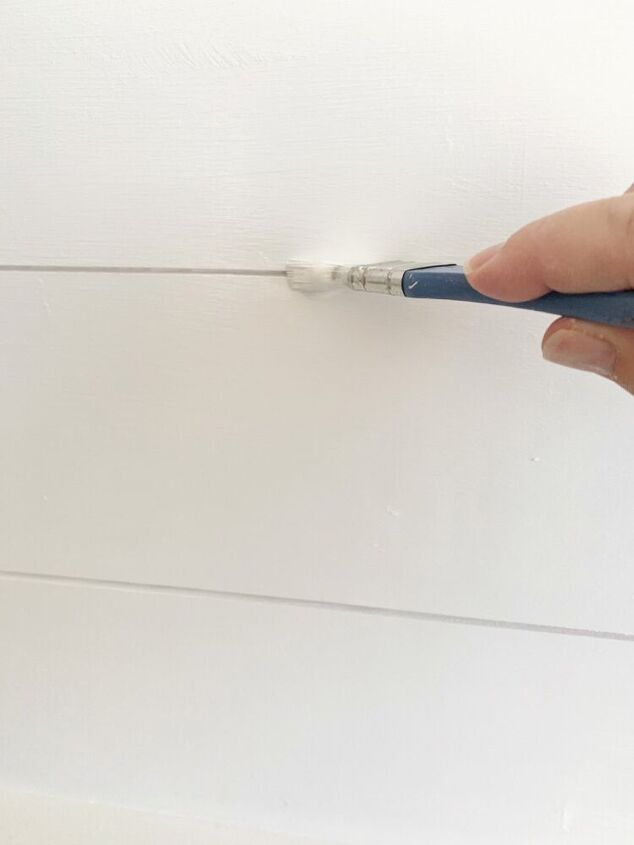
Here is where the small paint brush comes in. Use it to get into the cracks.
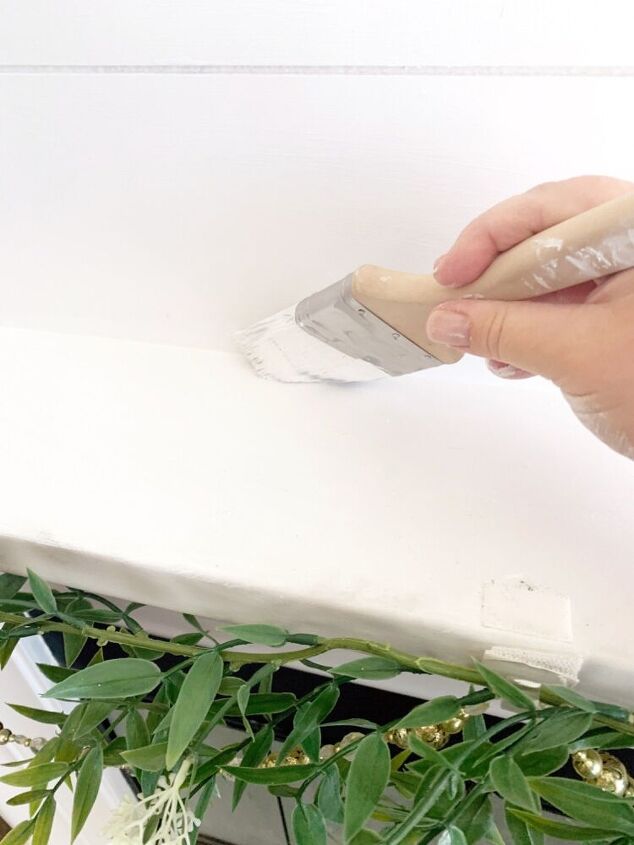
Don't forget to paint the top of the mantel to give it that clean fresh look.
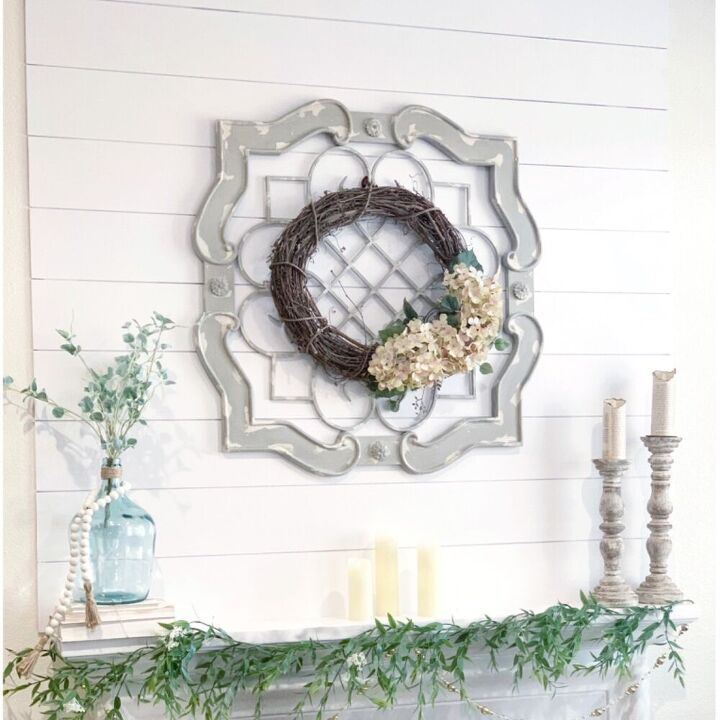
And you are done! It really is easy. Just a little time consuming and a lot of steps. I was able to get this project done in a afternoon. The only thing I needed help with was applying the boards to the wall.
Resources for this project:
See all materials


Comments
Join the conversation
-
lovely job!! thanks for the idea
-
Great job!!!


Frequently asked questions
Have a question about this project?
My question is this; since you are nailing these up, why would you need to use the adhesive? Especially if someone wanted to take them down someday down the road. Why the extra step & expense?