


Sit! Stay! Shibori! Tie-Dye Doggy Bed

Look around and you’ll see tie dye is everywhere. It’s found in fashion, home décor and even hair accessories and shoes. It’s loved by young and old, but it doesn't just have to be for people. Our furry family members can enjoy it too…even if they don't know it yet! So, go ahead and skip the same old pet accessories you find in stores and get creative with kitty scarves, doggy T-shirts or even a pet bed like we’ve made here. We decided to go big or go home. Okay, you might be thinking, that sounds great, but tie dyeing a dog bed sounds really hard. Spoiler alert: it's not, especially when you use Tulip One-Step Tie Dye!
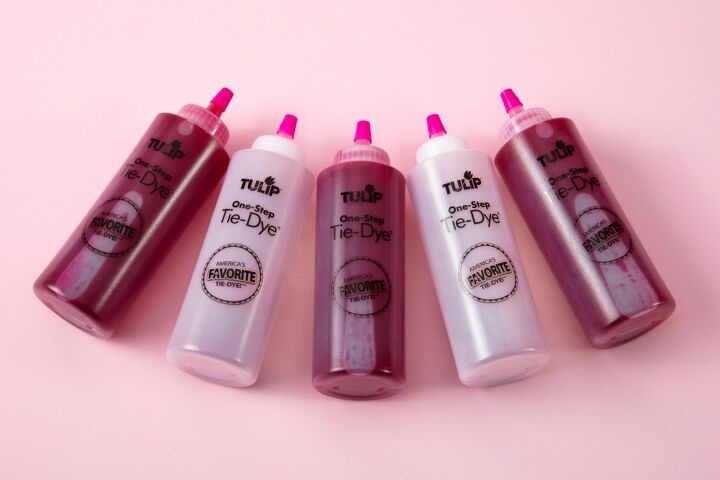
First choose your tie-dye colors. If you decide to use multiple colors, you can go with a kit option, or select a few 1-color kits. Tip: Just make sure the colors are compatible so that if they blend on the fabric, they don't turn muddy brown (think color theory).
Make sure you remove and wash the cotton covering to the dog bed (without fabric softener). Skip the dryer step and take your bed cover straight from the washing machine and start binding it according to your chosen technique. If you're not going to be dyeing it immediately after washing, make sure you dampen your cover before dyeing (not soaking wet, just damp for best results).
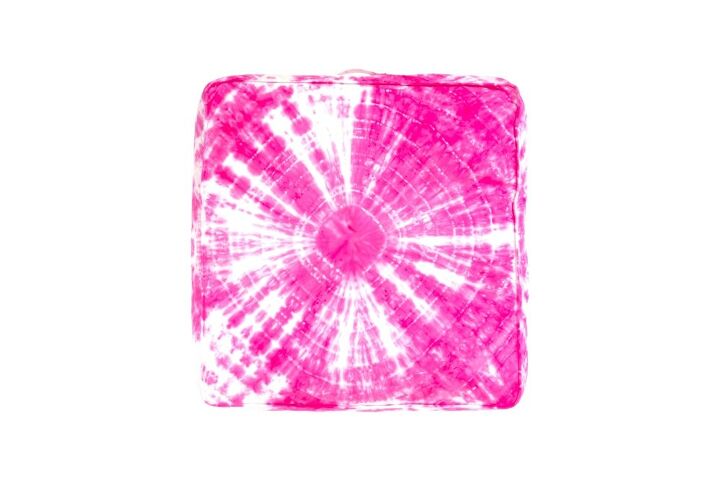
The technique we show in the video is a and have a great experience! (Tie dyeing is always a great experience but you know what we mean.)

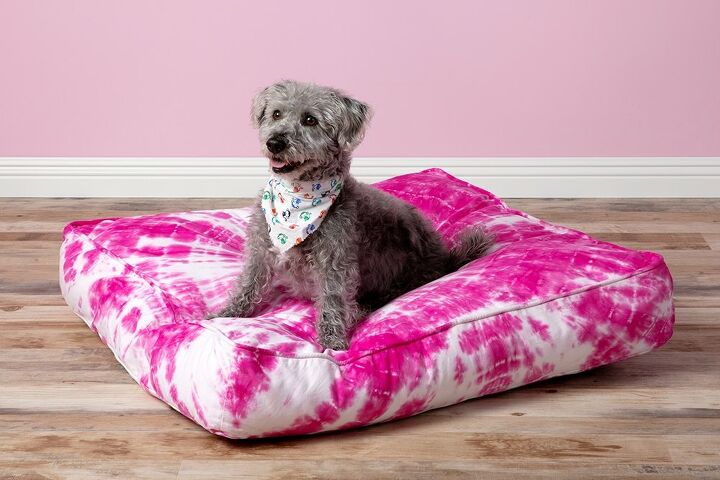
And just look at how happy Rosco looks on his new tie-dye bed!
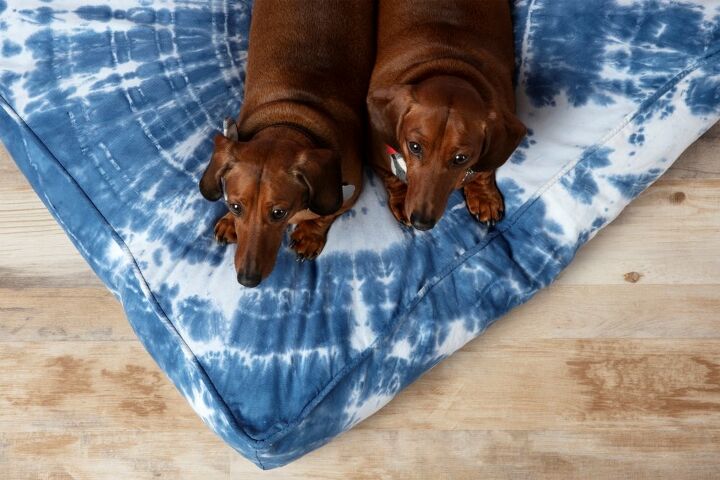
Jenz and Otto are also pumped to have a cushy new tie-dye dog bed. We see some colorful dreams in their future!


Frequently asked questions
Have a question about this project?