


Lazy Susan Trays Are Very Popular.

Personalizing them turns it into a beautiful housewarming or wedding gift! I used a special stain and paint technique to give this one a real beachy feel. (You can use any color stain or paint). This is actually and easy project.

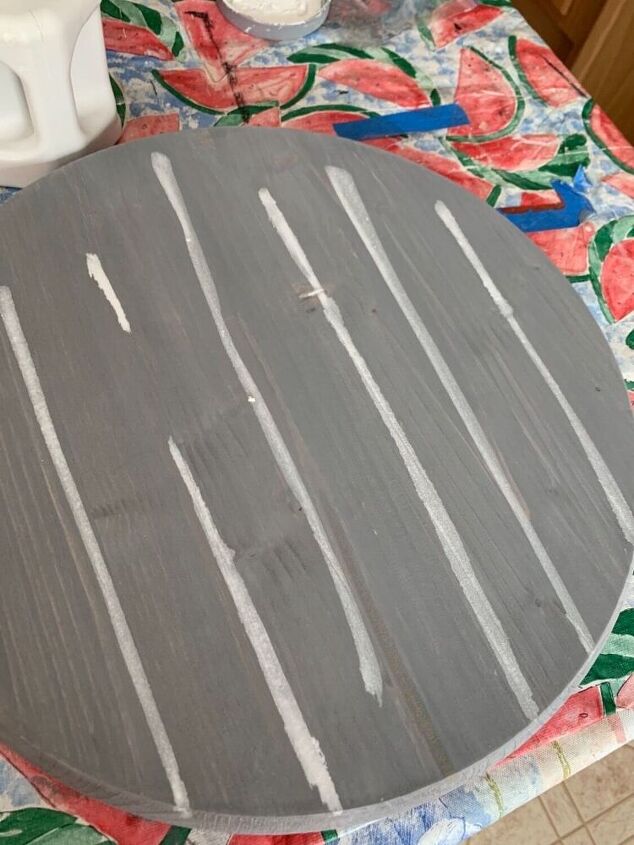
I bought this 18” round project board at a hardware store. I start by applying a grey stain according to the directions on the can. As you can see I don’t go for complete coverage.

Following the directions I wipe off any access with a clean cloth.

Then I add a light white wash over the entire piece. To do this I put a dab of white paint on a paper plate and then add several drops of water. With a nylon bristle brush I apply the watery paint making sure I paint in one direction following the grain. Again I lightly wiped it off with a clean cloth.
I want to end up with a multi colored surface and wanted more deep streaks of white. So I just added the same white wash but using the edge of the brush. After I wiped it off I ended up with the following: grey stain, two tone white wash and the bonus is a little bit of the original board color showing through. (Remember how I didn’t cover the entire piece with the grey stain!)
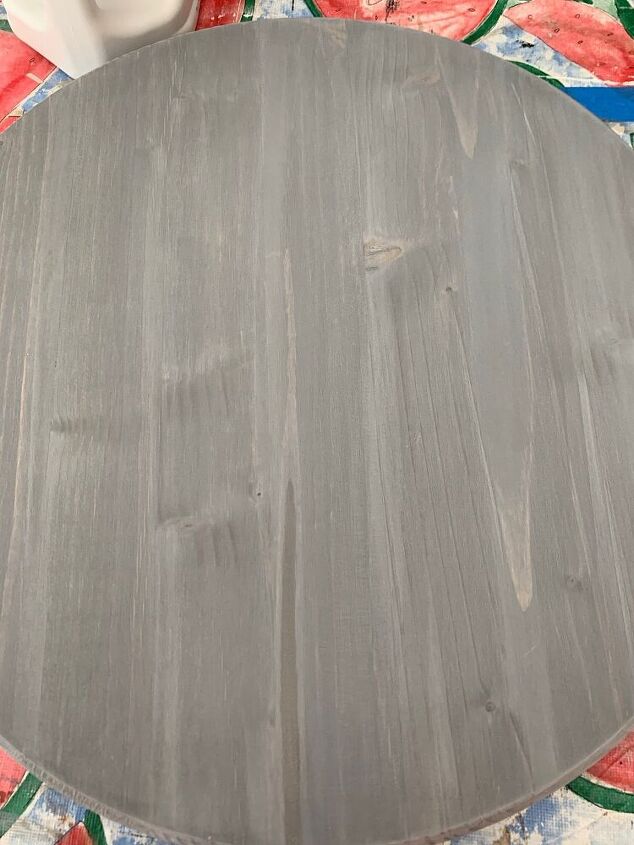
If you look closely you can see the end result. In person you can see it even better. I like going the extra mile for my customers.
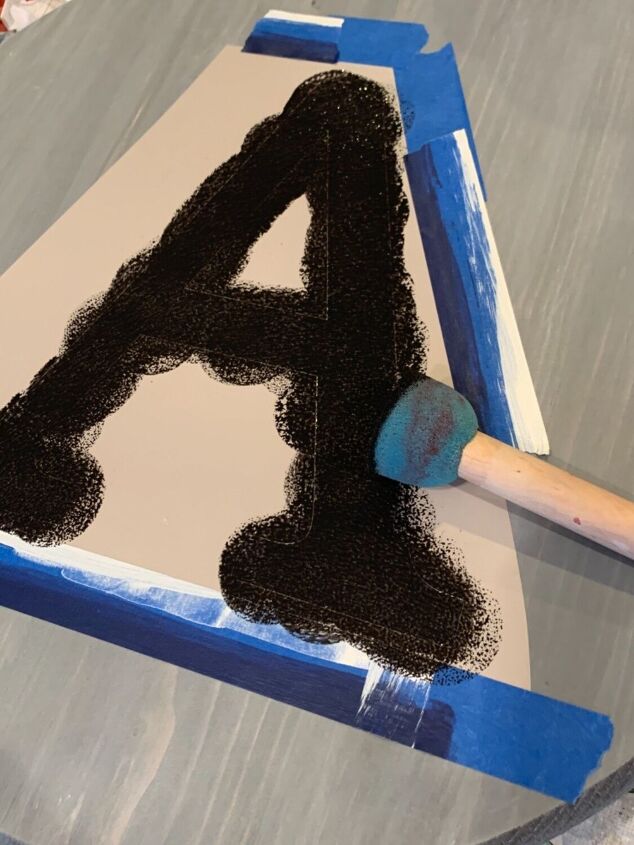
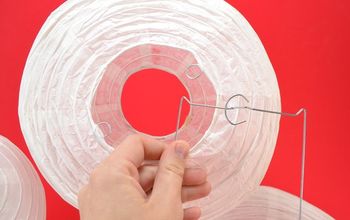
I come up with the design on my silhouette computer program and then use the cutting machine to cut out the stencil. Before dabbing on the color I brush on Mod Podge ( and let it dry) to keep the paint from seeping under the stencil.
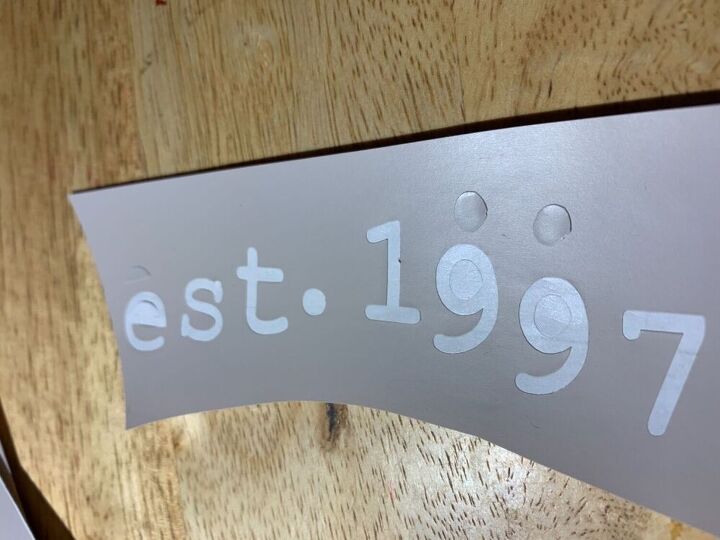
When I weed the stencil I place the inside pieces on the stencil material so I don’t loose them. ie: the e and the 9s.
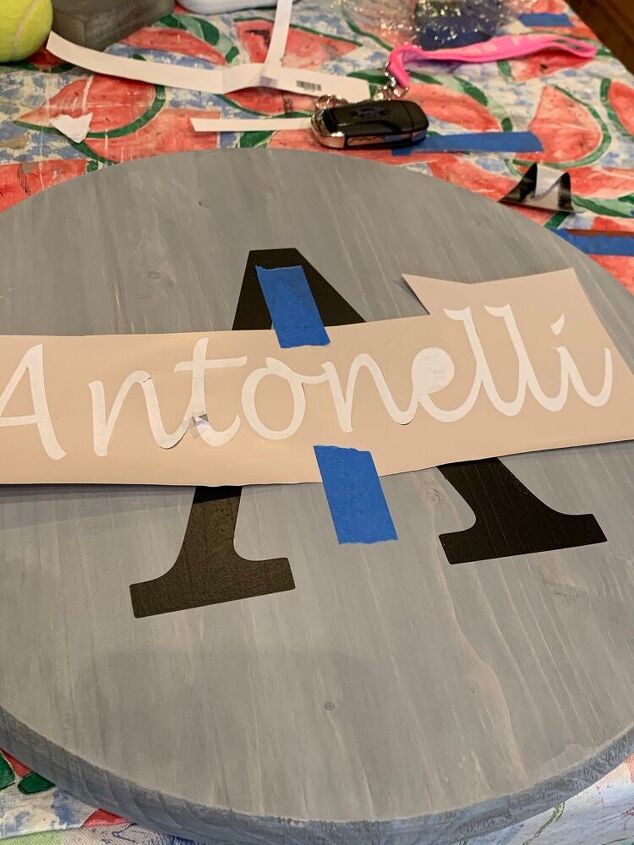
When I add the stencils I peel off the backing a little bit at a time. I don’t use transfer paper.
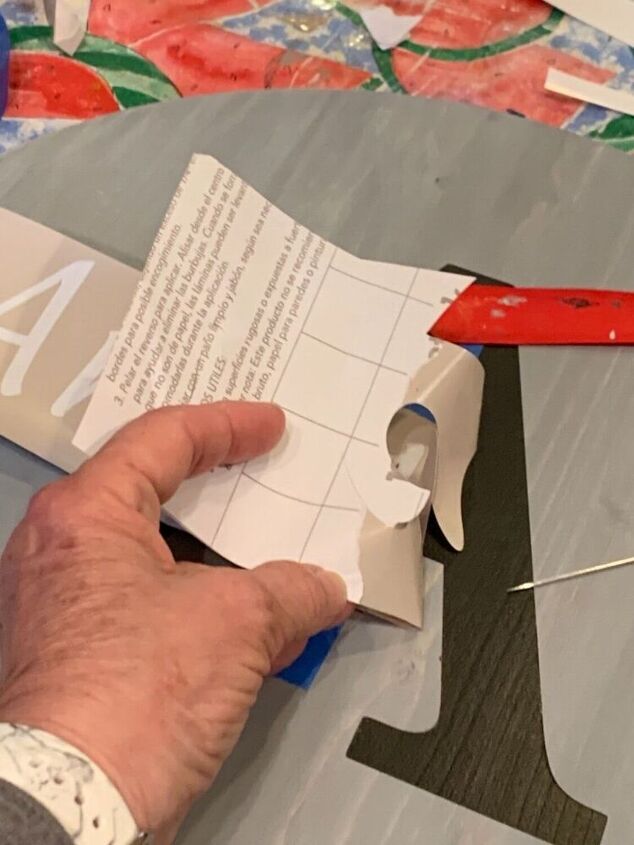
I use a large needle to help with the process.
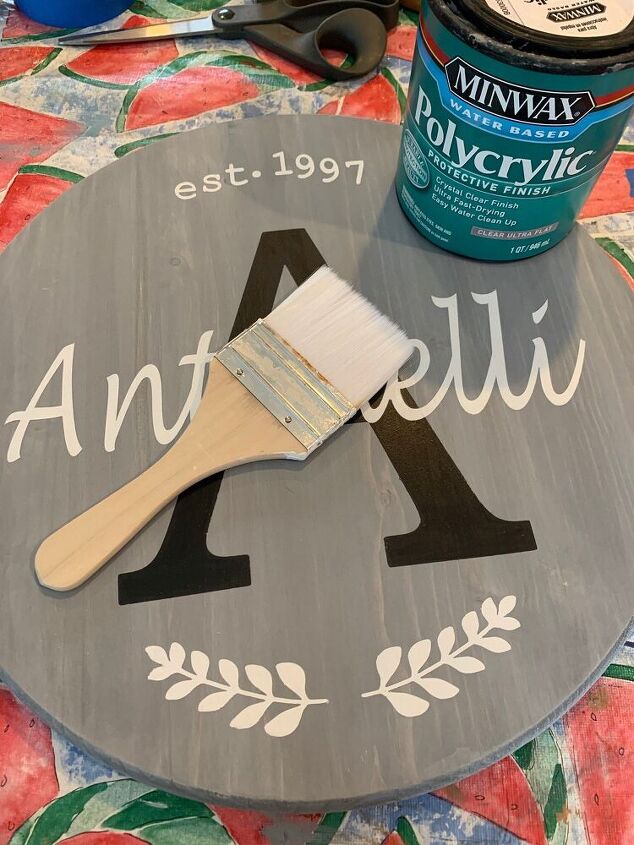
I use minwax polycrylic for my finish. I apply two coats with a nylon bristle brush. When you Google “they” say it is food safe after 30 days.
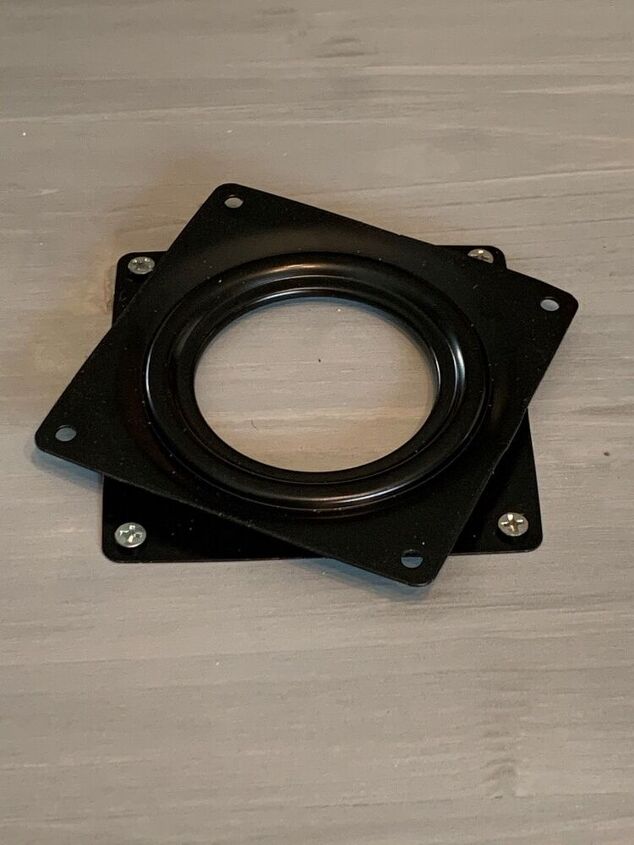
It’s real easy to add the 4” lazy susan hardware on the bottom. Just make sure you center it correctly. If you use a larger board you will need a larger Lazy Susan. I find that an 18” round is the max size for a 4” hardware. You can use a larger one if you like.
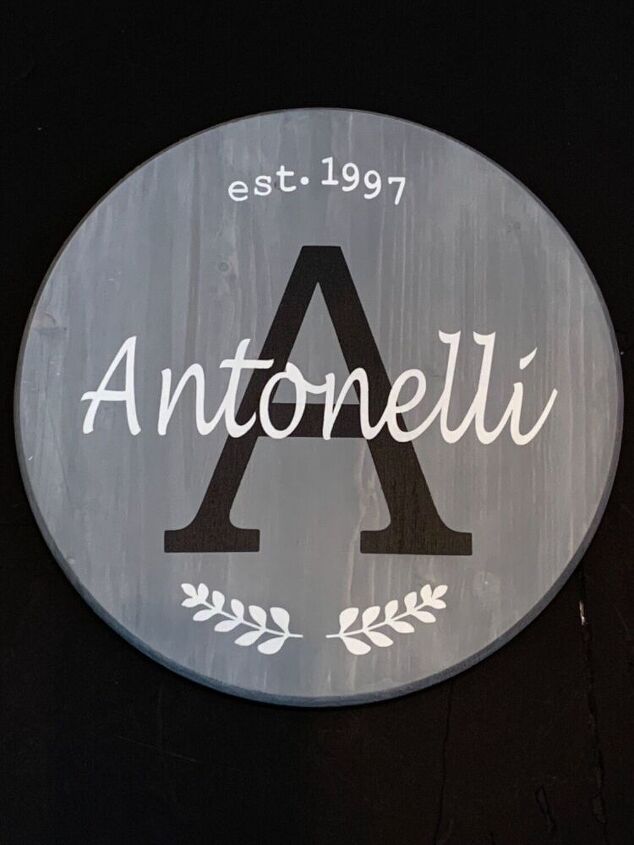
The customer was so happy with her new serving tray. You can add handles if you like but I’m finding that most people prefer a lazy susan without the handles.
If you have questions please let me know. Have a great day and happy crafting.
Resources for this project:
See all materials


Comments
Join the conversation
-
I see you attach one side of the lazy susan to the 18" round. Do you attach the other side to anything? If so how did you do it?


Frequently asked questions
Have a question about this project?