


How To Repot A Large Snake Plant
I wasn’t planning on adding a 5 foot Sansevieria to my collection but there it was at a discounted price at just calling my name and I couldn’t resist. The pot was split wide open in 2 places and new plants were peaking out.
Repotting this large Snake Plant was in order so I’m sharing how I did it plus all things good to know.

Reasons to repot
I’ve repotted and transplanted too many plants to count over the years. Here are a few reasons why: the roots are coming out the bottom of the current pot, the roots have cracked the pot, the plant has been overwatered, the soil is getting old and fresh soil is in order, the plant is out of scale with the pot, and the plant is looking stressed.

Step 1: Remove Snake Plant From Existing Grow Pot
Usually, you can run a knife or pruning saw around the inside of the pot to loosen the root ball and press on the sides, to extract the plant.
But if that doesn't work, you can cut the grow pot to get the Snake Plant out.

Step 2: Choosing A New Grow Pot
They prefer to grow slightly tight in their pots. When I repot a Snake Plant, I go up 1 pot size.
For instance, if yours is in a 6″ grow pot, then an 8″ pot would be the size you’d want to use.
A deep pot has more soil mass at the bottom which could stay too wet in turn leading to root rot.

Step 3: Making Your Soil Mix
Potting mix to use
The soil mix needs to drain freely and provide aeration. Snake Plants are succulents and don’t like too much water too often. The soil needs to dry out between waterings.
The soil mix I use
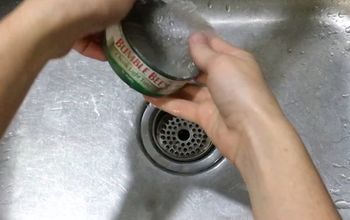
I used 2/3 potting soil, and DIY 1/3 succulent & cactus mix. The potting soil is formulated for houseplants and contains coco chips, coco fiber, and pumice. I add a couple of handfuls of compost and worm compost blend for extra goodness as I go along.
This mix is light but rich and yields good drainage, and the water will flow right through and out the drain holes preventing root rot.
Because the pot is so large, I added this clay pebble to the mix at the bottom of the pot for even more aeration. The pebble is very lightweight so I won’t need a crane to move the pot and plant!
Alternative soil mixes
I know many of you live in urban areas and have limited storage space. I know, it was the same for me for many years. Here are some mixes using only two ingredients.
2/3 potting soil, 1/3 pumice
or 2/3 potting soil, 1/3 or perlite
or 2/3 potting soil, 1/3 clay pebbles
or 2/3 potting soil, 1/3 orchid bark
I wouldn’t recommend repotting a Snake Plant in straight potting soil because it could be too heavy. The pumice, perlite, and clay pebbles all up the ante on the drainage factor enabling aeration, and helping to prevent the soil from staying too wet.

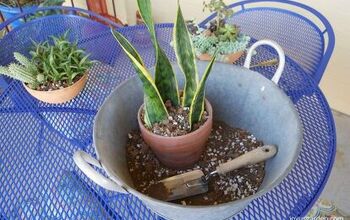
Step 4: Placing Snake Plant Into New Pot
Place the plant in the pot and fill it in with soil mix and pebbles. I added in a few handfuls of compost/worm compost as I planted and topped it all with a 1” layer of the compost on top followed by the succulent and cactus mix.
I put enough soil mix in the bottom of the pot to raise the root ball up, so it sits just below the top of the pot.
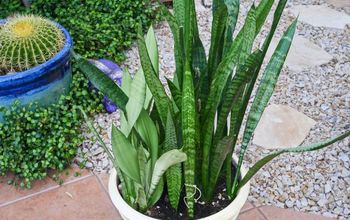
Success! My beautiful Snake Plant has fresh soil and plenty of room to spread out and grow.
Happy Gardening,
-Nell Foster of JoyUsGarden.com
This large Snake Plant repotting guide outlines when, how, soil mix to use, & useful info.


Frequently asked questions
Have a question about this project?
can u get this already mix
How do you keep Aloe Vera plants alive?